day11.3
day13.3
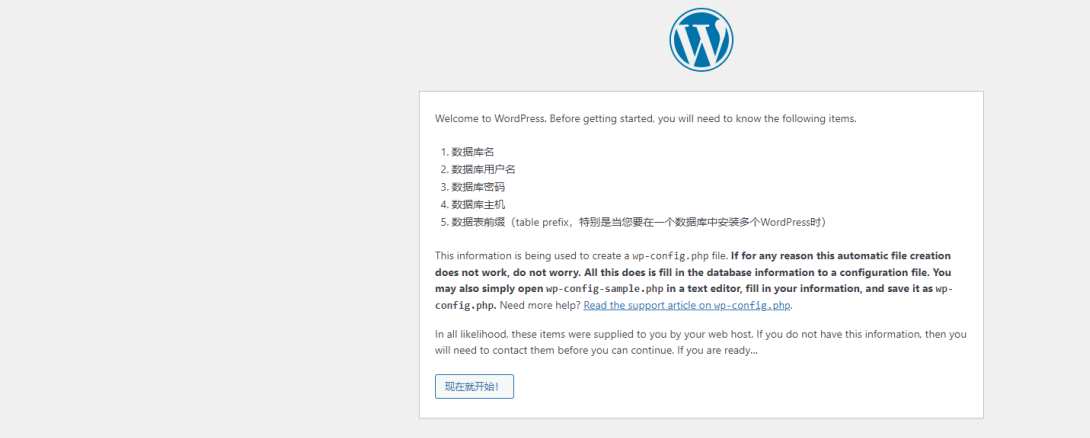
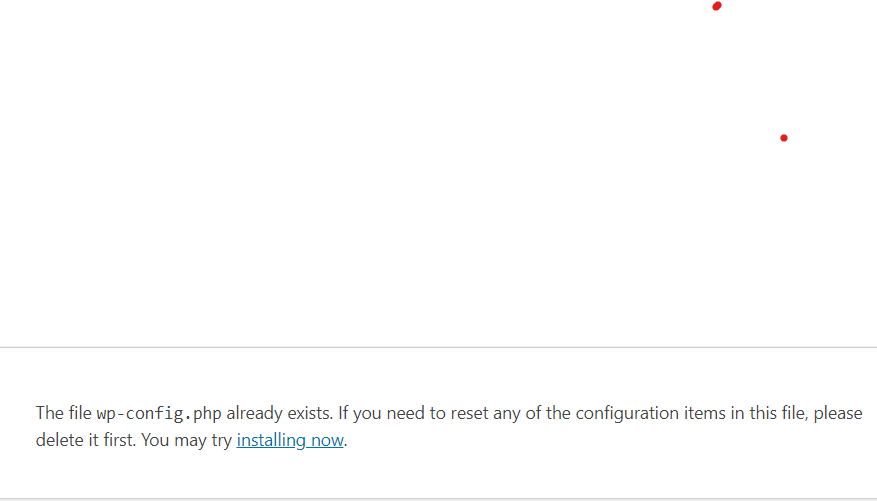
部署WordPress
# 编辑nginx配置文件
[root@web02 nginx]# vim /etc/nginx/conf.d/biog.conf
server{
listen 80;
server_name blog.wc.com;
location /{
root /wc1/wordpress;
index index.php index.html;
}
location ~ \.php$ {
root /wc1/wordpress;
fastcgi_pass 127.0.0.1:9000;
fastcgi_param SCRIPT_FILENAME $document_root$fastcgi_script_name;
include /etc/nginx/fastcgi_params;
}
}
# 2.检查nginx语法
[root@web02 nginx]# nginx -t
nginx: the configuration file /etc/nginx/nginx.conf syntax is ok
nginx: configuration file /etc/nginx/nginx.conf test is successful
# 3.重启nginx配置文件
[root@web02 nginx]# systemctl reload nginx
# 4.创建站点目录并授权
[root@web02 nginx]# mkdir /wc1/wordpress
[root@web02 nginx]# chown -R www.www /wc1/wordpress
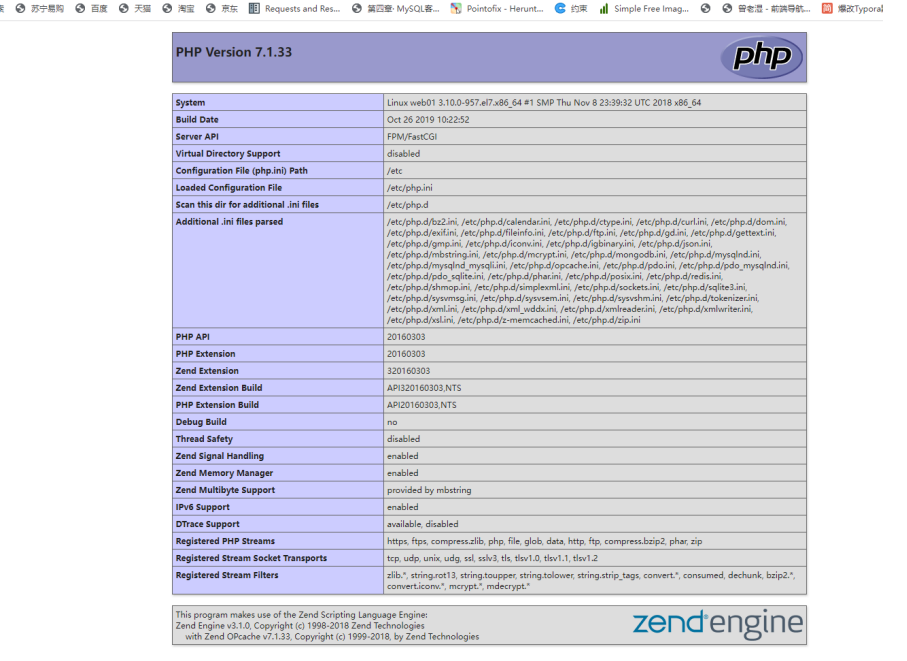
# 5.测试nginx连接nginx(编写php info代码)
[root@web01 ~]# vim /blog/info.php
<?php
phpinfo();
?>
# 6.windows域名解析
打开路径:C:\Windows\System32\drivers\etc 编辑hosts文件
10.0.0.7 blog.zls.com
# 7.打开浏览器访问:blog.wc.com
# 8.下载WordPress代码
WordPress官网:https://wordpress.org/
[root@web01 wc1]# wget https://cn.wordpress.org/latest-zh_CN.tar.gz

# 9.解压代码
[root@web02 wc1]# tar xf latest.tar.gz

# 10.修改nginx配置文件
[root@web02 nginx]# vim /etc/nginx/conf.d/biog.conf

server{
        listen 80;
        server_name blog.wc.com;

        location /{
                root /wc1/wordpress;
                index index.php index.html;
        }

        location ~ \.php$ {
                root /wc1/wordpress;
                fastcgi_pass 127.0.0.1:9000;
                fastcgi_param SCRIPT_FILENAME  $document_root$fastcgi_script_name;
                include /etc/nginx/fastcgi_params;

        }
}

# 11.检查nginx语法
[root@web02 nginx]# nginx -t
nginx: the configuration file /etc/nginx/nginx.conf syntax is ok
nginx: configuration file /etc/nginx/nginx.conf test is successful

# 12.重启nginx配置文件
[root@web02 nginx]# systemctl reload nginx

# 13.打开浏览器,访问:blog.wc.com
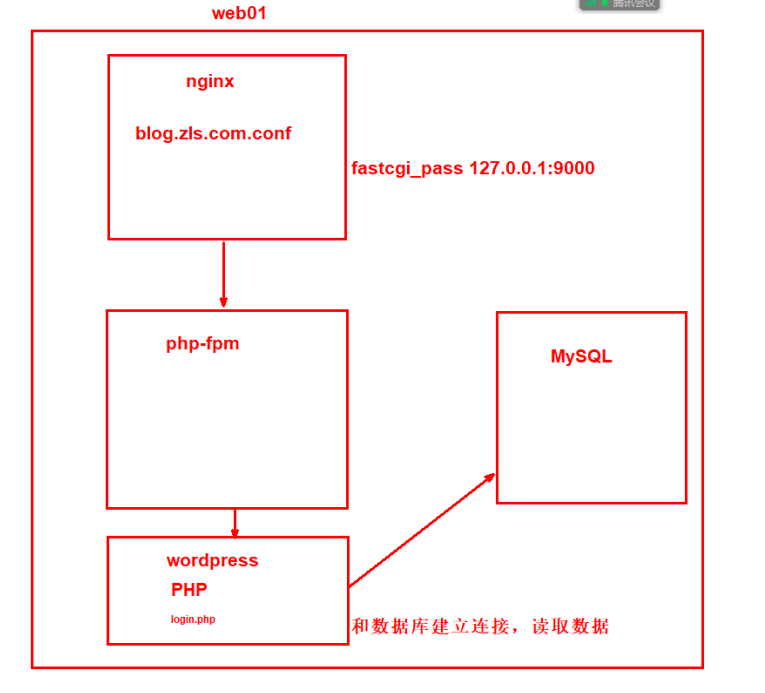
安装数据库
# 数据库是c/s结构
# 端口:3306
# 1.安装mariadb
[root@web02 ~]# yum install -y mariadb-server
# 2.启动数据库并加入开机自启
[root@web02 ~]# systemctl start mariadb
[root@web02 ~]# systemctl enable mariadb
# 3.登录数据库
[root@web02 ~]# mysql
# 4.查看所有库
MariaDB [(none)]> show databases;
+--------------------+
| Database |
+--------------------+
| information_schema |
| mysql |
| performance_schema |
| test |
| wordpress |
+--------------------+
5 rows in set (0.00 sec)
# 5.切换数据库
MariaDB [(none)]> use mysql
# 6.查看该库中的所有表
MariaDB [mysql]> show tables
-> ;
# 7.创建数据库
MariaDB [mysql]> create database 库名字;
MariaDB [mysql]> create database wordpress;
# 8.创建用户
MariaDB [(none)]> grant all on 所有库.所有表 to 用户名@'主机IP' identified by '密码';
MariaDB [(none)]> grant all on *.* to wp@'localhost' identified by '123';
# 9.查看用户
MariaDB [mysql]> select user,host from mysql.user;
+------+-----------+
| user | host |
+------+-----------+
| root | 127.0.0.1 |
| root | ::1 |
| | localhost |
| root | localhost |
| wp | localhost |
| | web02 |
| root | web02 |
+------+-----------+
7 rows in set (0.00 sec)
# 10.退出数据库
MariaDB [(none)]> exit
MariaDB [(none)]> quit
MariaDB [(none)]> \q
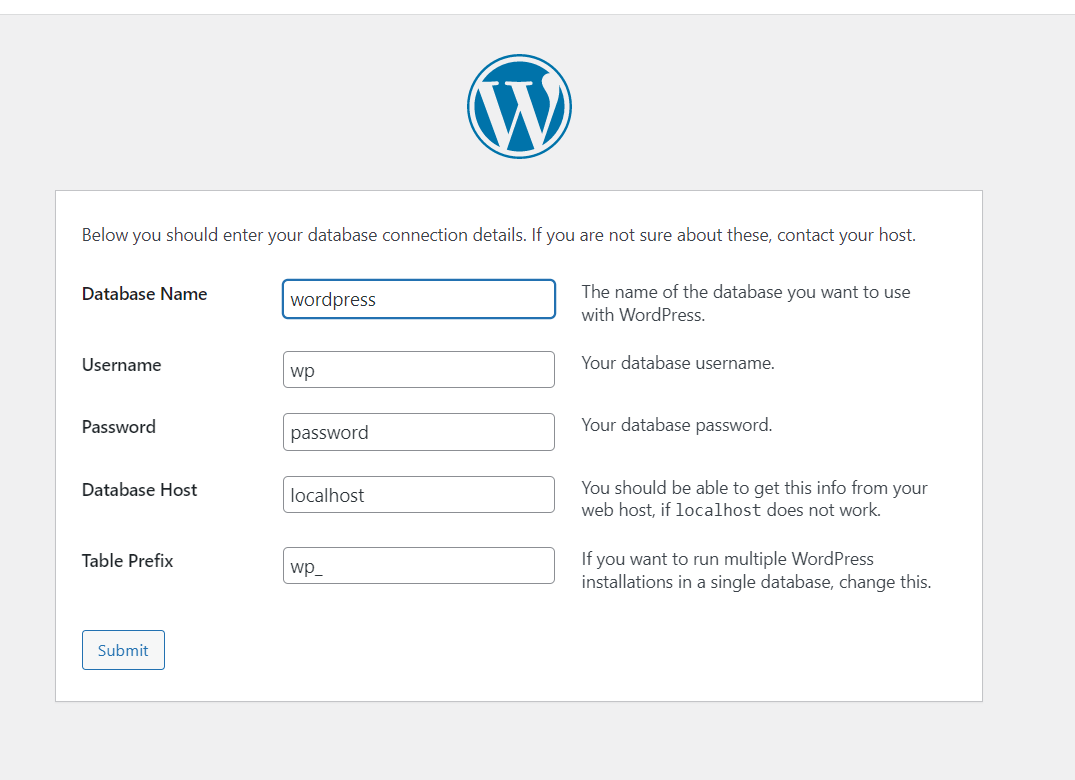
数据库名字:wordpress
连接用户名:wp
连接密码:123
连接ip:losthost

 浙公网安备 33010602011771号