day8.3
day8.3
源码安装及定制rpm包
linux中常见的安装方式
| 安装包 | 安装方式 |
|---|---|
| rpm包 | rpm,yum |
| 源码包 | 源码安装 |
| 二进制包 | 解压即用 |
获取源码包
# 安装什么服务,就去什么服务的官方网站,下载源码包
linux安装源码包
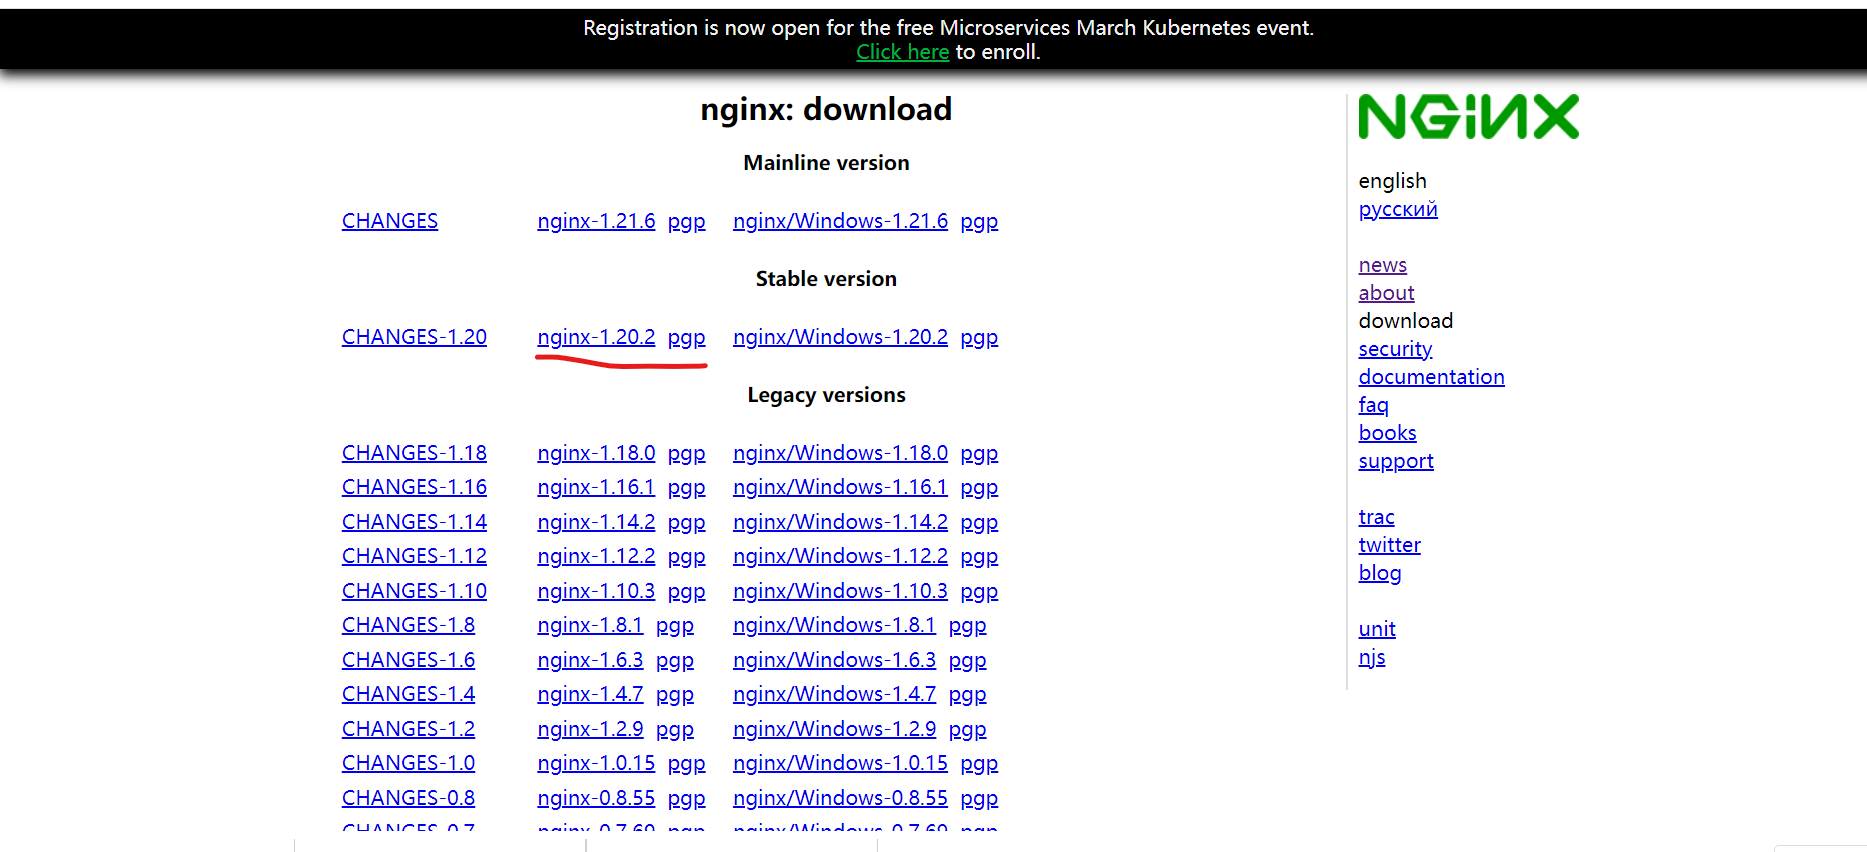
# 1.nginx官网,下载源码包
https://nginx.org/

# 2.下载
[root@28technicians ~]# wegt https://nginx.org/download/nginx-1.20.2.tar.gz
2.1 查看
[root@28technicians ~]# ll
-rw-r--r--1 root root 1062124 Nov 1622:51 nginx-1.20.2.tar.gz

# 3.解压
[root@28technicians ~]# tar xf nginx-1.20.2.tar.gz

# 4.安装依赖包
1.生成依赖包命令
[root@28technicians ~]# ./configure --prefix=/opt/nginx-1.20.2 --with-http_ssl_module --with-http_stub_status_module

2.安装依赖包
[root@28technicians ~]#  yum install -y pcre-devel openssl-devel gcc gcc-c++ glibczlib-devel

'报错解决'
报错1.
./configure: error: C compiler cc is not found

报错原因:缺少C语言环境

解决方法:yum install -ygcc gcc-c++ glibc

报错2.
./configure: error: the HTTP rewrite module requires the PCRE library

报错原因:缺少pcre库文件
解决方法:yum install -y pcre-devl

报错3.
./configure: error: the HTTP rewrite module requires the OpenSSL library

报错原因:缺少openssl库文件
解决方法:yum install -y openssl-devel
# 5.编译
[root@28technicians nginx-1.20.2]# make

# 6.安装
[root@28technicians nginx-1.20.2]# make install

# 7.做软链接
[root@28technicians nginx-1.20.2]# ln -s /opt/nginx-1.20.2/ /opt/nginx
[root@28technicians nginx-1.20.2]# ll /opt
lrwxrwxrwx. 1 root root 18 Apr 27 16:54 nginx -> /opt/nginx-1.20.2/
drwxr-xr-x. 6 root root 54 Apr 27 16:53 nginx-1.20.2

# 系统命令为什么可以执行?
	以为在环境变量中,有个path,只要是path所有目录下的可执行程序,都可以直接执行,不需要写绝对路径

[root@28technicians nginx-1.20.2]# echo $PATH
/usr/local/sbin:/usr/local/bin:/usr/sbin:/usr/bin:/root/bin:/opt/nginx/sbin

# 8.添加nginx环境变量,让nginx程序可以直接运行
[root@28technicians nginx-1.20.2]# vim /etc/profile.d/nginx.sh
"exportPATH="$PATH:/opt/nginx/sbin"

# 9.加载环境变量
[root@28technicians nginx-1.20.2]# source /etc/profile

# 10.启用nginx服务
[root@28technicians nginx-1.20.2]# nginx

# 11.检查是否启动成功
[root@28technicians nginx-1.20.2]# netstat -lntup

# 12.检查nginx进程
[root@28technicians nginx-1.20.2]# ps -ef|grep nginx
root      18385      1  0 16:55 ?        00:00:00 nginx: master process nginx
nobody    18386  18385  0 16:55 ?        00:00:00 nginx: worker process
root      18390   7203  0 16:57 pts/0    00:00:00 grep --color=auto nginx

# 13.关闭防火墙
[root@28technicians nginx-1.20.2]# systemctl stop firewalld

# 14.关闭selinux
[root@28technicians nginx-1.20.2]# setenforce 0

# 15.打开浏览器访问
http://ip
使用nginx制作yum仓库
# 1.配置nginx配置文件
[root@28technicians html]# cd /opt/nginx/conf/
[root@28technicians conf]# vi nginx.conf

     33     #gzip  on;
     34
     35     server {
     36         listen       80;
     37         server_name  localhost;
     38         location / {
     39             root   /data/yum_data/;
     40             autoindex on;
     41             access_log off;
     42             }
     43         }
     44
     45
     46     # another virtual host using mix of IP-, name-, and port-based configuration

# 2.创建以上同名目录
[root@28technicians conf]# mkdir /data/yum_data -p

# 3.重启nginx服务
[root@28technicians conf]# nginx -s reload

# 4.创建和阿里云相同的目录
[root@28technicians conf]# mkdir /data/yum_data//centos/7/os/x86_64/Packages/ -p
[root@28technicians conf]# cd /data/yum_data/centos/7/os/x86_64/Packages/

# 5.下载rpm到Packages目录里
[root@28technicians Packages]# wget https://mirrors.aliyun.com/centos/7/os/x86_64/Packages/ElectricFence-2.2.2-39.el7.i686.rpm

# 6.把Packages变成仓库
[root@28technicians Packages]# createrepo /data/yum_data/centos/7/os/x86_64/
1.编写Packages配置文件
[root@66technicians ~]# vi /etc/yum.repos.d/Packages.repo
      1 # 仓库名(随便起,见名知意)
      2 [wc_Packages]
      3
      4 # 仓库描述(随便起,见名知意)
      5 name=wc_Packages
      6
      7 # 仓库地址(ftp:// (ip地址) base目录地址)
      8 baseurl=ftp://10.0.0.101/pub/Packages
      9
     10 # 检查签名机制(1: 开启检测 0: 关闭检测)
     11 gpgcheck=0
     12
     13 # 开启仓库 (1: 开启检测 0: 关闭检测)
     14 enabled=1
# 12.检查yum仓库
[root@66technicians ~]# yum repolist
Loaded plugins: fastestmirror

# 13.yum安装
[root@66technicians ~]# yum install -y tree


 浙公网安备 33010602011771号