iOS插件详解之----CLangFormat(代码格式化管理插件)
iOS插件详解之----CLangFormat(代码格式化管理)
虽然在项目创建和团队组建的初期,我们就把公共约定以及一些规范定下来了,并且由于我们的代码是通过Git来做版本控制的,web上直接就支持Markdown格式的readme文件,可以随时看到最新的版本,但是这种规范只能依靠个人的意识,或者通过代码Review来解决,而且做代码Review的时候,你也不好意思总是写上一堆诸如“这里要加个空格”、“那里要加上换行”的评论吧?如果不管,久而久之,会因为每个人的习惯不同,代码呈现出多种风格,看起来也不像一个成熟团队做出来的产品。
为了弥补Xcode代码格式化的短板,我们选择了引入一个第三方的插件:CLangFormat。
具体流程:
1. 安装CLangFormat
安装方法一:直接在Package Manager里搜索并安装,如果不想安装Package Manager的话,就直接把上面那个GitHub中的代码Clone下来,在Xcode中编译、运行,然后重启Xcode即可。
安装方案二:
GitHub地址:https://github.com/travisjeffery/ClangFormat-Xcode
下载插件->打开ClangFormat.xcodeproj文件,com+B运行,重启xcode,完事.
2. 配置CLangFormat(如果不需要自定义,可以跳过本步骤)
虽然CLangFormat本身就内置了一些标准化的代码格式化方案,但是同样可以自定义,我们就采用了自定义的方法。
具体的,在工程目录或者workspace目录下创建一个".clang-format"文件,添加类似于以下内容的参数:
- # 基础样式
- BasedOnStyle: LLVM
- # 缩进宽度
- IndentWidth: 4
- # 圆括号的换行方式
- BreakBeforeBraces: Attach
- # 支持一行的if
- AllowShortIfStatementsOnASingleLine: true
- # switch的case缩进
- IndentCaseLabels: true
- # 针对OC的block的缩进宽度
- ObjCBlockIndentWidth: 4
- # 针对OC,属性名后加空格
- ObjCSpaceAfterProperty: true
- # 每行字符的长度
- ColumnLimit: 0
- # 注释对齐
- AlignTrailingComments: true
- # 括号后加空格
- SpaceAfterCStyleCast: true
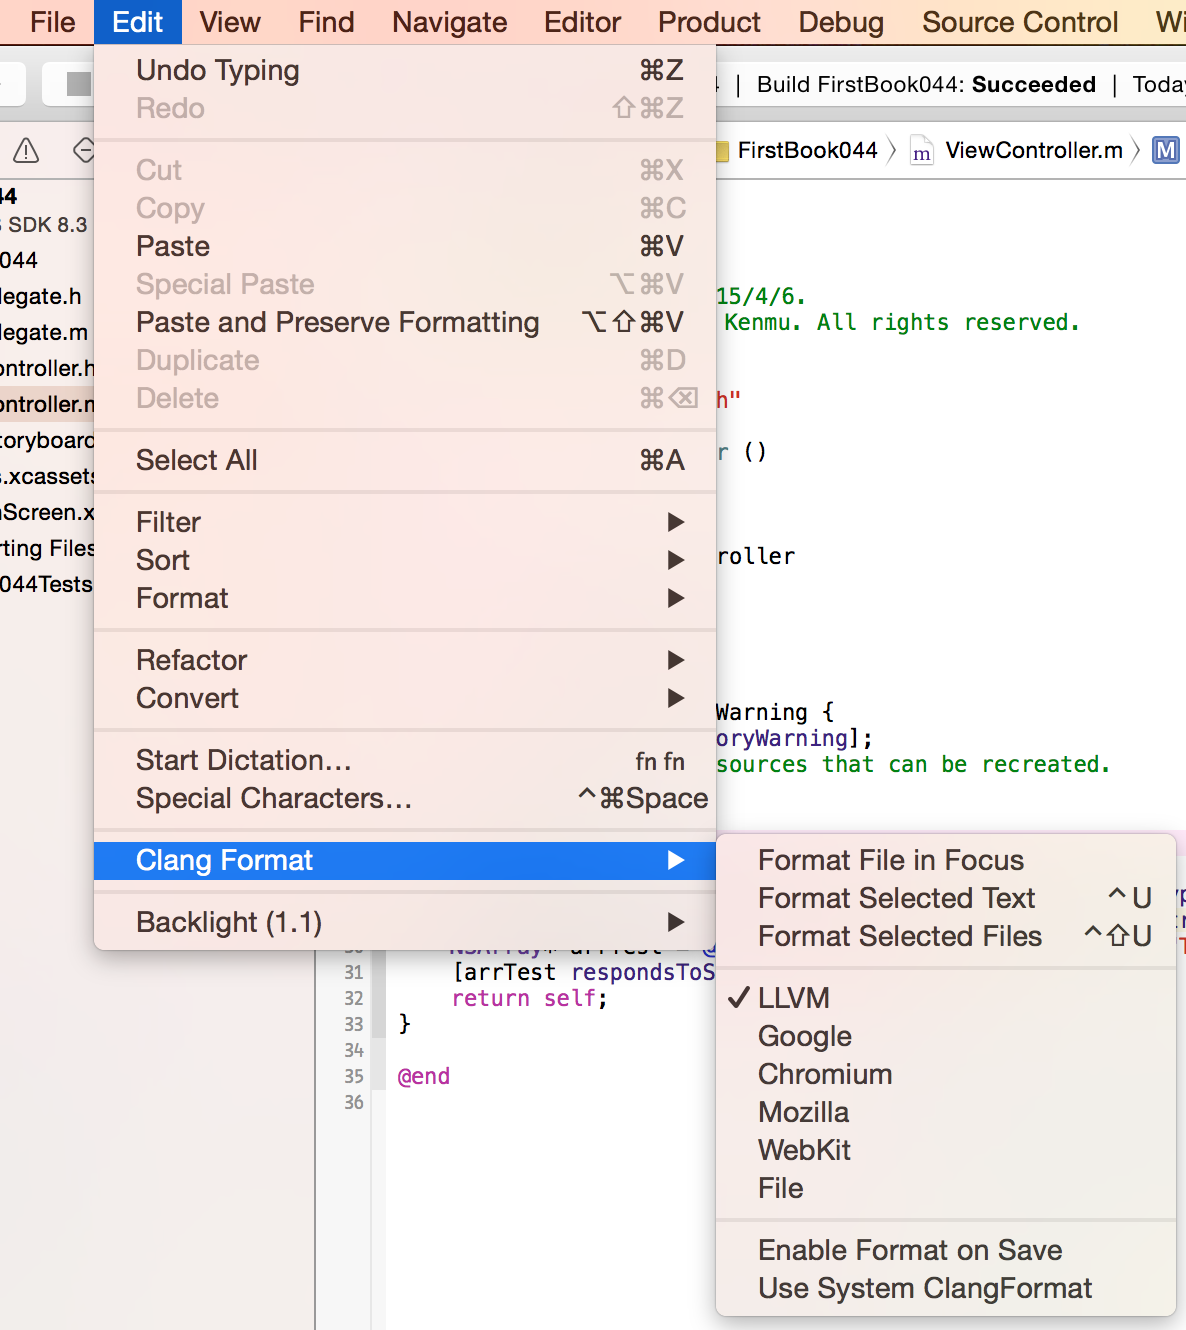
然后在Xcode的“Edit”->“CLang Format”中选中“File”,并让倒数第二行显示“Disable Format On Save”。
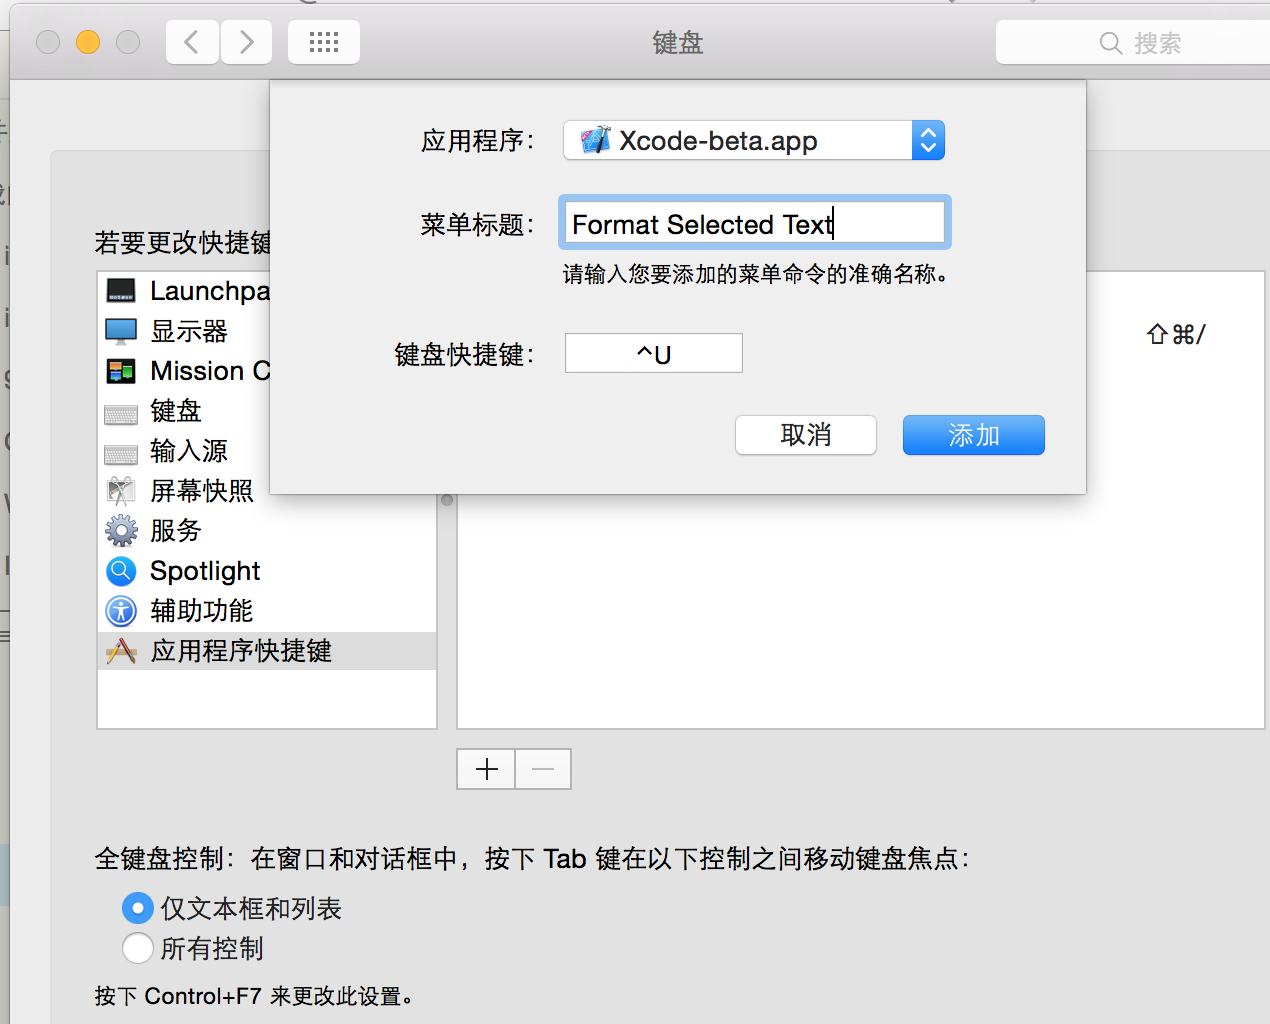
后面这个看实际情况,需不需要在文件随时保存的时候格式化,如果喜欢用快捷键的话,在“系统偏好设置”里能对所有的Menu选项设置快捷键,设置一个“Format File in Focus”的快捷键也很好用。
附上CLangFormat的所有可用参数文档:http://clang.llvm.org/docs/ClangFormatStyleOptions.html
附上我目前所使用的格式:
- # 基础样式
- BasedOnStyle: LLVM
- # 缩进宽度
- IndentWidth: 4
- # 圆括号的换行方式
- BreakBeforeBraces: Attach
- # 支持一行的if
- AllowShortIfStatementsOnASingleLine: true
- # switch的case缩进
- IndentCaseLabels: true
- # 针对OC的block的缩进宽度
- ObjCBlockIndentWidth: 4
- # 针对OC,属性名后加空格
- ObjCSpaceAfterProperty: true
- # 每行字符的长度
- ColumnLimit: 0
- # 注释对齐
- AlignTrailingComments: true
- # 括号后加空格
- SpaceAfterCStyleCast: true
- # 不在小括号里加空格
- SpacesInParentheses: false
- # 不在中括号里加空格
- SpacesInSquareBrackets: false
三,安装过程中出现的问题:
插件安装经验总结:
在每次xcode升级后他的DVTPlugInCompatibilityUUIDs的内容都会更新,
但是插件的并不更新,所以要把下载好的插件配置一下再运行,这样就会一次成功了.
四,配合Xcode自带的格式化操作,就很不错了
选中内容组合操作:
第一步:ClangFormat(control+U)
第二步:XcodeFormat(control+I)
选中文件组合操作:
第一步:ClangFormat(control+shift+U)
第二步:XcodeFormat(control+A,control+I)
修改ClangFormat.xcodeproj工程里的TRVSClangFormat.m文件的内容,实现快捷键功能(control+U和control+shift+U):
 1 - (void)addActioningMenuItemsToFormatMenu {
 2   NSMenuItem *formatActiveFileItem = [[NSMenuItem alloc]
 3       initWithTitle:NSLocalizedString(@"Format File in Focus", nil)
 4              action:@selector(formatActiveFile)
 5       keyEquivalent:@""];
 6   [formatActiveFileItem setTarget:self.formatter];
 7   [self.formatMenu addItem:formatActiveFileItem];
 8   NSMenuItem *formatSelectedCharacters = [[NSMenuItem alloc]
 9       initWithTitle:NSLocalizedString(@"Format Selected Text", nil)
10              action:@selector(formatSelectedCharacters)
11       keyEquivalent:@"u"]; //modified by Kenmu
12   [formatSelectedCharacters setKeyEquivalentModifierMask:NSControlKeyMask]; //created by Kenmu, in order to use shortcut key to access it.
13   [formatSelectedCharacters setTarget:self.formatter];
14   [self.formatMenu addItem:formatSelectedCharacters];
15   NSMenuItem *formatSelectedFilesItem = [[NSMenuItem alloc]
16       initWithTitle:NSLocalizedString(@"Format Selected Files", nil)
17              action:@selector(formatSelectedFiles)
18       keyEquivalent:@"u"]; //modified by Kenmu
19   [formatSelectedFilesItem setKeyEquivalentModifierMask:NSControlKeyMask | NSShiftKeyMask]; //created by, in order to use shortcut key to access it. Kenmu
20   [formatSelectedFilesItem setTarget:self.formatter];
21   [self.formatMenu addItem:formatSelectedFilesItem];
22 }
跟VVDocumenter规范注释生成器的安装方式一样:
下载开源工程在Xcode重新编译运行会自动安装此插件,重启Xcode就可以使用了
PS:可以使用系统偏好设置中设置键盘里针对某应用程序的快捷键,如下操作:

插件设置:

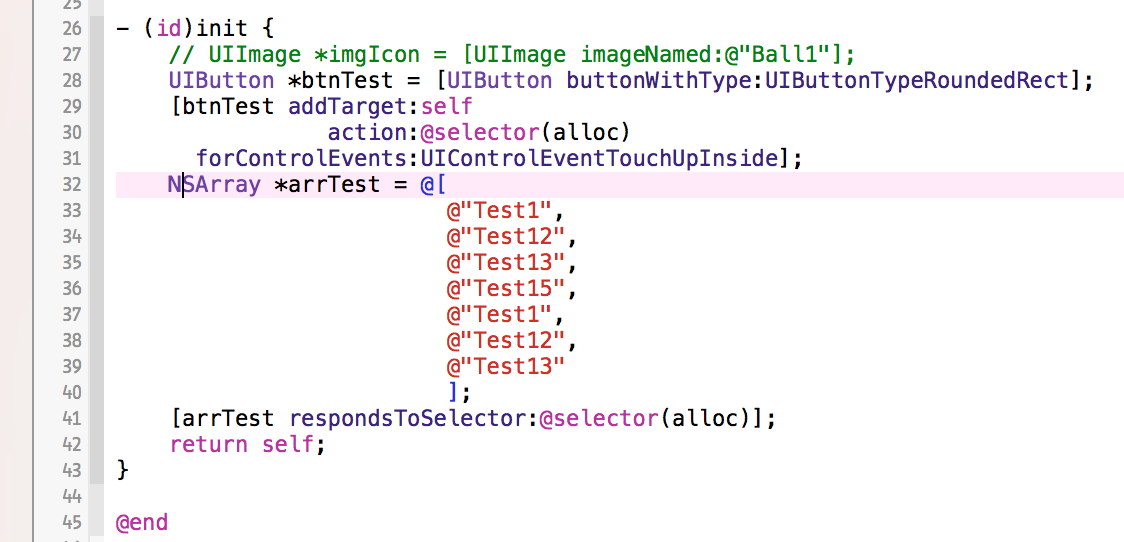
使用方式:


 浙公网安备 33010602011771号