使用Rancher配置mycat读写分离
基础环境
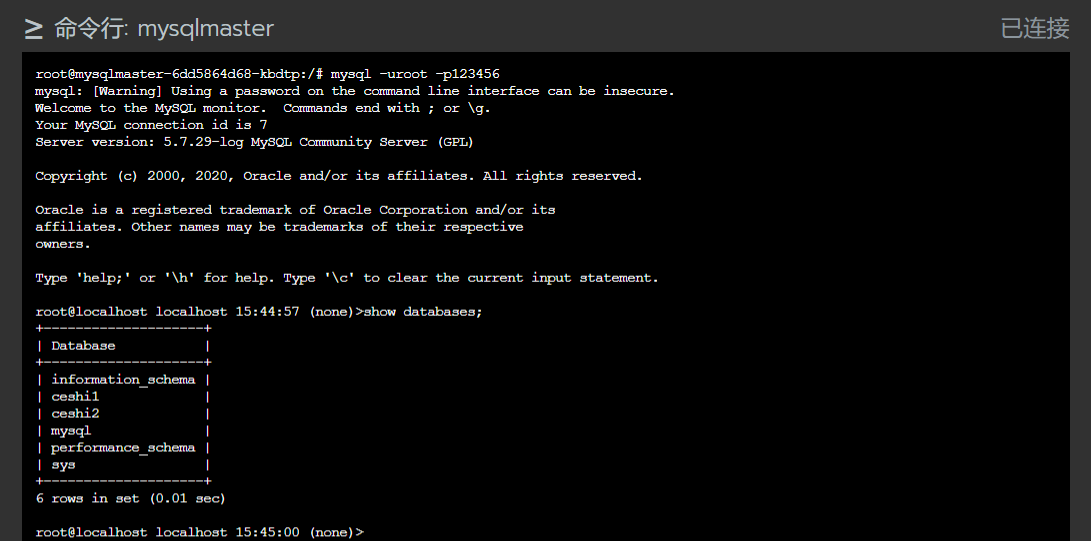
接上篇,主从已经做好,看下现有的数据库和服务发现



配置Mycat配置文件
直接配置映射:
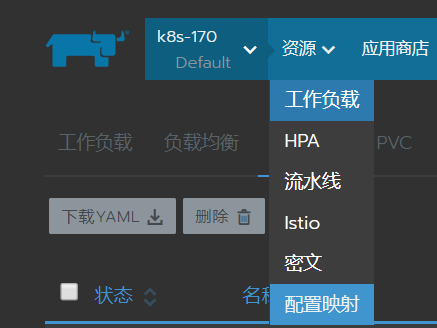
只做个简单的读写分离,所以只需要修改schema.xml和server.xml两个配置文件,所需数据库账号已提前授权
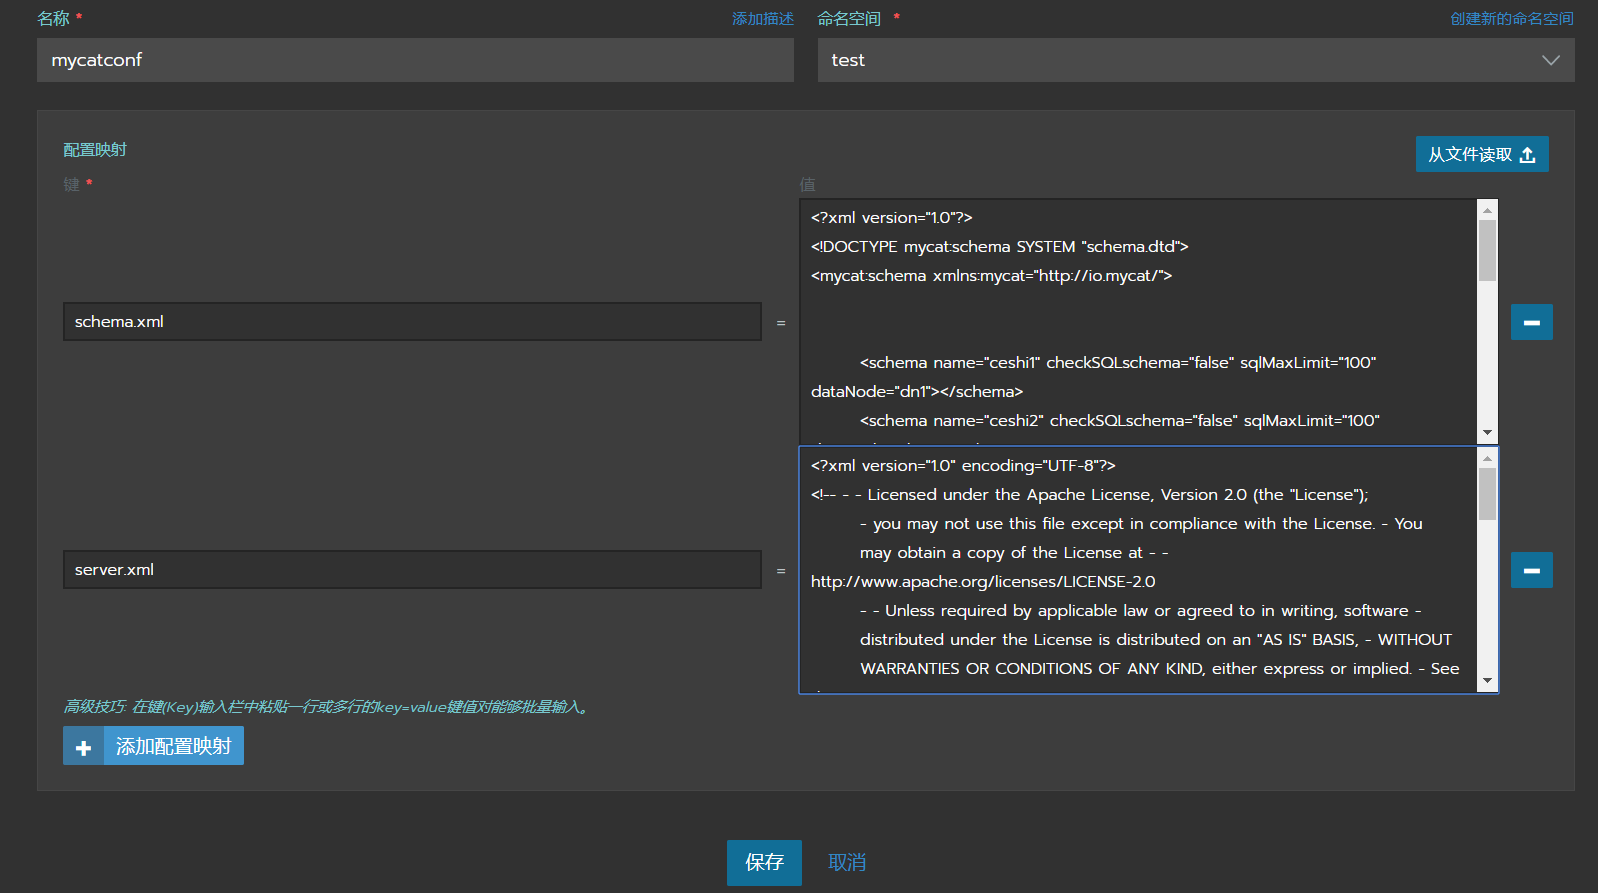
schema.xml

<?xml version="1.0"?>
<!DOCTYPE mycat:schema SYSTEM "schema.dtd">
<mycat:schema xmlns:mycat="http://io.mycat/">


        <schema name="ceshi1" checkSQLschema="false" sqlMaxLimit="100" dataNode="dn1"></schema>
        <schema name="ceshi2" checkSQLschema="false" sqlMaxLimit="100" dataNode="dn2"></schema>


        <dataNode name="dn1" dataHost="localhost1" database="ceshi1" />
        <dataNode name="dn2" dataHost="localhost1" database="ceshi2" />

        <dataHost name="localhost1" maxCon="9000" minCon="10" balance="1"
                writeType="0" dbType="mysql" dbDriver="native" switchType="2"  slaveThreshold="100">
                <heartbeat>show slave status</heartbeat>
                <writeHost host="hostM1" url="10.104.23.216:3306" user="oel_mycat" password="oel_xxxxx" >
                        <readHost host="hostS1" url="10.106.89.11:3306" user="oel_mycat" password="oel_xxxxx" />
                        <readHost host="hostS2" url="10.111.177.163:3306" user="oel_mycat" password="oel_xxxxx" />
                </writeHost>
        </dataHost>

</mycat:schema>


server.xml

<?xml version="1.0" encoding="UTF-8"?>
<!-- - - Licensed under the Apache License, Version 2.0 (the "License");
        - you may not use this file except in compliance with the License. - You
        may obtain a copy of the License at - - http://www.apache.org/licenses/LICENSE-2.0
        - - Unless required by applicable law or agreed to in writing, software -
        distributed under the License is distributed on an "AS IS" BASIS, - WITHOUT
        WARRANTIES OR CONDITIONS OF ANY KIND, either express or implied. - See the
        License for the specific language governing permissions and - limitations
        under the License. -->
<!DOCTYPE mycat:server SYSTEM "server.dtd">
<mycat:server xmlns:mycat="http://io.mycat/">
        <system>
        <property name="defaultSqlParser">druidparser</property>

        </system>


        <user name="mycat">
                <property name="password">password</property>
                <property name="schemas">ceshi1,ceshi2</property>

        </user>

        <!--
        <user name="user">
                <property name="password">user</property>
                <property name="schemas">TESTDB</property>
                <property name="readOnly">true</property>
        </user>
        -->
</mycat:server>
开始部署
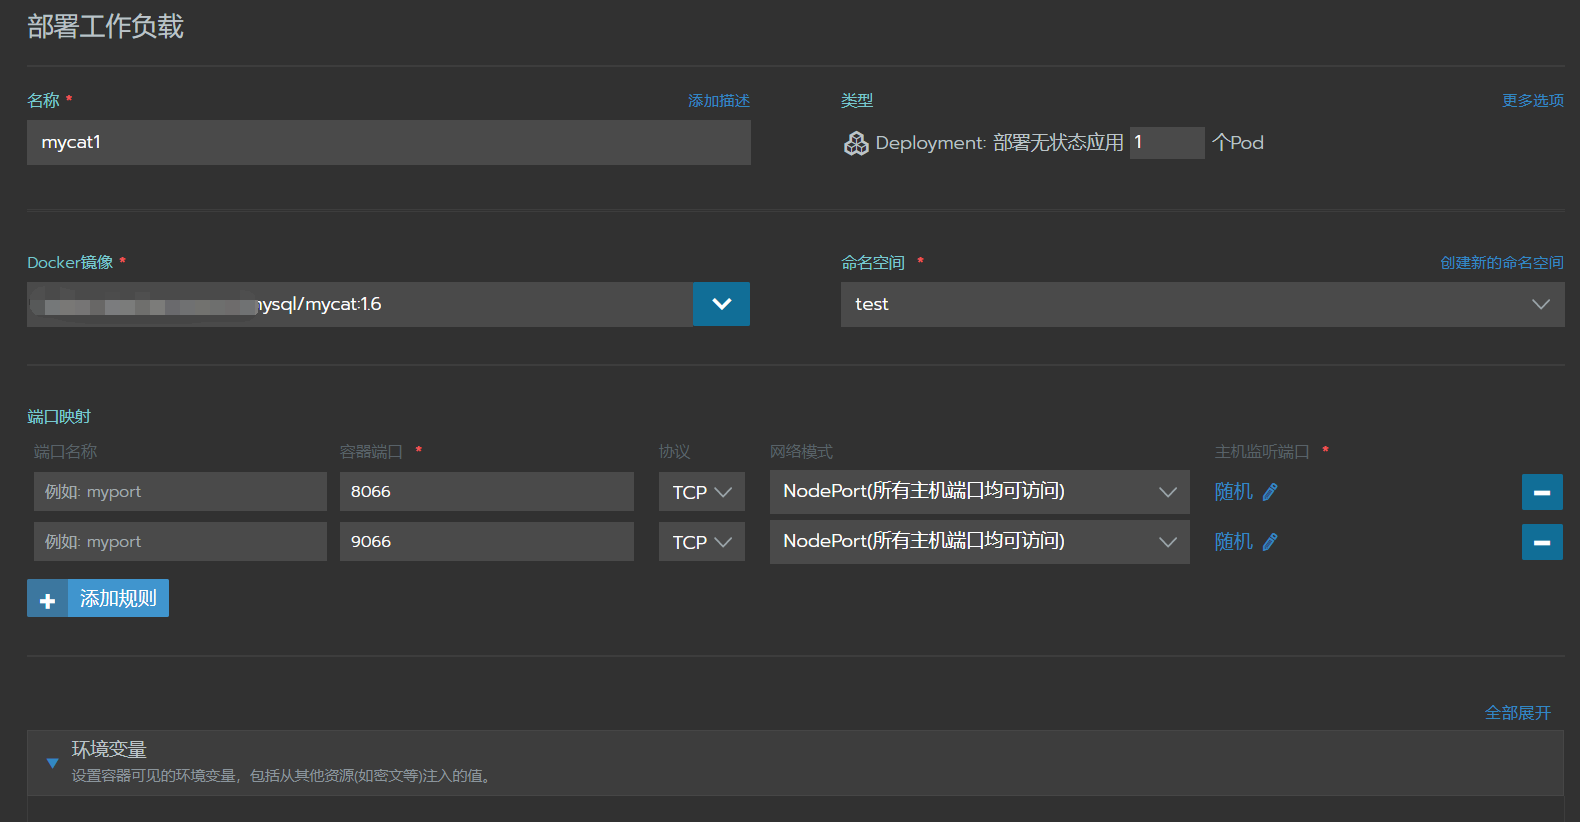
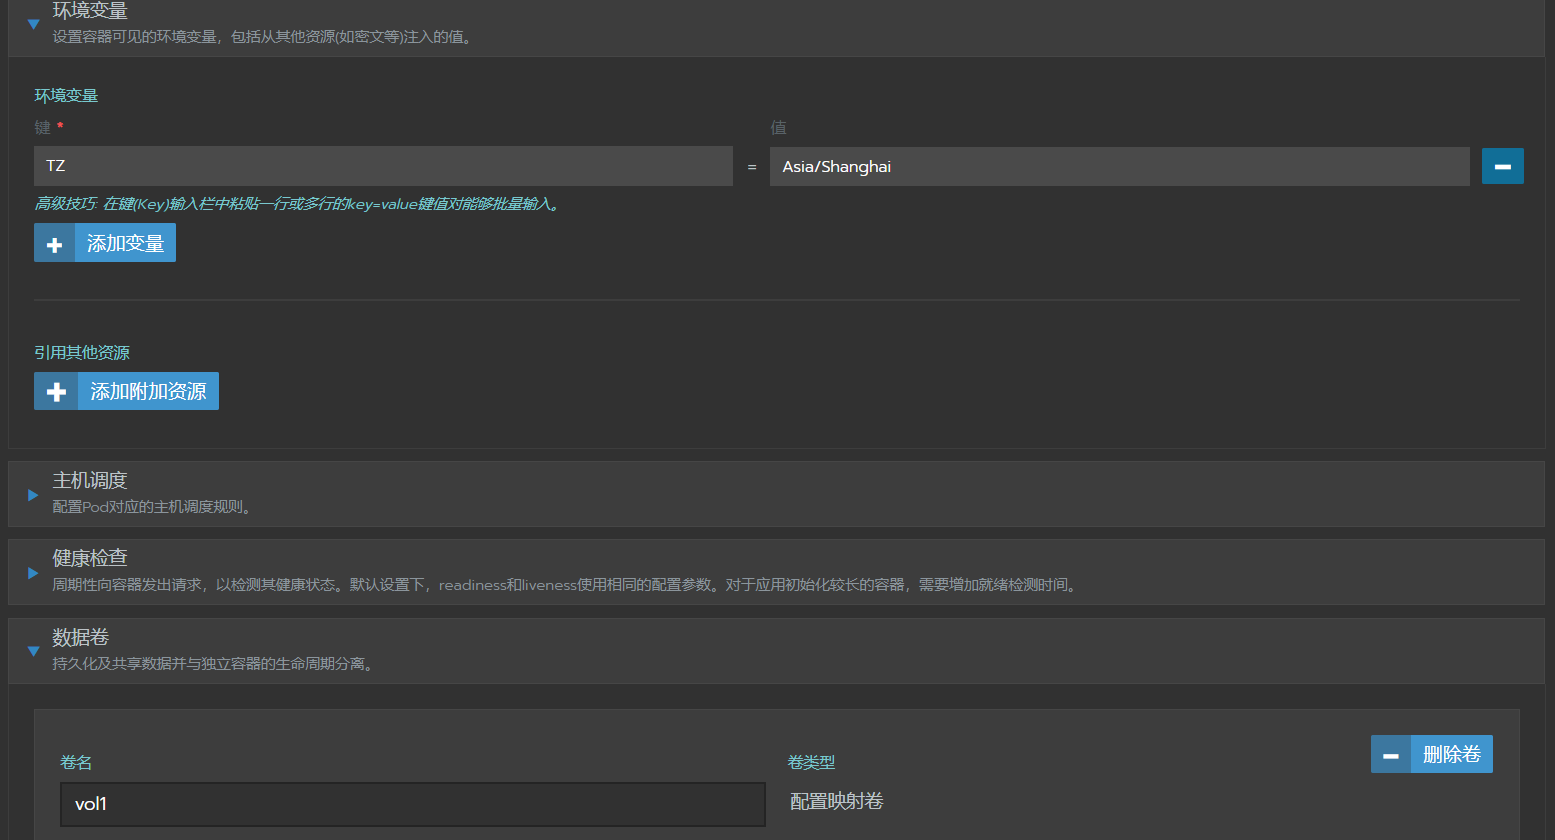

注意配置映射卷的方法,不按这种方式会先把挂载目录清空再挂载这两个文件,这种方式可以挂载单文件 不会删除目录下其他文件。这里不得不吐槽下rancher的描述不清不楚的,我也是通过修改yml文件才反推
出页面的配置方式。


启动成功,下面开始测试
效果测试
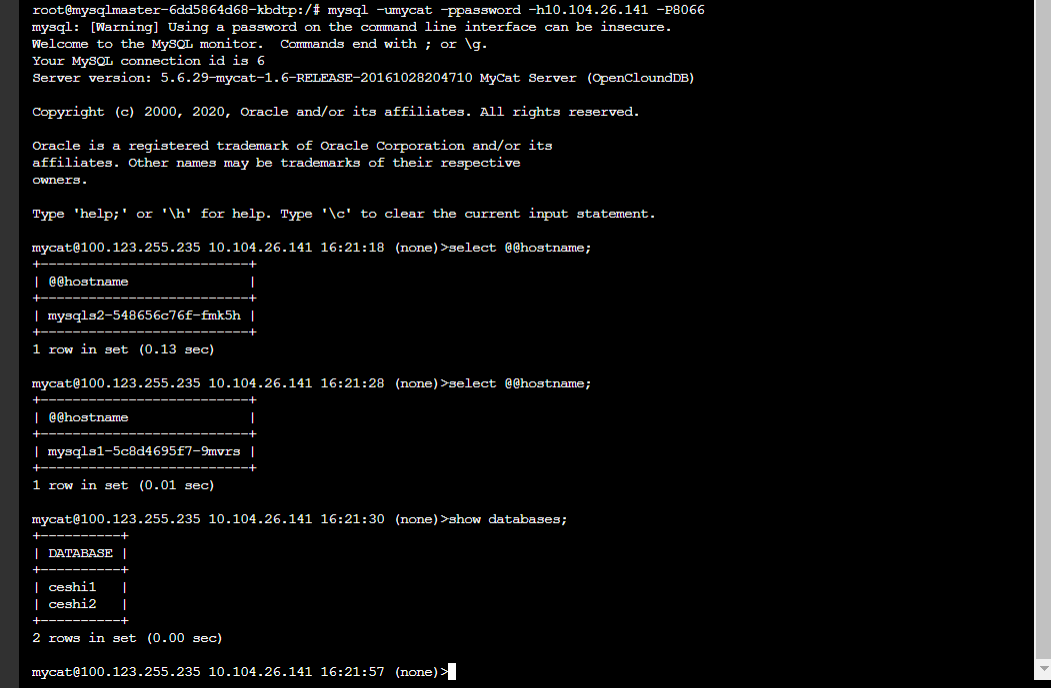
其他测试就不做了,至此一个高可用的读写分离一主两从的环境就搭好了,具体上线会有哪些坑就不知道了┑( ̄Д  ̄)┍


 浙公网安备 33010602011771号