在Colaboratory上运行Deep QA
上周教授终于看不下去我划水了,我就找了个对话系统的代码,打算运行看看,发现自己电脑实在太烂,没法用GPU,用CPU要训练30个小时。昨天向教授反馈之后他给我介绍了Colaboratory,头一次使用,就把使用过程记录一下,也方便自己以后再看。
Deep QA
GitHub地址:Deep QA
This work tries to reproduce the results of A Neural Conversational Model (aka the Google chatbot). It uses a RNN (seq2seq model) for sentence predictions. It is done using python and TensorFlow.
设置Colaboratory
参考链接:Google AI工具Colaboratory的使用方法
注:国内使用Colaboratory需要某些手段
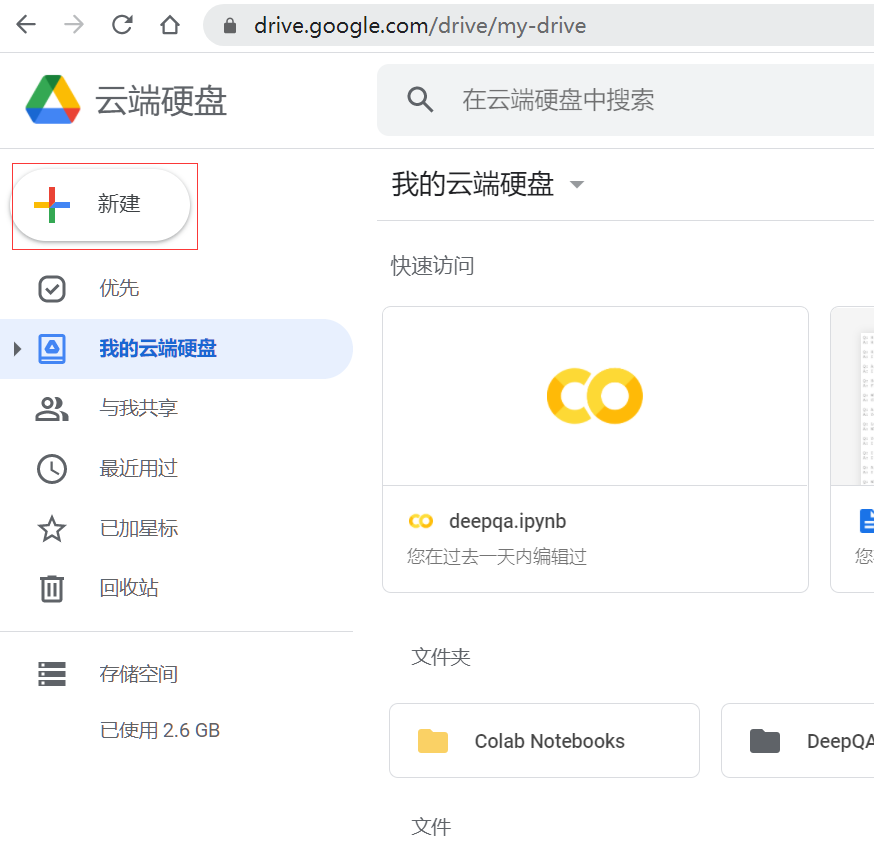
登录Google Drive,点击“新建”
点击“更多”—“关联更多应用”(我这里已经关联过了,所以可以显示出来)
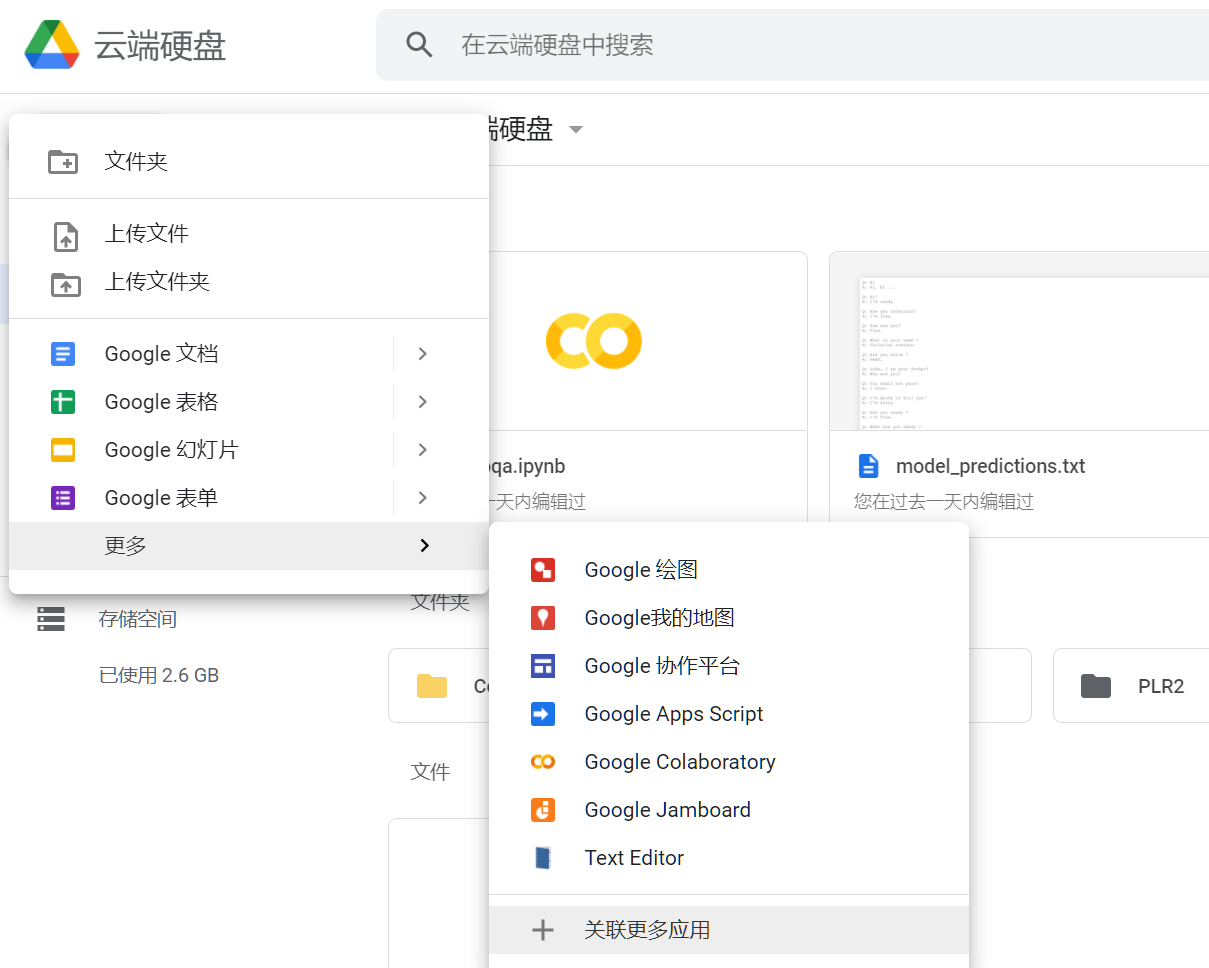
在之后跳出的页面搜索Colaboratory,进行关联。
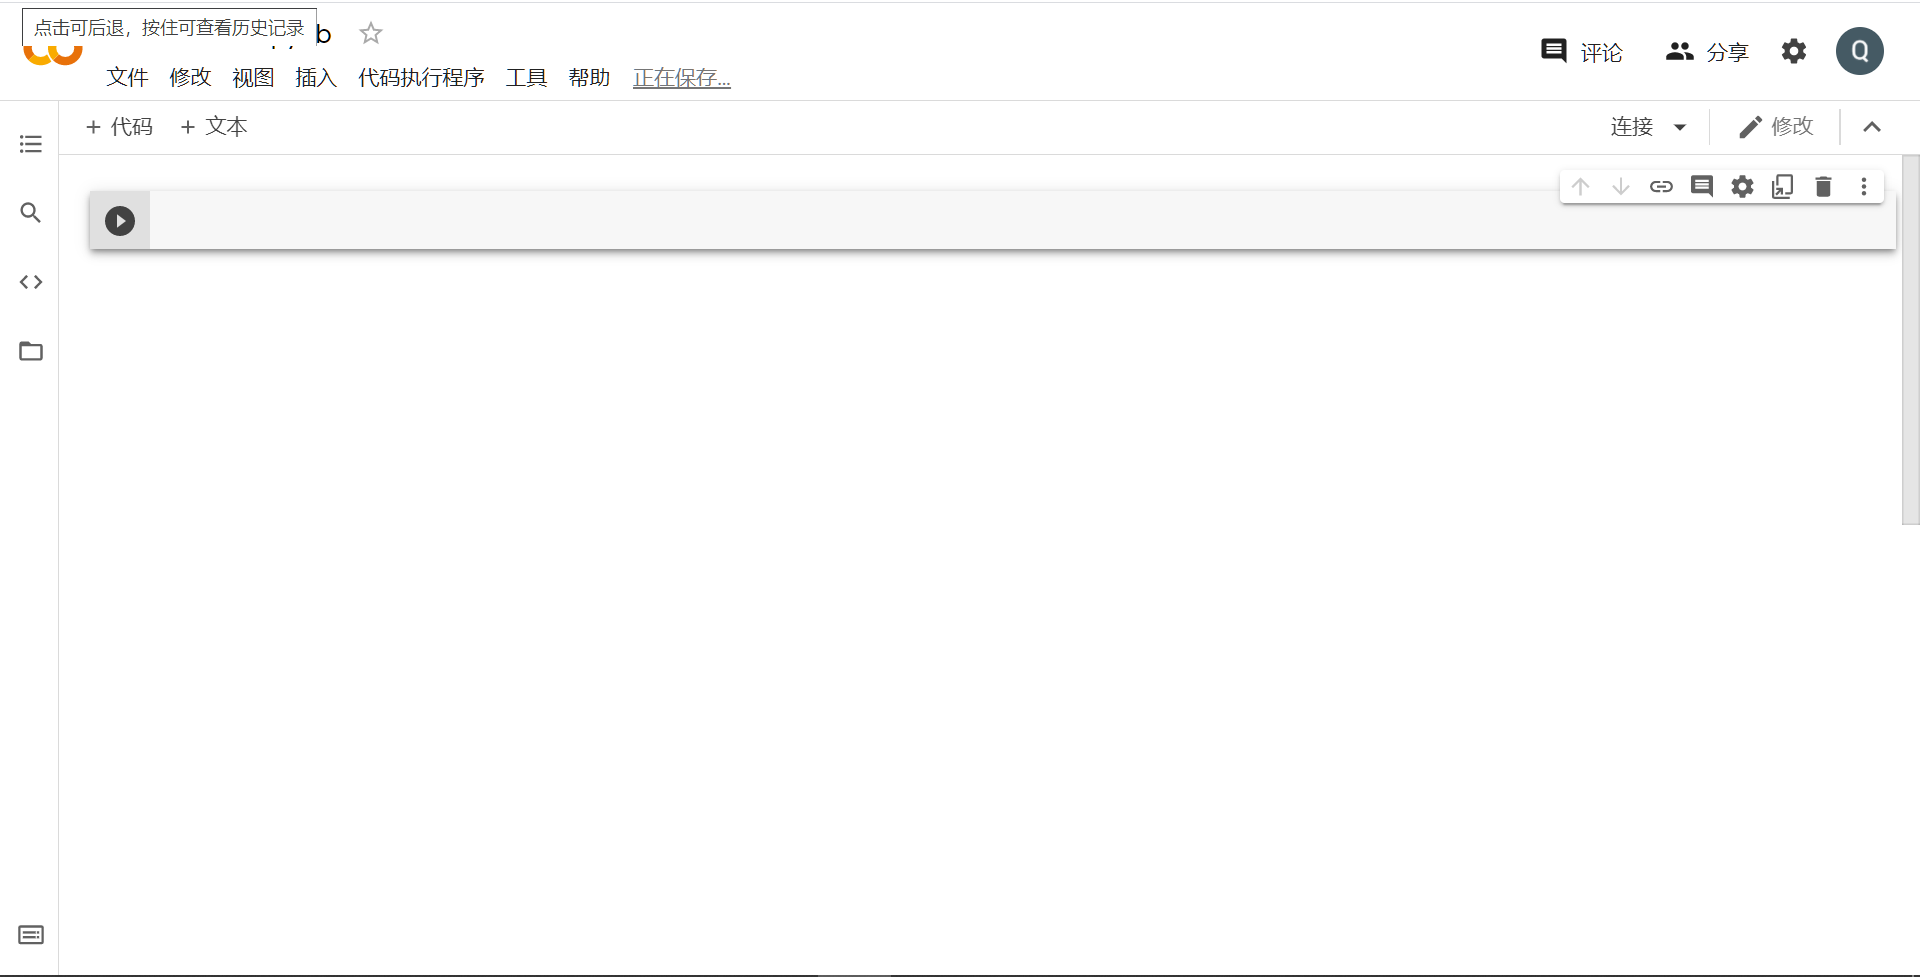
关联好后就如上图所示,点击Google Colaboratory,会跳出下图页面。
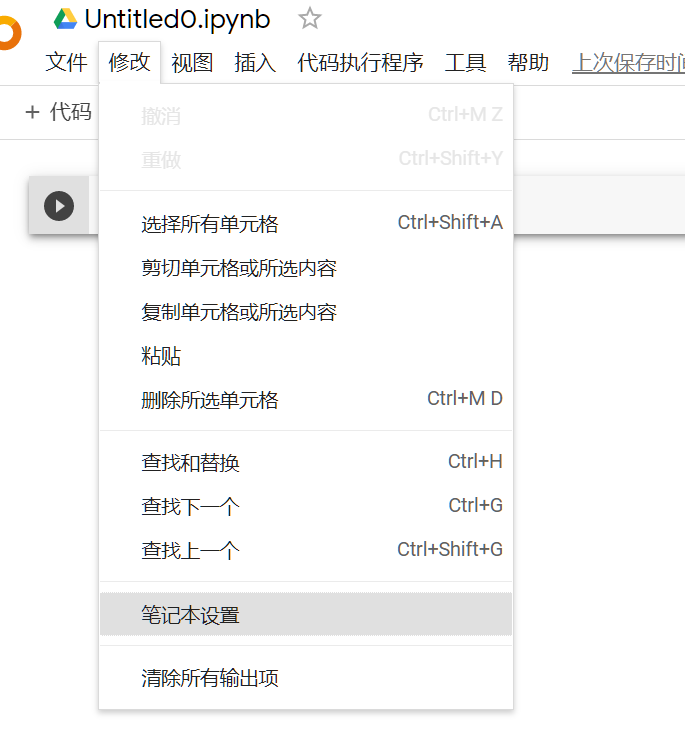
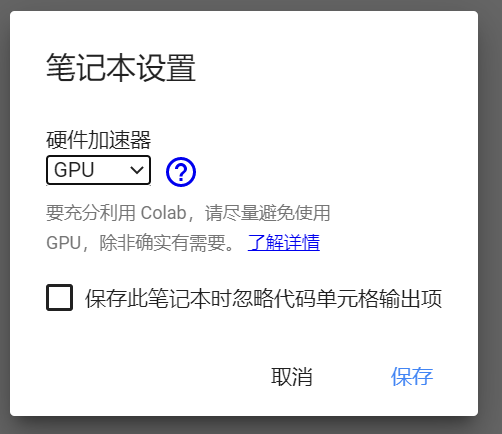
点击“修改”—“笔记本设置”,选择"GPU",点击“保存”。
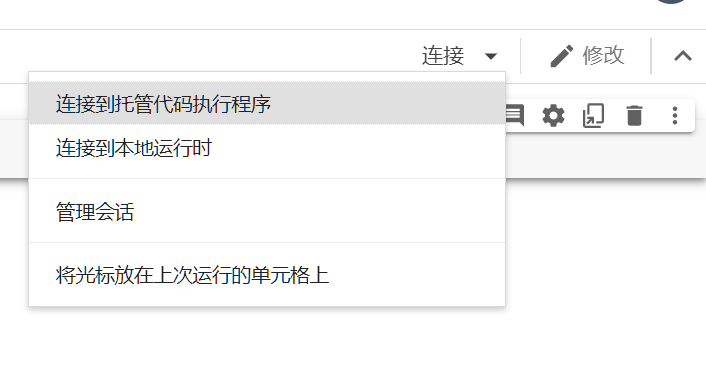
右侧点击“连接”旁的三角—“连接到托管代码执行程序”
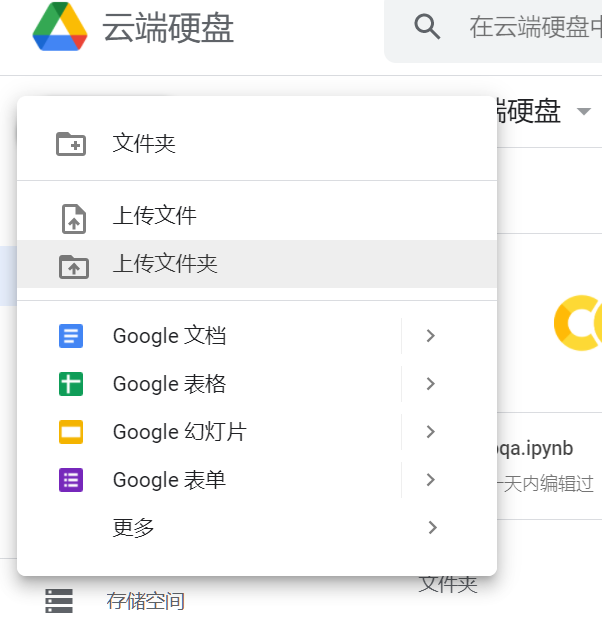
上传文件夹到Google Drive
点击“新建”—“上传文件夹”即可
连接到Google Drive
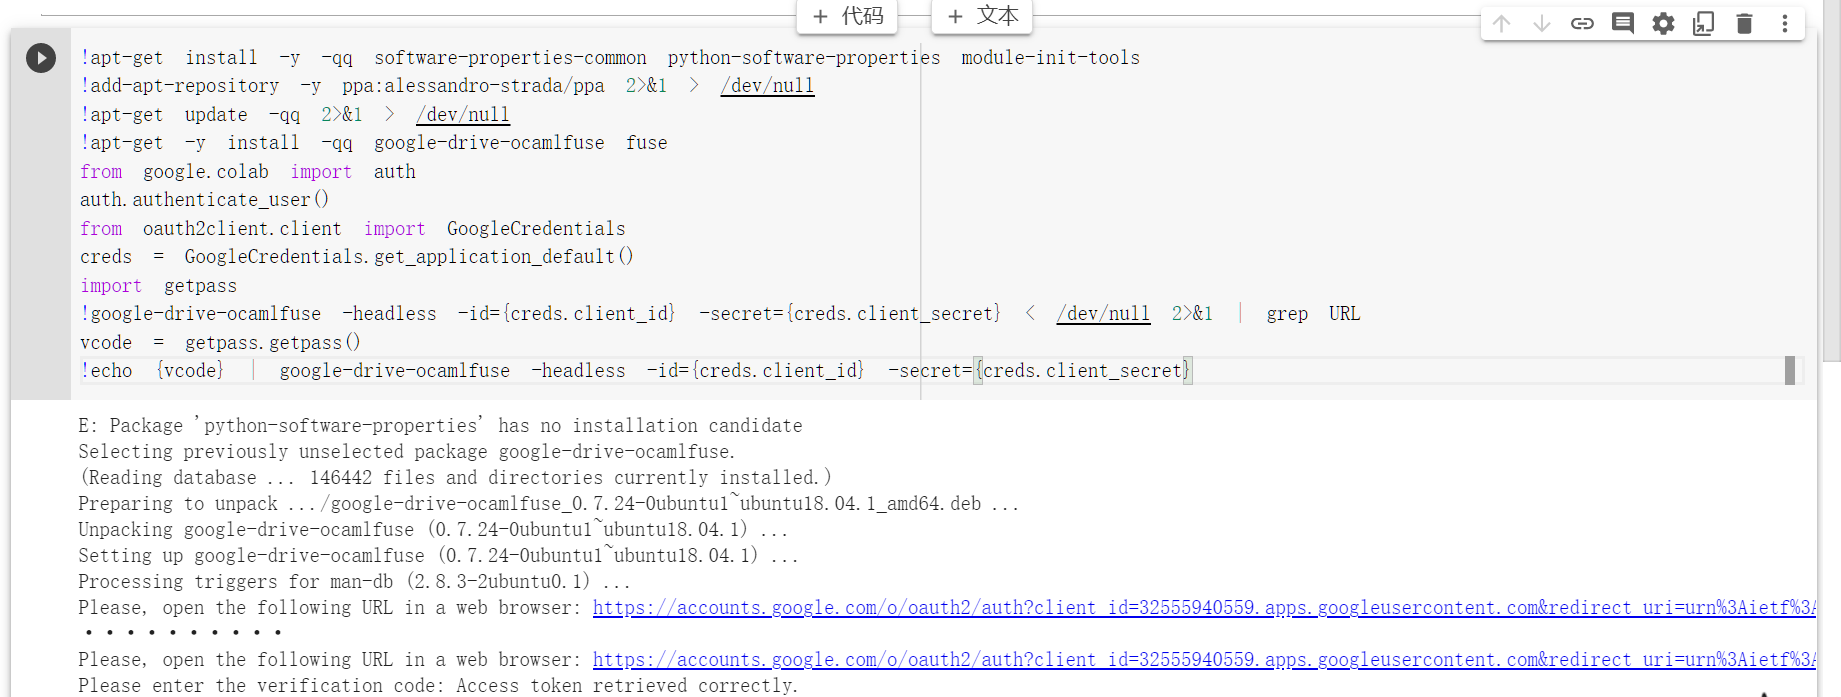
在笔记本中的代码段中输入:
!apt-get install -y -qq software-properties-common python-software-properties module-init-tools
!add-apt-repository -y ppa:alessandro-strada/ppa 2>&1 > /dev/null
!apt-get update -qq 2>&1 > /dev/null
!apt-get -y install -qq google-drive-ocamlfuse fuse
from google.colab import auth
auth.authenticate_user()
from oauth2client.client import GoogleCredentials
creds = GoogleCredentials.get_application_default()
import getpass
!google-drive-ocamlfuse -headless -id={creds.client_id} -secret={creds.client_secret} < /dev/null 2>&1 | grep URL
vcode = getpass.getpass()
!echo {vcode} | google-drive-ocamlfuse -headless -id={creds.client_id} -secret={creds.client_secret}
运行之后点击结果中的连接进行授权和验证,运行结果:
挂载Google Drive,新建代码段,输入
!mkdir -p drive
!google-drive-ocamlfuse drive

要查看自己云端的文件就输入
! ls drive/

运行代码
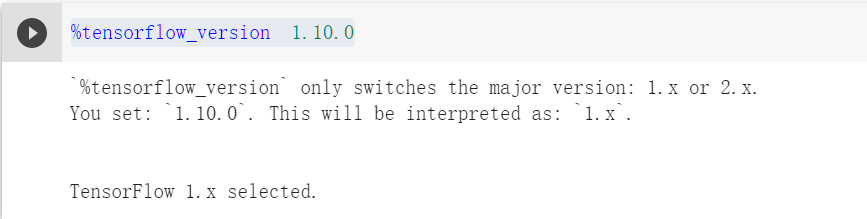
首先目前Colaboratory默认使用的是tensorflow2,运行起来会报错,需要先更改为1.x版本
新建代码段,运行以下代码
%tensorflow_version 1.10.0
另外,这个代码的数据文件是默认从根目录找的,所以在Colaboratory运行时,会找不到文件,需要对代码进行一下修改。
在Google Drive上直接打开chatbot/chatbot.py,选择用Text Editor打开,第152行改为:
            self.args.rootDir = os.getcwd() + '/drive/DeepQA-master'  #for colab run
            #self.args.rootDir = os.getcwd()
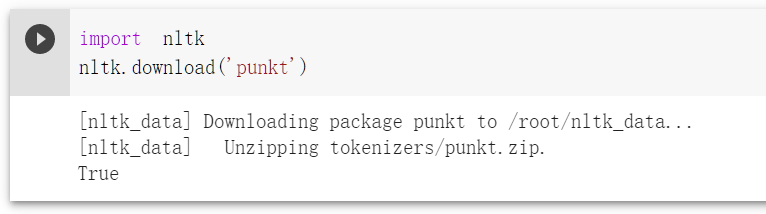
将punkt数据提前下好,输入
import nltk
nltk.download('punkt')
运行代码进行模型训练:(大约需要2个小时)
! python3 drive/DeepQA-master/main.py

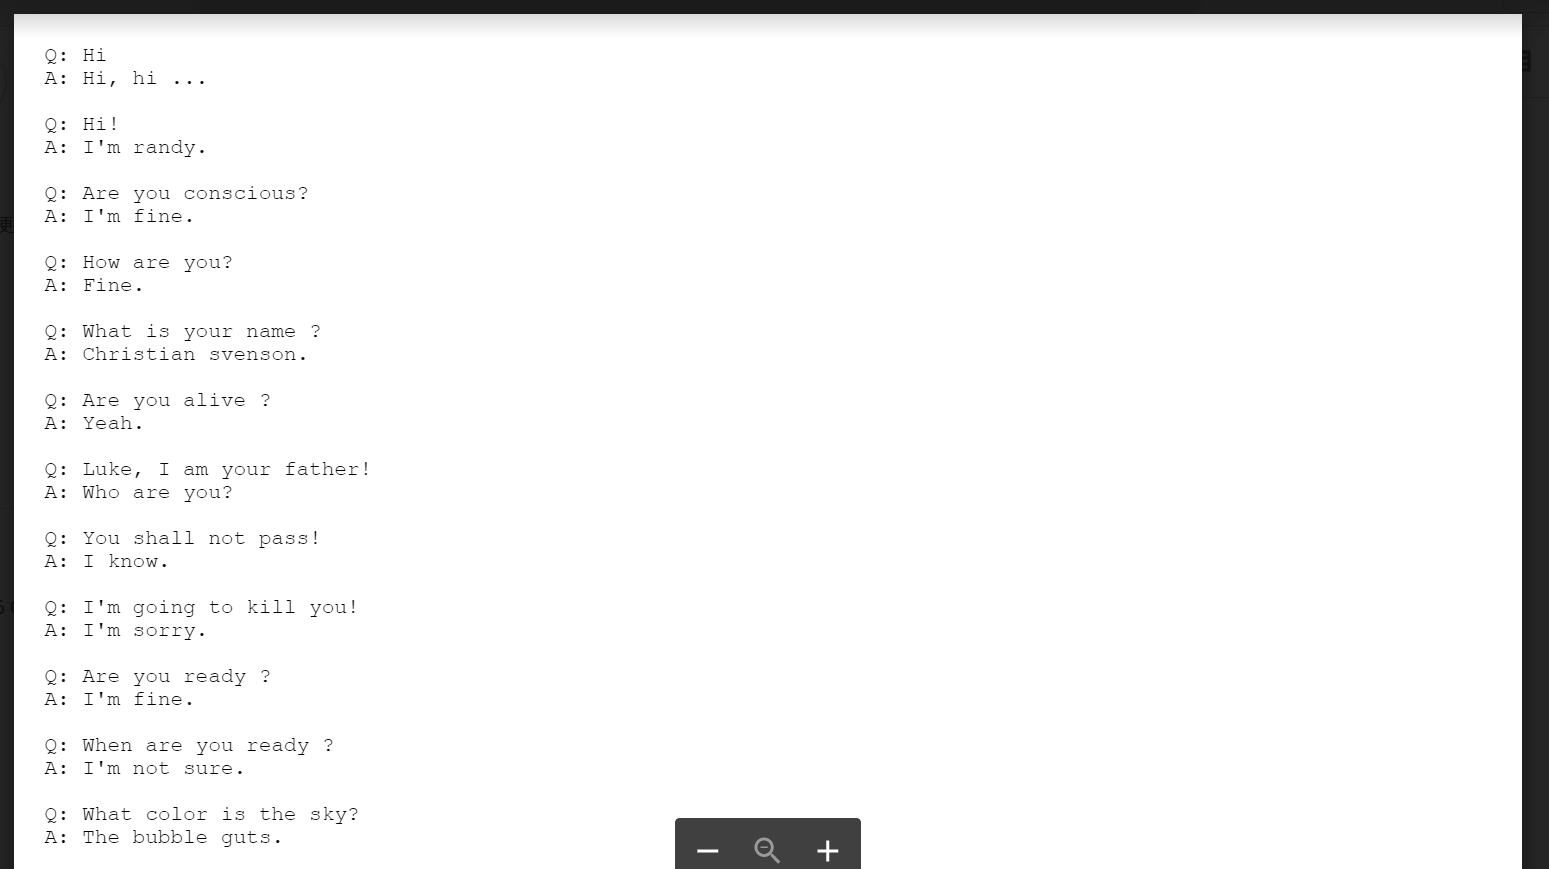
进行测试:
! python3 drive/DeepQA-master/main.py --test

结果在save / model / samples_predictions.txt中显示
想自己进行对话的话:
! python3 drive/DeepQA-master/main.py --test interactive
补充(bug)
E: Package 'python-software-properties' has no installation candidate
在某一次运行的时候不小心又点了一次运行连接到Google Drive的代码,出现了

参考了:E: Package 'python-software-properties' has no installation candidate
输入了sudo apt-get install python-software-properties解决了
Colaboratory断连
这个问题没有很困扰我,我会时不时点一下页面操作一下,到最后也顺利训练完了
但也有博客解决了这个问题如何让google colab不断连


【推荐】国内首个AI IDE,深度理解中文开发场景,立即下载体验Trae
【推荐】编程新体验,更懂你的AI,立即体验豆包MarsCode编程助手
【推荐】抖音旗下AI助手豆包,你的智能百科全书,全免费不限次数
【推荐】轻量又高性能的 SSH 工具 IShell:AI 加持,快人一步
· 10年+ .NET Coder 心语,封装的思维:从隐藏、稳定开始理解其本质意义
· .NET Core 中如何实现缓存的预热?
· 从 HTTP 原因短语缺失研究 HTTP/2 和 HTTP/3 的设计差异
· AI与.NET技术实操系列:向量存储与相似性搜索在 .NET 中的实现
· 基于Microsoft.Extensions.AI核心库实现RAG应用
· TypeScript + Deepseek 打造卜卦网站:技术与玄学的结合
· 阿里巴巴 QwQ-32B真的超越了 DeepSeek R-1吗?
· 【译】Visual Studio 中新的强大生产力特性
· 10年+ .NET Coder 心语 ── 封装的思维:从隐藏、稳定开始理解其本质意义
· 【设计模式】告别冗长if-else语句:使用策略模式优化代码结构