Vue2、websocket 与node.js接口 本地测试
Vue2、websocket 与node.js接口 本地测试
1. 安装vue-native-websocket模块
2. yarn add vue-native-websocket
或者用
npm install vue-native-websocket --save
3. 在main.js中引入websocket
import websocket from 'vue-native-websocket'
Vue.prototype.$websocket = websocket
Vue.use(websocket, 'ws://localhost:3000', {
reconnection: true, // (Boolean) whether to reconnect automatically (false)
reconnectionAttempts: 5, // (Number) number of reconnection attempts before giving up (Infinity),
reconnectionDelay: 3000, // (Number) how long to initially wait before attempting a new (1000)
})
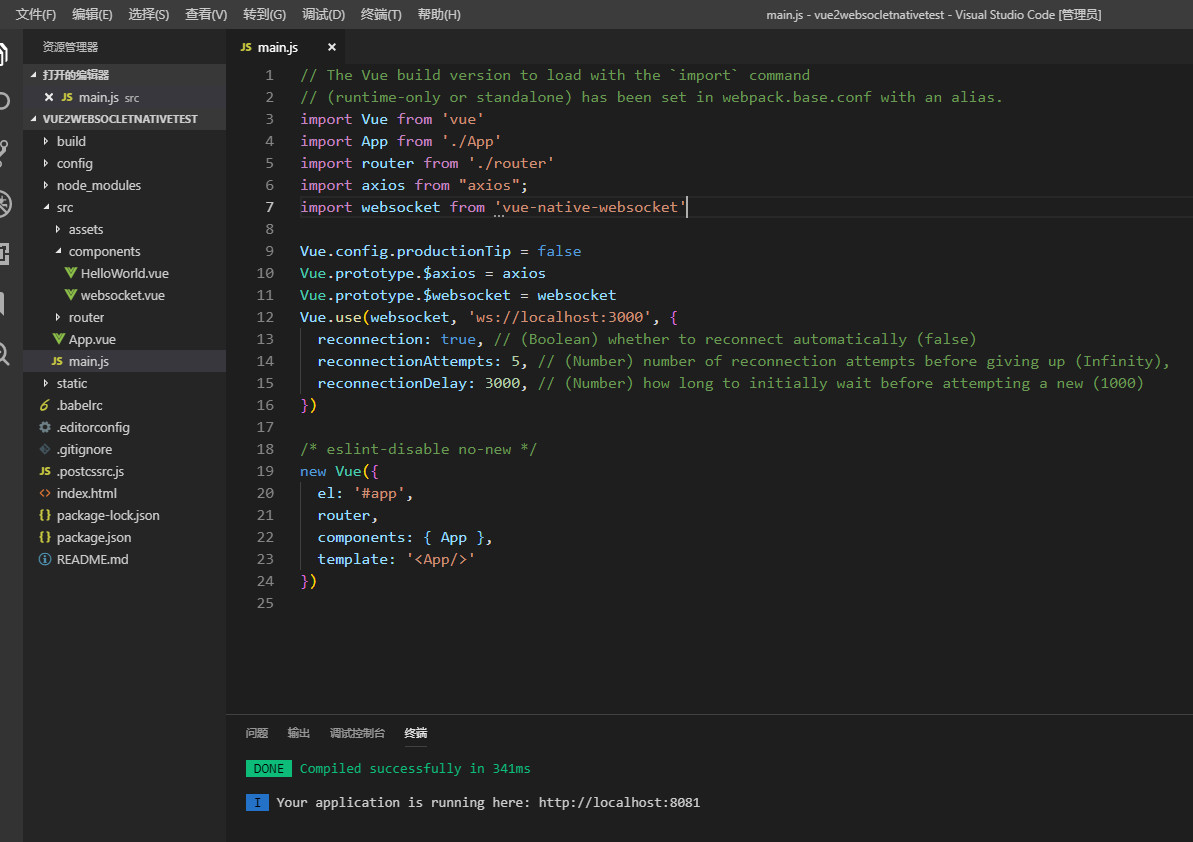
项目中main.js使用如下图

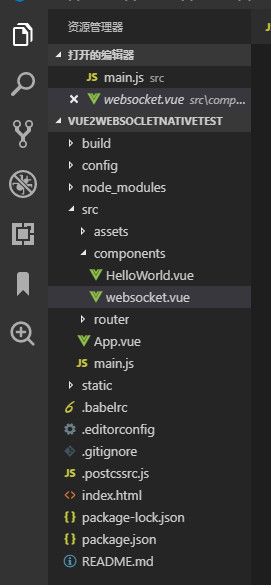
4.在项目中新建websocket.vue文件,在HelloWorld.vue中引入

5. HelloWorld.vue文件代码如下
<template>
<div class="hello">
<websocket/>
</div>
</template>
<script>
import websocket from "@/components/websocket"
export default {
name: 'HelloWorld',
components:{
websocket
},
data () {
return {
}
},
</script>
<!-- Add "scoped" attribute to limit CSS to this component only -->
<style scoped>
</style>
6.websocket.vue代码如下
<template>
<div>
{{msg}}
</div>
</template>
<script>
export default {
name:"websocket",
data() {
return {
websock: null,
msg:""
}
},
created(){
//页面刚进入时开启长连接
this.initWebSocket()
},
destroyed: function() {
//页面销毁时关闭长连接
this.websocketclose();
},
methods: {
initWebSocket(){ //初始化weosocket
const wsuri = 'ws://localhost:3000';//ws地址
this.$websocket = new WebSocket(wsuri);
this.$websocket.onopen = this.websocketonopen;
this.$websocket.onerror = this.websocketonerror;
this.$websocket.onmessage = this.websocketonmessage;
this.$websocket.onclose = this.websocketclose;
},
websocketonopen() {
console.log("WebSocket连接成功");
},
websocketonerror(e) { //错误
console.log("WebSocket连接发生错误");
},
websocketonmessage(e){ //数据接收
console.log(e);
this.msg=e.data
},
websocketsend(agentData){//数据发送
this.$websocket.send(agentData);
},
websocketclose(e){ //关闭
console.log("connection closed (" + e.code + ")");
},
},
}
</script>
7.创建一个新的项目,新建1.js文件,用于写node.js接口,安装
nodejs-websocket模块npm install websocket
用cmd或者git bash进入后台接口文件,1.js,然后命令行输入node 1.js,启动后台服务。文件如下:
var WebSocketServer = require('websocket').server;
var http = require('http');
var server = http.createServer(function(request, response) {
console.log((new Date()) + ' Received request for ' + request.url);
response.writeHead(404);
response.end();
});
server.listen(3000, function() {
console.log((new Date()) + ' Server is listening on port 3000');
});
wsServer = new WebSocketServer({
httpServer: server,
});
wsServer.on('request', function(request) {
//当前的连接
var connection = request.accept(null, request.origin);
setInterval(function(){
connection.sendUTF('服务端发送消息' + (Math.random().toFixed(2)))
},500)
console.log((new Date()) + '已经建立连接');
connection.on('message', function(message) {
if (message.type === 'utf8') {
console.log('Received Message: ' + message.utf8Data);
connection.sendUTF(message.utf8Data);
}
else if (message.type === 'binary') {
console.log('Received Binary Message of ' + message.binaryData.length + ' bytes');
connection.sendBytes(message.binaryData);
}
});
connection.on('close', function(reasonCode, description) {
console.log((new Date()) + ' Peer ' + connection.remoteAddress + '断开连接');
});
});
8. Vue2、websocket 与node.js接口 本地测试到这里就结束了,以上代码用到Websocketd的方法详见websocket文档


