默认上MariaDB的包并没有在Ubuntu仓库中。要安装MariaDB,我们首先要设置MariaDB仓库。
设置 MariaDB 仓库
- $ sudo apt-get install software-properties-common
- $ sudo apt-key adv --recv-keys --keyserver hkp://keyserver.ubuntu.com:80 0xcbcb082a1bb943db
- $ sudo add-apt-repository 'deb http://sfo1.mirrors.digitalocean.com/mariadb/repo/10.0/ubuntu trusty main'
安装 MariaDB :
- $ sudo apt-get update
- $ sudo apt-get install mariadb-server
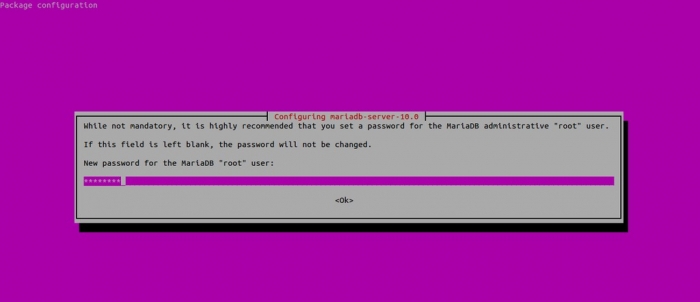
在安装中,你会被要求设置MariaDB的root密码。

从命令行连接到MariaDB :
- linuxtechi@mail:~$ mysql -uroot -p
- Enter password:
- Welcome to the MariaDB monitor. Commands end with ; or \g.
- Your MariaDB connection id is 40
- Server version: 10.0.14-MariaDB-1~trusty-log mariadb.org binary distribution
- Copyright (c) 2000, 2014, Oracle, SkySQL Ab and others.
- Type 'help;' or '\h' for help. Type '\c' to clear the current input statement.
- MariaDB [(none)]>
MariaDB 服务
- $ sudo /etc/init.d/mysql stop
- $ sudo /etc/init.d/mysql start
以上只是在Ubuntu上装完MariaDB,下面要设置MariaDB允许远程访问
1. 如果Ubuntu有设置防火墙或者iptables规则的话,请自行打开
2. 3306端口是不是没有打开?
使用nestat命令查看3306端口状态:
~# netstat -an | grep 3306
tcp 0 0 127.0.0.1:3306 0.0.0.0:* LISTEN
从结果可以看出3306端口只是在IP 127.0.0.1上监听,所以拒绝了其他IP的访问。
解决方法:修改/etc/mysql/my.cnf文件。打开文件,找到下面内容:
# Instead of skip-networking the default is now to listen only on
# localhost which is more compatible and is not less secure.
bind-address = 127.0.0.1
把上面这一行注释掉或者把127.0.0.1换成合适的IP,建议注释掉。
重新启动后,重新使用netstat检测:
~# netstat -an | grep 3306
tcp 0 0 0.0.0.0:3306 0.0.0.0:* LISTEN
3. 现在使用下面命令测试:
~# mysql -h 192.168.0.101 -u root -p
Enter password:
ERROR 1130 (00000): Host 'Ubuntu-Fvlo.Server' is not allowed to connect to this MySQL server
结果出乎意料,还是不行。
解决方法:原来还需要把用户权限分配各远程用户。
登录到mysql服务器,使用grant命令分配权限
mysql> grant all on *.* to 你的用户名如root@'%' identified by '你的密码';
完成后使用mysql命令连接,提示成功,为了确保正确可以再远程登陆测试一下。


 posted on

 浙公网安备 33010602011771号