Rust使用Actix-web和SeaORM开发WebAPI通过Swagger UI查看接口文档
本文将介绍Rust语言使用Actix-web和SeaORM库,数据库使用PostgreSQL,开发增删改查项目,同时可以通过Swagger UI查看接口文档和查看标准Rust文档
开始项目
首先创建新项目,名称为rusty_crab_api
cargo new rusty_crab_api
Cargo.toml
[dependencies]
sea-orm = { version = "1.0.0-rc.5", features = [ "sqlx-postgres", "runtime-tokio-native-tls", "macros" ] }
tokio = { version = "1.35.1", features = ["full"] }
chrono = "0.4.33"
actix-web = "4.4.0"
serde = { version = "1.0", features = ["derive"] }
utoipa = { version = "4", features = ["actix_extras"] }
utoipa-swagger-ui = { version = "4", features = ["actix-web"] }
serde_json = "1.0"
使用SeaORM作为ORM工具,它提供了sea-orm-cli工具,方便生成entity
PostgreSQL创建数据库
CREATE TABLE "user" (
  id SERIAL PRIMARY KEY,
  username VARCHAR(32) NOT NULL,
  birthday TIMESTAMP,
  sex VARCHAR(10),
  address VARCHAR(256)
);

COMMENT ON COLUMN "user".username IS '用户名称';
COMMENT ON COLUMN "user".birthday IS '生日';
COMMENT ON COLUMN "user".sex IS '性别';
COMMENT ON COLUMN "user".address IS '地址';
安装sea-orm-cli
cargo install sea-orm-cli
生成entity
sea-orm-cli generate entity -u postgres://[用户名]:[密码]@[IP]:[PORT]/[数据库] -o src/entity
自动帮我们生成src./entity/user.rs文件
#[derive(Clone, Debug, PartialEq, DeriveEntityModel, Eq, Serialize, Deserialize)]
#[sea_orm(table_name = "user")]
pub struct Model {
    #[sea_orm(primary_key)]
    pub id: i32,
    pub username: String,
    pub birthday: Option<DateTime>,
    pub sex: Option<String>,
    pub address: Option<String>,
}

#[derive(Copy, Clone, Debug, EnumIter, DeriveRelation)]
pub enum Relation {}

impl ActiveModelBehavior for ActiveModel {}
接下来编写接口函数,新建src/handlers/user.rs,编写用户表的增删改查代码,同时在代码文件中编写说明文档,提供给Rust标准文档和Swagger UI使用
/// 表示创建新用户的请求体结构
#[derive(Debug, Deserialize, ToSchema)]
#[schema(example = json!({
"username": "johndoe",
"birthday": "2023-09-09T15:53:00",
"sex": "male",
"address": "123 Main St, Anytown, USA"
}))]
pub struct CreateUser {
/// 用户名
pub username: String,
/// 生日(可选)
#[schema(value_type = String)]
pub birthday: Option<DateTime>,
/// 性别(可选)
pub sex: Option<String>,
/// 地址(可选)
pub address: Option<String>,
}
/// 创建新用户
///
/// # 请求体
///
/// 需要一个JSON对象,包含以下字段:
/// - `username`: 字符串,用户名(必填)
/// - `birthday`: ISO 8601格式的日期时间字符串,用户生日(可选)
/// - `sex`: 字符串,用户性别(可选)
/// - `address`: 字符串,用户地址(可选)
///
/// # 响应
///
/// - 成功:返回状态码200和新创建的用户JSON对象
/// - 失败:返回状态码500
///
/// # 示例
///
/// ```
/// POST /users
/// Content-Type: application/json
///
/// {
/// "username": "johndoe",
/// "birthday": "1990-01-01T00:00:00",
/// "sex": "M",
/// "address": "123 Main St, Anytown, USA"
/// }
/// ```
#[utoipa::path(
post,
path = "/api/users",
request_body = CreateUser,
responses(
(status = 200, description = "User created successfully", body = Model),
(status = 500, description = "Internal server error")
)
)]
pub async fn create_user(
db: web::Data<sea_orm::DatabaseConnection>,
user_data: web::Json<CreateUser>,
) -> impl Responder {
let user = UserActiveModel {
username: Set(user_data.username.clone()),
birthday: Set(user_data.birthday),
sex: Set(user_data.sex.clone()),
address: Set(user_data.address.clone()),
..Default::default()
};
let result = user.insert(db.get_ref()).await;
match result {
Ok(user) => HttpResponse::Ok().json(user),
Err(_) => HttpResponse::InternalServerError().finish(),
}
}
/// 获取指定ID的用户信息
///
/// # 路径参数
///
/// - `id`: 整数,用户ID
///
/// # 响应
///
/// - 成功:返回状态码200和用户JSON对象
/// - 未找到:返回状态码404
/// - 失败:返回状态码500
///
/// # 示例
///
/// ```
/// GET /users/1
/// ```
#[utoipa::path(
get,
path = "/api/users/{id}",
responses(
(status = 200, description = "User found", body = Model),
(status = 404, description = "User not found"),
(status = 500, description = "Internal server error")
),
params(
("id" = i32, Path, description = "User ID")
)
)]
pub async fn get_user(
db: web::Data<sea_orm::DatabaseConnection>,
id: web::Path<i32>,
) -> impl Responder {
let user = user::Entity::find_by_id(*id).one(db.get_ref()).await;
println!("{id}");
match user {
Ok(Some(user)) => HttpResponse::Ok().json(user),
Ok(None) => HttpResponse::NotFound().finish(),
Err(_) => HttpResponse::InternalServerError().finish(),
}
}
/// 更新指定ID的用户信息
///
/// # 路径参数
///
/// - `id`: 整数,用户ID
///
/// # 请求体
///
/// 需要一个JSON对象,包含以下字段(所有字段都是可选的):
/// - `username`: 字符串,新的用户名
/// - `birthday`: ISO 8601格式的日期时间字符串,新的用户生日
/// - `sex`: 字符串,新的用户性别
/// - `address`: 字符串,新的用户地址
///
/// # 响应
///
/// - 成功:返回状态码200和更新后的用户JSON对象
/// - 未找到:返回状态码404
/// - 失败:返回状态码500
///
/// # 示例
///
/// ```
/// PUT /users/1
/// Content-Type: application/json
///
/// {
/// "username": "johndoe_updated",
/// "address": "456 Elm St, Newtown, USA"
/// }
/// ```
#[utoipa::path(
put,
path = "/api/users/{id}",
request_body = CreateUser,
responses(
(status = 200, description = "User updated successfully", body = Model),
(status = 404, description = "User not found"),
(status = 500, description = "Internal server error")
),
params(
("id" = i32, Path, description = "User ID")
)
)]
pub async fn update_user(
db: web::Data<sea_orm::DatabaseConnection>,
id: web::Path<i32>,
user_data: web::Json<CreateUser>,
) -> impl Responder {
let user = user::Entity::find_by_id(*id).one(db.get_ref()).await;
match user {
Ok(Some(user)) => {
let mut user: UserActiveModel = user.into();
user.username = Set(user_data.username.clone());
user.birthday = Set(user_data.birthday);
user.sex = Set(user_data.sex.clone());
user.address = Set(user_data.address.clone());
let result = user.update(db.get_ref()).await;
match result {
Ok(updated_user) => HttpResponse::Ok().json(updated_user),
Err(_) => HttpResponse::InternalServerError().finish(),
}
}
Ok(None) => HttpResponse::NotFound().finish(),
Err(_) => HttpResponse::InternalServerError().finish(),
}
}
/// 删除指定ID的用户
///
/// # 路径参数
///
/// - `id`: 整数,用户ID
///
/// # 响应
///
/// - 成功:返回状态码204(无内容)
/// - 失败:返回状态码500
///
/// # 示例
///
/// ```
/// DELETE /users/1
/// ```
#[utoipa::path(
delete,
path = "/api/users/{id}",
responses(
(status = 204, description = "User deleted successfully"),
(status = 500, description = "Internal server error")
),
params(
("id" = i32, Path, description = "User ID")
)
)]
pub async fn delete_user(
db: web::Data<sea_orm::DatabaseConnection>,
id: web::Path<i32>,
) -> impl Responder {
let result = user::Entity::delete_by_id(*id).exec(db.get_ref()).await;
match result {
Ok(_) => HttpResponse::NoContent().finish(),
Err(_) => HttpResponse::InternalServerError().finish(),
}
}
为了使用Swagger UI查看接口文档,还需要创建src/api_doc.rs文件
#[derive(OpenApi)]
#[openapi(
    paths(
        handlers::user::create_user,
        handlers::user::get_user,
        handlers::user::update_user,
        handlers::user::delete_user
    ),
    components(
        schemas(Model,CreateUser)
    ),
    tags(
        (name = "users", description = "User management API")
    )
)]
pub struct ApiDoc;
在src/main.rs文件定义路由和配置Swagger UI
#[actix_web::main]
async fn main() -> std::io::Result<()> {
    let db: DatabaseConnection = db::establish_connection().await;
    let db_data = web::Data::new(db);

    HttpServer::new(move || {
        App::new()
            .app_data(db_data.clone())
            .service(
                web::scope("/api")
                    .service(
                        web::scope("/users")
                            .route("", web::post().to(create_user))
                            .route("/{id}", web::get().to(get_user))
                            .route("/{id}", web::put().to(update_user))
                            .route("/{id}", web::delete().to(delete_user))
                            .route("/test", web::get().to(|| async { "Hello, World!" }))
                    )
            )
            .service(
                SwaggerUi::new("/swagger-ui/{_:.*}")
                    .url("/api-docs/openapi.json", ApiDoc::openapi())
            )
    })
    .bind("127.0.0.1:8080")?
    .run()
    .await
}
到这里,项目完成开发,启动项目
cargo run
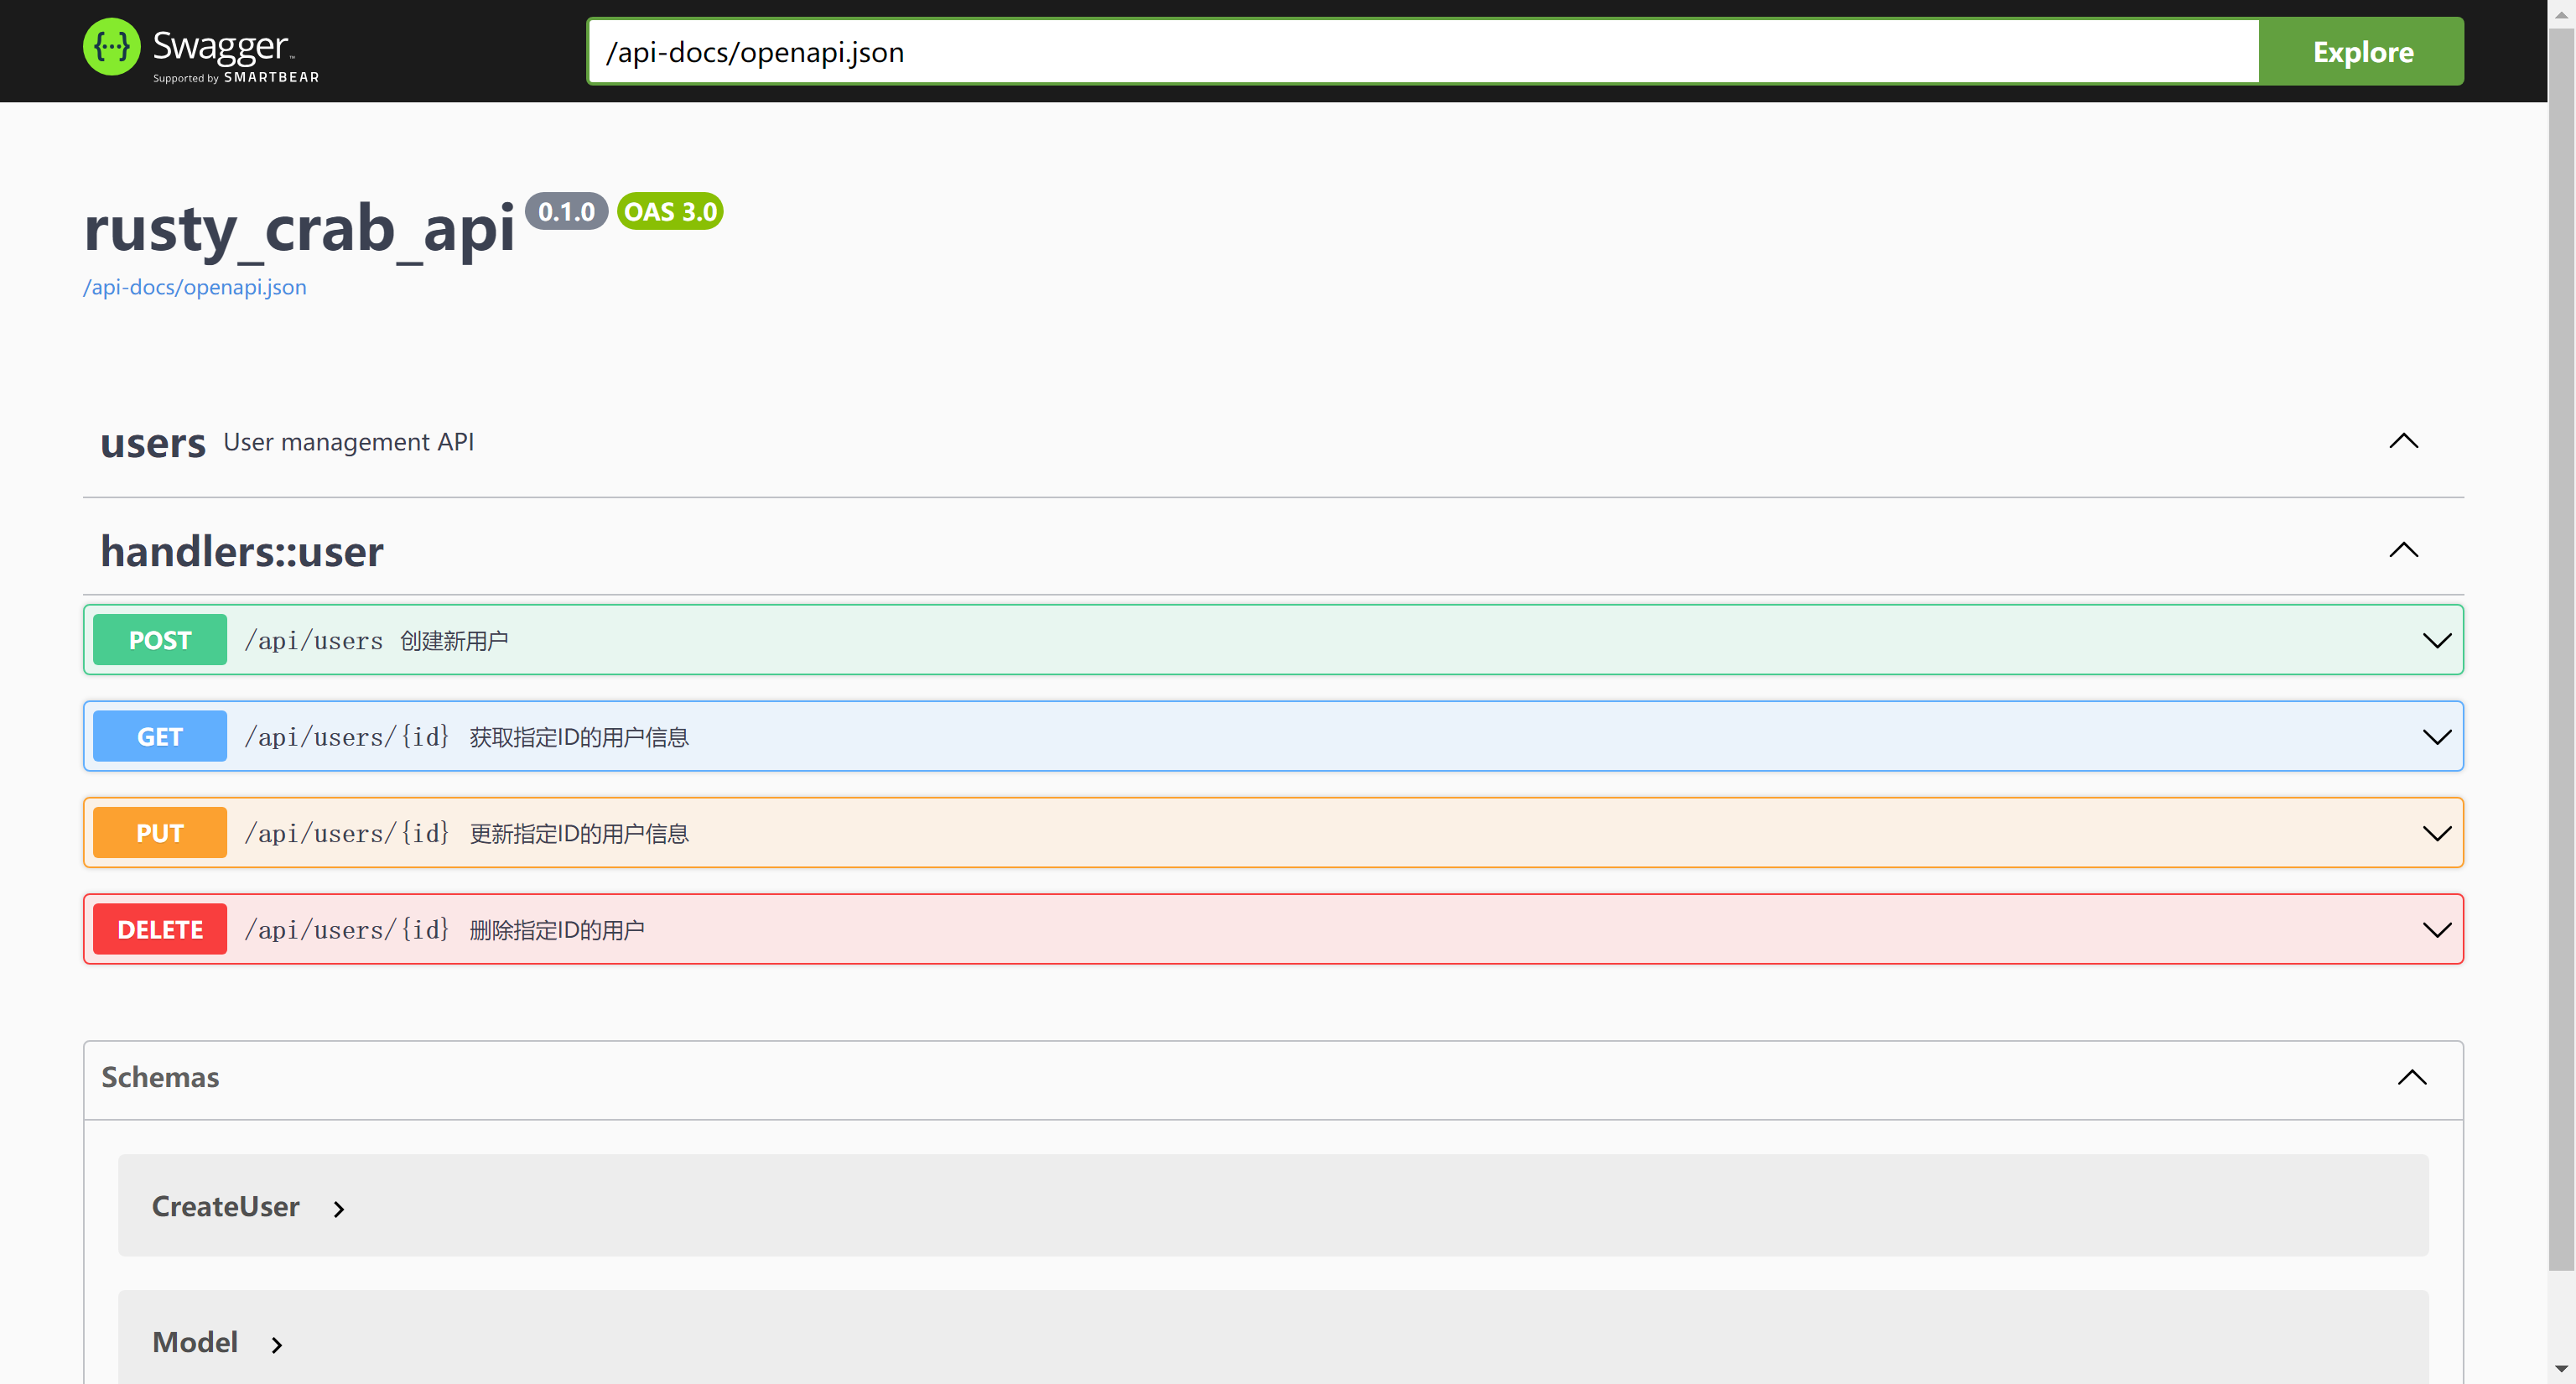
查看Swagger UI接口文档
浏览器打开http://localhost:8080/swagger-ui/


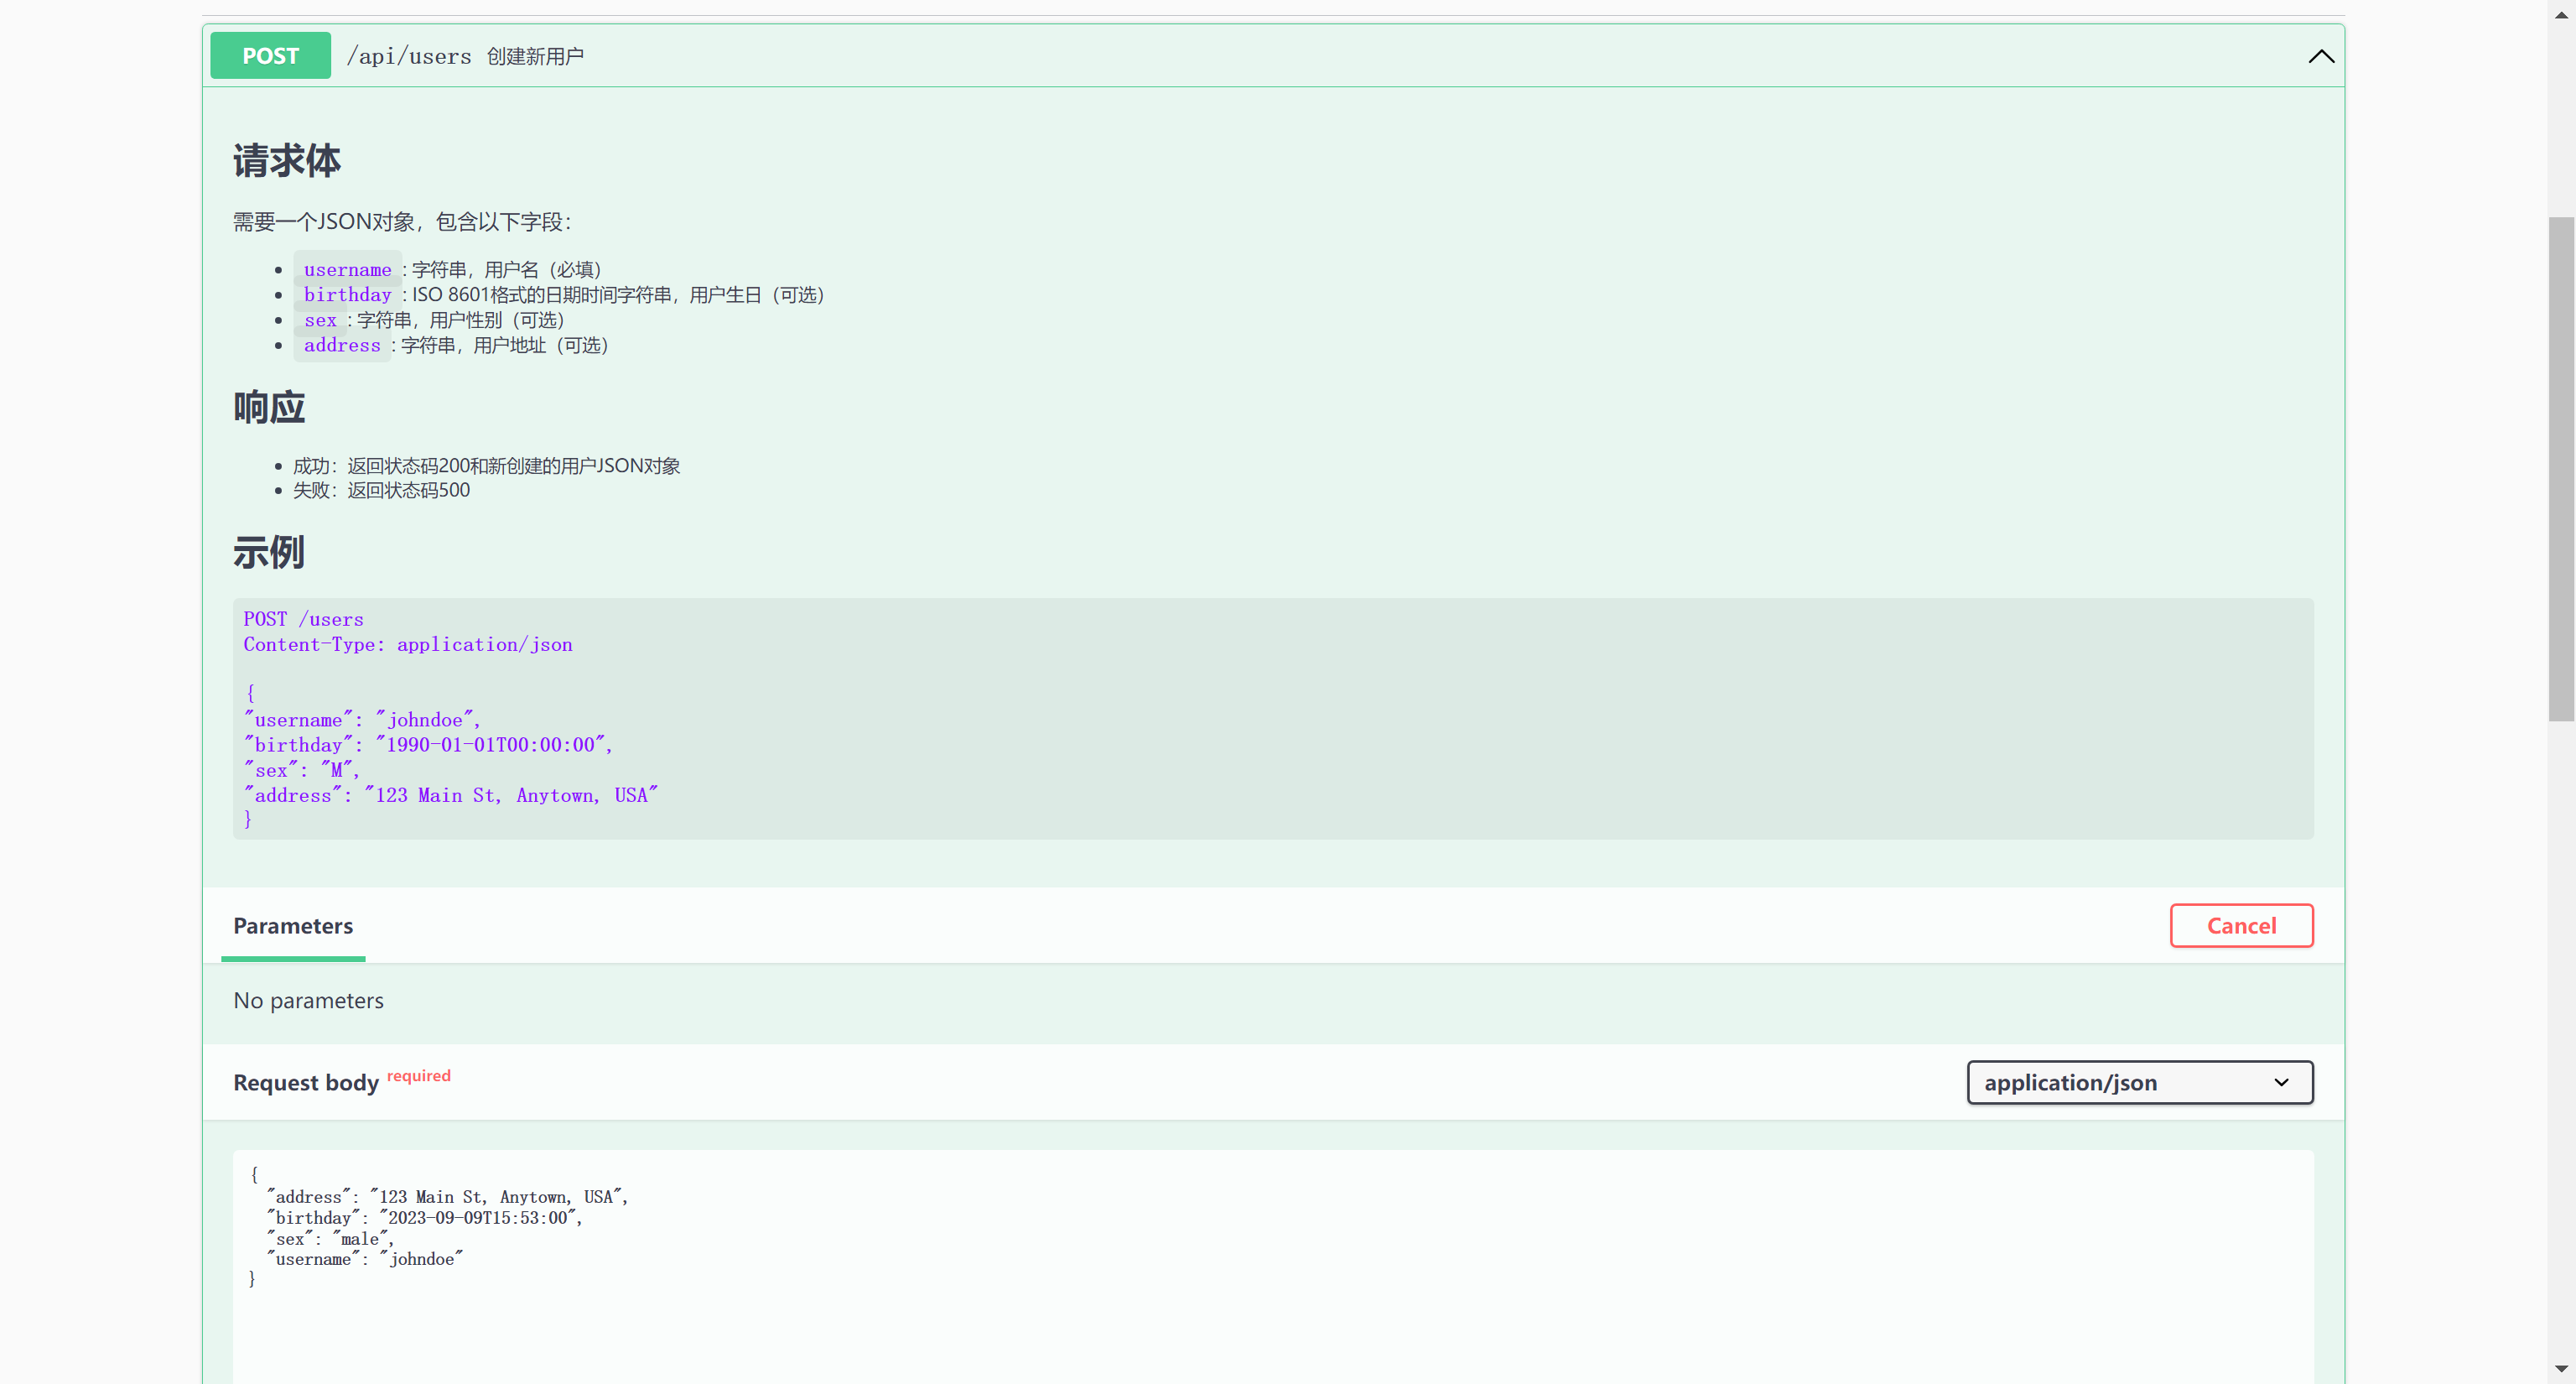
可以看到我们在Rust代码文件中的注释说明,这对于接口使用人员和代码维护人员都非常友好,当然对于接口的简单测试,在这个页面也是非常方便去进行
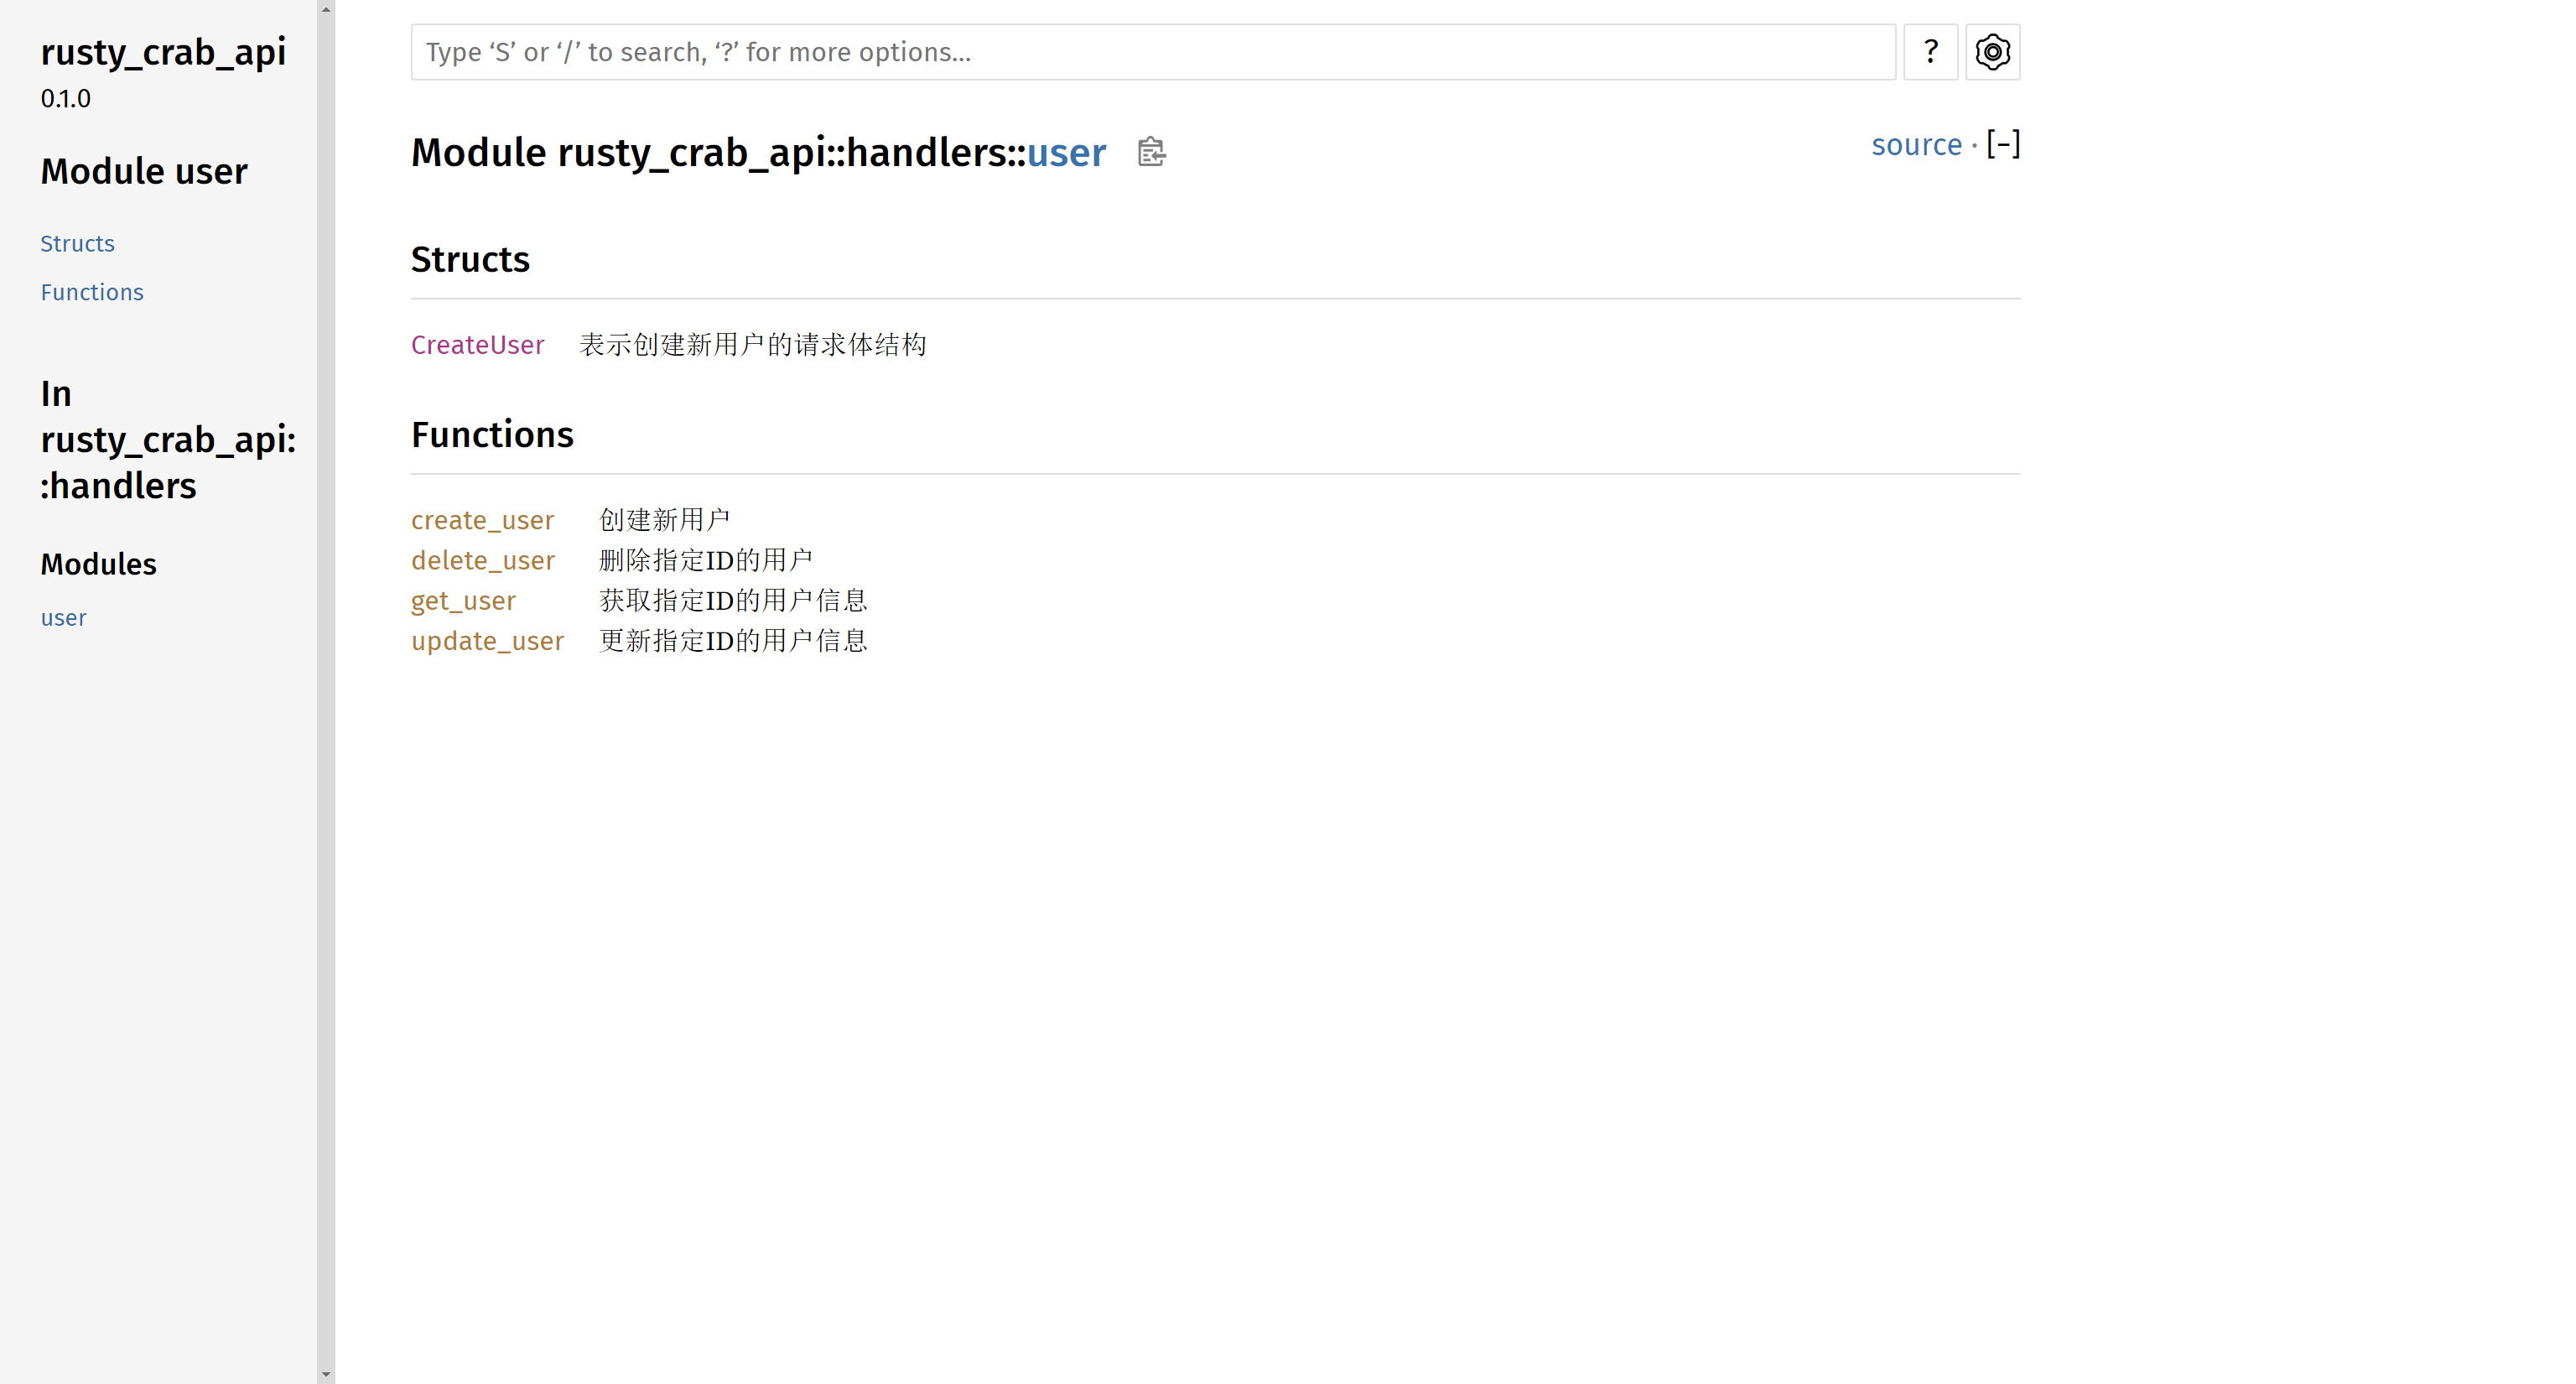
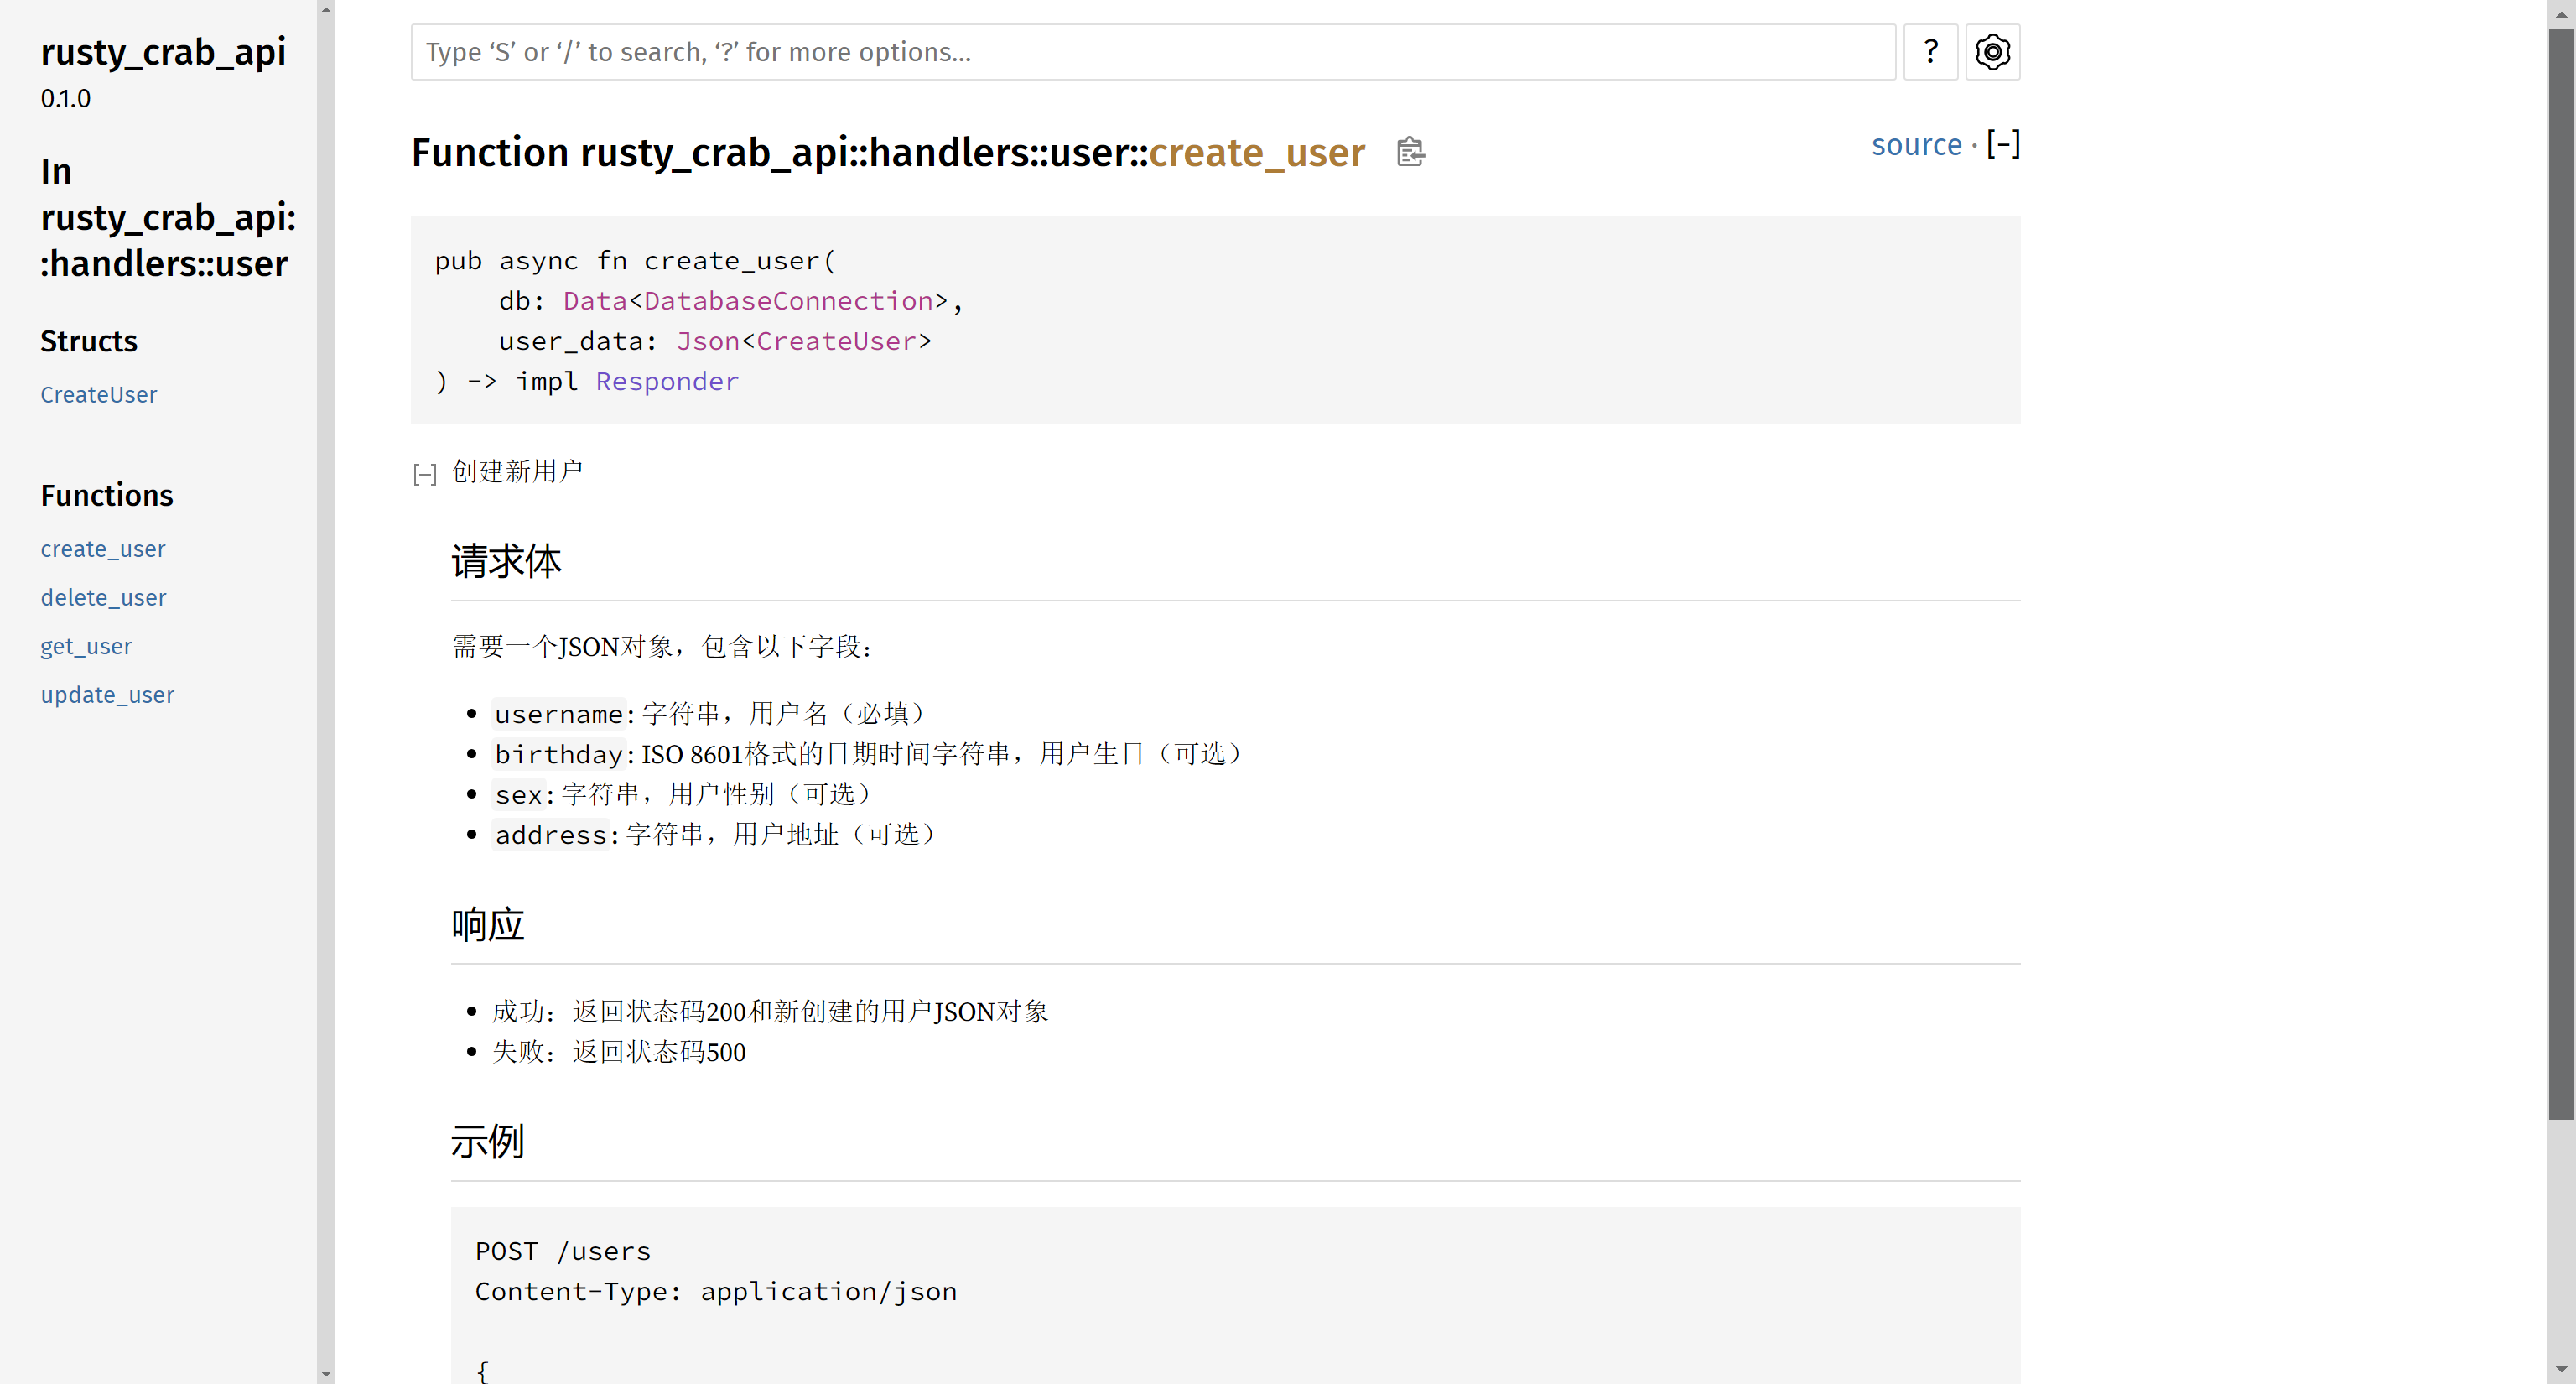
查看Rust标准文档
cargo doc --open


最后
项目的完整代码可以查看我的仓库:https://github.com/VinciYan/rusty_crab_api.git
后续,我还会介绍如何使用Rust语言Web开发框架Salvo和SeaORM结合开发WebAPI


【推荐】国内首个AI IDE,深度理解中文开发场景,立即下载体验Trae
【推荐】编程新体验,更懂你的AI,立即体验豆包MarsCode编程助手
【推荐】抖音旗下AI助手豆包,你的智能百科全书,全免费不限次数
【推荐】轻量又高性能的 SSH 工具 IShell:AI 加持,快人一步
· 全程不用写代码,我用AI程序员写了一个飞机大战
· DeepSeek 开源周回顾「GitHub 热点速览」
· 记一次.NET内存居高不下排查解决与启示
· 物流快递公司核心技术能力-地址解析分单基础技术分享
· .NET 10首个预览版发布:重大改进与新特性概览!