day1 Opencv安装 python 2.7 (32位)
【参考安装步骤】 http://opencv-python-tutroals.readthedocs.io/en/latest/index.html
http://blog.csdn.net/huruzun/article/details/39395343
1.环境
win7 64
python2.7 32位 https://www.python.org/downloads/
切记:安装过程中,添加到环境变量PATH中
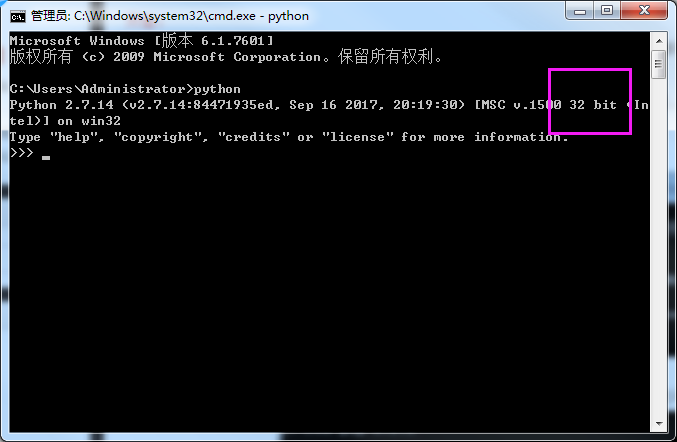
查看python是32位还是64位?
2.openCV安装
2.1 安装 numpy
下载地址:https://sourceforge.net/projects/numpy/files/NumPy/1.7.1/numpy-1.7.1-win32-superpack-python2.7.exe/download

    打开cmd到存放文件的当前目录,(我的就在桌面放的)
    执行   pip2 install  numpy-1.13.1+mkl-cp27-cp27m-win32

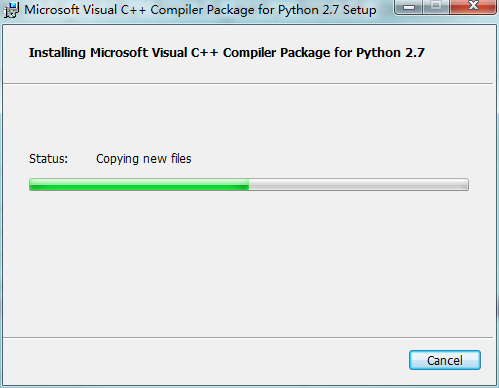
2)安装VC
error错误:缺少 Visual C++ 9.0
error: Microsoft Visual C++ 9.0 is required. Get it from http://aka.ms/vcpython27
下载地址:https://www.microsoft.com/en-us/download/details.aspx?id=44266
安装vc成功后,cmd执行命令 pip2 install numpy-1.13.1+mkl-cp27-cp27m-win32

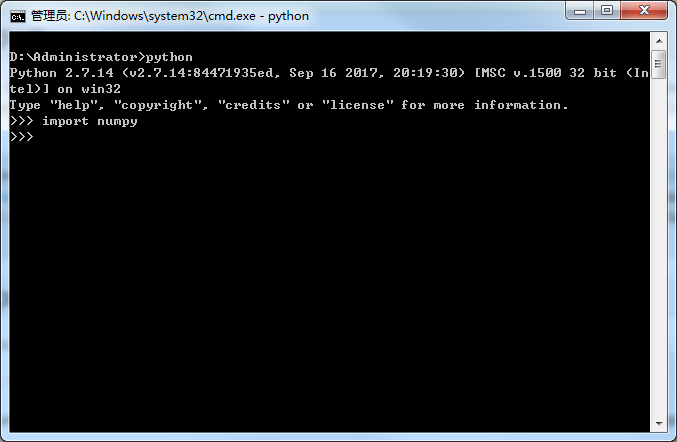
3) 安装成功
python环境下: import numpy
2.2 安装matplotlib
下载地址:https://downloads.sourceforge.net/project/matplotlib/matplotlib/matplotlib-1.3.0/matplotlib-1.3.0.win32-py2.7.exe

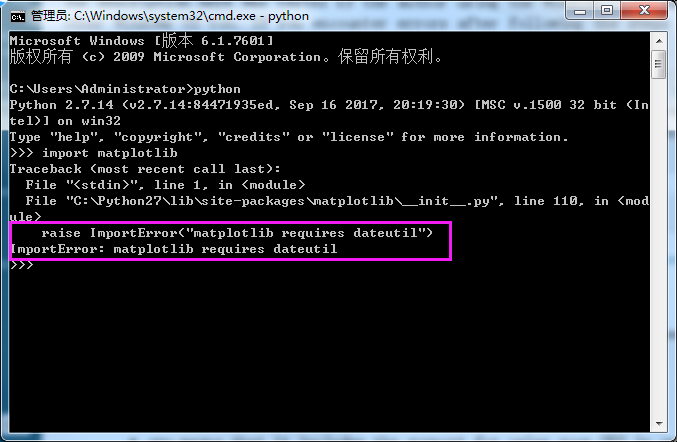
1). error报错:缺少dateutil模块
      raise ImportError("matplotlib requires dateutil")
    ImportError: matplotlib requires dateutil
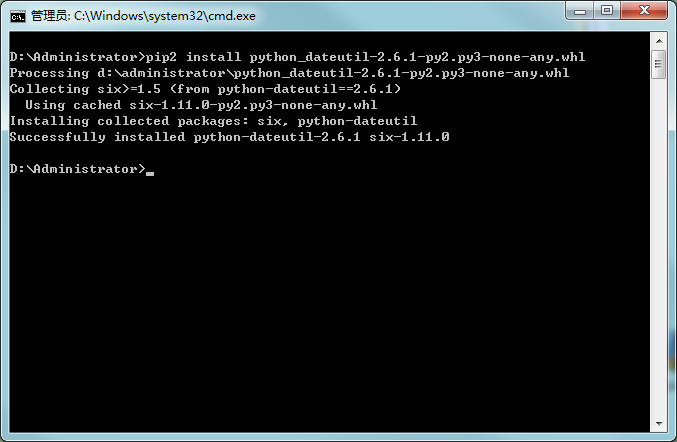
dateutil模块 下载地址:http://www.lfd.uci.edu/~gohlke/pythonlibs/#python-dateutil

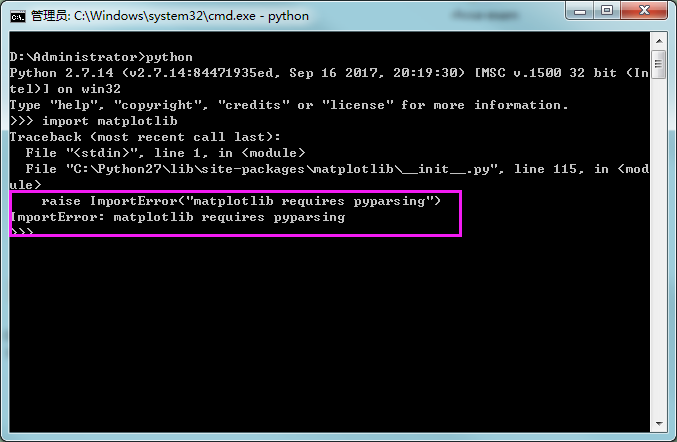
2)报错: 缺少pyparsing模块
      raise ImportError("matplotlib requires pyparsing")
    ImportError: matplotlib requires pyparsing
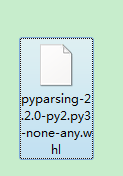
pyparsing模块,下载地址:http://www.lfd.uci.edu/~gohlke/pythonlibs/#pyparsing

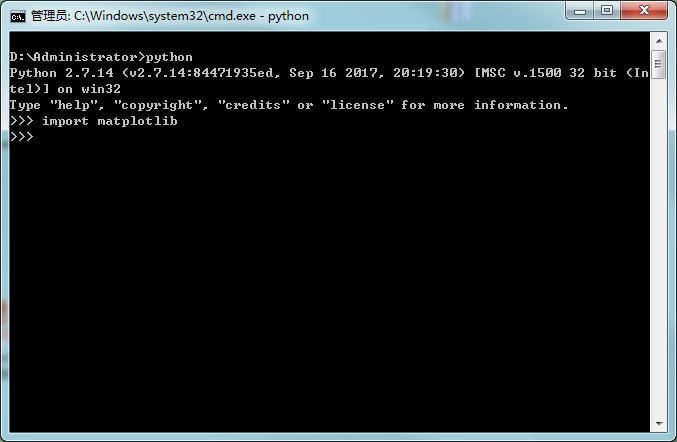
3)安装成功
2.3 安装opencv
1)下载
地址 https://sourceforge.net/projects/opencvlibrary/files/latest/download?source=files
双击安装

2)复制配置文件
  到 安装目录下的 C:\opencv\build\python\2.7\x86

  将cv2.pyd复制到C:\Python27\Lib\site-packages

3)安装成功:
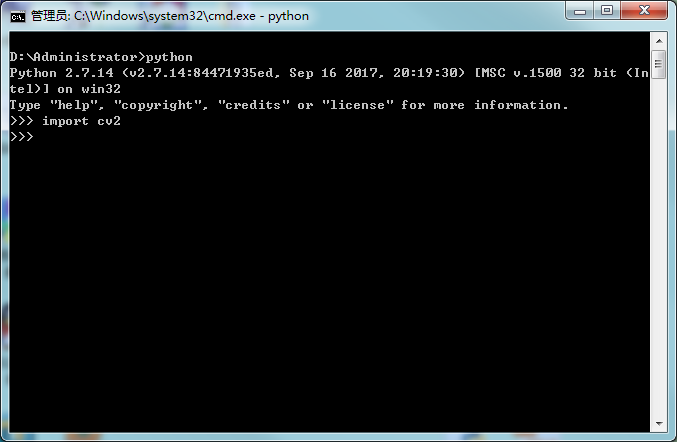
4)查看opencv版本
在命令行输入以下代码:
        python
        import cv2
        cv2.__version__
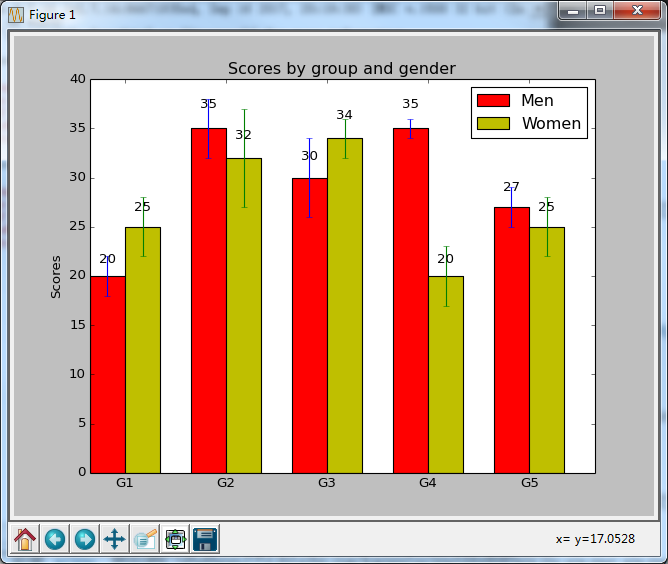
3. 测试程序
import numpy as np
import matplotlib.pyplot as plt

N = 5
menMeans = (20, 35, 30, 35, 27)
menStd =   (2, 3, 4, 1, 2)

ind = np.arange(N)  # the x locations for the groups
width = 0.35       # the width of the bars

fig, ax = plt.subplots()
rects1 = ax.bar(ind, menMeans, width, color='r', yerr=menStd)

womenMeans = (25, 32, 34, 20, 25)
womenStd =   (3, 5, 2, 3, 3)
rects2 = ax.bar(ind+width, womenMeans, width, color='y', yerr=womenStd)

# add some
ax.set_ylabel('Scores')
ax.set_title('Scores by group and gender')
ax.set_xticks(ind+width)
ax.set_xticklabels( ('G1', 'G2', 'G3', 'G4', 'G5') )

ax.legend( (rects1[0], rects2[0]), ('Men', 'Women') )

def autolabel(rects):
    # attach some text labels
    for rect in rects:
        height = rect.get_height()
        ax.text(rect.get_x()+rect.get_width()/2., 1.05*height, '%d'%int(height),
                ha='center', va='bottom')

autolabel(rects1)
autolabel(rects2)

plt.show()
import cv2
import numpy as np

img = cv2.imread("22.png")
emptyImage = np.zeros(img.shape, np.uint8)

emptyImage2 = img.copy()

emptyImage3=cv2.cvtColor(img,cv2.COLOR_BGR2GRAY)

cv2.imshow("EmptyImage3", emptyImage3)
cv2.waitKey (0)
cv2.destroyAllWindows()


