WSS学习笔记(2) - 用QuickPart部署“用户控件”来替代WebPart
笔记1中描述的手动部署WebPart的方法,比较麻烦,而且在WebPart的开发过程中无法看到可视化界面,设置样式属性及调试都比较不方便,这篇笔记中用“用户控件”来替代WebPart。
还延续上一篇的例子,这次用“用户控件”来实现。
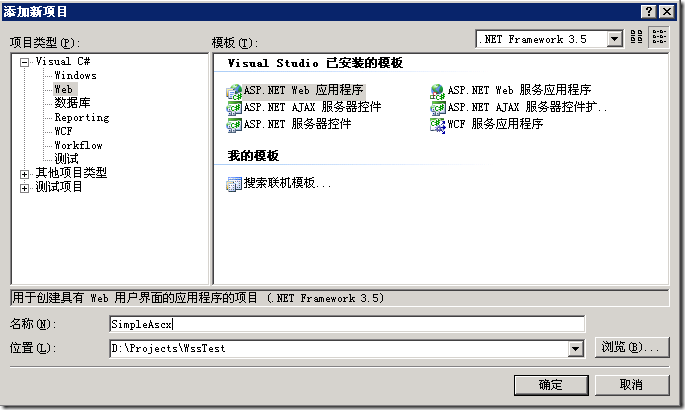
1、在解决方案中新建一个 ASP.NET Web 应用程序,我这里命名为 SimpleAscx
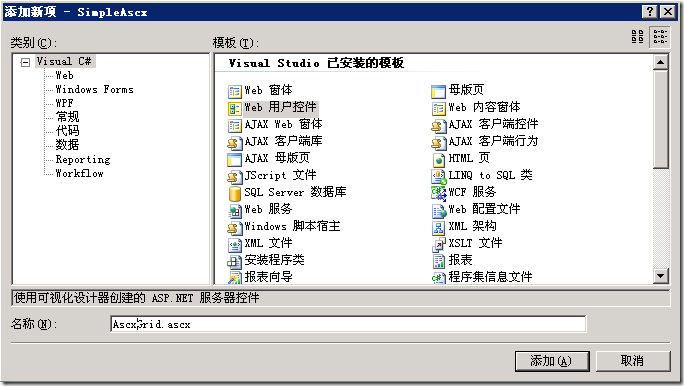
2、创建一个“Web用户控件”页面,名为:AscxGrid.ascx
3、拖一个GridView进来,并设置属性。
ASCX页面:
<%@ Control Language="C#" AutoEventWireup="true" CodeBehind="AscxGrid.ascx.cs" Inherits="SimpleAscx.AscxGrid" %>
<asp:GridView ID="GridView1" runat="server">
    <HeaderStyle Font-Bold="True" HorizontalAlign="Center" />
</asp:GridView>
CS代码:
using System;
using System.Collections;
using System.Configuration;
using System.Data;
using System.Web;
using System.Web.Security;
using System.Web.UI;
using System.Web.UI.HtmlControls;
using System.Web.UI.WebControls;
using System.Web.UI.WebControls.WebParts;

namespace SimpleAscx
{
    public partial class AscxGrid : System.Web.UI.UserControl
    {
        protected void Page_Load(object sender, EventArgs e)
        {
            DataTable dt =  GetDataTable();
            GridView1.DataSource = dt;
            GridView1.DataBind();
        }

        private DataTable GetDataTable()
        {
            DataTable dt = new DataTable();
            dt.Columns.Add("ID");
            dt.Columns.Add("Name");
            dt.Columns.Add("Date");

            for (int i = 0; i < 20; i++)
            {
                DataRow dr = dt.NewRow();
                dr[0] = i;
                dr[1] = "ColName1" + ": " + i;
                dr[2] = "Create date :" + DateTime.Now;
                dt.Rows.Add(dr);
            }

            return dt;
        }
    }

}
4、重新生成,
将bin目录中的 SimpleAscx.dll 文件Copy到 C:\Inetpub\wwwroot\wss\VirtualDirectories\80\bin 目录中
将 AscxGrid.ascx 文件Copy到 C:\Inetpub\wwwroot\wss\VirtualDirectories\80\wpresources 目录中
OK,到此为止,ascx用户控件创建完了,下面来配置QuickPart
和部署WebPart控件一样:
1、将 QuickPart.dll 放进 C:\Inetpub\wwwroot\wss\VirtualDirectories\80\bin 目录中;
2、设置该网站集的web.config,在configuration –> SharePoint –> SafeControls 中添加如下配置节
<SafeControl Assembly="QuickPart, Version=1.0.0.0, Culture=neutral, PublicKeyToken=2d0bb71b2dd16f9e" Namespace="Microsoft.PRC.SharePoint" TypeName="*" Safe="True" />
3、在 configuration –> system.web 中找到 trust 配置节,提高信任级别,将 WSS_Minimal 改成 Full
![]()
4、导入WebPart
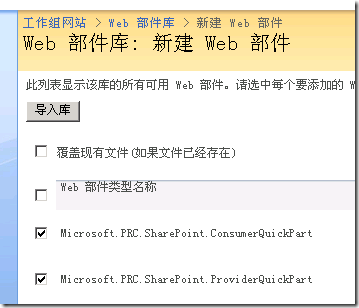
转到WSS站点,打开“网站操作” –> “网站设置” –> “Web部件”
将 Microsoft.PRC.SharePoint.ConsumerQuickPart 和 Microsoft.PRC.SharePoint.ProviderQuickPart 导入到Web部件库中
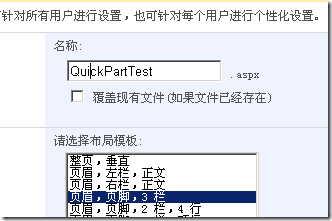
5、创建一个测试页面,QuickPartTest;
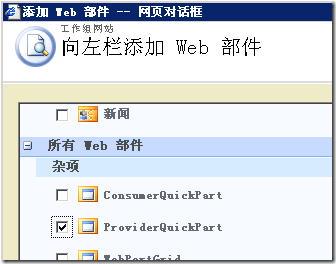
6、在测试页面中,添加ProviderQuickPart;
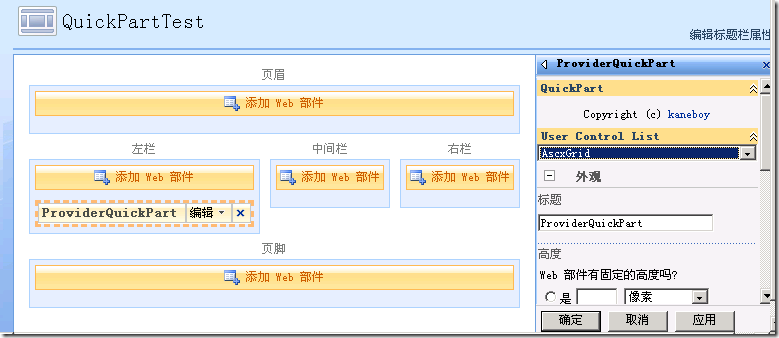
7、编辑WebPart,在右侧属性栏中可以看到刚才创建的AscxGrid用户控件,选中完成即可。
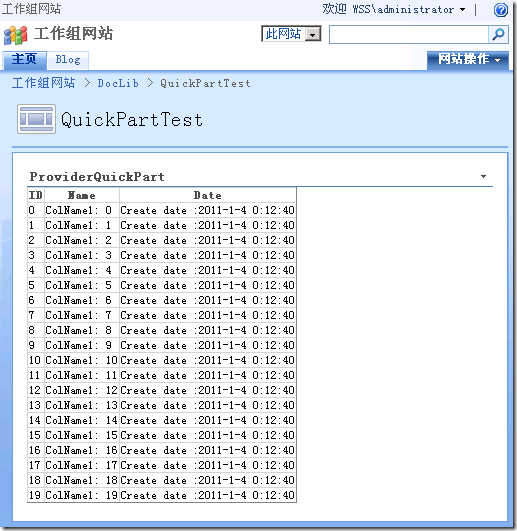
和WebPart的开发部署相比,显然方便了很多,而且不容易出错。
Vengen
2011-01-04


