CosyVoice多语言、音色和情感控制模型,one-shot零样本语音克隆模型本地部署(Win/Mac),通义实验室开源

近日,阿里通义实验室开源了CosyVoice语音模型,它支持自然语音生成,支持多语言、音色和情感控制,在多语言语音生成、零样本语音生成、跨语言声音合成和指令执行能力方面表现卓越。
CosyVoice采用了总共超15万小时的数据训练,支持中英日粤韩5种语言的合成,合成效果显著优于传统语音合成模型。
CosyVoice支持one-shot音色克隆 :仅需要3~10s的原始音频,即可生成模拟音色,甚至包括韵律、情感等细节。在跨语种的语音合成中,也有不俗的表现。
由于官方的版本暂不支持Windows和Mac平台,本次我们分别在这两个平台本地部署CosyVoice。
Windows平台
首先来到windows平台,克隆项目:
git clone https://github.com/v3ucn/CosyVoice_For_Windows
进入项目:
cd CosyVoice_For_Windows
生成内置模块:
git submodule update --init --recursive
随后安装依赖:
conda create -n cosyvoice python=3.11
conda activate cosyvoice
pip install -r requirements.txt -i https://mirrors.aliyun.com/pypi/simple/ --trusted-host=mirrors.aliyun.com
官方推荐的Python版本是3.8,实际上3.11也是可以跑起来的,并且理论上3.11的性能更好。
随后下载deepspeed的windows版本安装包来进行安装:
https://github.com/S95Sedan/Deepspeed-Windows/releases/tag/v14.0%2Bpy311
最后,安装gpu版本的torch:
pip install torch torchvision torchaudio --index-url https://download.pytorch.org/whl/cu121
这里cuda的版本选择12,也可以安装11的。
随后下载模型:
# git模型下载,请确保已安装git lfs
mkdir -p pretrained_models
git clone https://www.modelscope.cn/iic/CosyVoice-300M.git pretrained_models/CosyVoice-300M
git clone https://www.modelscope.cn/iic/CosyVoice-300M-SFT.git pretrained_models/CosyVoice-300M-SFT
git clone https://www.modelscope.cn/iic/CosyVoice-300M-Instruct.git pretrained_models/CosyVoice-300M-Instruct
git clone https://www.modelscope.cn/speech_tts/speech_kantts_ttsfrd.git pretrained_models/speech_kantts_ttsfrd
由于使用国内的魔搭仓库,所以速度非常快
最后添加环境变量:
set PYTHONPATH=third_party/AcademiCodec;third_party/Matcha-TTS
基础用法:
from cosyvoice.cli.cosyvoice import CosyVoice
from cosyvoice.utils.file_utils import load_wav
import torchaudio

cosyvoice = CosyVoice('speech_tts/CosyVoice-300M-SFT')
# sft usage
print(cosyvoice.list_avaliable_spks())
output = cosyvoice.inference_sft('你好,我是通义生成式语音大模型,请问有什么可以帮您的吗?', '中文女')
torchaudio.save('sft.wav', output['tts_speech'], 22050)

cosyvoice = CosyVoice('speech_tts/CosyVoice-300M')
# zero_shot usage
prompt_speech_16k = load_wav('zero_shot_prompt.wav', 16000)
output = cosyvoice.inference_zero_shot('收到好友从远方寄来的生日礼物,那份意外的惊喜与深深的祝福让我心中充满了甜蜜的快乐,笑容如花儿般绽放。', '希望你以后能够做的比我还好呦。', prompt_speech_16k)
torchaudio.save('zero_shot.wav', output['tts_speech'], 22050)
# cross_lingual usage
prompt_speech_16k = load_wav('cross_lingual_prompt.wav', 16000)
output = cosyvoice.inference_cross_lingual('<|en|>And then later on, fully acquiring that company. So keeping management in line, interest in line with the asset that\'s coming into the family is a reason why sometimes we don\'t buy the whole thing.', prompt_speech_16k)
torchaudio.save('cross_lingual.wav', output['tts_speech'], 22050)

cosyvoice = CosyVoice('speech_tts/CosyVoice-300M-Instruct')
# instruct usage
output = cosyvoice.inference_instruct('在面对挑战时,他展现了非凡的<strong>勇气</strong>与<strong>智慧</strong>。', '中文男', 'Theo \'Crimson\', is a fiery, passionate rebel leader. Fights with fervor for justice, but struggles with impulsiveness.')
torchaudio.save('instruct.wav', output['tts_speech'], 22050)
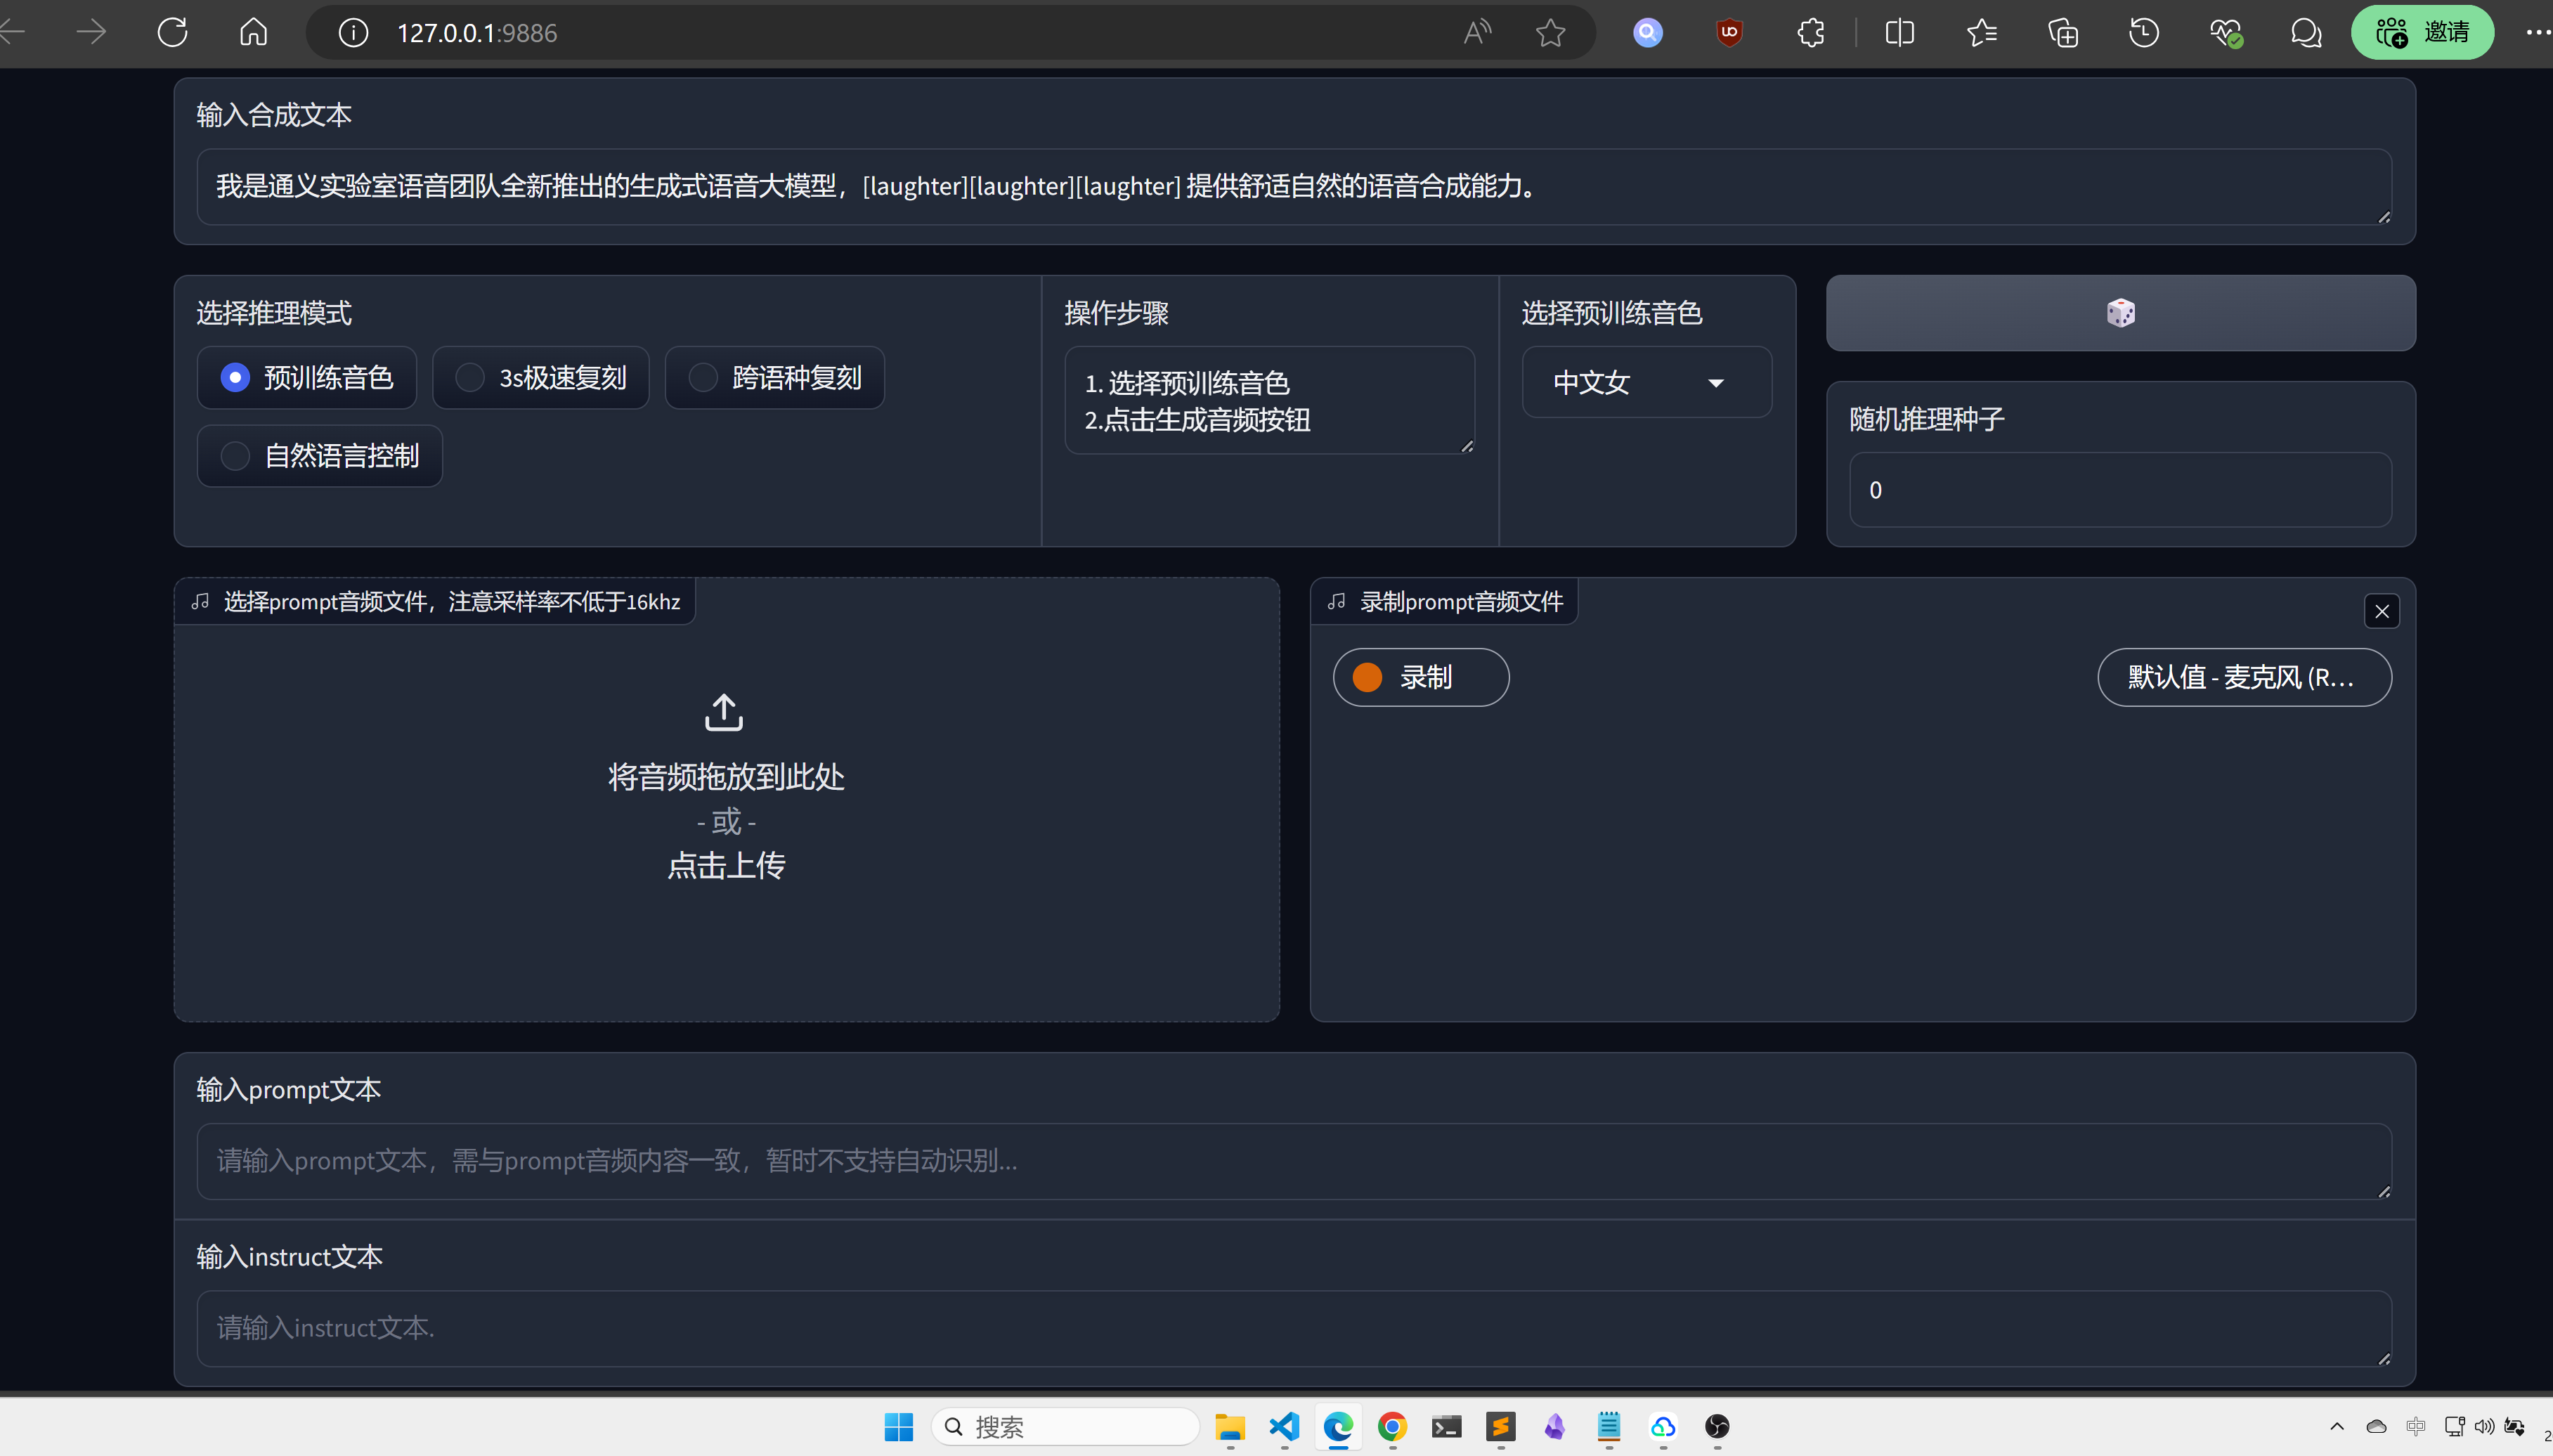
这里推荐使用webui,更加直观和方便:
python3 webui.py --port 9886 --model_dir ./pretrained_models/CosyVoice-300M
需要注意的是,官方的torch的backend使用的是sox,这里改成了soundfile:
torchaudio.set_audio_backend('soundfile')
可能会有一些bug,后续还请关注官方的项目更新。
MacOS平台
现在来到MacOs平台,还是先克隆项目:
git clone https://github.com/v3ucn/CosyVoice_for_MacOs.git
安装依赖:
cd CosyVoice_for_MacOs
conda create -n cosyvoice python=3.8
conda activate cosyvoice
pip install -r requirements.txt -i https://mirrors.aliyun.com/pypi/simple/ --trusted-host=mirrors.aliyun.com
随后需要通过Homebrew安装sox:
brew install sox
如此就配置好了,但是别忘了添加环境变量:
export PYTHONPATH=third_party/AcademiCodec:third_party/Matcha-TTS
使用方式和Windows版本保持一致。
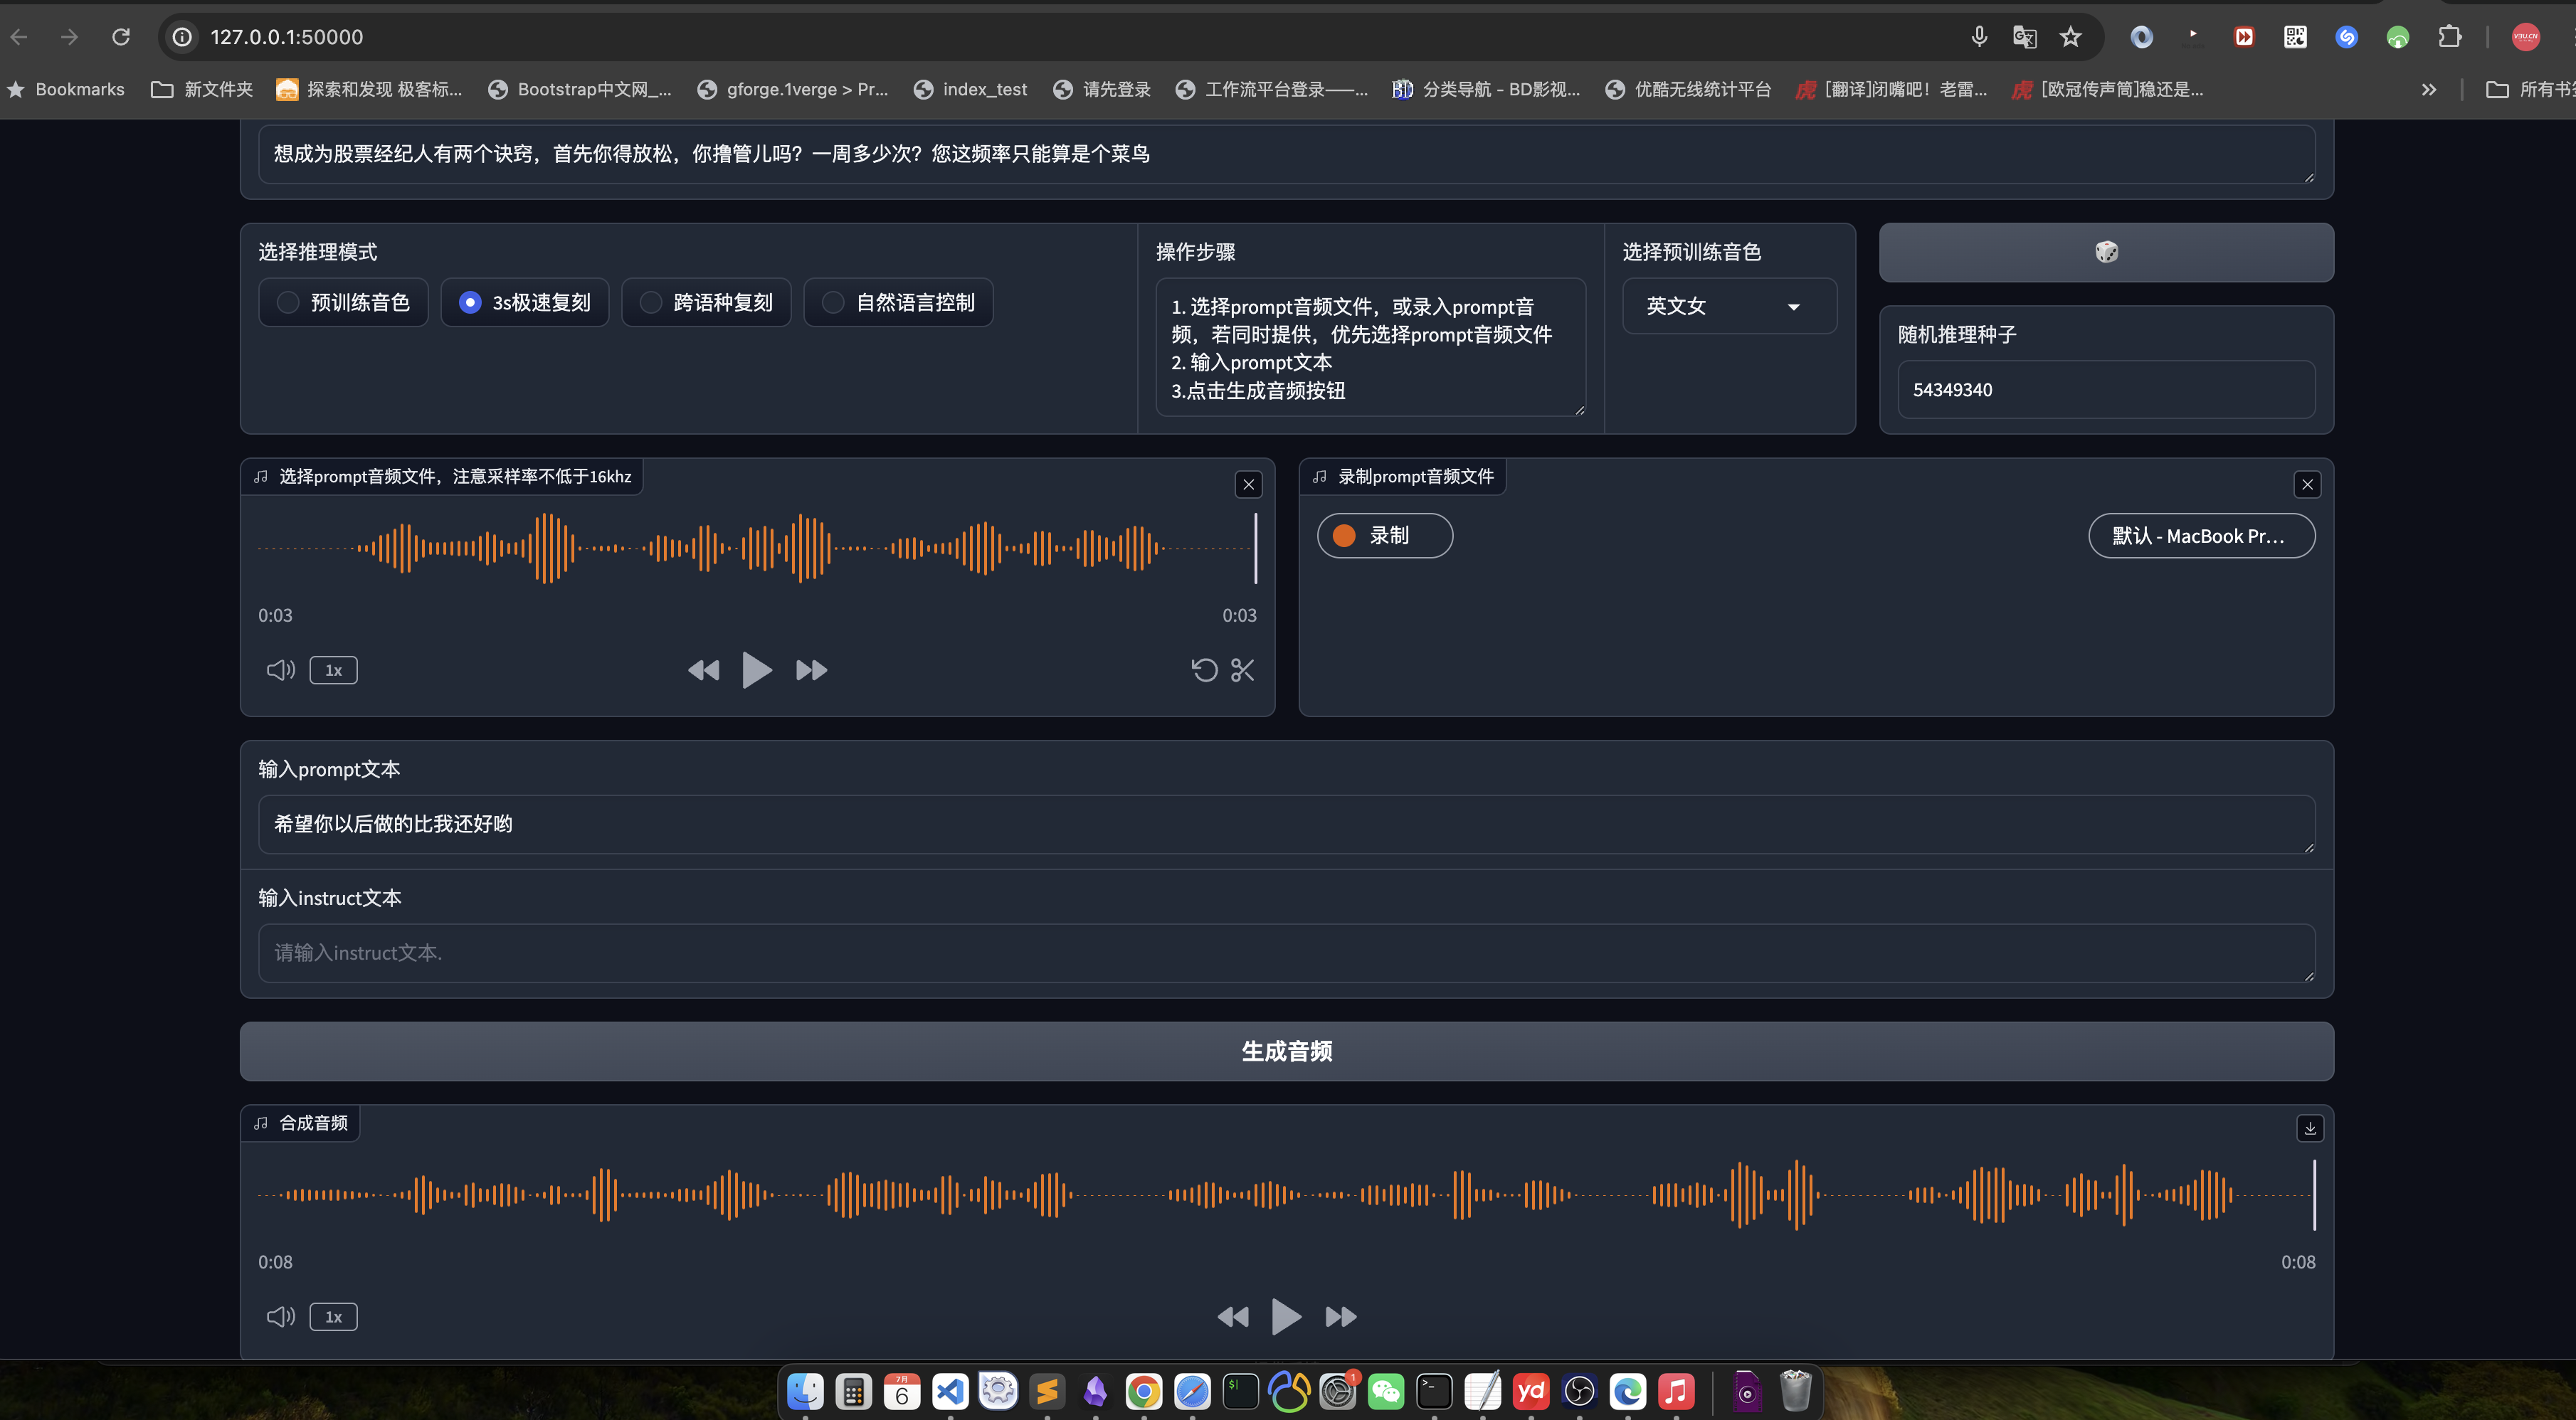
这里还是推荐使用webui:
python3 webui.py --port 50000 --model_dir speech_tts/CosyVoice-300M
结语
平心而论,CosyVoice不愧是大厂出品,模型的品质没的说,代表了国内AI的最高水准,通义实验室名下无虚,当然,如果能将工程化之后的代码也开源出来,那就更好了,相信经过libtorch的优化,这个模型将会是开源TTS的不二选择。

 浙公网安备 33010602011771号