springmvc入门(一)
一、搭建开发环境
1.1 引入相关依赖
<!-- https://mvnrepository.com/artifact/org.springframework/spring-context -->
    <dependency>
      <groupId>org.springframework</groupId>
      <artifactId>spring-context</artifactId>
      <version>5.2.2.RELEASE</version>
    </dependency>


    <!-- https://mvnrepository.com/artifact/org.springframework/spring-webmvc -->
    <dependency>
      <groupId>org.springframework</groupId>
      <artifactId>spring-webmvc</artifactId>
      <version>5.2.2.RELEASE</version>
    </dependency>

    <!-- https://mvnrepository.com/artifact/org.springframework/spring-web -->
    <dependency>
      <groupId>org.springframework</groupId>
      <artifactId>spring-web</artifactId>
      <version>5.2.2.RELEASE</version>
    </dependency>

    <!-- https://mvnrepository.com/artifact/javax.servlet/javax.servlet-api -->
    <dependency>
      <groupId>javax.servlet</groupId>
      <artifactId>javax.servlet-api</artifactId>
      <version>4.0.0</version>
      <scope>provided</scope>
    </dependency>
1.2 配置srpingmvc.xml (用于springmvc的配置)
<?xml version="1.0" encoding="UTF-8"?>
<beans xmlns="http://www.springframework.org/schema/beans"
       xmlns:xsi="http://www.w3.org/2001/XMLSchema-instance"
       xmlns:context="http://www.springframework.org/schema/context"
       xmlns:aop="http://www.springframework.org/schema/aop"
       xmlns:mvc="http://www.springframework.org/schema/mvc"
       xsi:schemaLocation="http://www.springframework.org/schema/beans
        http://www.springframework.org/schema/beans/spring-beans.xsd
        http://www.springframework.org/schema/context
        http://www.springframework.org/schema/context/spring-context.xsd
        http://www.springframework.org/schema/aop
        http://www.springframework.org/schema/aop/spring-aop.xsd
        http://www.springframework.org/schema/mvc
        http://www.springframework.org/schema/mvc/spring-mvc.xsd">

    <!--开启注解扫描-->
    <context:component-scan base-package="cn.ushowtime"></context:component-scan>

    <!--配置视图解析器-->
    <bean class="org.springframework.web.servlet.view.InternalResourceViewResolver">
        <!--配置匹配的视图文件前缀(处于哪个路径)-->
        <property name="prefix" value="/"></property>
        <!--配置匹配的视图文件后缀-->
        <property name="suffix" value=".jsp"></property>
    </bean>

 <!--配置静态资源免拦截-->
<mvc:resources location="/js/" mapping="/js/**" ></mvc:resources>

<!--开启springmvc注解支持-->
<mvc:annotation-driven></mvc:annotation-driven>
</beans>
1.3 web.xml的配置
<!DOCTYPE web-app PUBLIC
 "-//Sun Microsystems, Inc.//DTD Web Application 2.3//EN"
 "http://java.sun.com/dtd/web-app_2_3.dtd" >

<web-app>
  <display-name>Archetype Created Web Application</display-name>

  <!--配置解决中文乱码的过滤器-->
  <filter>
    <filter-name>characterEncodingFilter</filter-name>
    <filter-class>org.springframework.web.filter.CharacterEncodingFilter</filter-class>
    <!--设置编码-->
    <init-param>
      <param-name>encoding</param-name>
      <param-value>UTF-8</param-value>
    </init-param>
  </filter>
  <filter-mapping>
    <filter-name>characterEncodingFilter</filter-name>
    <url-pattern>/*</url-pattern>
  </filter-mapping>

  <!--配置前端控制器-->
  <servlet>
    <servlet-name>dispatcherServlet</servlet-name>
    <servlet-class>org.springframework.web.servlet.DispatcherServlet</servlet-class>
    <!--初始化参数,使用DispatcherServlet来加载springmvc的配置文件-->
    <init-param>
      <param-name>contextConfigLocation</param-name>
      <param-value>classpath:springmvc.xml</param-value>
    </init-param>
    <!--配置为服务器启动就加载-->
    <load-on-startup>1</load-on-startup>
  </servlet>
  <servlet-mapping>
    <servlet-name>dispatcherServlet</servlet-name>
    <url-pattern>/</url-pattern>
  </servlet-mapping>

</web-app>
二、编写测试方法
编写一个HelloController
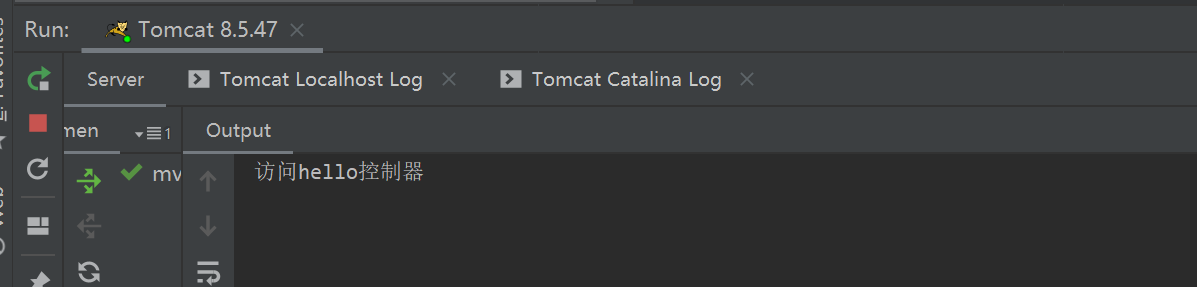
import org.springframework.stereotype.Controller;
import org.springframework.web.bind.annotation.GetMapping;

/**
 * @author t
 */
@Controller
public class HelloController {

    @GetMapping(value = "/hello")
    public String hello(){
        System.out.println("访问hello控制器");
        return "hello";
    }
}
运行结果
浏览器结果


 浙公网安备 33010602011771号