基于vue的环信基本实时通信功能
本篇文章借鉴了一些资料,然后在这个基础上,我将环信的实现全部都集成在一个组件里面进行实现;
https://blog.csdn.net/github_35631540/article/details/80278114
第一步,获取 webim.config.js
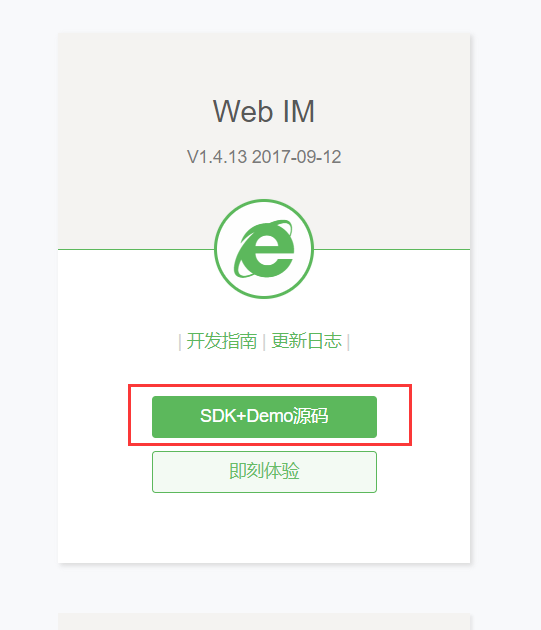
1. 下载地址 http://www.easemob.com/download/im,然后点击如下图的位置进行下载
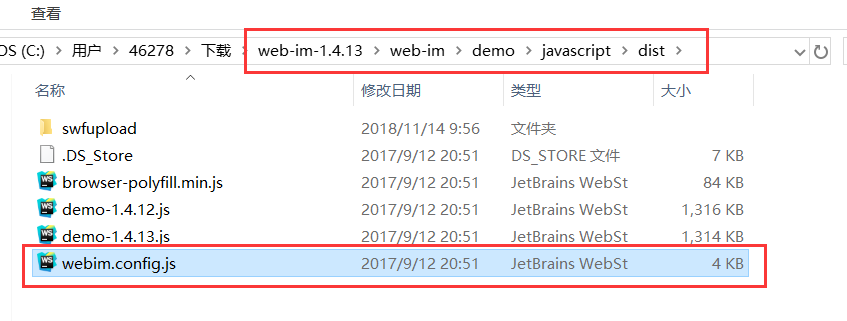
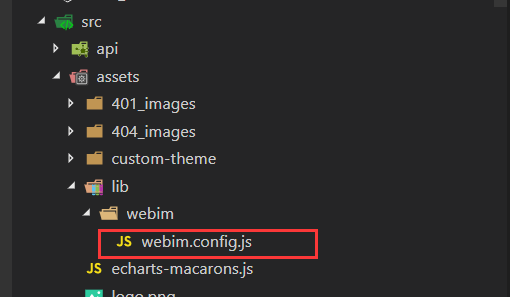
解压后将 webim.config.js 拷贝到自己的文件夹下面(我这儿放的位置是src->assets->lib->webim下面),由于easemob-websdk strophe.js,我们都可以通过 npm 安装的形式完成,所以就不需要再引入了。
2. 在 webim.config.js 中修改部分代码

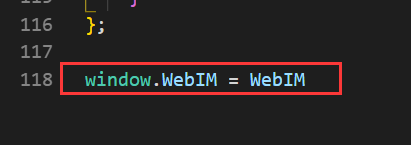

这儿的 appkey 是根据实际情况进行修改的。
第二步,下载easemob-websdk、strophe.js
1. 通过 npm 进行安装,注意:这儿的版本很重要,最好就用下面的版本;
 ```
npm i easemob-websdk strophe.js  --save
```
版本:
"easemob-websdk": "1.8.3", "strophe.js": "1.2.16"
2. 修改 /node_modules/strophe.js/strophe.js
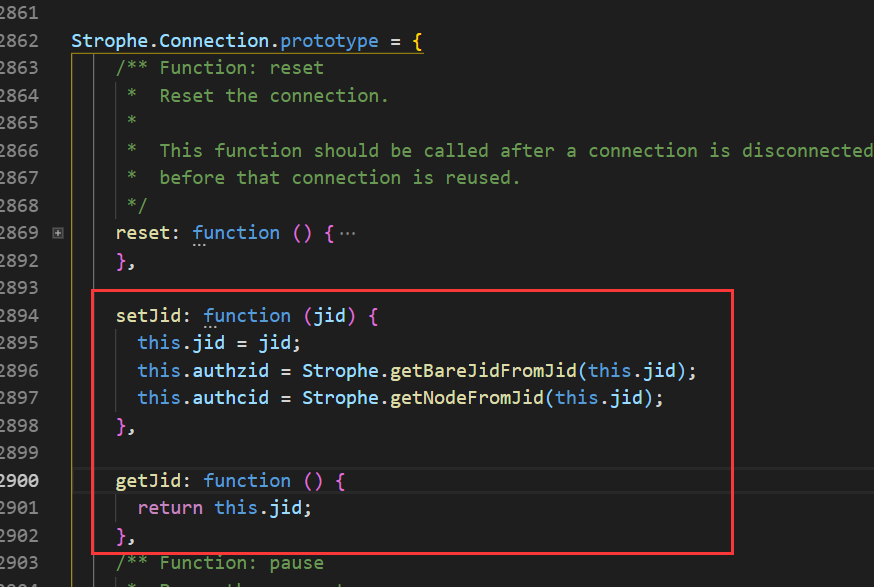
代码如下(注意如果有同学直接搜索reset进行快速搜索的话,要找到第二个reset,不是第一个reset)
    setJid: function (jid) {
          this.jid = jid;
          this.authzid = Strophe.getBareJidFromJid(this.jid);
          this.authcid = Strophe.getNodeFromJid(this.jid);
        },
    getJid: function () {
          return this.jid;
        },
3. 修改 /node_modules/easemob-websdk/src/connection.js
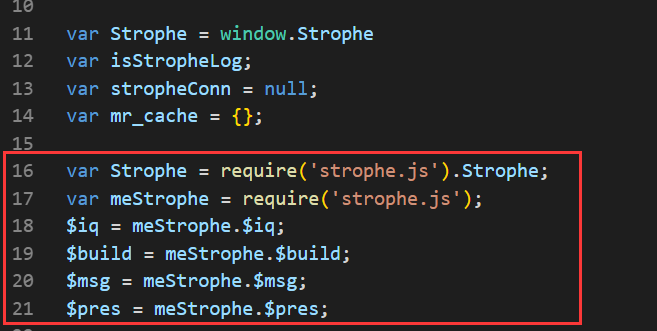
代码如下
    var Strophe = require('strophe.js').Strophe;
    var meStrophe = require('strophe.js');
    $iq = meStrophe.$iq;
    $build = meStrophe.$build;
    $msg = meStrophe.$msg;
    $pres = meStrophe.$pres;
第三步,在组件里面进行使用
1. 设置基本信息
let WebIM = require('easemob-websdk');

const conn = new WebIM.connection({
  isMultiLoginSessions: WebIM.config.isMultiLoginSessions,
  https: typeof WebIM.config.https === 'boolean' ? WebIM.config.https : location.protocol === 'https:',
  url: WebIM.config.xmppURL,
  heartBeatWait: WebIM.config.heartBeatWait,
  autoReconnectNumMax: WebIM.config.autoReconnectNumMax,
  autoReconnectInterval: WebIM.config.autoReconnectInterval,
  apiUrl: WebIM.config.apiURL,
  isAutoLogin: true
})

const options = {
  apiUrl: WebIM.config.apiURL,
  user: '1',
  pwd: 'xiuxiutrip123456', // 待会会进行覆盖
  appKey: WebIM.config.appkey,
  success:function (re) {
    console.log('登陆成功')
  },
  error:function (err) {
    alert(err)
  }
}
2. 在 data() 里面进行初始化
  data () {
    return {
      $imconn: {},
      $imoption: {}
    }
  },
3. 在created里面对 $imconn、$imoption 进行赋值,然后进行登录
  created () {
    this.$imconn = conn;
    this.$imoption = options;
    this.loginWebIM();
  },
4. 登录并监听
    loginWebIM () {
      // 这儿是测试用的账号和密码,这个账号密码是通过环信后台生成的
      this.$imoption.user = '13880283427';
      this.$imoption.pwd = '123456';

      this.$imconn.open(this.$imoption);
      let _this = this;
      this.$imconn.listen({
        onOpened: function (message) {
          console.log('用户已上线')
          _this.getGroupOfWebIM();
          // 由于我们用的是聊天室,所以登录成功后必须加入聊天室
          _this.joinRoom();
        },
        onClosed: function (message) {
          console.log('用户已下线')
        },
        onEmojiMessage: function (message) {
          console.log('这儿接收到了表情')
        },
        onPictureMessage: function (message) {
          console.log('这儿接收到了图片')
        },
        onTextMessage: function (message) {
          // 每次接收信息都会在这儿监听到
          console.log('这儿接收到了文本信息');
          console.log(message)
        },
        onPresence: function ( message ) {
         // 加入聊调室后,这儿会被执行
          console.log('这儿是监听聊天室')
           _this.handlePresence(message)
        }
      })
    },
5. 加入聊调室
    handlePresence (e) {
      // 官网给出的例子是
      e.type == 'joinChatRoomSuccess' // 加入成功
      e.type == 'joinChatRoomFailed'  // 加入失败
      e.type == 'deleteGroupChat'  // 聊天室被删除
     // 但是实际操作的时候,不管有没得聊天室id,都能返回joinChatRoomSuccess
     // 所以实际判断的时候,如果加入聊天室失败,会返回一个error的属性,所有正确的判断应该是
     if (e.error) {
        console.log('加入失败')
      } else {
        console.log('加入成功')
      }
    },
    joinRoom () {
    // 加入聊天室
      this.$imconn.joinChatRoom({
          roomId: this.roomId // 聊天室id
      });
    },
    closeWebIM () {
      // 退出聊天室,每次离开聊天室的时候一定要退出聊天室
      this.$imconn.quitChatRoom({
        roomId: this.roomId // 聊天室id
      });
      this.$imconn.close(); // 如果是退出登录,那么这一句必须要,否则会出现,第一次可以登录,第二次登录掉线或者无法登陆的情况
    },
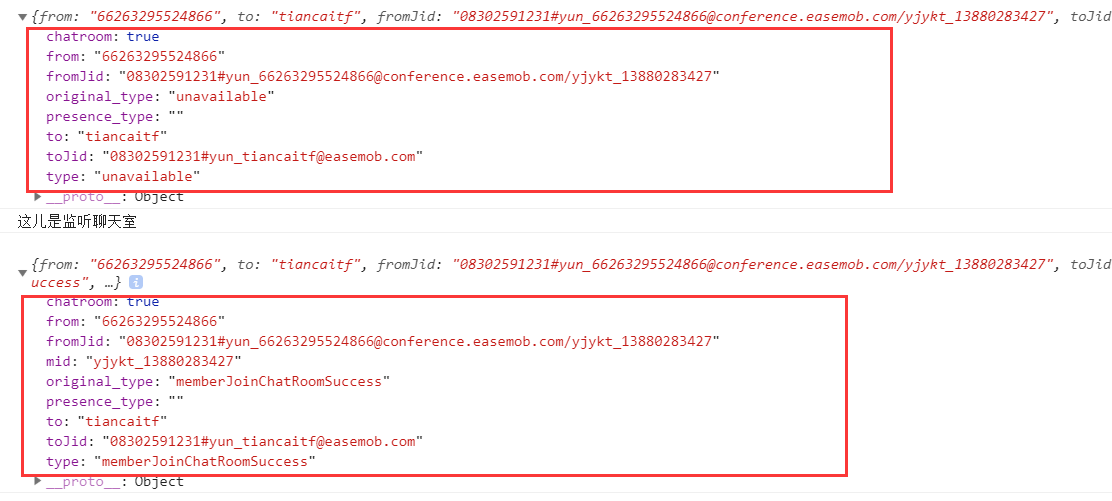
上面是有人离开聊调室的返回信息,下面是有人进来的返回信息
6. 发送信息
handleReply () {
      // 这儿必须通过接口获取roomId
      let sendText = this.description;
      // 将请求框置空
      this.description = '';

      var id = this.$imconn.getUniqueId(); // 生成本地消息id
      var msg = new WebIM.message('txt', id); // 创建文本消息
      let _this = this;

      var option = {
        msg: sendText, // 这儿是发送的消息内容
        to: '63099105247233',  // 接收消息对象(聊天室id) this.roomId
        roomType: true,
        chatType: 'chatRoom',
        // 这儿的ext是自定义属性,安卓端可以根据这个属性获取信息,以name、age为例(与安卓商量着来)
        ext: {name:'', age: ''},
        success: function () {
          console.log('send room text success');
        },
        fail: function () {
          console.log('failed');
          this.$message.error('信息发送失败');
        }
      };
      msg.set(option);
      msg.setGroup('groupchat');
      this.$imconn.send(msg.body);
    },
注意事项
1. 有时候环形的登录会出现问题,那么有必要在登录失败的时候重新进行登录
// 这时候可以将conn的定义放到data里面,option的定义通过方法获取,当登录失败的时候,就可以调用重新登录的方法
{
    data () {
      return {
        conn: new WebIM.connection({
        isMultiLoginSessions: WebIM.config.isMultiLoginSessions,
        https: typeof WebIM.config.https === 'boolean' ? WebIM.config.https : location.protocol === 'https:',
        url: WebIM.config.xmppURL,
        heartBeatWait: WebIM.config.heartBeatWait,
        autoReconnectNumMax: WebIM.config.autoReconnectNumMax,
        autoReconnectInterval: WebIM.config.autoReconnectInterval,
        apiUrl: WebIM.config.apiURL,
        isAutoLogin: true
      }),
     }
  }
  methods: {
    getOptions () {
      let _this = this;
      return {
        apiUrl: WebIM.config.apiURL,
        user: '',
        pwd: '',
        appKey: WebIM.config.appkey,
        success:function (res) {
          console.log('这儿是this', _this)
          // console.log('登陆成功')
        },
        error:function (err) {
          console.log(err)
          console.log('这儿重新登录', _this);
          _this.loginWebIM();
        }
      }
    },
  }
}
2. 此时 created() 钩子函数里面就可以修改为
this.$imconn = this.conn;
this.$imoption = this.getOptions();
3. 另外还有一个地方可以修改
    ...
      let _this = this;
      this.$imconn.listen({
        onClosed: function (message) {
          console.log('用户已下线')
          // 如果是在聊天页面
          if (...) {
            console.log('这儿重新进行登录');
            _this.loginWebIM();
          }
        },
        ...
      })

 浙公网安备 33010602011771号