
macos上安装esp-idf v4.2版本
参考
https://docs.espressif.com/projects/esp-idf/en/release-v5.0/esp32/get-started/linux-macos-setup.html
安装 Prerequisites
brew install cmake ninja dfu-util
git下载idf 4.2版本并安装
git clone -b release/v4.2 --recursive https://github.com/espressif/esp-idf.git  esp-idf-4.2
cd esp-idf-4.2
./install.sh esp32 # 指定安装esp32版本, 注意python版本不能太高,我这里是conda安装的python3.7
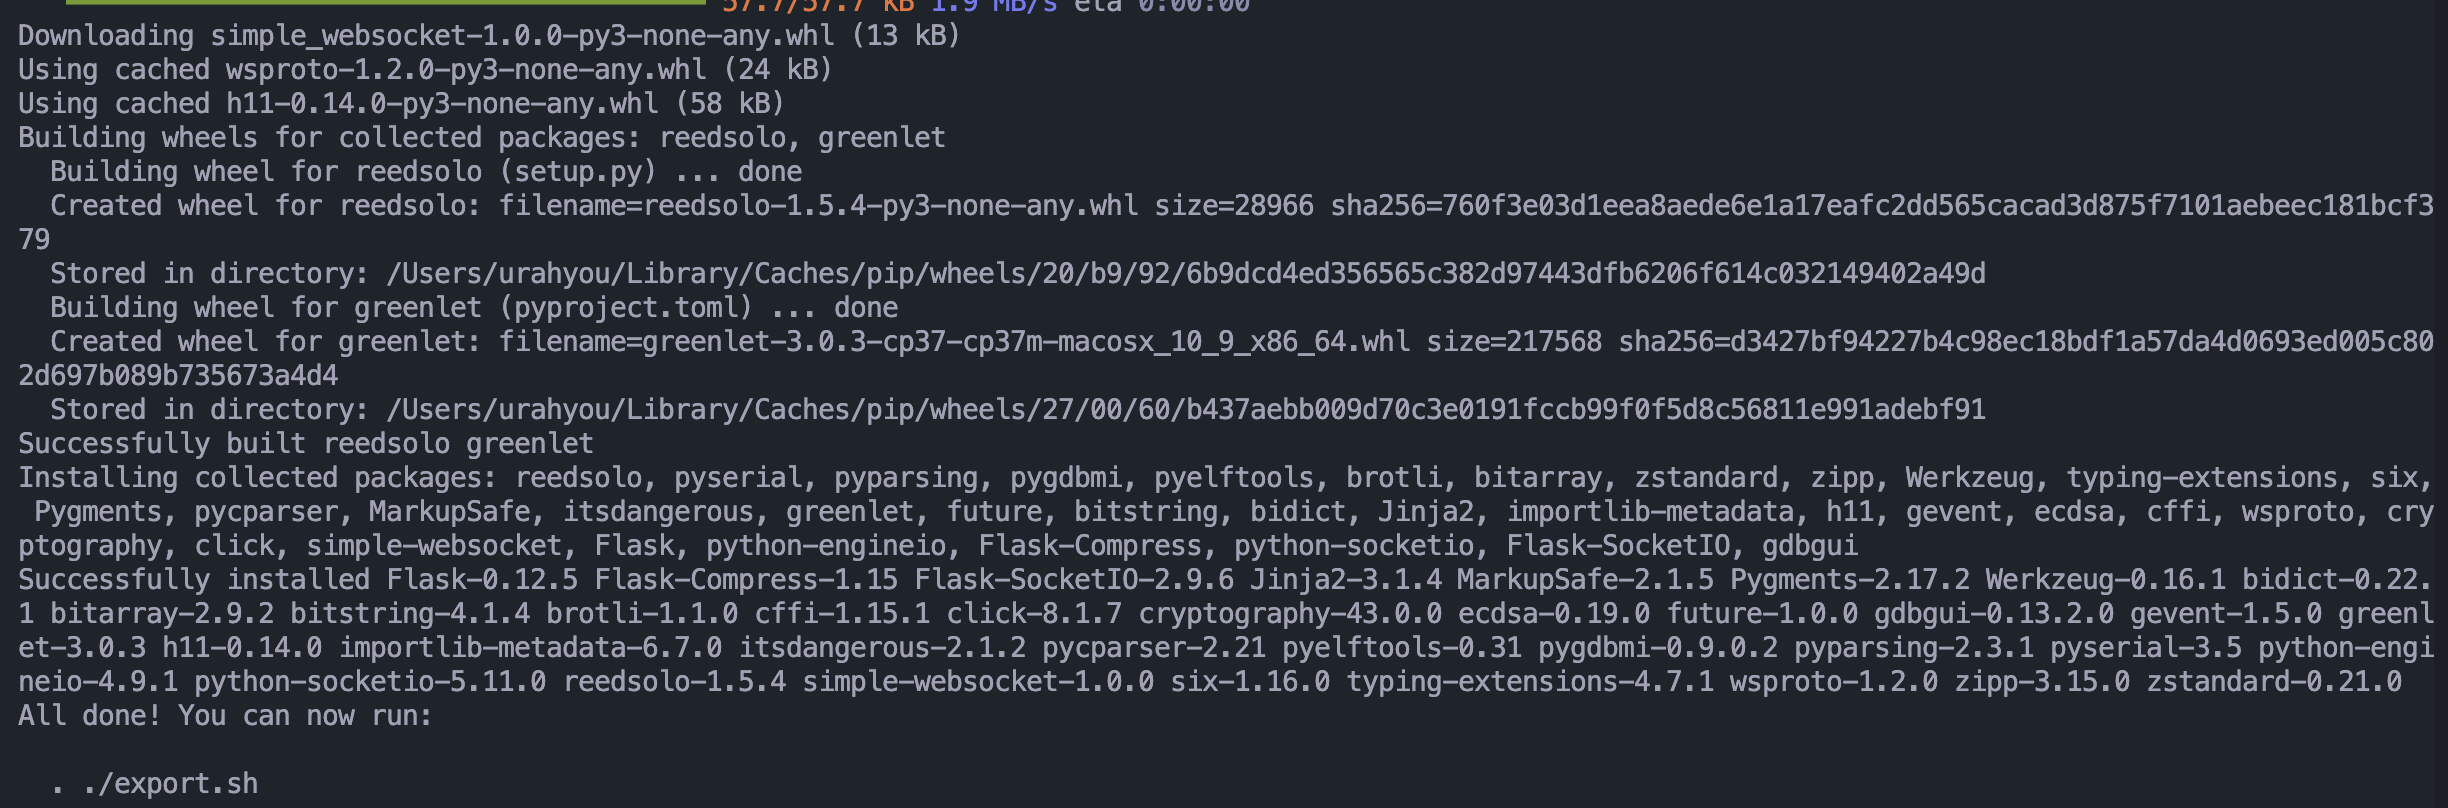
导出环境变量
. ./export.sh
运行hello_world示例(我使用的说esp32 wroom模块)
cd ..
cp -r esp-idf-4.2/examples/get-started/hello_world
cd hello_world

idf.py set-target esp32
idf.py build
然后目录下面会生成build文件夹:hello_world/build)
把主板连接到电脑,查看端口号
ls /dev/cu.*

这里是cu.usbserial-0001
烧录到开发板
idf.py -p /dev/cu.usbserial-0001 flash # -p 是指定端口号
查看输出
idf.py -p /dev/cu.SLAB_USBtoUART monitor # control+] 退出

 浙公网安备 33010602011771号