Spring配置文件详解:applicationContext.xml
实体类
package com.qzcsbj.bean;

/**
 * @公众号 : 全栈测试笔记
 * @博客 : www.cnblogs.com/uncleyong
 * @微信 : ren168632201
 * @描述 : <创建一个类,添加:get、set方法、无参、有参构造方法、toString方法>
 */
public class Person {
    private String name;
    private String job;

    public Person() {
        System.out.println("==============无参构造方法");
    }

    public Person(String name, String job) {
        System.out.println("==============带参构造方法");
        this.name = name;
        this.job = job;
    }

    public String getName() {
        return name;
    }

    public void setName(String name) {
        this.name = name;
    }

    public String getJob() {
        return job;
    }

    public void setJob(String job) {
        this.job = job;
    }

    @Override
    public String toString() {
        return "Person{" +
                "name='" + name + '\'' +
                ", job='" + job + '\'' +
                '}';
    }
}
一个最简单的配置文件示例
<?xml version="1.0" encoding="UTF-8"?>
<beans xmlns="http://www.springframework.org/schema/beans"
       xmlns:xsi="http://www.w3.org/2001/XMLSchema-instance"
       xsi:schemaLocation="http://www.springframework.org/schema/beans http://www.springframework.org/schema/beans/spring-beans.xsd">
    <bean id="p1" class="com.qzcsbj.bean.Person">
        <property name="name" value="jack"/>
        <property name="job" value="tester"/>
    </bean>
</beans>
beans标签
是根标签,表示实体类(标签下面可以很多实体类)
bean标签
是根标签beans内部必须包含的标签,它是用于声明具体的类的对象,也就是创建对象的标签
bean标签中name属性
name是bean对应对象的一个标识
整个配置文件的所有bean中,name不能重复,name可以指定多个(可以理解为别名),用逗号间隔
可以根据name属性获取一个对象
bean标签中id属性
id是bean对象的唯一标识
id不可重复;每个bean只能一个id值
二者关系:
id 和 name 可以同时存在,作为bean的标识(也就是对象的标识),一般用id即可
<?xml version="1.0" encoding="UTF-8"?>
<beans xmlns="http://www.springframework.org/schema/beans"
       xmlns:xsi="http://www.w3.org/2001/XMLSchema-instance"
       xsi:schemaLocation="http://www.springframework.org/schema/beans http://www.springframework.org/schema/beans/spring-beans.xsd">

    <bean id="p1" name="personA,personB" class="com.qzcsbj.bean.Person">
        <property name="name" value="jack"/>
        <property name="job" value="tester"/>
    </bean>

    <bean id="p2" name="personC,personD" class="com.qzcsbj.bean.Person">
        <property name="name" value="tom"/>
        <property name="job" value="dev"/>
    </bean>
</beans>
bean标签中class属性
指定bean对应类的全路径
bean标签中scope属性(作用域)
执行bean对象创建模式和生命周期
singleton:单例
scope = "singleton" 默认值,Spring容器默认创建的对象是单例
<?xml version="1.0" encoding="UTF-8"?>
<beans xmlns="http://www.springframework.org/schema/beans"
       xmlns:xsi="http://www.w3.org/2001/XMLSchema-instance"
       xsi:schemaLocation="http://www.springframework.org/schema/beans http://www.springframework.org/schema/beans/spring-beans.xsd">

    <bean id="p1" name="personA,personB" class="com.qzcsbj.bean.Person" scope="singleton">
        <property name="name" value="jack"/>
        <property name="job" value="tester"/>
    </bean>
</beans>
测试
package com.qzcsbj.test;

import com.qzcsbj.bean.Person;
import org.junit.Test;
import org.springframework.context.support.ClassPathXmlApplicationContext;

/**
 * @公众号 : 全栈测试笔记
 * @博客 : www.cnblogs.com/uncleyong
 * @微信 : ren168632201
 * @描述 : <>
 */
public class TestPerson {
    // 创建对象方式一:传统方式,new创建
    @Test
    public void test(){
        Person p = new Person("jack", "dev");
        System.out.println(p);
    }

    // 创建对象方式二:使用Spring帮我们创建对象
    @Test
    public void test2(){
        // 得到一个context对象
        ClassPathXmlApplicationContext context = new ClassPathXmlApplicationContext("applicationContext.xml");
        // 根据id获取对象
        Person p1 = context.getBean("p1", Person.class);
        System.out.println(p1);
        // 根据name获取对象
        Person pa = context.getBean("personA", Person.class);
        System.out.println(pa);
        System.out.println(p1==pa);
    }
}
结果
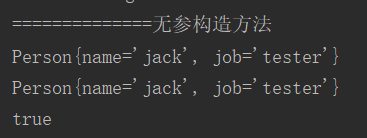
==是比较地址,结果为true,表示是同一个对象
并且构造方法也只执行了一次,也说明只创建了一个对象
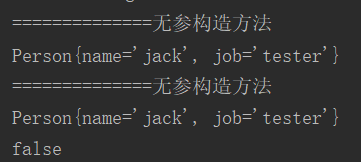
prototype:多例
scope="prototype" 创建的对象是多例(每次获取对象的时候额外创建一个新的)
<?xml version="1.0" encoding="UTF-8"?>
<beans xmlns="http://www.springframework.org/schema/beans"
       xmlns:xsi="http://www.w3.org/2001/XMLSchema-instance"
       xsi:schemaLocation="http://www.springframework.org/schema/beans http://www.springframework.org/schema/beans/spring-beans.xsd">

    <bean id="p1" name="personA,personB" class="com.qzcsbj.bean.Person" scope="prototype">
        <property name="name" value="jack"/>
        <property name="job" value="tester"/>
    </bean>
</beans>
结果为false,并且构造方法执行了两次,说明每次获取对象都创建了一个对象
bean标签中lazy-init属性
是否延时加载,默认值false
注意:
lazy-init只对单例有效,设置scope="singleton"时测试
如果是多例(scope="prototype"),不管lazy-init是true还是false,都是在用到对象的时候才会创建对象
lazy-init="false" 默认值,不延迟创建,即在spring框架一启动就立即创建对象
lazy-init="true" 延迟初始化,在用到对象的时候才会创建对象
<bean id="p1" name="personA,personB" class="com.qzcsbj.bean.Person" scope="singleton" lazy-init="false">
<bean id="p1" name="personA,personB" class="com.qzcsbj.bean.Person" scope="singleton" lazy-init="true">
如果是多例
<bean id="p1" name="personA,personB" class="com.qzcsbj.bean.Person" scope="prototype" lazy-init="false">
<bean id="p1" name="personA,personB" class="com.qzcsbj.bean.Person" scope="prototype" lazy-init="true">
说明:可以debug看效果,此处略。
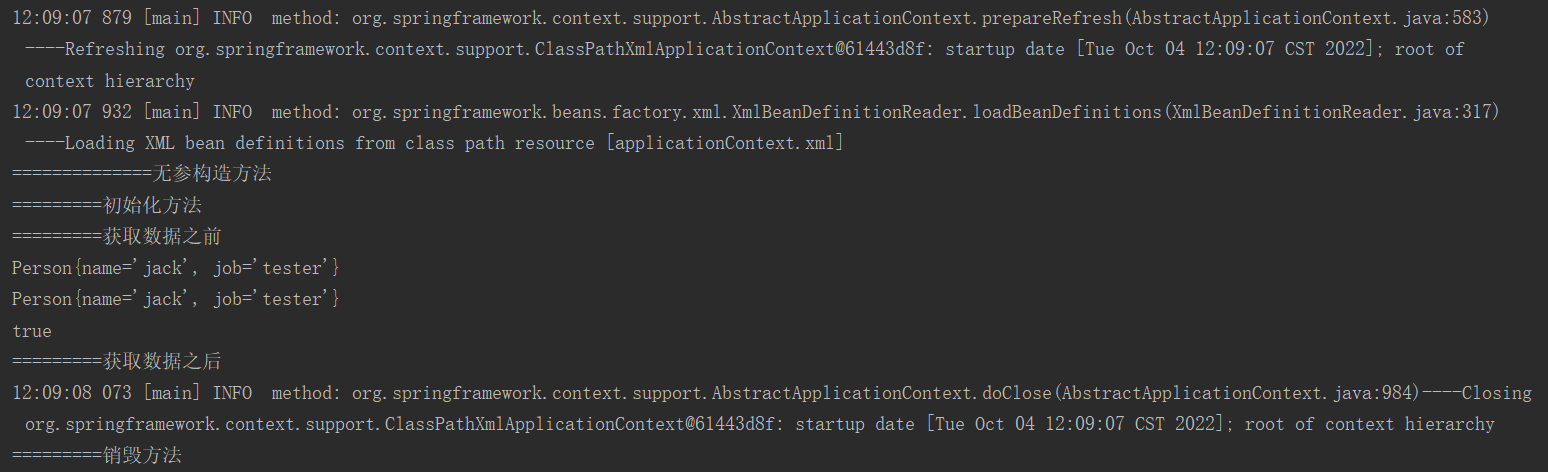
bean标签中init-method和destroy-method属性
init-method是Spring对象初始化方法
destroy-method是对象销毁方法
说明:如果是多例,对象的消耗不是由spring控制,而是由jvm控制
实体类中添加方法(下面方法名称可以自定义)
    // 对象初始化的时候调用
    public void init(){
        System.out.println("=========初始化方法");
    }

    // 对象被销毁的时候调用
    public void destroy(){
        System.out.println("=========销毁方法");
    }
xml中,配置init-method、destroy-method就有提示,可以选择上面定义的两个方法
<bean id="p1" name="personA,personB" class="com.qzcsbj.bean.Person" scope="singleton" lazy-init="true" init-method="init" destroy-method="destroy">
测试
package com.qzcsbj.test;

import com.qzcsbj.bean.Person;
import org.junit.Test;
import org.springframework.context.support.ClassPathXmlApplicationContext;

/**
 * @公众号 : 全栈测试笔记
 * @博客 : www.cnblogs.com/uncleyong
 * @微信 : ren168632201
 * @描述 : <>
 */
public class TestPerson {
    // 创建对象方式一:传统方式,new创建
    @Test
    public void test(){
        Person p = new Person("jack", "dev");
        System.out.println(p);
    }

    // 创建对象方式二:使用Spring帮我们创建对象
    @Test
    public void test2(){
        // 得到一个context对象
        ClassPathXmlApplicationContext context = new ClassPathXmlApplicationContext("applicationContext.xml");

        System.out.println("=========获取数据之前");
        // 根据id获取对象
        Person p1 = context.getBean("p1", Person.class);
        System.out.println(p1);
        // p1.setJob("teacher");
        // System.out.println(p1);
        // 根据name获取对象
        Person pa = context.getBean("personA", Person.class);
        System.out.println(pa);
        System.out.println(p1==pa);

        System.out.println("=========获取数据之后");

        // 测试销毁
        context.close();
    }
}
结果
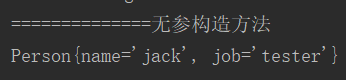
bean标签内property标签
给属性赋值,调用set方法注入

测试
|
1
2
3
4
5
6
|
@Testpublic void test(){ ClassPathXmlApplicationContext context = new ClassPathXmlApplicationContext("applicationContext.xml"); Person p1 = context.getBean("p1", Person.class); System.out.println(p1);} |
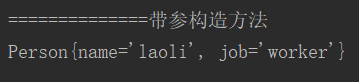
bean标签内constructor-arg标签
给属性赋值,调用构造方法注入
index:按参数索引注入,索引从0开始
type:按参数类型注入
name是属性名
type和index一起用:
|
1
2
3
4
5
|
<bean id="p2" class="com.qzcsbj.bean.Person"> <constructor-arg index="0" type="java.lang.String" value="laoli"/> <constructor-arg index="1" type="java.lang.String" value="worker"/></bean> |
或者name和index一起用:
|
1
2
3
4
5
|
<bean id="p2" class="com.qzcsbj.bean.Person"> <constructor-arg index="0" name="name" value="laoli"/> <constructor-arg index="1" name="job" value="worker"/></bean> |
|
1
2
3
4
5
|
<bean id="p2" class="com.qzcsbj.bean.Person"> <constructor-arg index="0" type="java.lang.String" value="laoli"/> <constructor-arg index="1" type="java.lang.String" value="worker"/></bean> |
|
1
2
3
4
5
6
|
@Testpublic void test3(){ ClassPathXmlApplicationContext context = new ClassPathXmlApplicationContext("applicationContext.xml"); Person p2 = context.getBean("p2", Person.class); System.out.println(p2);} |
原文会持续更新,原文地址:https://www.cnblogs.com/uncleyong/p/17018688.html
__EOF__

关于博主:擅长性能、全链路、自动化、企业级自动化持续集成(DevTestOps)、测开等
面试必备:项目实战(性能、自动化)、简历笔试,https://www.cnblogs.com/uncleyong/p/15777706.html
测试提升:从测试小白到高级测试修炼之路,https://www.cnblogs.com/uncleyong/p/10530261.html
欢迎分享:如果您觉得文章对您有帮助,欢迎转载、分享,也可以点击文章右下角【推荐】一下!

 浙公网安备 33010602011771号