docker——harbor
为什么要用harbor?
在实际生产运维中,往往需要把镜像发布到几十、上百台或更多的节点上。这时单台Docker主机上镜像已无法满足,项目越来越多,镜像就越来越多,都放到一台Docker主机上是不行的,我们需要一个像Git仓库一样系统来统一管理镜像。这里介绍的是一个企业级镜像仓库Harbor,将作为我们容器云平台的镜像仓库中心。
Habor是由VMWare公司开源的容器镜像仓库。事实上,Habor是在Docker-Registry上进行了相应的企业级扩展,从而获得了更加广泛的应用,这些新的企业级特性包括:管理用户界面,基于角色的访问控制 ,AD/LDAP集成以及审计日志等,足以满足基本企业需求。
Harbor和Registry的比较:
Harbor和Registry都是Docker的镜像仓库,但是Harbor作为更多企业的选择,是因为相比较于Regisrty来说,它具有很多的优势。
1、提供分层传输机制,优化网络传输
Docker镜像是是分层的,而如果每次传输都使用全量文件(所以用FTP的方式并不适合),显然不经济。必须提供识别分层传输的机制,以层的UUID为标识,确定传输的对象。
2、提供WEB界面,优化用户体验
只用镜像的名字来进行上传下载显然很不方便,需要有一个用户界面可以支持登陆、搜索功能,包括区分公有、私有镜像。
3、支持水平扩展集群
当有用户对镜像的上传下载操作集中在某服务器,需要对相应的访问压力作分解。
4、良好的安全机制
企业中的开发团队有很多不同的职位,对于不同的职位人员,分配不同的权限,具有更好的安全性。
5、Harbor提供了基于角色的访问控制机制,并通过项目来对镜像进行组织和访问权限的控制。kubernetes中通过namespace来对资源进行隔离,在企业级应用场景中,通过将两者进行结合可以有效将kubernetes使用的镜像资源进行管理和访问控制,增强镜像使用的安全性。尤其是在多租户场景下,可以通过租户、namespace和项目相结合的方式来实现对多租户镜像资源的管理和访问控制。
搭建harbor:
第一步:
yum install epel-release            #下载扩展源
yum install -y python-pip
pip install --upgrade pip
pip install docker-compose
第二步:下载harbor
https://github.com/goharbor/harbor/releases
第三步:解压harbo安装包
[root@localhost ~]# tar xf harbor-offline-installer-v1.8.2.tgz
第四步:修改配置文件
[root@localhost ~]# cd harbor/
[root@localhost harbor]# vim harbor.yml
...
hostname: 192.168.59.200
...
第五步:执行harbor脚本
[root@localhost harbor]# ./install.sh
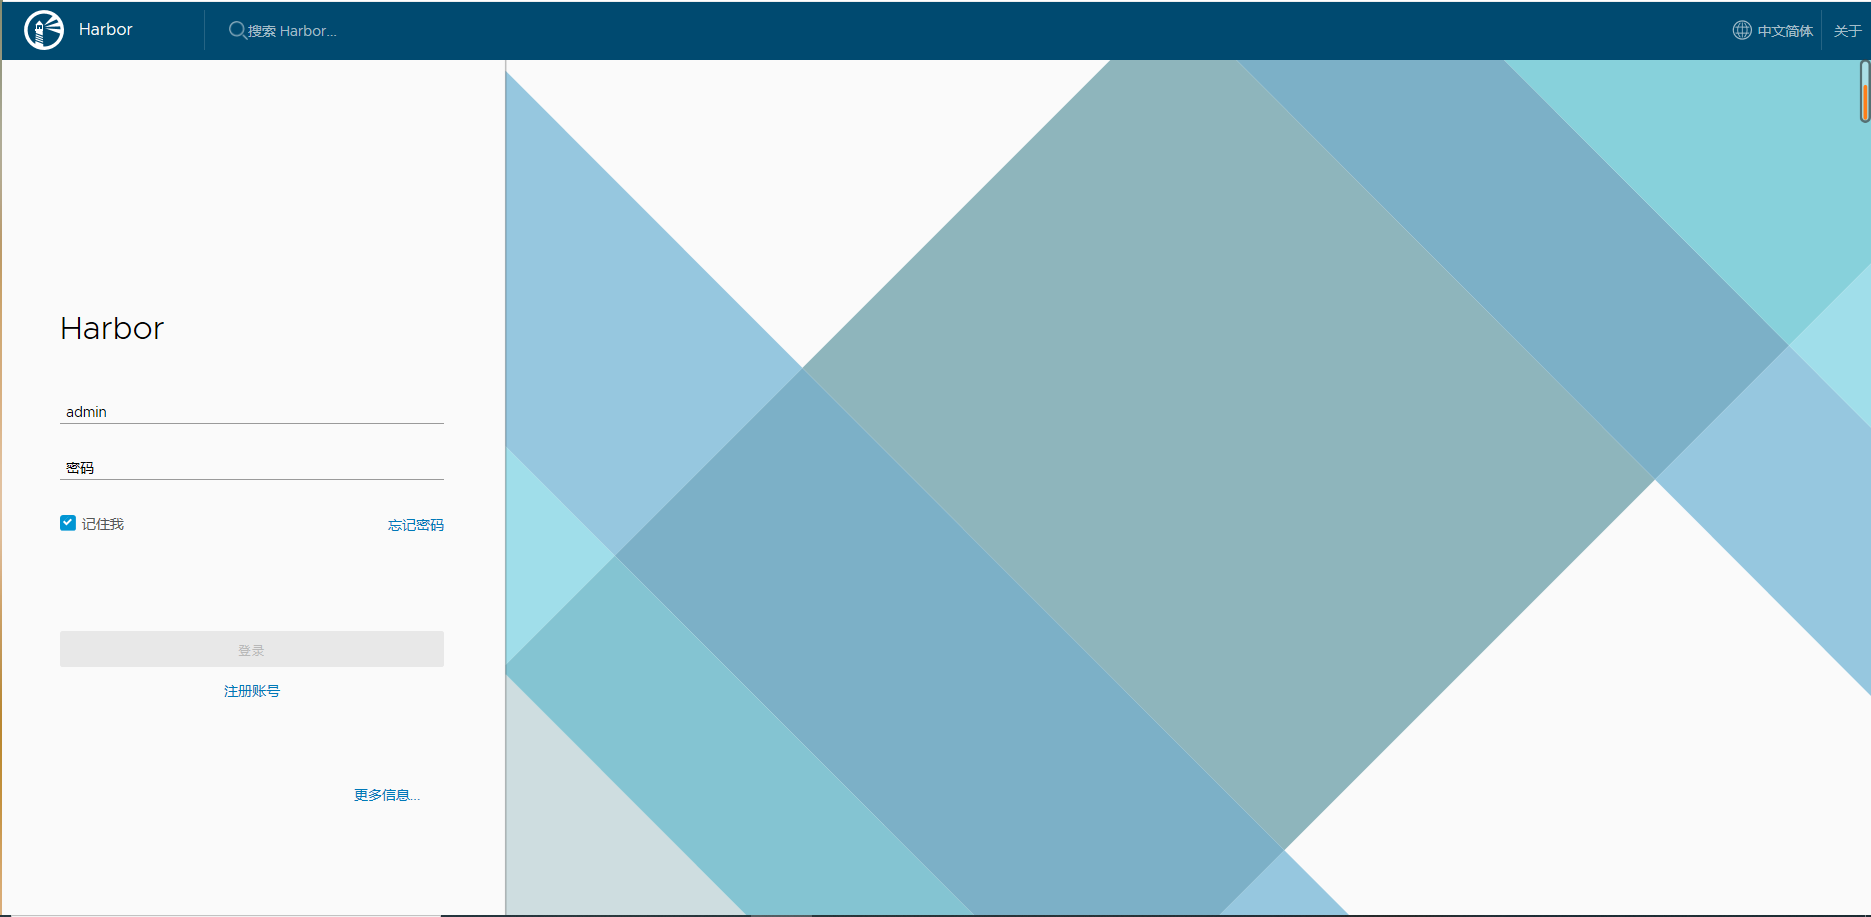
第六步:浏览器配置
...
账号/密码: admin/Harbor12345
harbor_admin_password: Harbor12345 #harbor.yml
...
第七步:镜像改名
[root@localhost harbor]# docker tag httpd:latest 192.168.59.200/test/httpd:v1
第八步:修改docker配置文件
[root@localhost harbor]# vim /etc/docker/daemon.json
...
{
"registry-mirrors": ["https://6wnyrhwf.mirror.aliyuncs.com"],
"insecure-registries": ["192.168.59.200:8878"],
"insecure-registries": ["192.168.59.200"]
}
...
第九步:重启docker
[root@localhost harbor]# systemctl restart docker
第十步:启动harbor
[root@localhost harbor]# docker-compose start
Starting log ... done
Starting postgresql ... done
Starting redis ... done
Starting registry ... done
Starting core ... done
Starting jobservice ... done
Starting portal ... done
Starting proxy ... done
Starting registryctl ... done
第十一步:需要登录harbor
[root@localhost harbor]# docker login 192.168.59.200
Username: admin
Password:
WARNING! Your password will be stored unencrypted in /root/.docker/config.json.
Configure a credential helper to remove this warning. See
https://docs.docker.com/engine/reference/commandline/login/#credentials-store

Login Succeeded
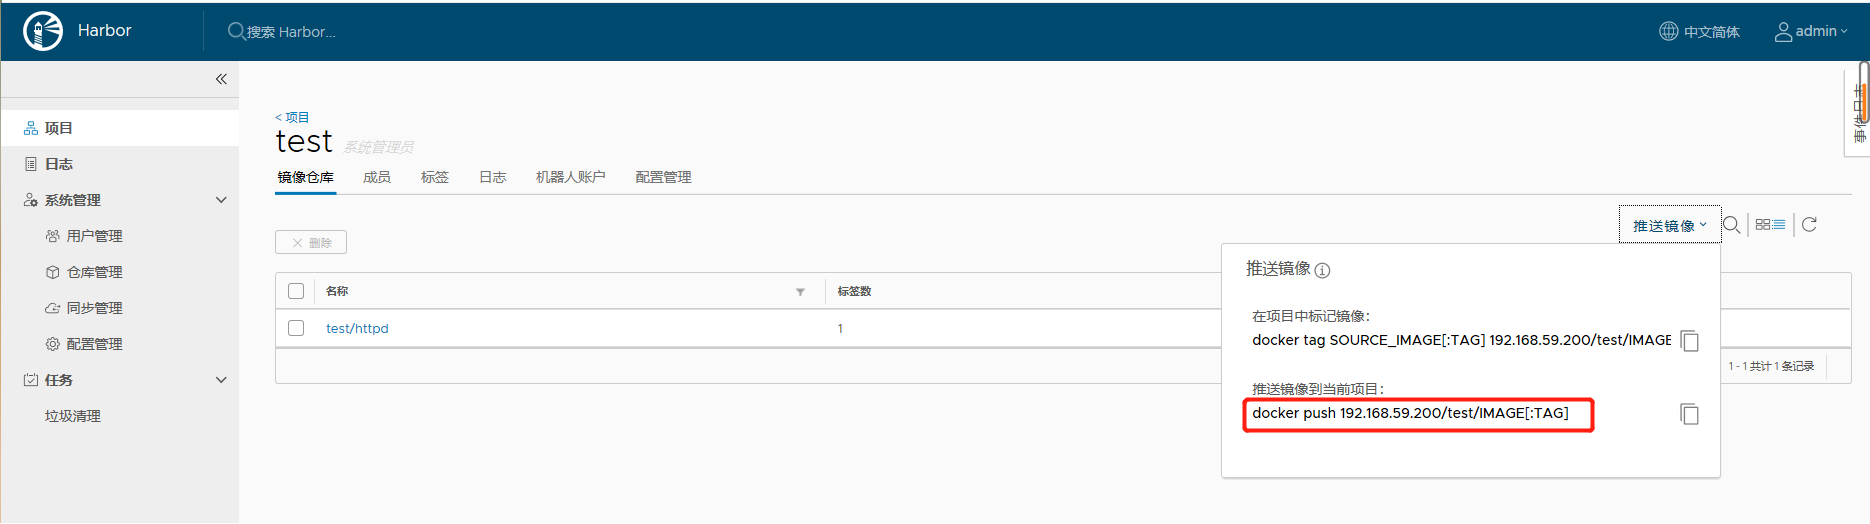
第十二步:推送镜像至harbor
[root@localhost harbor]# docker push 192.168.59.200/test/httpd
The push refers to repository [192.168.59.200/test/httpd]
0f8d971d177b: Pushed
97fd31ecd005: Pushed
82155933cfa6: Pushed
2fd9f57029b0: Pushed
02bd518ef304: Pushed
b8342f9976fc: Pushed
2c833f307fd8: Pushed
第十三步:harbor查看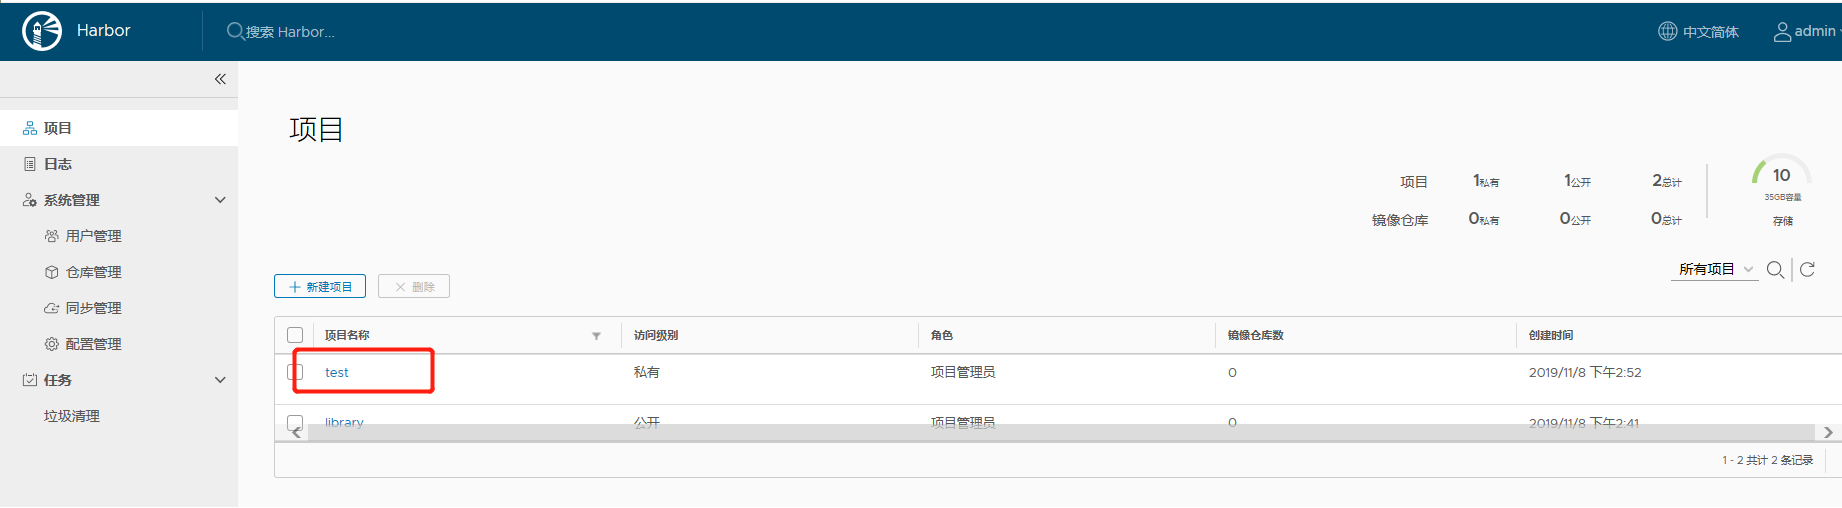
第十四步:拉取镜像
[root@localhost harbor]# docker image ls
REPOSITORY TAG IMAGE ID CREATED SIZE
192.168.59.200/test/httpd v1 fb2f3851a971 18 months ago 178MB
[root@localhost harbor]# docker image rm -f fb2f3851a971
[root@localhost harbor]# docker pull 192.168.59.200/test/httpd:v1
v1: Pulling from test/httpd
3d77ce4481b1: Pull complete
73674f4d9403: Pull complete
d266646f40bd: Pull complete
ce7b0dda0c9f: Pull complete
01729050d692: Pull complete
014246127c67: Pull complete
7cd2e04cf570: Pull complete
Digest: sha256:58270ec746bed598ec109aef58d495fca80ee0a89f520bd2430c259ed31ee144
Status: Downloaded newer image for 192.168.59.200/test/httpd:v1
192.168.59.200/test/httpd:v1
[root@localhost harbor]# docker image ls
REPOSITORY TAG IMAGE ID CREATED SIZE
192.168.59.200/test/httpd v1 fb2f3851a971 18 months ago 178MB
-------------------------------------------
个性签名:学IT,就要做到‘活到老学到老’!
如果觉得这篇文章对你有小小的帮助的话,别忘记点个“推荐”哦!

 浙公网安备 33010602011771号