创建springboot项目的两种方式
通过maven工程创建springboot项目
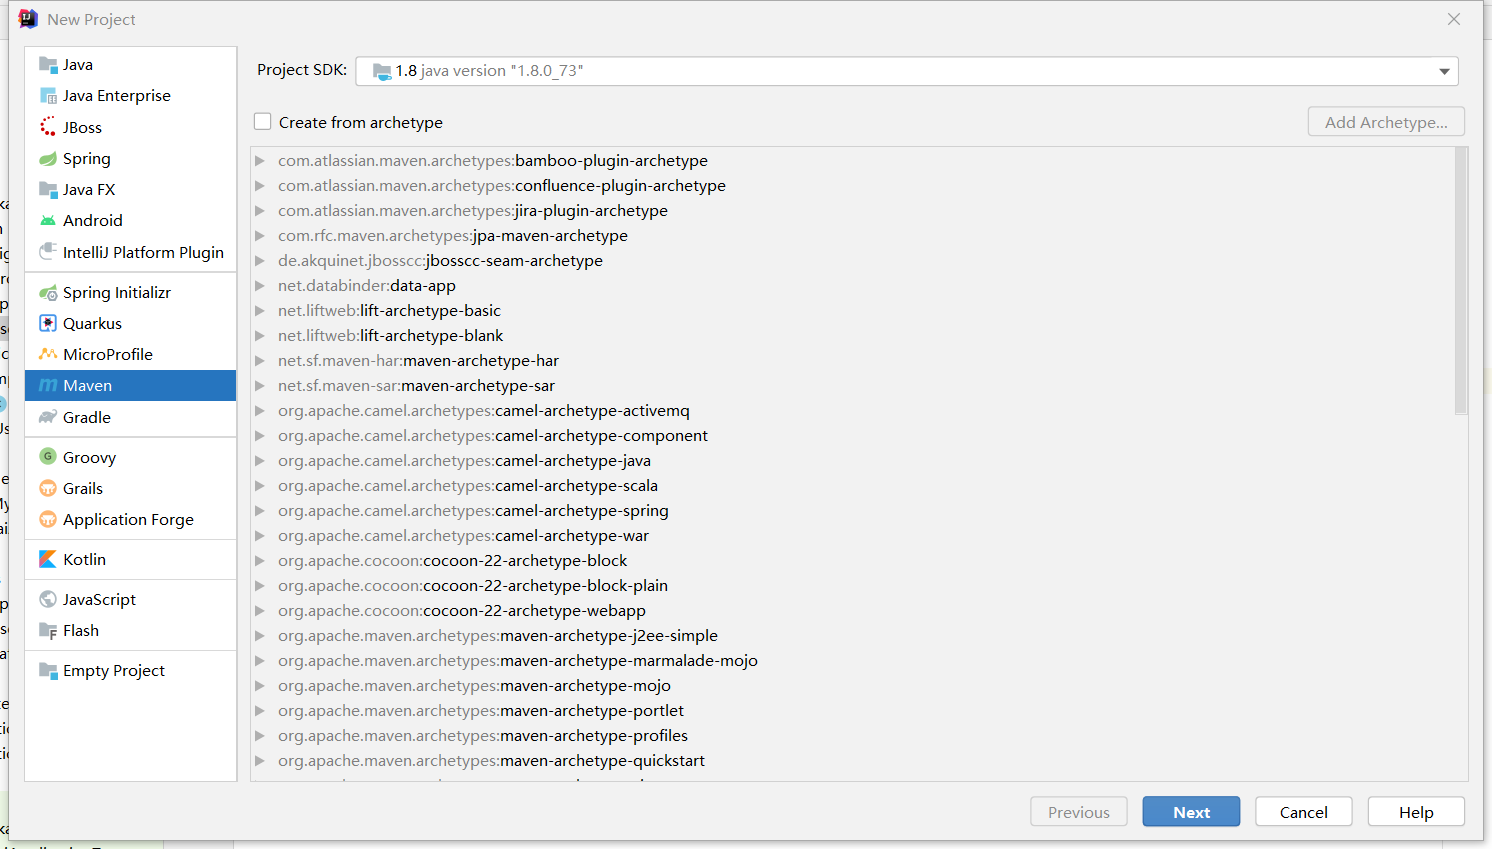
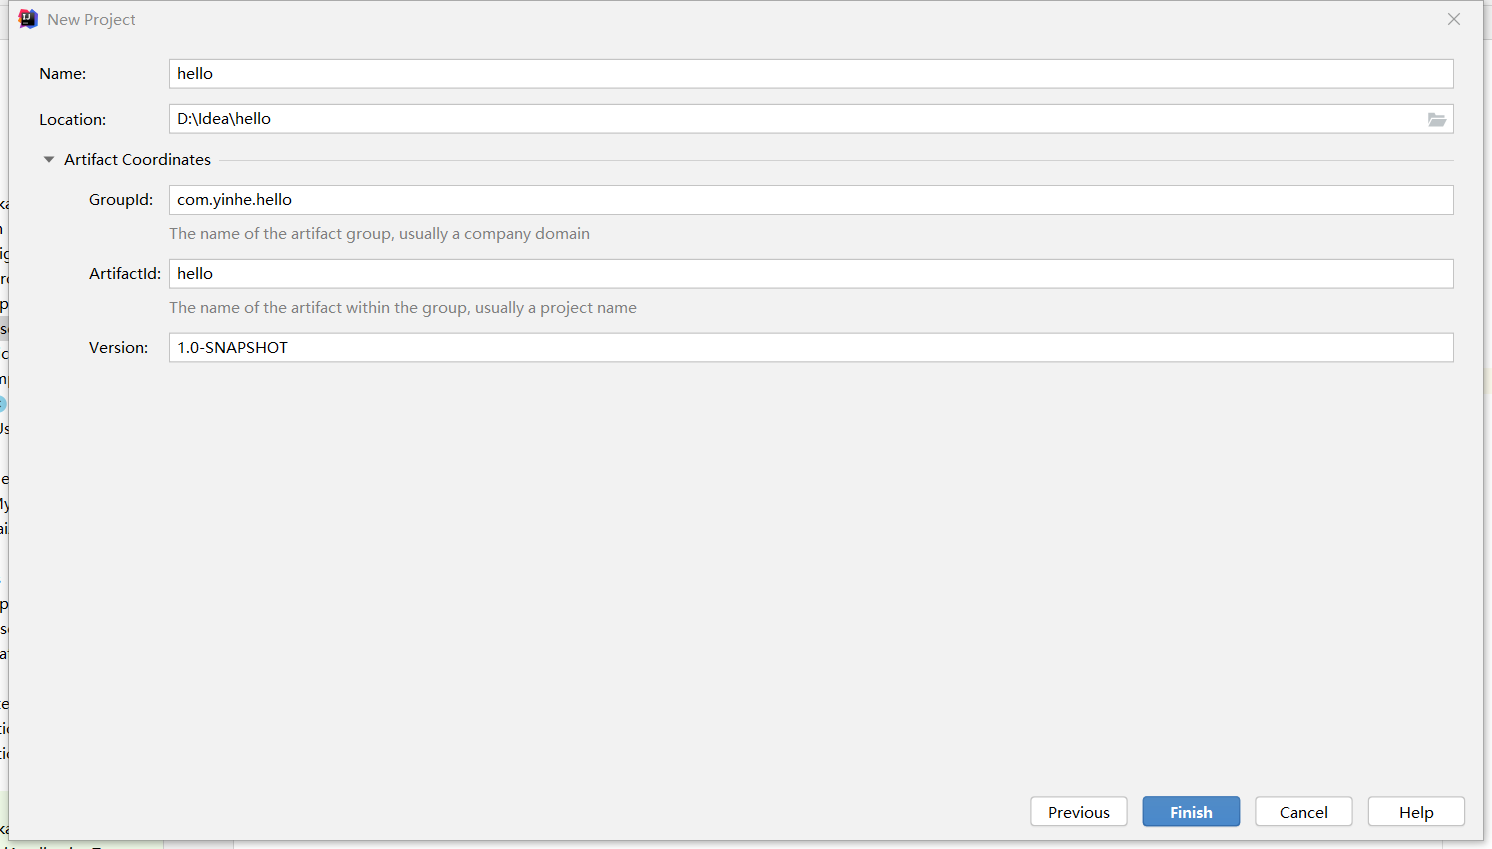
引入如下依赖
 1 <!-- Inherit defaults from Spring Boot -->
 2
 3   <parent>
 4
 5    <groupId>org.springframework.boot</groupId>
 6
 7    <artifactId>spring-boot-starter-parent</artifactId>
 8
 9    <version>2.1.3.RELEASE</version>
10
11   </parent>
12
13
14
15   <!-- Add typical dependencies for a web application -->
16
17   <dependencies>
18
19    <dependency>
20
21      <groupId>org.springframework.boot</groupId>
22
23      <artifactId>spring-boot-starter-web</artifactId>
24
25    </dependency>
26
27   </dependencies>
增加控制器
 1 @Controller
 2
 3 public class HelloController {
 4
 5 @ResponseBody
 6
 7 @GetMapping("/hello")
 8
 9 public String handle01(){
10
11 return "OK!+哈哈";
12
13 }
14
15 }
写主程序
 1 /**
 2
 3 *  1、标了这个@SpringBootApplication的类(必须有main方法) 说明这是一个SpringBoot应用【主配置类,主程序类】
 4
 5  *  2、默认的约定:
 6
 7  *          所有的组件都必须在@SpringBootApplication所在包或者下面的子包,才能被自动扫描到
 8
 9  *
10
11  *  简单原理:
12
13  *          1)、SpringBoot已经适配了所有的场景,我们相用引入这个场景的starter即可,剩下都是自动配置好的
14
15  *          2)、我们只需要写controller\service
16
17  *          3)、嵌入式的tomcat
18
19  * 2、简化部署
20
21  *                 1)、引入springboot插件
22
23  *                 2)、将应用打包
24
25  *                 3)、直接双击或者使用java -jar 命令运行 ;里面已经有嵌入式的tomcat
26
27  */
28
29  @SpringBootApplication
30
31  public class MainApplication {
32
33  public static void main(String[] args) {
34
35  //Spring应用跑起来...
36
37  SpringApplication.run(MainApplication.class, args);
38
39  }
40
41  }
运行访问
通过快速工具创建springboot项目
创建Spring Starter Project; 必须联网创建

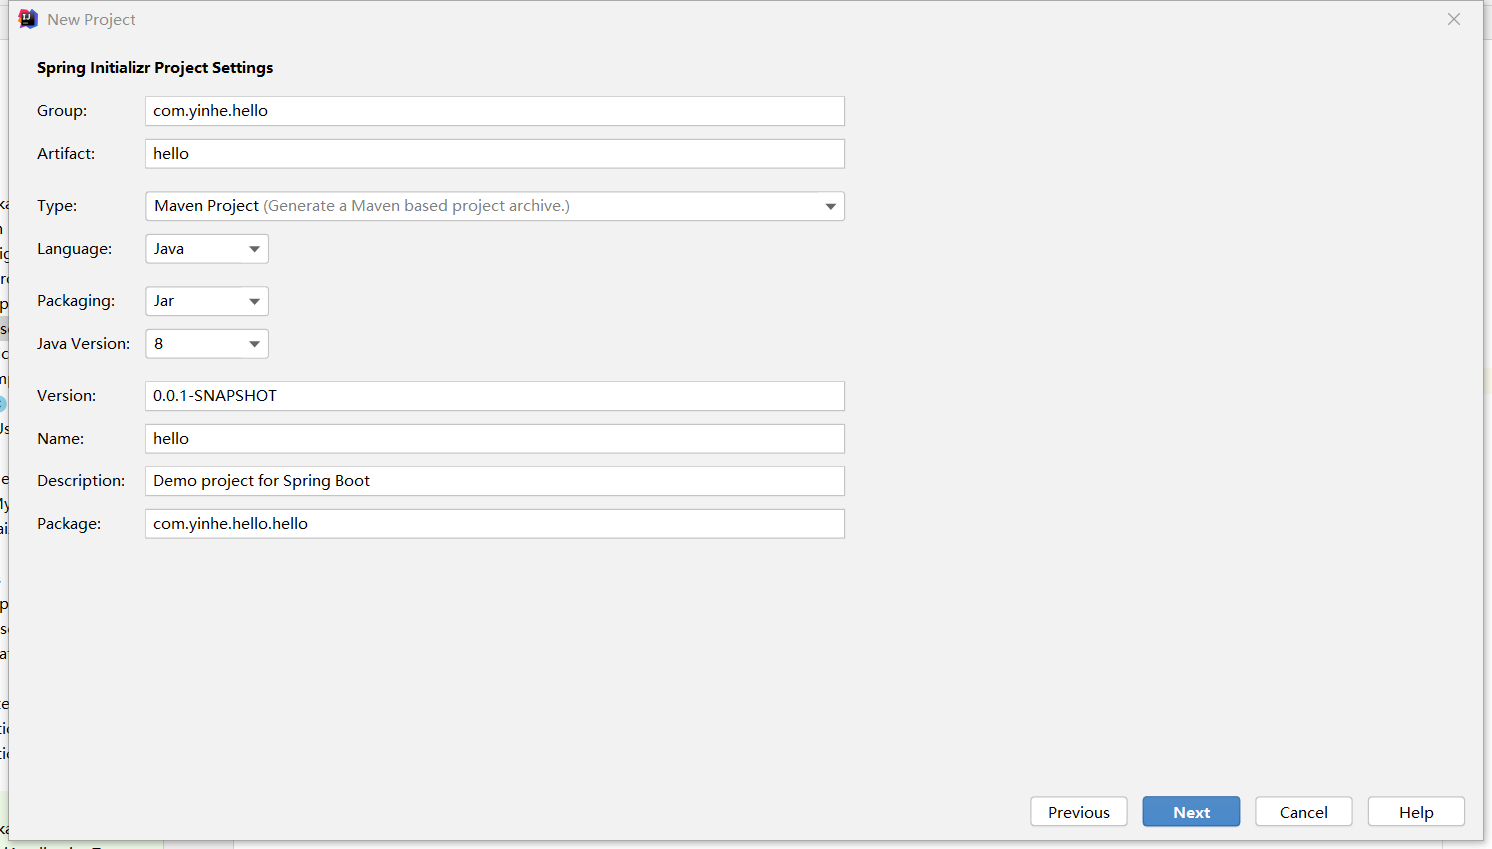
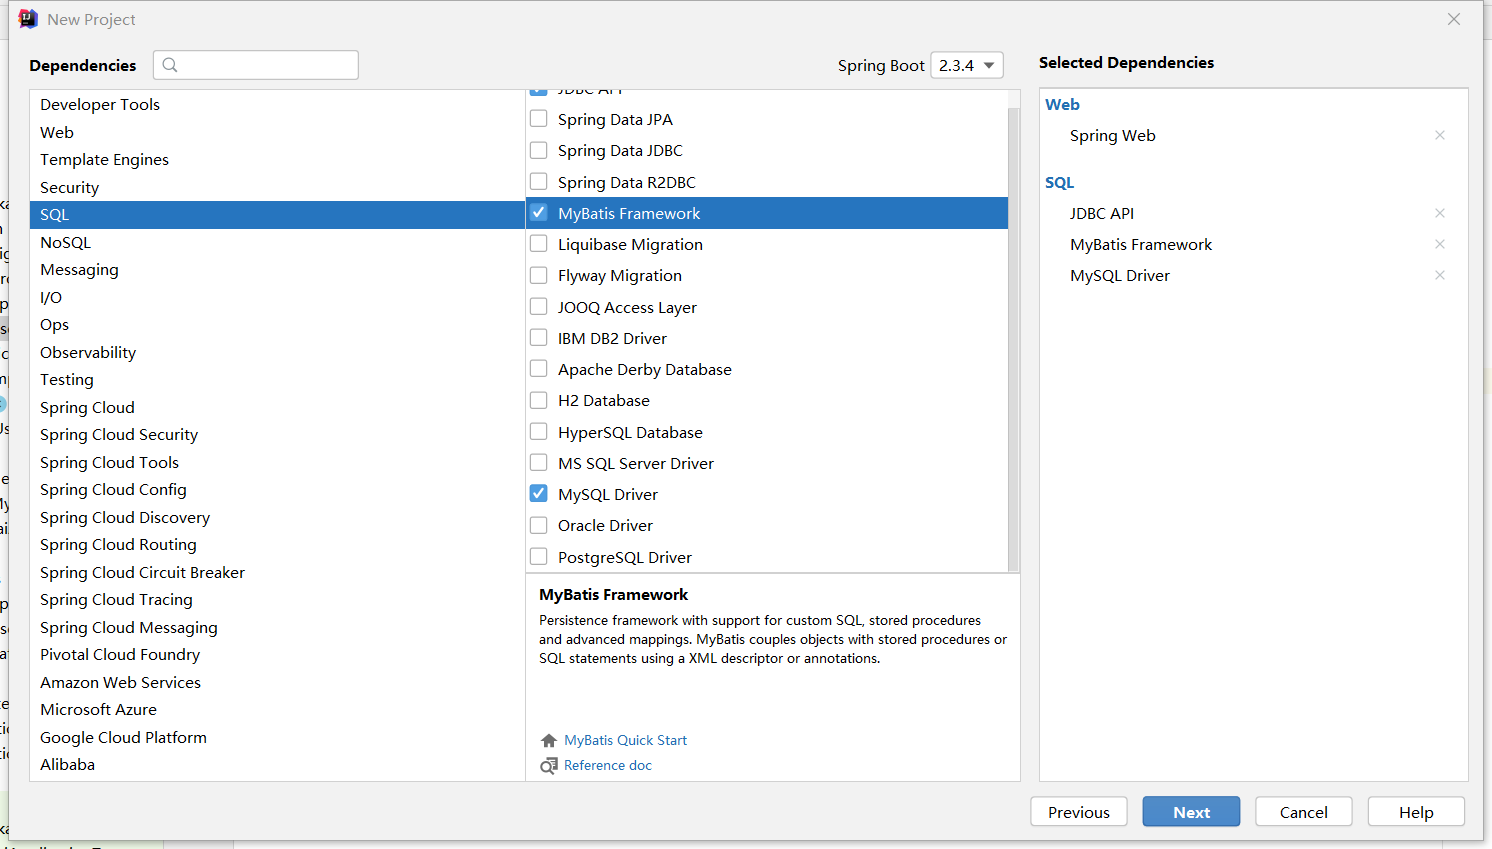
选择版本,引入需要的依赖
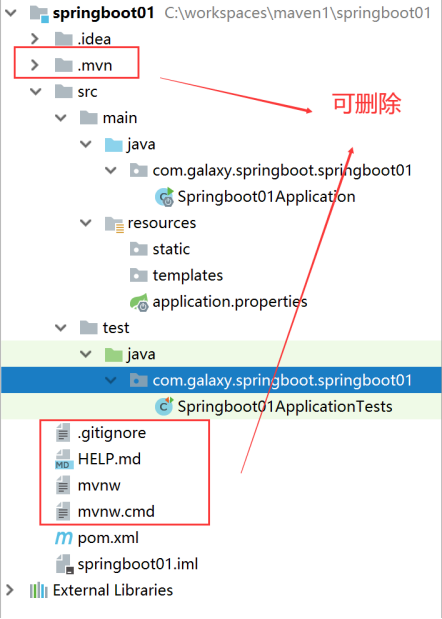
项目结构
自动生成主程序类,用于启动项目
自动生成静态资源目录及属性配置文件
自动生成测试类
自动增加pom.xml相关依赖配置
运行

增加控制器类
 1 import org.springframework.stereotype.Controller;
 2
 3 import org.springframework.web.bind.annotation.GetMapping;
 4
 5 import org.springframework.web.bind.annotation.ResponseBody;
 6
 7 import org.springframework.web.bind.annotation.RestController;
 8
 9
10
11 //@ResponseBody
12
13 //@Controller
14
15
16
17 @RestController
18
19 public class HelloController {
20
21
22
23 @GetMapping("/hello")
24
25 public String handle01(){
26
27 return "OK!+哈哈";
28
29 }
30 }
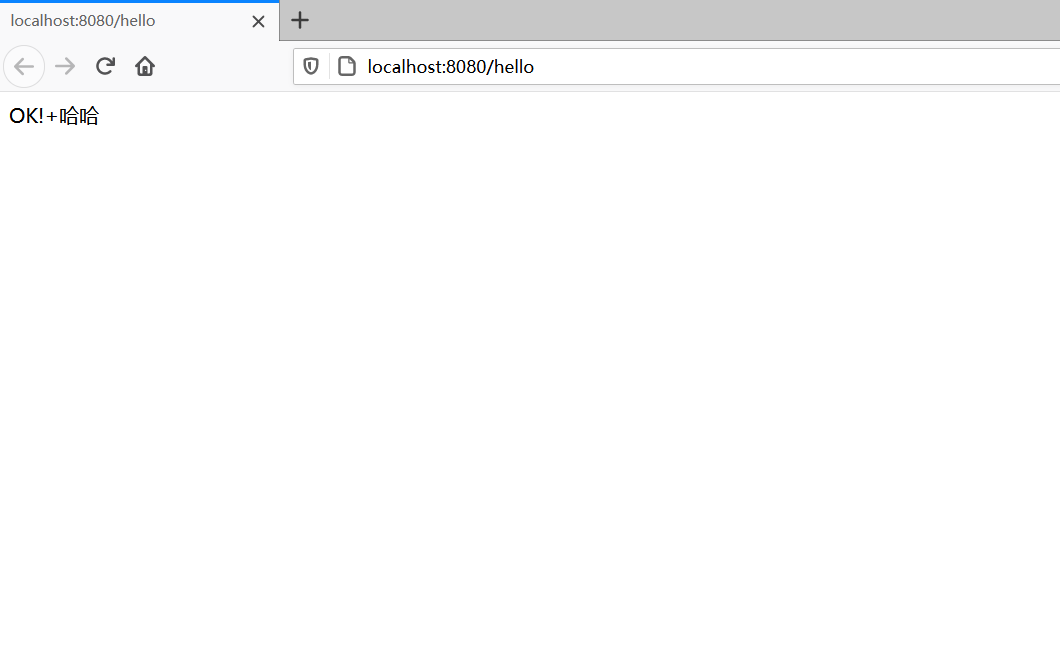
运行测试


 浙公网安备 33010602011771号