ReactiveProperty入门
什么是ReactiveProperty
ReactiveProperty在Reactive Extensions下支持异步功能。目标框架是 .NET Standard 2.0。

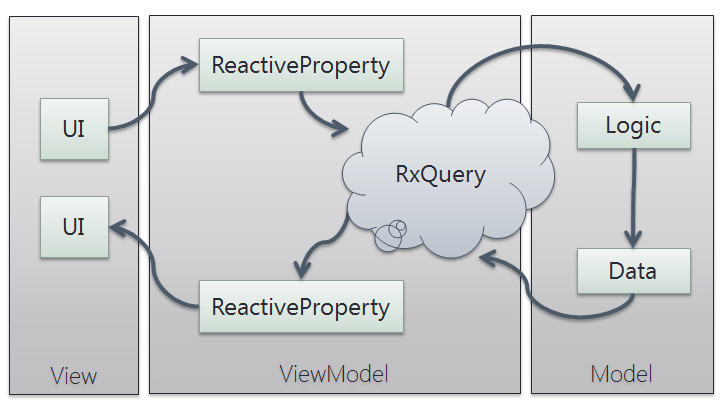
ReactiveProperty的理念是有趣的编程. 您可以使用 ReactiveProperty 编写 MVVM 模式程序。这非常有趣!

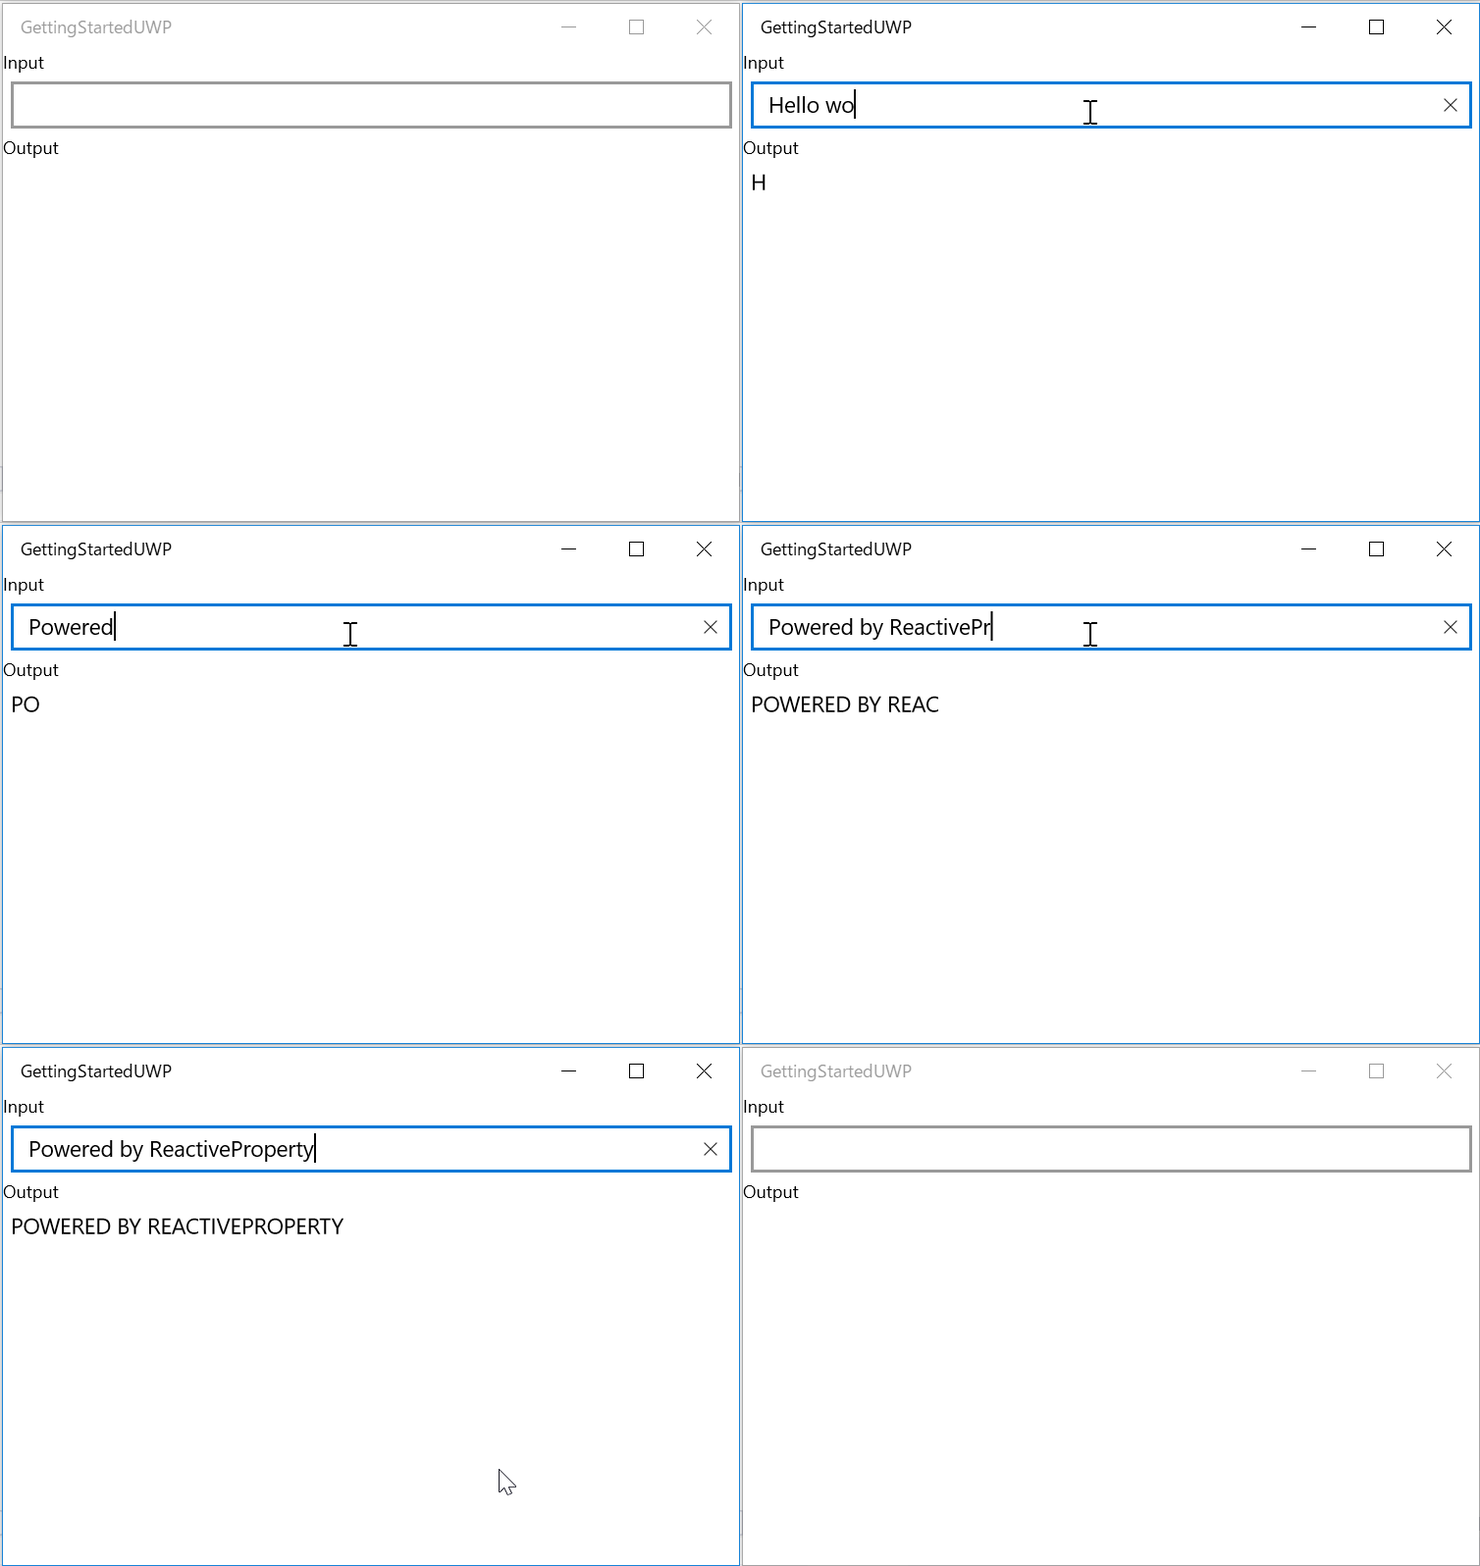
例子中xaml代码如下:
<Window x:Class="WpfApp1.MainWindow"
        xmlns="http://schemas.microsoft.com/winfx/2006/xaml/presentation"
        xmlns:x="http://schemas.microsoft.com/winfx/2006/xaml"
        xmlns:d="http://schemas.microsoft.com/expression/blend/2008"
        xmlns:mc="http://schemas.openxmlformats.org/markup-compatibility/2006"
        xmlns:viewModels="clr-namespace:WpfApp1.ViewModels"
        mc:Ignorable="d"
        Title="GettingStartedUWP" Height="450" Width="800">
    <!--可以看作是画面相关数据的数据集-->
    <Window.DataContext>
        <viewModels:ViewModel/>
    </Window.DataContext>
    <StackPanel Margin="10">
        <Label Content="Input:" />
        <!--绑定数据源更新的触发器为PropertyChanged,即画面数据发生变化时,触发绑定的数据源更新-->
        <TextBox Text="{Binding Input.Value, UpdateSourceTrigger=PropertyChanged}" />
        <Label Content="Output:" />
        <TextBlock Text="{Binding Output.Value}" />
    </StackPanel>
</Window>
例子的ViewModel代码如下:
class ViewModel
{
    public ReactiveProperty<string> Input { get; }
    public ReactiveProperty<string> Output { get; }

    public ViewModel()
    {
        Input = new ReactiveProperty("");
        Output = Input
            .Delay(TimeSpan.FromSecond(1)) // 响应式方法,可设置响应延时
            .Select(x => x.ToUpper()) // 返回结果设置为大写
            .ToReactiveProperty(); // 转化为ReactiveProperty
    }
}
由于ReactiveProperty 是继承自IObservable<T>. 所以我们可以使用 LINQ。
var name = new ReactiveProperty<string>();
name.Where(x => x.StartsWith("_"))
    .Select(x => x.ToUpper())
    .Subscribe(x => { ... some action ... });
ReactiveProperty提供了ReactiveCommand,它是实现了ICommand和IObservable<T>接口的类。
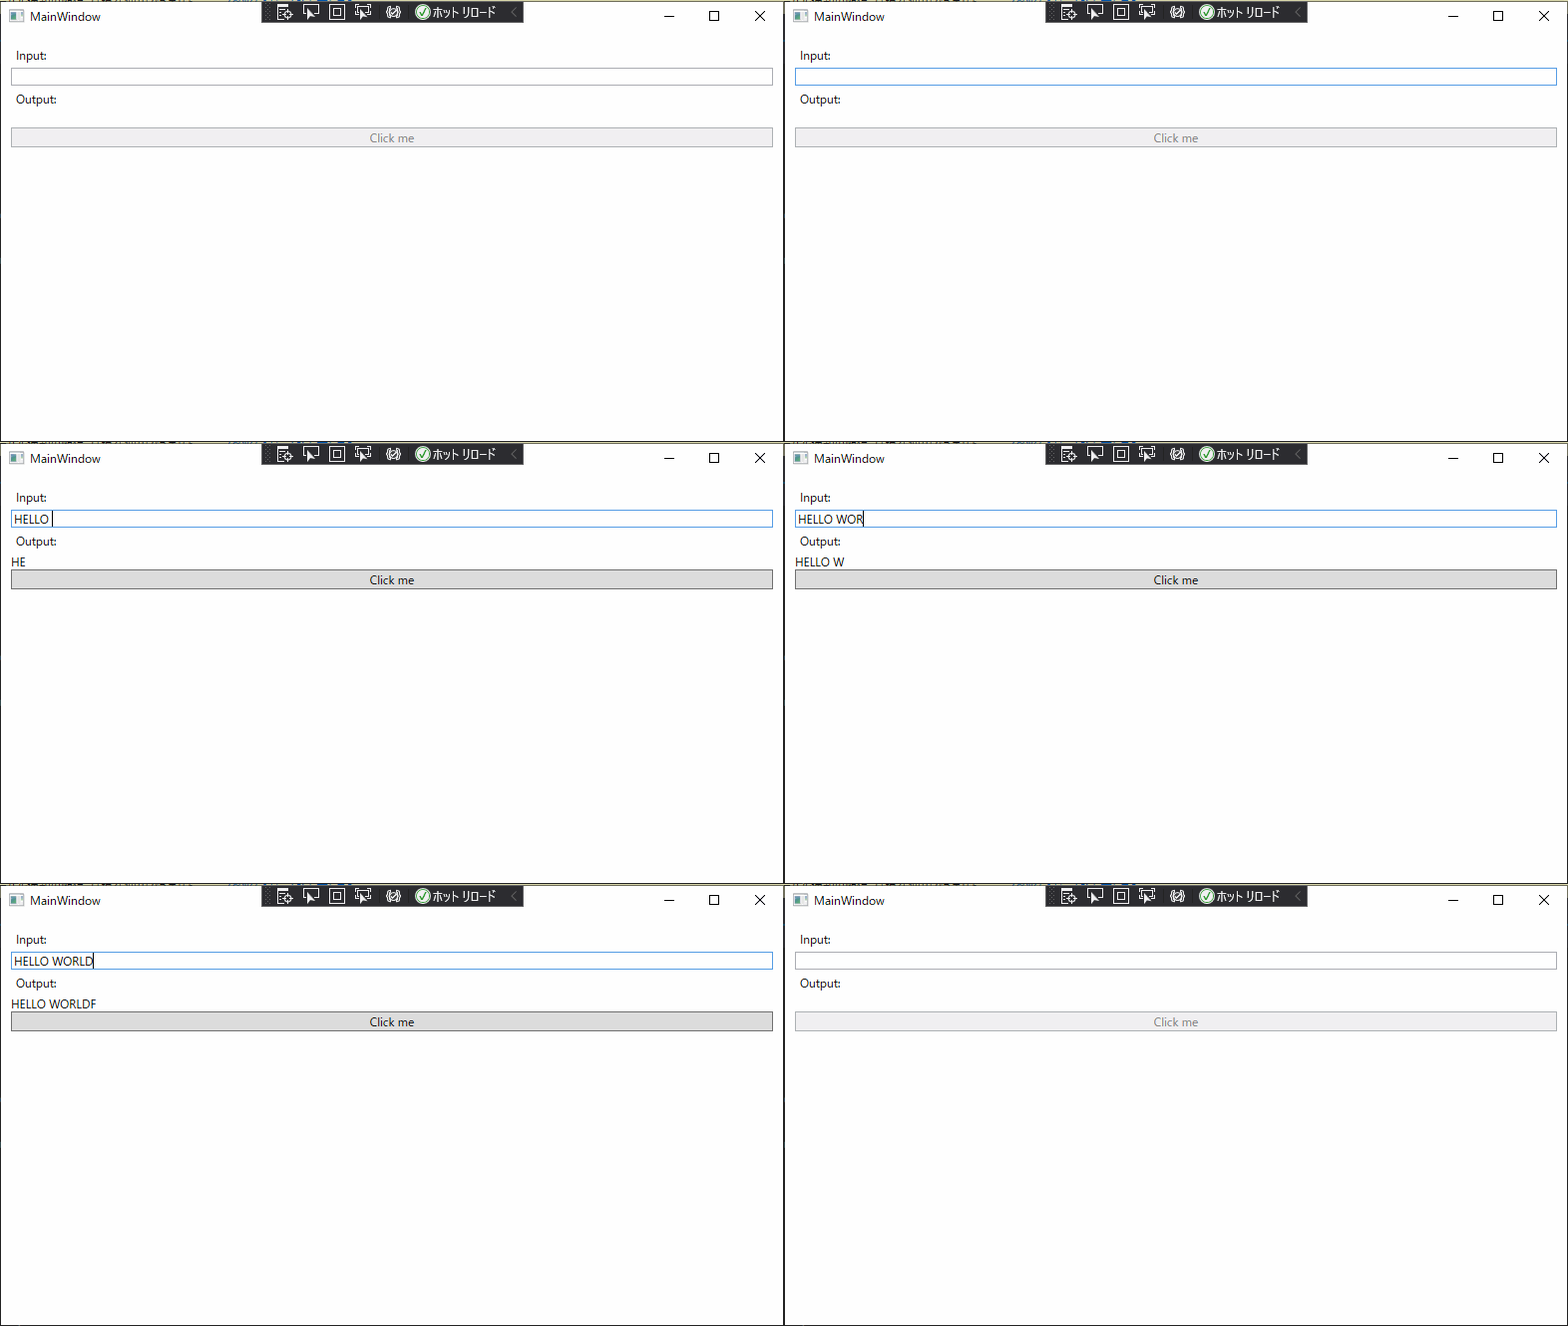
以下示例创建了一个ReactiveCommand,它可以在Input不为空的时候执行。

例子中xaml代码如下
<Window x:Class="WpfApp1.MainWindow"
        xmlns="http://schemas.microsoft.com/winfx/2006/xaml/presentation"
        xmlns:x="http://schemas.microsoft.com/winfx/2006/xaml"
        xmlns:d="http://schemas.microsoft.com/expression/blend/2008"
        xmlns:mc="http://schemas.openxmlformats.org/markup-compatibility/2006"
        xmlns:viewModels="clr-namespace:WpfApp1.ViewModels"
        mc:Ignorable="d"
        Title="MainWindow" Height="450" Width="800">
    <Window.DataContext>
        <viewModels:ViewModel/>
    </Window.DataContext>
    <StackPanel Margin="10">
        <Label Content="Input:" />
        <TextBox Text="{Binding Input.Value, UpdateSourceTrigger=PropertyChanged}" />
        <Label Content="Output:" />
        <TextBlock Text="{Binding Output.Value}" />
        <Button Content="Click me" Command="{Binding ResetCommand}" />
    </StackPanel>
</Window>
c#代码如下:
class ViewModel
{
    public ReactiveProperty<string> Input { get; }
    public ReactiveProperty<string> Output { get; }

    public ReactiveCommand ResetCommand { get; }

    public ViewModel()
    {
        Input = new ReactiveProperty("");
        Output = Input
            .Delay(TimeSpan.FromSecond(1))
            .Select(x => x.ToUpper())
            .ToReactiveProperty();

        ResetCommand = Input.Select(x => !string.IsNullOrWhitespace(x)) // 将ReactiveProperty<string>转化为IObservable<bool>
            .ToReactiveCommand() // 当bool值为true时,ResetCommand绑定的按钮可执行
            .WithSubscribe(() => Input.Value = ""); // ReactCommand执行的业务
    }
}
ReactiveProperty的NuGet包
| 包名 | 概述 |
|---|---|
| ReactiveProperty | 该包包含所有核心功能,目标平台为 .NET Standard 2.0。它几乎适用于所有情况。 |
| ReactiveProperty.Core | 该包包括最少的类,例如ReactivePropertySlim<T>和ReadOnlyReactivePropertySlim<T>。这甚至没有任何依赖关系 System.Reactive。如果您不需要 Rx 功能,那么它很适合。 |
| ReactiveProperty.WPF | 该包包括用于 WPF 的 EventToReactiveProperty 和 EventToReactiveCommand。这适用于 .NET Core 3.0 或更高版本以及 .NET Framework 4.6.1 或更高版本。 |
| ReactiveProperty.UWP | 该包包括用于 UWP 的 EventToReactiveProperty 和 EventToReactiveCommand。 |
PS:导包的时候一定要根据自身所选择的开发平台来进行包的选择
创建ReactiveProperty实例
构造函数创建
使用构造函数是最简单的方法。
var name = new ReactiveProperty<string>();
实现IObservable<T>接口
通过实现IObservable<T>接口,调用ToReactiveProperty方法
IObservable<long> observableInstance = Observable.Interval(TimeSpan.FromSeconds(1));
ReactiveProperty<long> counter = observableInstance.ToReactiveProperty();
由于ReactiveProperty实现了IObservable接口,这意味着我们可以通过ReactiveProperty来创建新的ReactiveProperty实例
var name = new ReactiveProperty<string>("");

var formalName = name.Select(x => $"Dear {x}")
    .ToReactiveProperty();
PS:所有的实现IObservable接口的实例都能通过ToReactiveProperty()方法变成ReactiveProperty
验证
ReactiveProperty类实现了INotifyDataErrorInfo接口
所以我们可以通过自定义逻辑,或者与DataAnnotations联用的方式来实现验证
设置自定义逻辑
var name = new ReactiveProperty<string>()
    .SetValidateNotifyError(x => string.IsNullOrWhiteSpace(x) ? "Error message" : null);
使用数据注释
public class ViewModel
{
    [Required(ErrorMessage = "The Input is required.")] //提示该项必入力
    [StringLength(30, ErrorMessage = "The name length should be lower than 30.")] //长度限制
    public ReactiveProperty<string> Input { get; }
    public ReactiveProperty<string> Output { get; }
    public ReadOnlyReactivePropertySlim<string> InputErrorMsg { get; }
    public ReactiveCommand ResetCommand { get; }

    public ViewModel()
    {
        Input = new ReactiveProperty<string>("")
            .SetValidateAttribute(() => Input);

        InputErrorMsg = Input
            .ObserveValidationErrorMessage()
            .ToReadOnlyReactivePropertySlim();

        Output = Input
            .Delay(TimeSpan.FromSeconds(1))
            .Select(x => x.ToUpper())
            .ToReactiveProperty();

        ResetCommand = Input.Select(x => !string.IsNullOrWhiteSpace(x))
            .ToReactiveCommand()
            .WithSubscribe(() => Input.Value = "");
    }
}
以上示例效果如下

以下为ReactiveProperty的官方文档,可供大家深入了解


