mac下安装nginx及相关配置
2018-10-27 23:17 龙恩0707 阅读(14329) 评论(0) 编辑 收藏 举报1. 安装 Homebrew
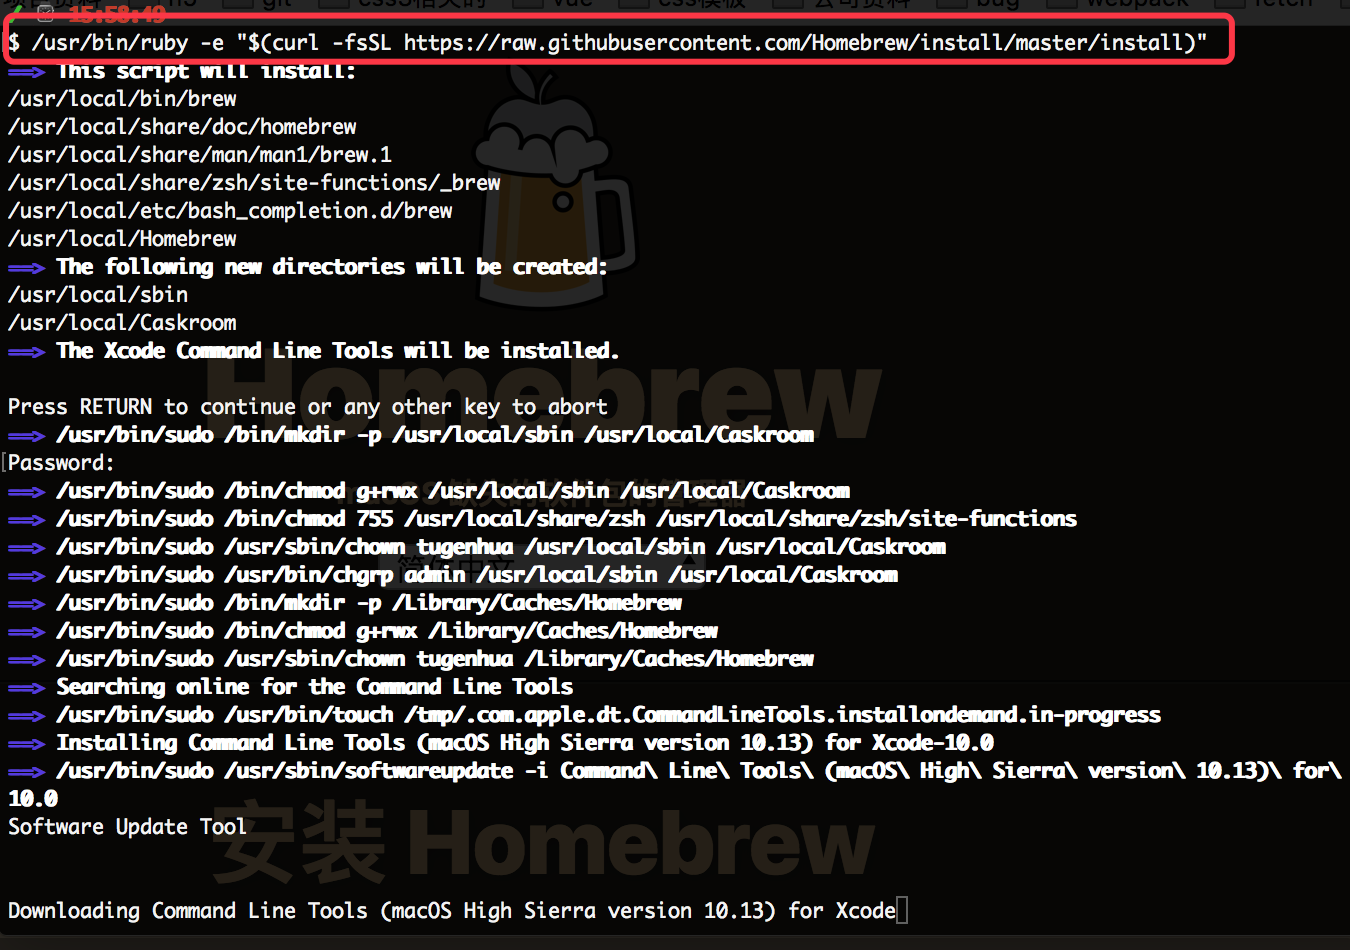
首先 homebrew是什么?它是Mac中的一款软件包管理工具,通过brew可以很方便的在Mac中安装软件或者是卸载软件。不了解的同学看以看官网(https://brew.sh/index_zh-cn.html), 然后在我们命令行中复制如下命令:
/usr/bin/ruby -e "$(curl -fsSL https://raw.githubusercontent.com/Homebrew/install/master/install)"
运行,如下所示:
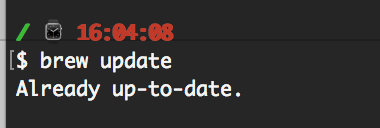
安装成功后的话,我们可以使用命令 brew update 更新下;如下命令:
有关brew常用的指令如下:
1. brew搜索软件命令: brew search nginx
2. brew安装软件命令: brew install nginx
3. brew卸载软件命令: brew uninstall nginx
4. brew升级命令: sudo brew update
5. 查看安装信息(比如查看安装目录等) sudo brew info nginx
6. 查看已经安装的软件:brew list
2. brew安装nginx
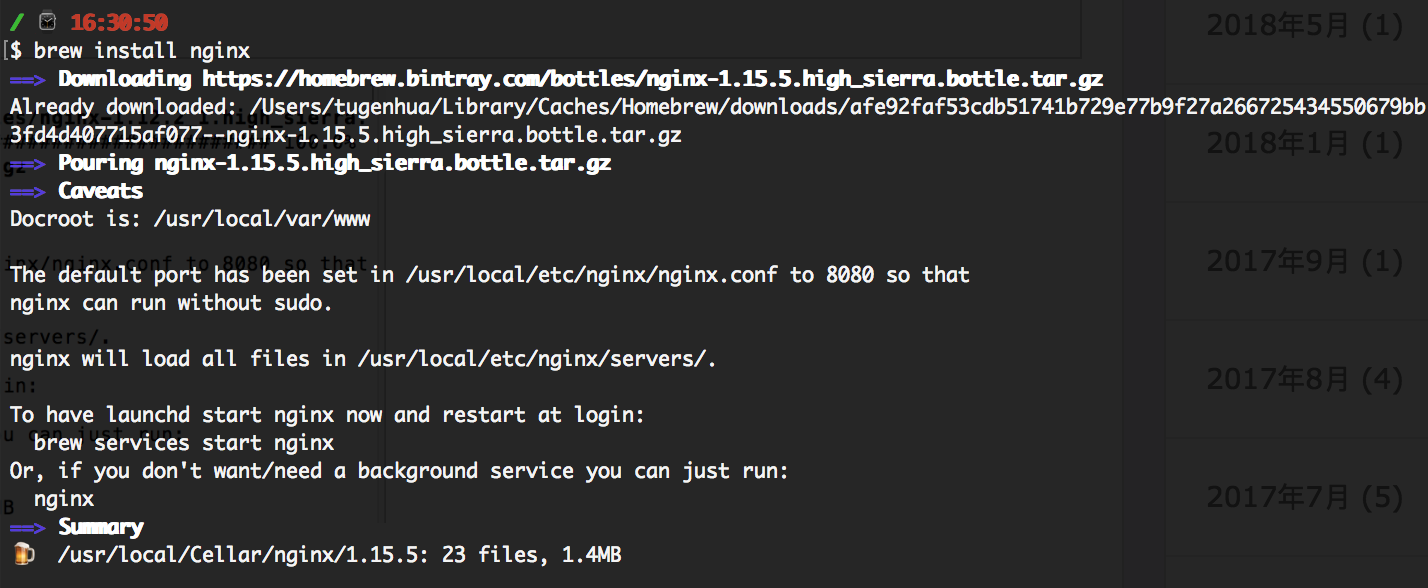
1. 使用brew安装nginx,如下命令所示:
brew install nginx
如下图所示:
2. 查看nginx的配置信息,如下命令:
brew info nginx
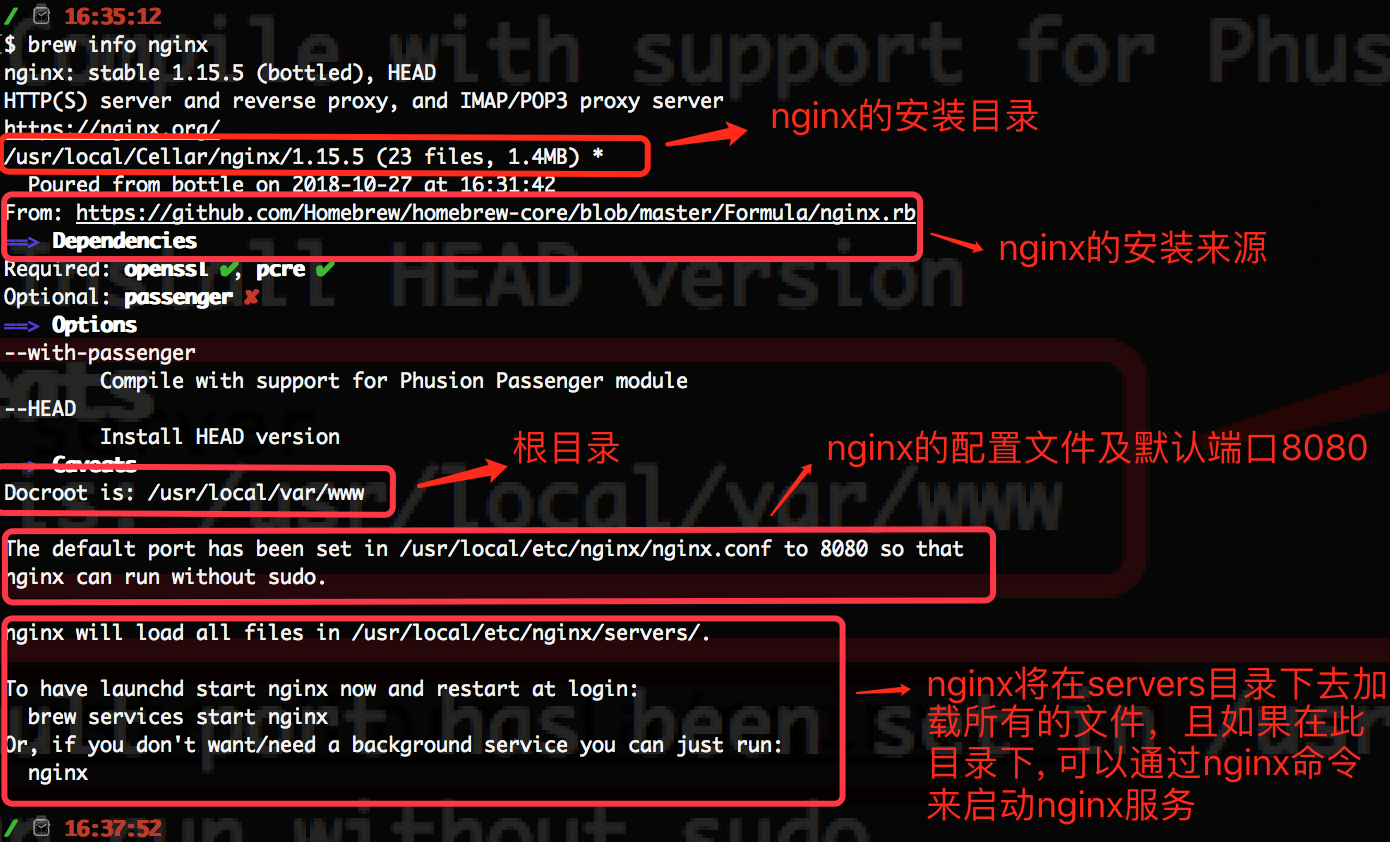
如上面的截图,From:xxx 这样的,是nginx的来源,Docroot默认为 /usr/local/var/www, 在/usr/local/etc/nginx/nginx.conf 配置文件中默认的端口为8080, 且nginx将在/usr/local/etc/nginx/servers 目录中加载所有文件。并且我们可以通过最简单的命令'nginx' 来启动nginx.
3. 查看nginx安装目录, 如下命令:
open /usr/local/etc/nginx/
如下所示:
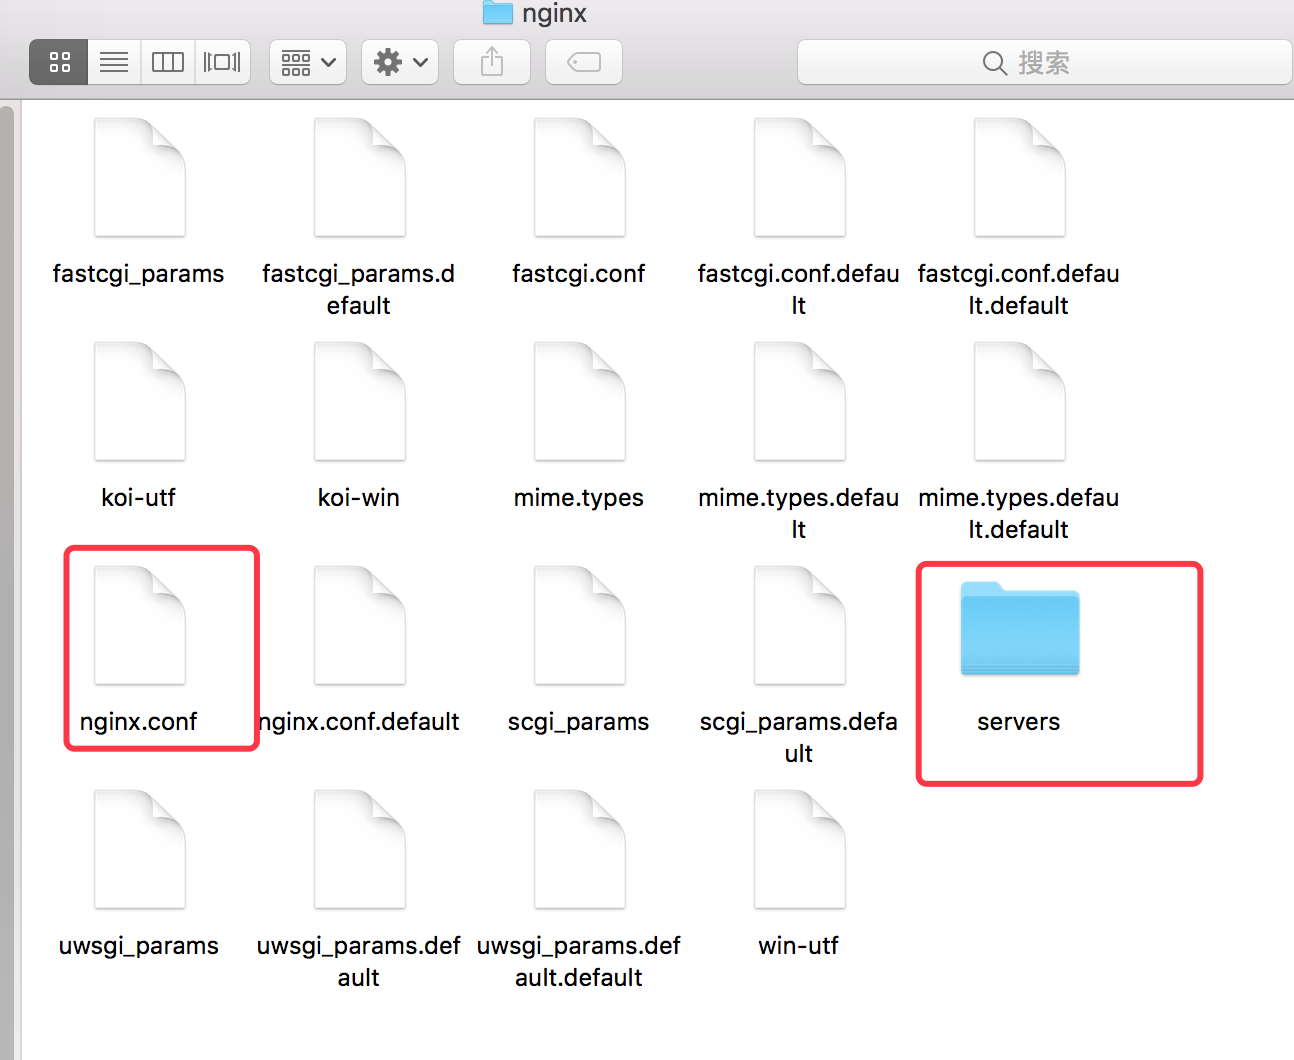
打开nginx目录后,可以看到我们上面的使用 brew info nginx 查看信息所说的 server目录以及nginx.conf的配置文件,那么我们的nginx被安装到什么地方呢?我们从上面的截图可以看到,是在 这个目录下 /usr/local/Cellar/nginx,执行如下命令可以查看到:
open /usr/local/Cellar/nginx
会打包目录,如下所示:
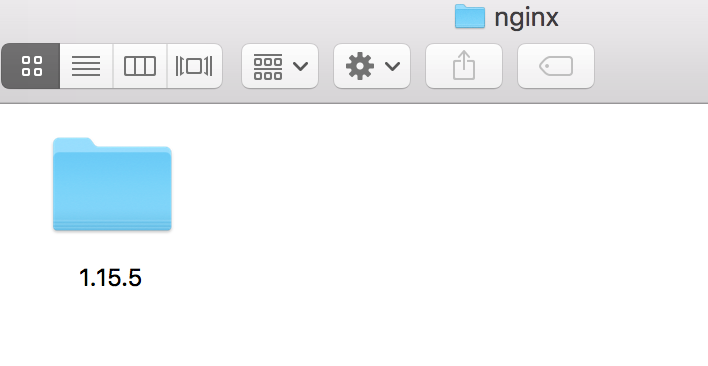
进入上面的 1.15.5文件后,如下所示:
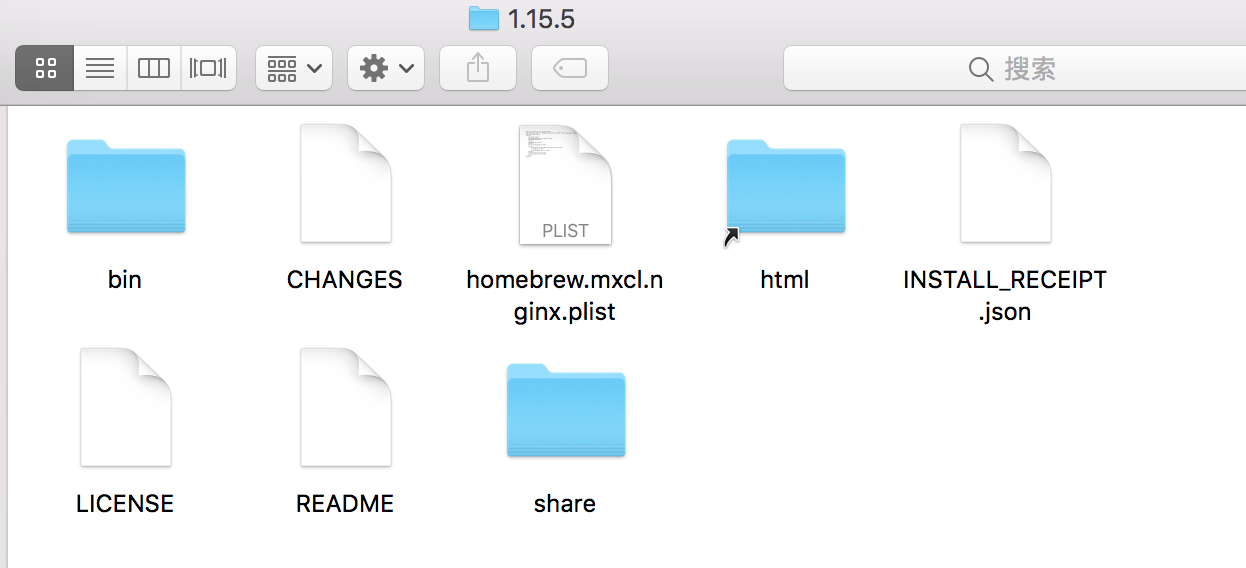
在该目录下可以看到一个名字为html的快捷方式的文件夹,进入该目录后,它有两个文件50.html和index.html,如下图所示:

其实它是指向的就是 /usr/local/var/wwww目录的,为什么这么说,我们来看下进入该命令后,查看下面有哪些文件就可以看到,如下图:

2. 启动nginx服务,如下命令:
brew services start nginx // 重启的命令是: brew services restart nginx
如下图所示:

重启后,我们验证下,因为nginx默认的端口号是8080,因此我们页面访问 http://localhost:8080 即可,看到如下信息:

如果成功的话,一般都是 欢迎的界面(index.html页面我自己改过),下面我们继续查看下nginx.conf 配置信息,使用如下命令:
cat /usr/local/etc/nginx/nginx.conf (或者使用 sudo open /usr/local/etc/nginx/nginx.conf -a 'sublime text' 使用编辑器sublime打开)。
如下配置信息:
#user  nobody;
worker_processes  1;

#error_log  logs/error.log;
#error_log  logs/error.log  notice;
#error_log  logs/error.log  info;

#pid        logs/nginx.pid;


events {
    worker_connections  1024;
}


http {
    include       mime.types;
    default_type  application/octet-stream;

    #log_format  main  '$remote_addr - $remote_user [$time_local] "$request" '
    #                  '$status $body_bytes_sent "$http_referer" '
    #                  '"$http_user_agent" "$http_x_forwarded_for"';

    #access_log  logs/access.log  main;

    sendfile        on;
    #tcp_nopush     on;

    #keepalive_timeout  0;
    keepalive_timeout  65;

    #gzip  on;

    server {
        listen       8080;
        server_name  localhost;

        #charset koi8-r;

        #access_log  logs/host.access.log  main;

        location / {
            root   html;
            index  index.html index.htm;
        }

        #error_page  404              /404.html;

        # redirect server error pages to the static page /50x.html
        #
        error_page   500 502 503 504  /50x.html;
        location = /50x.html {
            root   html;
        }

        # proxy the PHP scripts to Apache listening on 127.0.0.1:80
        #
        #location ~ \.php$ {
        #    proxy_pass   http://127.0.0.1;
        #}

        # pass the PHP scripts to FastCGI server listening on 127.0.0.1:9000
        #
        #location ~ \.php$ {
        #    root           html;
        #    fastcgi_pass   127.0.0.1:9000;
        #    fastcgi_index  index.php;
        #    fastcgi_param  SCRIPT_FILENAME  /scripts$fastcgi_script_name;
        #    include        fastcgi_params;
        #}

        # deny access to .htaccess files, if Apache's document root
        # concurs with nginx's one
        #
        #location ~ /\.ht {
        #    deny  all;
        #}
    }

    # another virtual host using mix of IP-, name-, and port-based configuration
    #
    #server {
    #    listen       8000;
    #    listen       somename:8080;
    #    server_name  somename  alias  another.alias;

    #    location / {
    #        root   html;
    #        index  index.html index.htm;
    #    }
    #}


    # HTTPS server
    #
    #server {
    #    listen       443 ssl;
    #    server_name  localhost;

    #    ssl_certificate      cert.pem;
    #    ssl_certificate_key  cert.key;

    #    ssl_session_cache    shared:SSL:1m;
    #    ssl_session_timeout  5m;

    #    ssl_ciphers  HIGH:!aNULL:!MD5;
    #    ssl_prefer_server_ciphers  on;

    #    location / {
    #        root   html;
    #        index  index.html index.htm;
    #    }
    #}
    include servers/*;
}
如上,就可以使用nginx搭建本地服务了。
二:总结nginx常见的配置:
nginx的配置文件路径:/usr/local/etc/nginx/nginx.conf
nginx的服务器默认路径:/usr/local/var/www
nginx的安装路径:/usr/local/Cellar/nginx/1.15.5
2. nginx启动:
2.1. 在终端输入 ps -ef|grep nginx 命令看是否有启动,如下:

2.2. 验证配置文件是否正确,因此在启动nginx之前,我们可以先运行下如下命令:
sudo /usr/local/Cellar/nginx/1.15.5/bin/nginx -t -c /usr/local/etc/nginx/nginx.conf
注意:一定要注意路径是否是自己的安装路径。这边我的nginx是1.15.5版本的。

如果出现如下信息,说明配置文件正确。
nginx: the configuration file /usr/local/etc/nginx/nginx.conf syntax is ok
nginx: configuration file /usr/local/etc/nginx/nginx.conf test is successful
重启nginx有如下几种方法:
2.3. 通过brew,brew services start nginx(启动nginx) brew services restart nginx(重启命令), 如下所示:

2.4. 先进入bin目录:cd /usr/local/Cellar/nginx/1.15.5/bin/, 然后再执行:./nginx -s reload, 如下所示:

2.5. 根据进程号重启,执行命令 kill -HUP 进程号 如下所示:

3. nginx停止
终端输入ps -ef|grep nginx获取到nginx的进程号, 注意是找到“nginx:master”的那个进程号

其中,master process nginx表示第一个进程是主进程。worker process表示为子进程。72是主进程号。234是子进程号。
kill -QUIT 72 (从容的停止,即不会立刻停止)
Kill -TERM 72 (立刻停止)
Kill -INT 72 (和上面一样,也是立刻停止)


【推荐】国内首个AI IDE,深度理解中文开发场景,立即下载体验Trae
【推荐】编程新体验,更懂你的AI,立即体验豆包MarsCode编程助手
【推荐】抖音旗下AI助手豆包,你的智能百科全书,全免费不限次数
【推荐】轻量又高性能的 SSH 工具 IShell:AI 加持,快人一步
· .NET Core 中如何实现缓存的预热?
· 从 HTTP 原因短语缺失研究 HTTP/2 和 HTTP/3 的设计差异
· AI与.NET技术实操系列:向量存储与相似性搜索在 .NET 中的实现
· 基于Microsoft.Extensions.AI核心库实现RAG应用
· Linux系列:如何用heaptrack跟踪.NET程序的非托管内存泄露
· TypeScript + Deepseek 打造卜卦网站:技术与玄学的结合
· Manus的开源复刻OpenManus初探
· .NET Core 中如何实现缓存的预热?
· 阿里巴巴 QwQ-32B真的超越了 DeepSeek R-1吗?
· 如何调用 DeepSeek 的自然语言处理 API 接口并集成到在线客服系统
2013-10-27 css实现气泡框效果