搭建yum私有仓库
搭建yum私有仓库
第一章、使用YUM源私有仓库需求
1.网络上有大量的yum源,但由于受到网络环境的限制,导致软件安装耗时过长甚至失败。
2.网络资源需要有外网才能下载。
3.有些软件base源和一些epel扩展源中没有,需要额外添加源才可以下载使用。
第二章、环境准备
# 说明:查看防火墙状态,如果是开启状态,需要关闭,以免影响后期测试和使用
[root@web02 ~]# systemctl stop firewalld && systemctl disable firewalld
[root@web02 ~]# systemctl status firewalld
● firewalld.service - firewalld - dynamic firewall daemon
   Loaded: loaded (/usr/lib/systemd/system/firewalld.service; disabled; vendor preset: enabled)
   Active: inactive (dead)
     Docs: man:firewalld(1)
# 关闭Selinux
# 临时关闭
[root@web02 ~]# setenforce 0
[root@web02 ~]# getenforce
Permissive
# 永久关闭
[root@web02 ~]# cat /etc/sysconfig/selinux
# This file controls the state of SELinux on the system.
# SELINUX= can take one of these three values:
#     enforcing - SELinux security policy is enforced.
#     permissive - SELinux prints warnings instead of enforcing.
#     disabled - No SELinux policy is loaded.
SELINUX=disabled
# SELINUXTYPE= can take one of three two values:
#     targeted - Targeted processes are protected,
#     minimum - Modification of targeted policy. Only selected processes are protected.
#     mls - Multi Level Security protection.
SELINUXTYPE=targeted
第三章、YUM仓库配置
说明:服务端是指配置本地仓库的服务器
1、部署Nginx服务
1.使用vim /etc/yum.repos.d/nginx.repo创建nginx.repo源文件,按i输入如下内容:
[nginx-stable]
name=nginx stable repo
baseurl=http://nginx.org/packages/centos/$releasever/$basearch/
gpgcheck=0
enabled=1
gpgkey=https://nginx.org/keys/nginx_signing.key
module_hotfixes=true

[nginx-mainline]
name=nginx mainline repo
baseurl=http://nginx.org/packages/mainline/centos/$releasever/$basearch/
gpgcheck=1
enabled=0
gpgkey=https://nginx.org/keys/nginx_signing.key
module_hotfixes=true
按ESC键入:wq保存文件并退出。

2.安装nginx
yum -y install nginx
2、配置目录索引
[root@web02 /etc/nginx/conf.d]# cat /etc/nginx/conf.d/yum.conf
server {
	listen 80;
	server_name www.yum.com;
	root /yum/data;

	location / {
		autoindex on;
		autoindex_exact_size off;
		autoindex_localtime on;
		autoindex_format html;
		charset utf-8,gbk;
	}
}
3、准备软件仓库目录
说明:默认的可以使用站点目录或者使用其他的目录,这里直接sj-hiyong站点目录
[root@web02 /etc/nginx/conf.d]# mkdir -p /yum/data
4、启动nginx
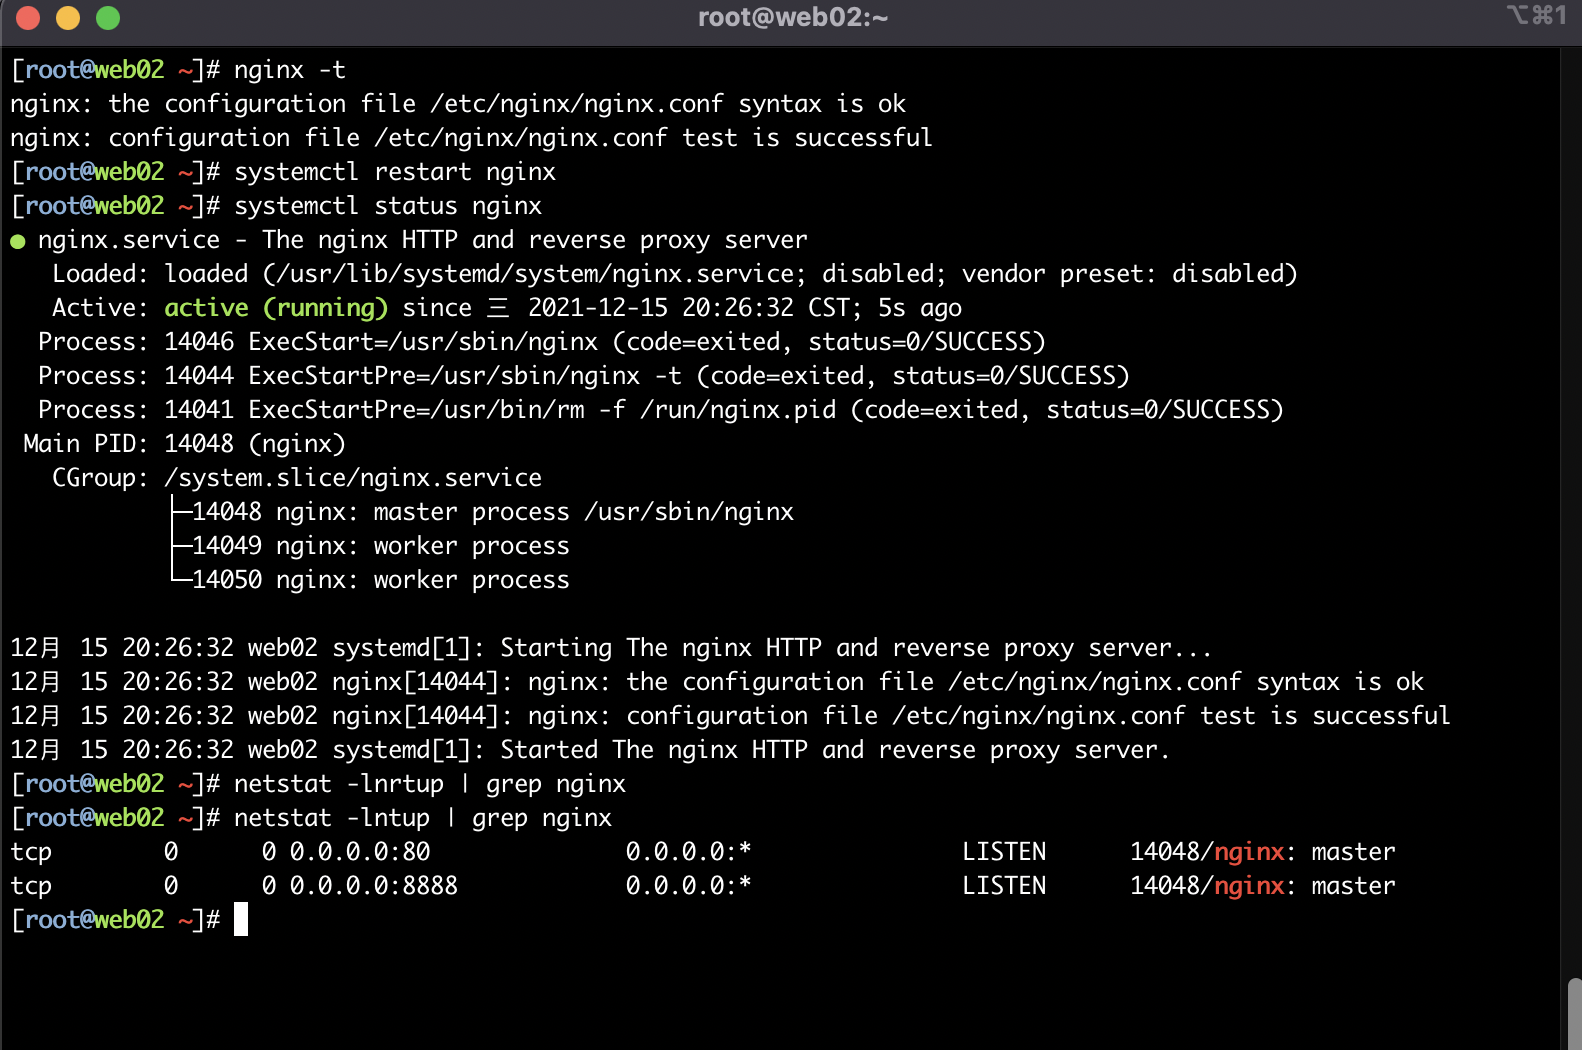
# 检车Nginx语法是否有误
[root@web02 ~]# nginx -t
nginx: the configuration file /etc/nginx/nginx.conf syntax is ok
nginx: configuration file /etc/nginx/nginx.conf test is successful
# 启动Nginx服务
[root@web02 ~]# systemctl restart nginx
# 检查Nginx状态
[root@web02 ~]# systemctl status nginx
● nginx.service - The nginx HTTP and reverse proxy server
   Loaded: loaded (/usr/lib/systemd/system/nginx.service; disabled; vendor preset: disabled)
   Active: active (running) since 三 2021-12-15 20:26:32 CST; 5s ago
  Process: 14046 ExecStart=/usr/sbin/nginx (code=exited, status=0/SUCCESS)
  Process: 14044 ExecStartPre=/usr/sbin/nginx -t (code=exited, status=0/SUCCESS)
  Process: 14041 ExecStartPre=/usr/bin/rm -f /run/nginx.pid (code=exited, status=0/SUCCESS)
 Main PID: 14048 (nginx)
   CGroup: /system.slice/nginx.service
           ├─14048 nginx: master process /usr/sbin/nginx
           ├─14049 nginx: worker process
           └─14050 nginx: worker process

12月 15 20:26:32 web02 systemd[1]: Starting The nginx HTTP and reverse proxy server...
12月 15 20:26:32 web02 nginx[14044]: nginx: the configuration file /etc/nginx/nginx.conf syntax is ok
12月 15 20:26:32 web02 nginx[14044]: nginx: configuration file /etc/nginx/nginx.conf test is successful
12月 15 20:26:32 web02 systemd[1]: Started The nginx HTTP and reverse proxy server.
# 查看Nginx进程是否存活
[root@web02 ~]# netstat -lntup | grep nginx
tcp        0      0 0.0.0.0:80              0.0.0.0:*               LISTEN      14048/nginx: master
tcp        0      0 0.0.0.0:8888            0.0.0.0:*               LISTEN      14048/nginx: master

5、安装软件包
5.1下载方式有两种:
5.1 使用yum的只下载不安装的方式进行下载软件
[root@web02 ~]# yum -y install --downloadonly --downloaddir=/yum/data keepalived
5.2 安装并部署方式
# 讲yum缓存打开  打开方式:将/etc/yum.conf 文件中的keepcache=0修改为1
[root@web02 ~]# cat /etc/yum.conf
[main]
cachedir=/var/cache/yum/$basearch/$releasever
keepcache=1
debuglevel=2
logfile=/var/log/yum.log
exactarch=1
obsoletes=1
gpgcheck=1
plugins=1
installonly_limit=5
bugtracker_url=http://bugs.centos.org/set_project.php?project_id=23&ref=http://bugs.centos.org/bug_report_page.php?category=yum
distroverpkg=centos-release
# 清理yum缓存
[root@web02 ~]# yum clean all
# 安装软件
[root@web02 ~]# yum -y install httpd
# 移动已经下载下来的rpm包到软件仓库目录
[root@yum ~]# find /var/cache/yum/ -type f -name "*.rpm"|xargs mv -t  /yum/data/

6、下载creatrepo
[root@web02 /yum/data]# yum -y install createrepo
7、生成元数据
[root@web02 /yum/data]# createrepo /yum/data/
Spawning worker 0 with 5 pkgs
Spawning worker 1 with 5 pkgs
Workers Finished
Saving Primary metadata
Saving file lists metadata
Saving other metadata
Generating sqlite DBs
Sqlite DBs complete
8、更新源数据
说明:如果有新的软件包放入到软件仓库,这里就需要更新元数据。
[root@web02 /yum/data]# createrepo --update /yum/data/
Saving Primary metadata
Saving file lists metadata
Saving other metadata
Generating sqlite DBs
Sqlite DBs complete
9、服务端访问测试
浏览器访问


 浙公网安备 33010602011771号