yolov8 Windows+CPU 实现目标检测和绘制结果图
YOLOv8 由 Ultralytics 提供,并支持全方位的视觉 AI 任务,包括检测、分割、姿态估计、跟踪和分类。这种多功能性使用户能够在各种应用和领域中利用 YOLOv8 的功能。
1. Windows 环境下使用 CPU 运行 yolov8 环境搭建
(1)使用 Anaconda 搭建 yolov8 虚拟环境:conda create -n yolov8 python==3.9
(2)进入该虚拟环境:conda activate yolov8
(3)安装 yolov8:pip install ultralytics
安装完成如下所示:

2. 使用 yolov8 官方下载的预训练模型进行目标检测
(1)下载 yolov8 官方自带的目标检测预训练模型 ,这里我使用的是 yolov8n.pt
(2)代码实现:
 1 # 导入所需的库函数
 2 from ultralytics import YOLO
 3 from PIL import Image
 4 import os
 5
 6 # Load your model 导入模型
 7 model = YOLO('./model/yolov8n.pt')  # For example, 'yolov8n.pt'
 8 # 定义图片读取文件
 9 path_input = "./image"
10 # 定义检测结果保存文件
11 path_output = "./output"
12
13 # 使用模型进行目标检测
14 for file_name in os.listdir(path_input):
15     # 得到图片路径
16     path_image = os.path.join(path_input, file_name)
17     # Run prediction 预测
18     results = model(path_image)
19     # After running the input through the model, it returns an array of results for each input image.
20     # As we provided only a single image, it returns an array with a single item that you can extract like this:
21     result = results[0]
22     # Now, iterate over detected objects
23     for det in result.boxes:
24         # det is now a single detection with attributes you can directly access
25         xmin, ymin, xmax, ymax = det.xyxy[0]  # Coordinates
26         conf = det.conf  # Confidence
27         cls = det.cls  # Class ID
28         class_name = result.names[cls[0].item()]   # class name
29         print(f"Box coordinates: {xmin}, {ymin}, {xmax}, {ymax}, Confidence: {conf}, Class Name: {class_name}")
30     # 显示图片并保存(这里如果使用matplotlib显示不出图片)
31     image = Image.fromarray(result.plot()[:, :, ::-1])
32     image.show()
33     image.save(os.path.join(path_output, file_name))
代码运行结果:
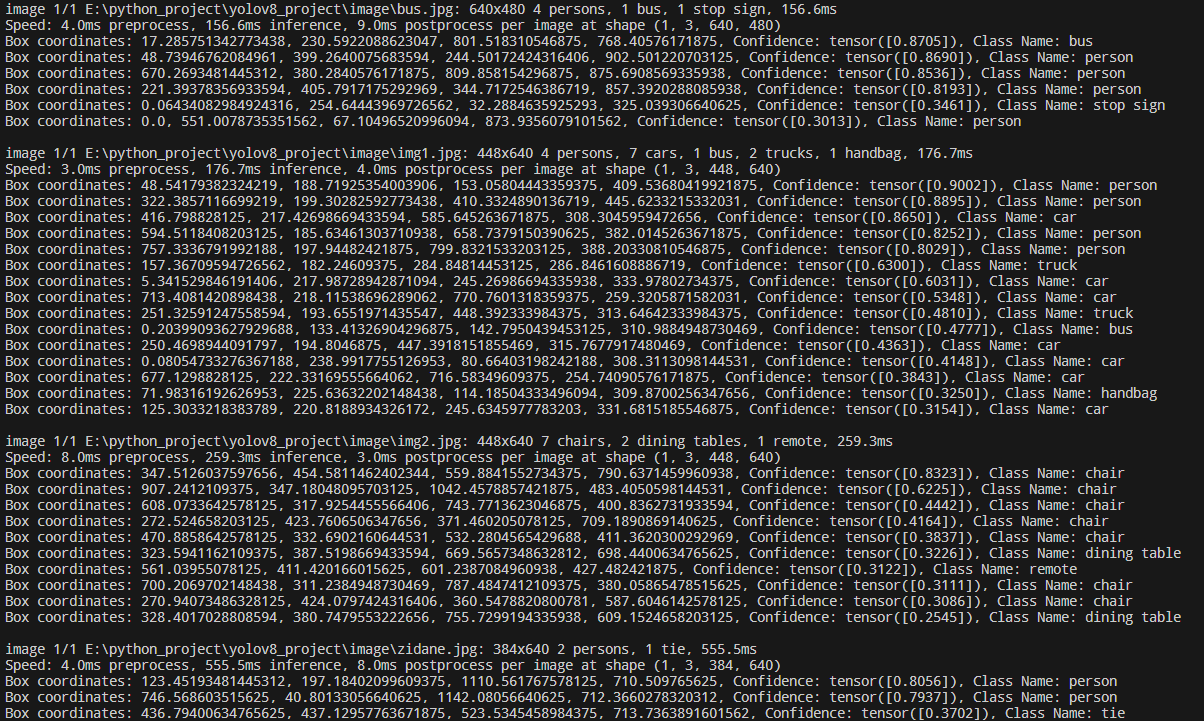
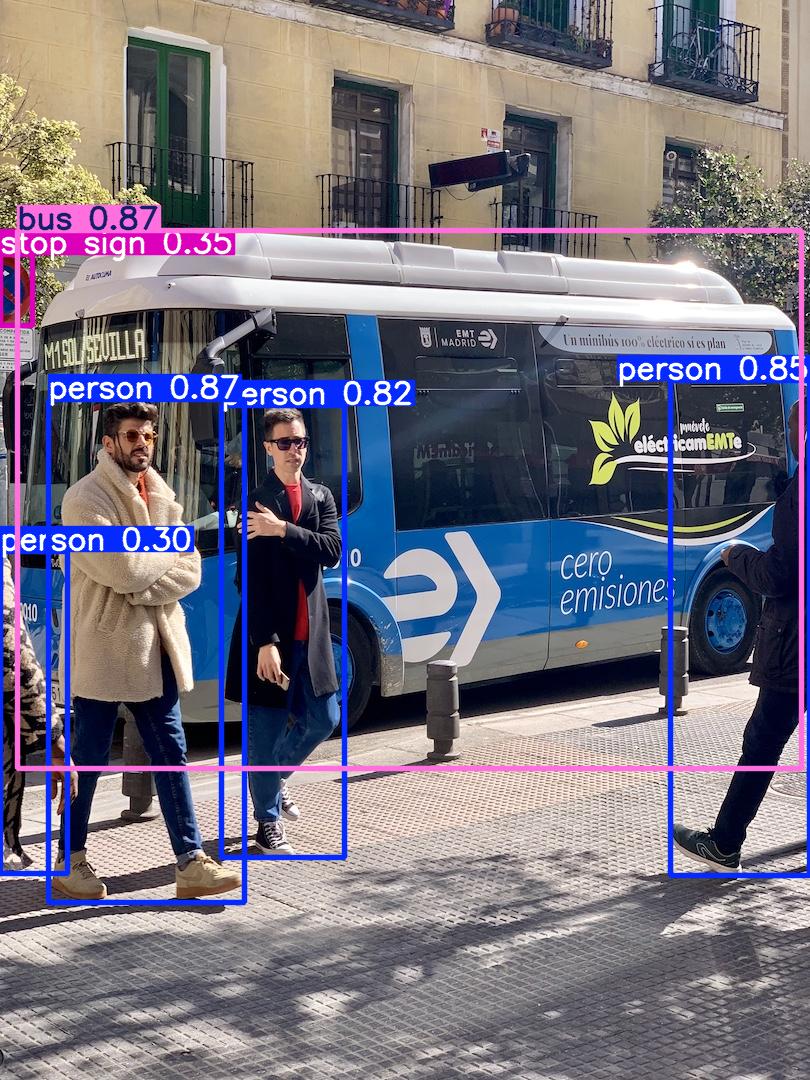
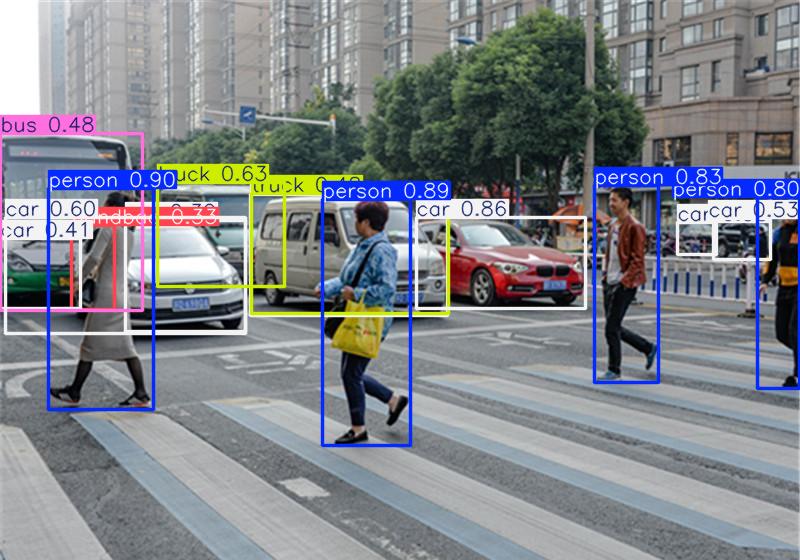
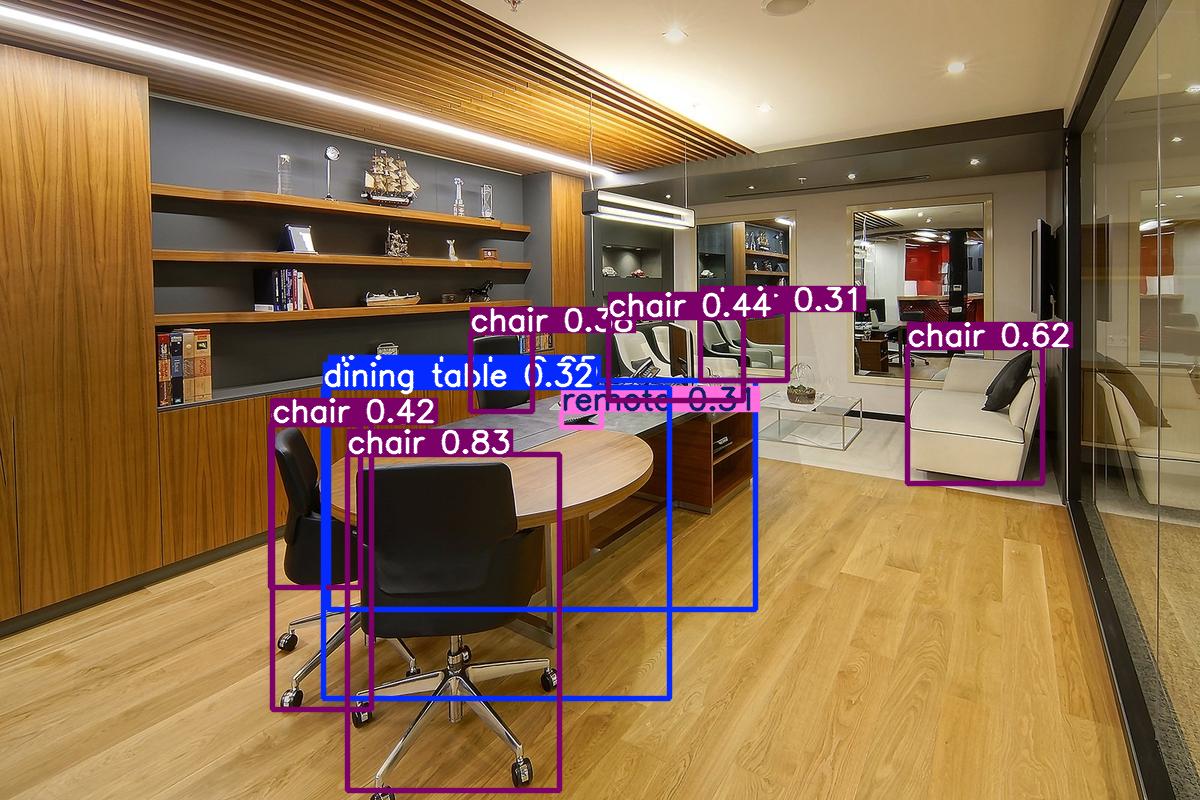
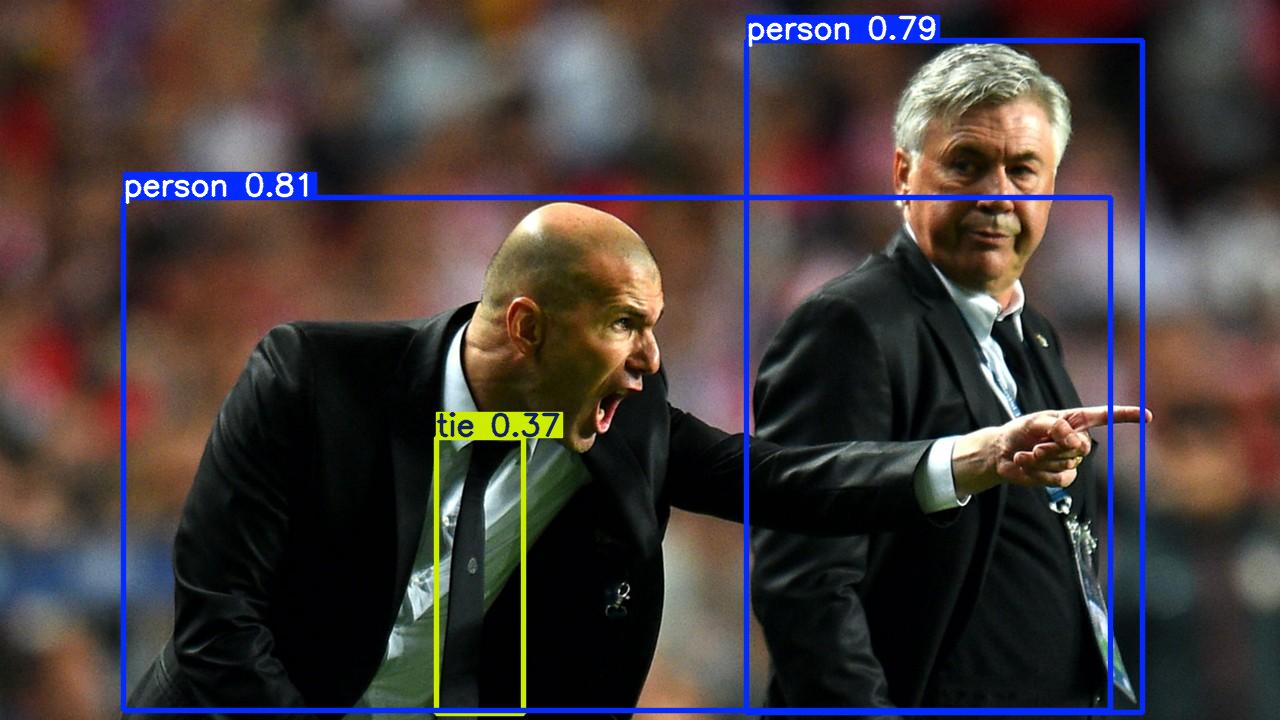
原始图片路径打开网盘在 ”yolov8 CPU+Windows 实现目标检测和绘制结果图-数据“ 文件夹下:https://pan.baidu.com/s/1dNzrVkpsXtO7uXyrMxADhA?pwd=6611
参考资料:https://www.freecodecamp.org/news/how-to-detect-objects-in-images-using-yolov8/
https://blog.csdn.net/qq_51248362/article/details/134102209
分类:
python
, deep learning


【推荐】国内首个AI IDE,深度理解中文开发场景,立即下载体验Trae
【推荐】编程新体验,更懂你的AI,立即体验豆包MarsCode编程助手
【推荐】抖音旗下AI助手豆包,你的智能百科全书,全免费不限次数
【推荐】轻量又高性能的 SSH 工具 IShell:AI 加持,快人一步
· winform 绘制太阳,地球,月球 运作规律
· AI与.NET技术实操系列(五):向量存储与相似性搜索在 .NET 中的实现
· 超详细:普通电脑也行Windows部署deepseek R1训练数据并当服务器共享给他人
· 上周热点回顾(3.3-3.9)
· AI 智能体引爆开源社区「GitHub 热点速览」