Android网络连接处理学习笔记
在Android中,可以有多种方式来实现网络编程:
创建URL,并使用URLConnection/HttpURLConnection
使用HttpClient
使用WebView
创建URL,并使用URLConnection/HttpURLConnection
java.net.*下面提供了访问 HTTP 服务的基本功能。使用这部分接口的基本操作主要包括:
创建 URL 以及 URLConnection / HttpURLConnection 对象
设置连接参数
连接到服务器
向服务器写数据
从服务器读取数据

创建URL,并使用URLConnection/HttpURLConnection
使用HttpClient
使用WebView
创建URL,并使用URLConnection/HttpURLConnection
java.net.*下面提供了访问 HTTP 服务的基本功能。使用这部分接口的基本操作主要包括:
创建 URL 以及 URLConnection / HttpURLConnection 对象
设置连接参数
连接到服务器
向服务器写数据
从服务器读取数据


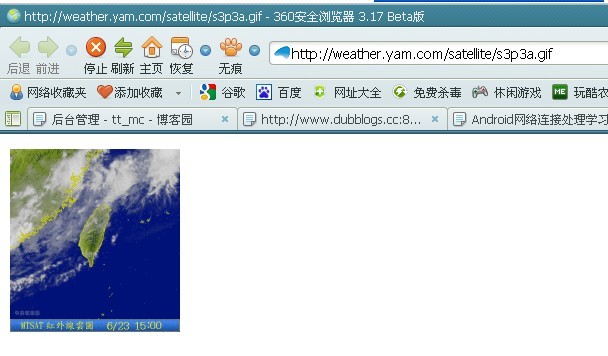
String uriAPI = "http://www.dubblogs.cc:8751/Android/Test/API/YamWeather/";
URL objURL = new URL(uriAPI);
/* 取得连接 */
URLConnection conn = objURL.openConnection();
conn.connect();
/* 将InputStream转成Reader */
BufferedReader in = new BufferedReader(new InputStreamReader(
conn.getInputStream()));
String inputLine;
/* 图文件路径 */
String uriPic = "";
/* 一行一行读取 */
while ((inputLine = in.readLine()) != null)
{
uriPic += inputLine;
}
objURL = new URL(uriPic);
/* 取得连接 */
HttpURLConnection conn2 = (HttpURLConnection) objURL
.openConnection();
conn2.connect();
/* 取得返回的InputStream */
InputStream is = conn2.getInputStream();
/* 将InputStream变成Bitmap */
Bitmap bm = BitmapFactory.decodeStream(is);
/* 关闭InputStream */
is.close();
mImageView1.setImageBitmap(bm);
/* 会将上面的网络图片显示在ImageView里面*/
使用WebView
Android手机中内置了一款高性能webkit内核浏览器,在SDK中封装成了WebView组件。
http://developer.android.com/guide/tutorials/views/hello-webview.html提供了一个简单的例子:
1. webview的XML定义:
<WebView
android:id="@+id/webview"
android:layout_width="fill_parent"
android:layout_height="fill_parent"
/>
2.Manifest文件中权限的设定:
<uses-permission android:name="android.permission.INTERNET" />
3.如果想要支持JavaScript:
webview.getSettings().setJavaScriptEnabled(true);
4.如果不做任何处理,在显示你的Brower UI时,点击系统“Back”键,整个Browser会作为一个整体“Back"到其他Activity中,而不是希望的在Browser的历史页面中Back。如果希望实现在历史页面中Back,需要在当前Activity中处理Back事件:mWebView.goBack();
WebView webview;
/** Called when the activity is first created. */
@Override
public void onCreate(Bundle savedInstanceState) {
super.onCreate(savedInstanceState);
setContentView(R.layout.main);
// 获取WebView对象
webview = (WebView) findViewById(R.id.webview);
// 使能JavaScript
webview.getSettings().setJavaScriptEnabled(true);
webview.loadUrl("http://www.google.com");
}
以上是采用loadUrl方法实现网页的加载,也可以采用loadData方法实现网页的加载:
mWebView1 = (WebView) findViewById(R.id.myWebView1);
/*自行设置WebView要显示的网页内容*/
mWebView1.
loadData(
"<html><body><p>Subscribe to my Blog</p>" +
"<div class='widget-content'> "+
"<a href=http://www.wretch.cc/blog/blackoa&rss20=1>" +
"<img src=http://angelosu.googlepages.com/feeds128.png />" +
"<a href=http://www.cnblogs.com/tt_mc>Link Blog</a>" +
"</body></html>", "text/html", "utf-8");
}


