
环境
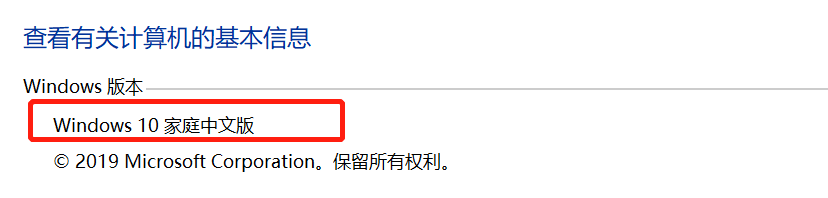
- win10
![image]()
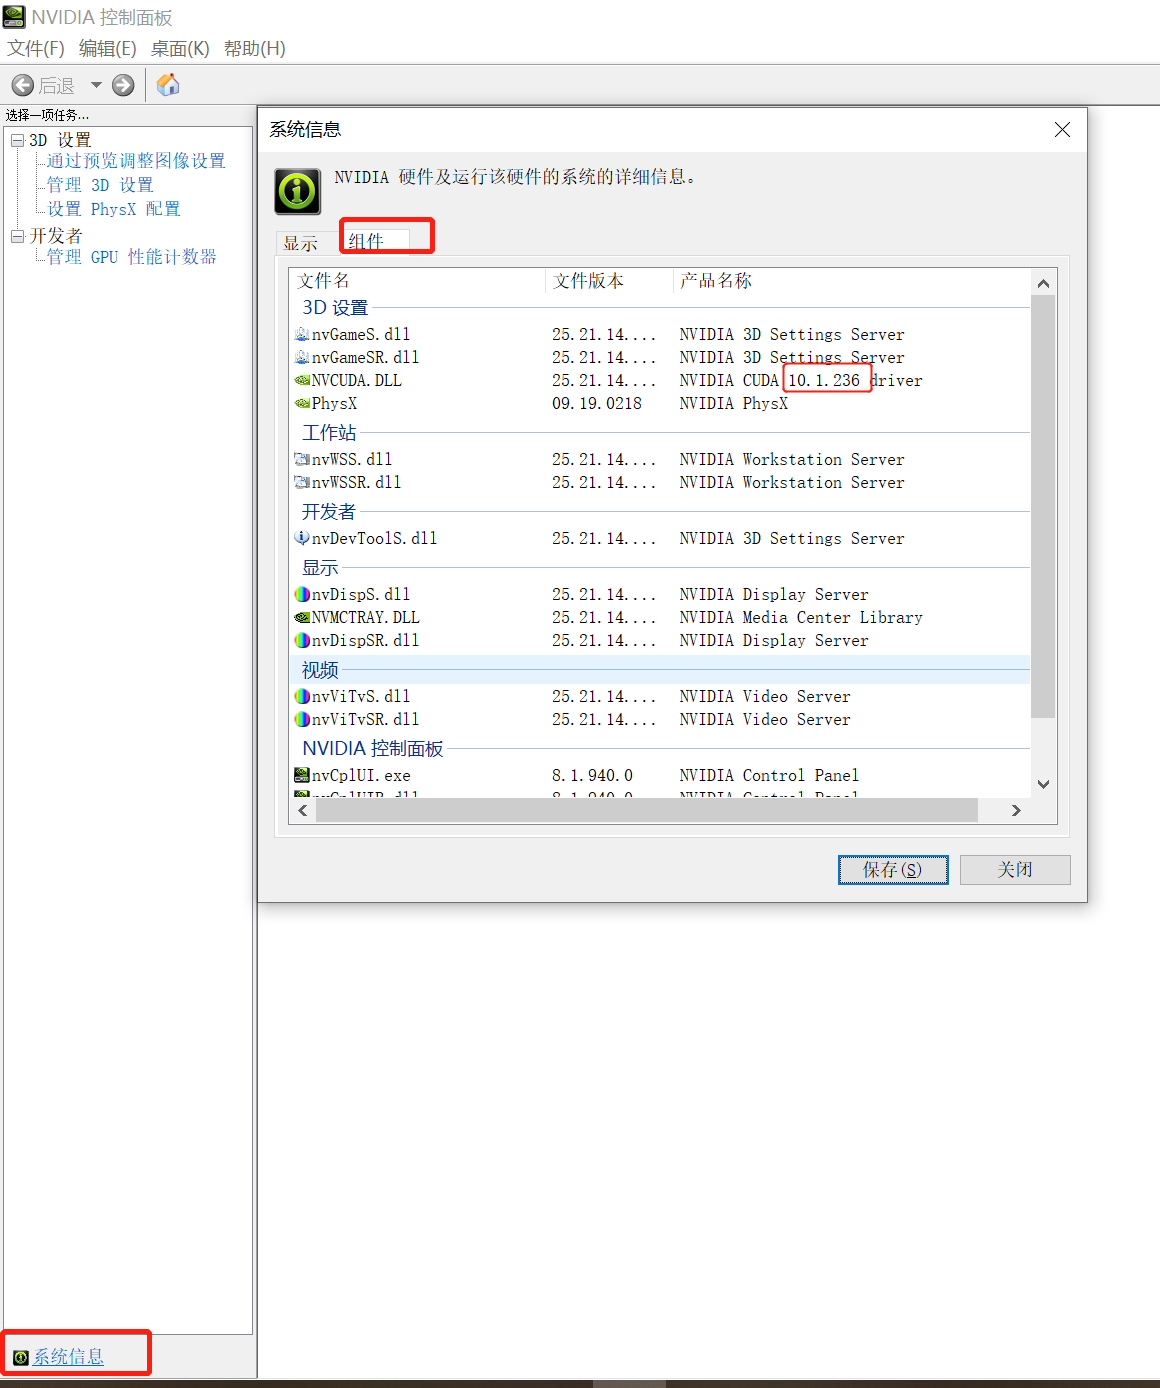
- NVIDIA CUDA 10.1.236
![image]()
- python3.6
![image]()

安装
-
-
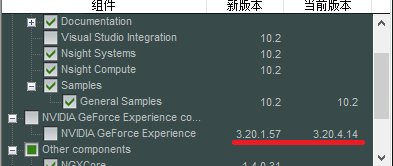
根据型号下载后,按照默认设置安装:有两个要取消勾选,一个是 visual studio integration,另一个是你电脑中已有且当前版本比新版本高的组件,安装目录建议默认
![image]()
-
设置环境变量,注意依据实际情况设置;
C:\Program Files\NVIDIA GPU Computing Toolkit\CUDA\v10.1\lib\x64
C:\Program Files\NVIDIA GPU Computing Toolkit\CUDA\v10.1\include
C:\Program Files\NVIDIA GPU Computing Toolkit\CUDA\v10.1\extras\CUPTI\lib64
C:\ProgramData\NVIDIA Corporation\CUDA Samples\v10.1\bin\win64
C:\ProgramData\NVIDIA Corporation\CUDA Samples\v10.1\common\lib\x64 -
测试是否成功,CMD执行
nvcc -V如下则成功
![image]()
-
-
- 注册账号并下载相应版本;
- 注意科学和谐上网,否则账号不能登录(我的显示存在插件,xxxxx验证不通过);
- 下载后文件解压替换CUDA安装文件即可;
-
安装pytorch
- 开始尝试了
python3.8 + cu102,安装失败; - python3.6下安装成功,命令如下:
pip install torch==1.7.1+cu101 torchvision==0.8.2+cu101 torchaudio===0.7.2 -f https://download.pytorch.org/whl/torch_stable.html
- 开始尝试了

验证
import torch


def print_hi(name):
    # Use a breakpoint in the code line below to debug your script.
    print(f'Hi, {name}')  # Press Ctrl+F8 to toggle the breakpoint.
    print(torch.__version__)
    print(torch.cuda.is_available())  # cuda是否可用
    print(torch.cuda.device_count())  # 返回GPU的数量
    print(torch.cuda.get_device_name(0))  # 返回gpu名字,设备索引默认从0开始


# Press the green button in the gutter to run the script.
if __name__ == '__main__':
    print_hi('PyCharm')
如下图则成功:
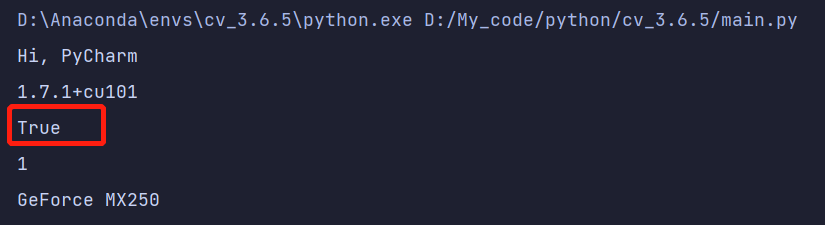
如果显示True则安装成功
------友天下士,读古今书!

 浙公网安备 33010602011771号