GITHUB日常使用
GITHUB WINDOWS客户端下载与安装
1.GITHUB DESKTOP https://desktop.github.com/
下载MSI版本:https://central.github.com/deployments/desktop/desktop/latest/win32?format=msi
相关教程:
GITHUB DESKTOP 简易教程:
https://www.cnblogs.com/opsprobe/p/9893325.html
GIT和GITHUB DESKTOP的教程:
https://blog.csdn.net/qq_41782425/article/details/85183250
GITHUB下载项目并安装
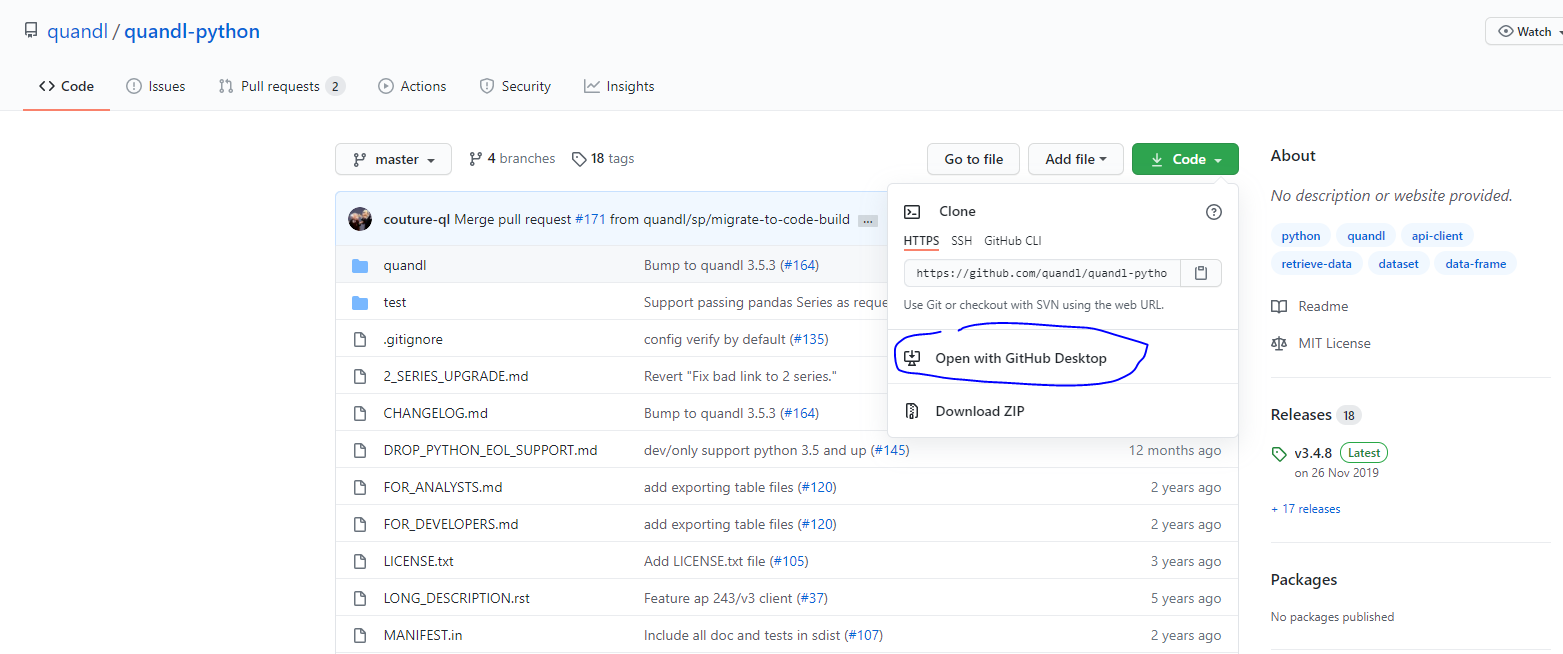
1.首先,找到自己要的项目地址(这里以quandl为例),选择CLONE,

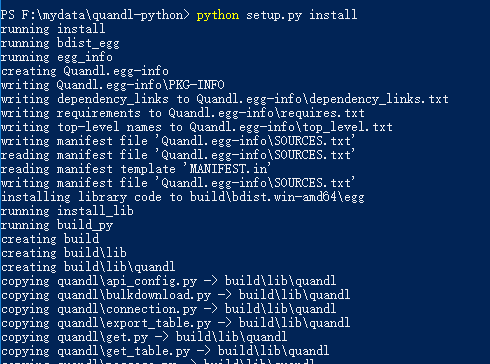
2.打开CMD,进入下载好的项目目录, 运行python setup.py install

3.安装过程

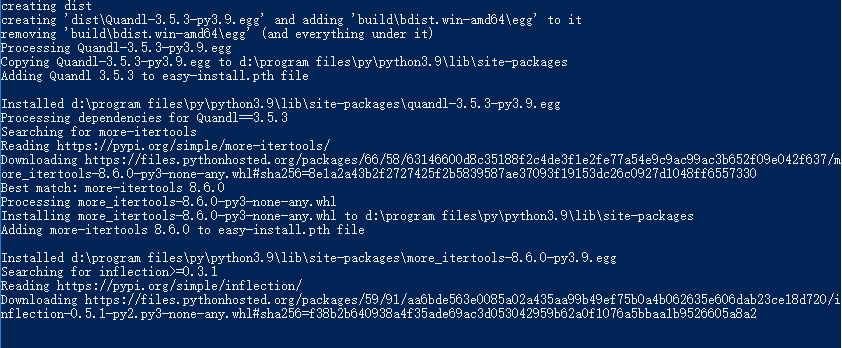
中间可能还会安装其它一些支持库

直到安装完成

其它案例 plotnine的安装
https://plotnine.readthedocs.io/en/stable/installation.html
plotnine can be can be installed in a couple of ways, depending on purpose.
Official release installation
For a normal user, it is recommended to install the official release. You can choose one these two commands:
# Using pip
$ pip install plotnine         # 1. should be sufficient for most
$ pip install 'plotnine[all]'  # 2. includes extra/optional packages

# Or using conda
$ conda install -c conda-forge plotnine
The second pip command also installs packages that are required for some specific functionality that may not be frequently used. Those packages are:

scikit-misc - For loess smoothing

scikit-learn - For Gaussian process smoothing

Development installation
To do any development you have to clone the plotnine source repository and install the package in development mode. These commands do all of that:

$ git clone https://github.com/has2k1/plotnine.git
$ cd plotnine
$ pip install -e .
If you only want to use the latest development sources and do not care about having a cloned repository, e.g. if a bug you care about has been fixed but an official release has not come out yet, then use this command:

$ pip install git+https://github.com/has2k1/plotnine.git
.gitconfig设置命令
git config --global http.sslVerify false
git config --global https.sslVerify false
git config --global http.proxy http://user:pass@yourproxy:port
git config --global https.proxy http://user:pass@yourproxy:port


【推荐】国内首个AI IDE,深度理解中文开发场景,立即下载体验Trae
【推荐】编程新体验,更懂你的AI,立即体验豆包MarsCode编程助手
【推荐】抖音旗下AI助手豆包,你的智能百科全书,全免费不限次数
【推荐】轻量又高性能的 SSH 工具 IShell:AI 加持,快人一步
· 从 HTTP 原因短语缺失研究 HTTP/2 和 HTTP/3 的设计差异
· AI与.NET技术实操系列:向量存储与相似性搜索在 .NET 中的实现
· 基于Microsoft.Extensions.AI核心库实现RAG应用
· Linux系列:如何用heaptrack跟踪.NET程序的非托管内存泄露
· 开发者必知的日志记录最佳实践
· TypeScript + Deepseek 打造卜卦网站:技术与玄学的结合
· Manus的开源复刻OpenManus初探
· 写一个简单的SQL生成工具
· AI 智能体引爆开源社区「GitHub 热点速览」
· C#/.NET/.NET Core技术前沿周刊 | 第 29 期(2025年3.1-3.9)