


Opencv Q&A_5
2022/03/09-2022/03/10
图像操作的几类函数实践
代码_main_1

def nothing(x):
    pass

weigh = 640
height = 720

img = cv.imread('D:\work\\automation\Skill\Python\pythonWORK\cv\material\\book1.jpg')
img = cv.resize(img,(0,0),None,0.4,0.4)

## 创建滑条
cv.namedWindow('img')   #滑条所在窗口
cv.createTrackbar('thres1', 'img', 50, 255, nothing)    #滑条名称,所在窗口,下上阈值,执行动作函数(自定义)
cv.createTrackbar('thres2', 'img', 50, 255, nothing)


while True:
    thres1 = cv.getTrackbarPos('thres1', 'img')
    thres2 = cv.getTrackbarPos('thres2', 'img')
    kernel = np.ones((5,5))

    img_gray = cv.cvtColor(img,cv.COLOR_BGR2GRAY)

    img_erode = cv.erode(img_gray,kernel,iterations=3)  #腐蚀,黑色吞噬白色
    img_dial = cv.dilate(img_gray,kernel,iterations=3)  #膨胀,白色吞噬黑色
    img_ex = cv.morphologyEx(img_gray,cv.MORPH_OPEN,kernel,iterations=3)    #开闭操作:重点突出黑或白。开:先腐后膨;闭:先膨后腐。

    img_gaussian = cv.GaussianBlur(img_gray,(1,1),0)     #高斯模糊,参数为x轴和y轴方向标准差计算,必须为奇数,越大模糊效果越强
    img_canny = cv.Canny(img_gray,thres1,thres2)      #计算出边缘(下上阈值),大于阈值算边缘

    cv.imshow('img', img_canny)
    cv.waitKey(1)
运行效果1
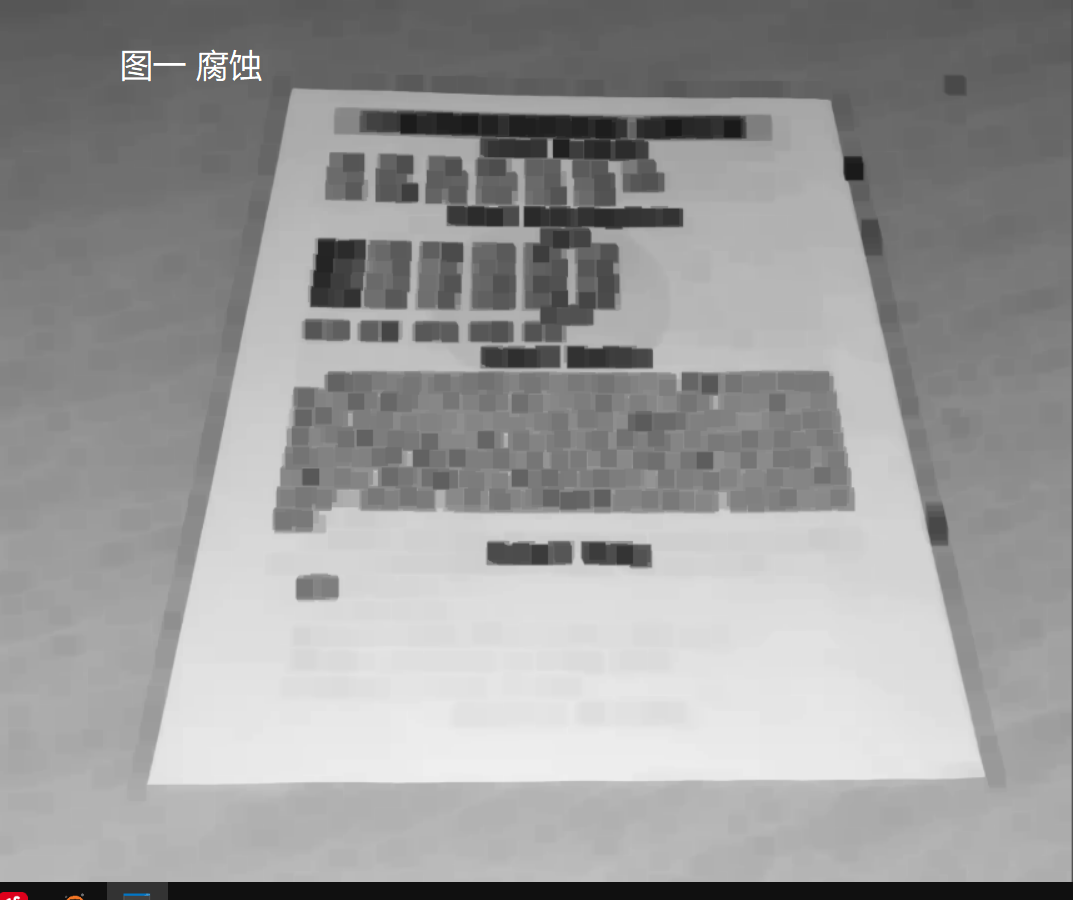
图一 腐蚀
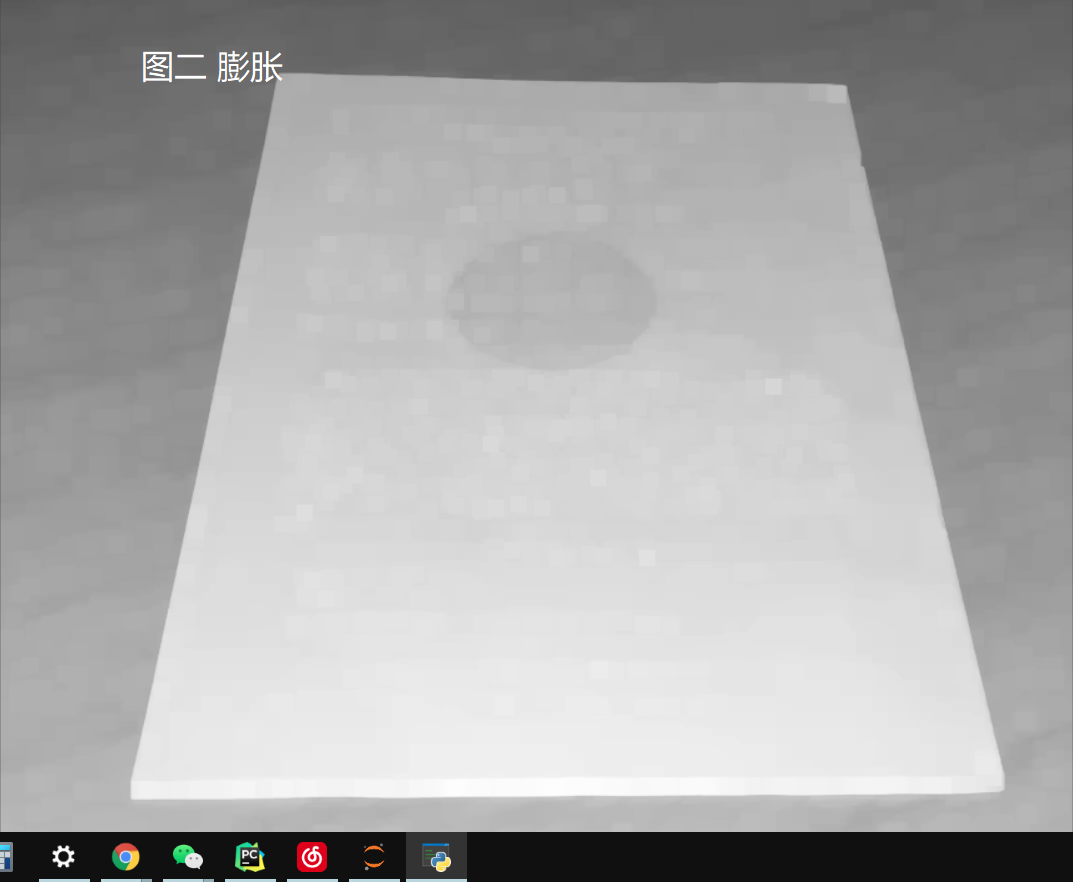
图二 膨胀
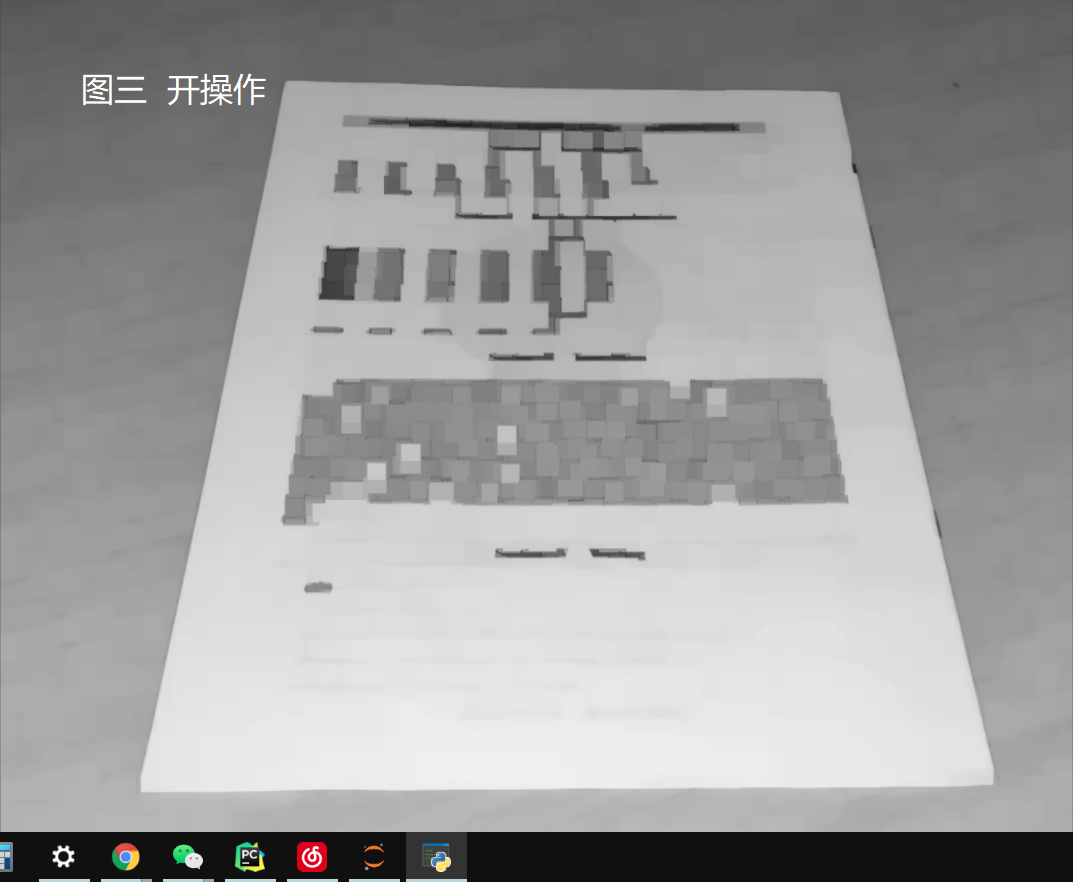
图三 开操作
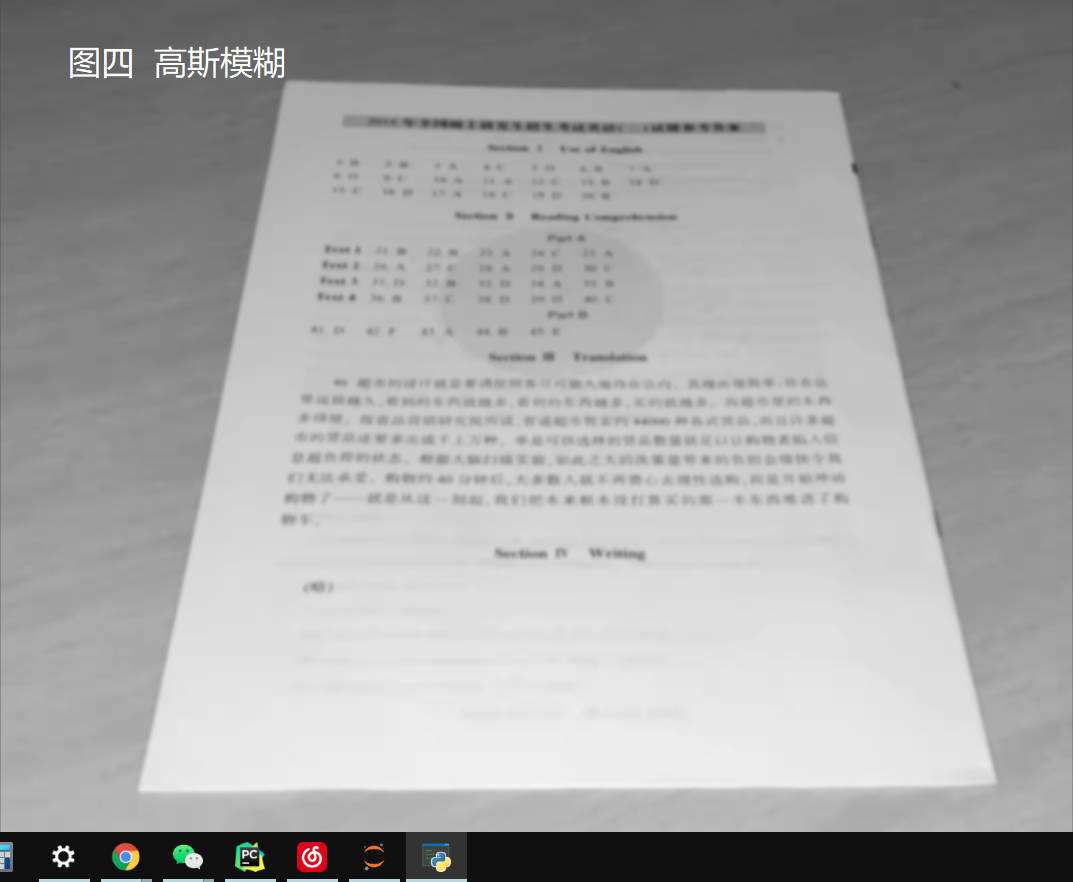
图四 高斯模糊
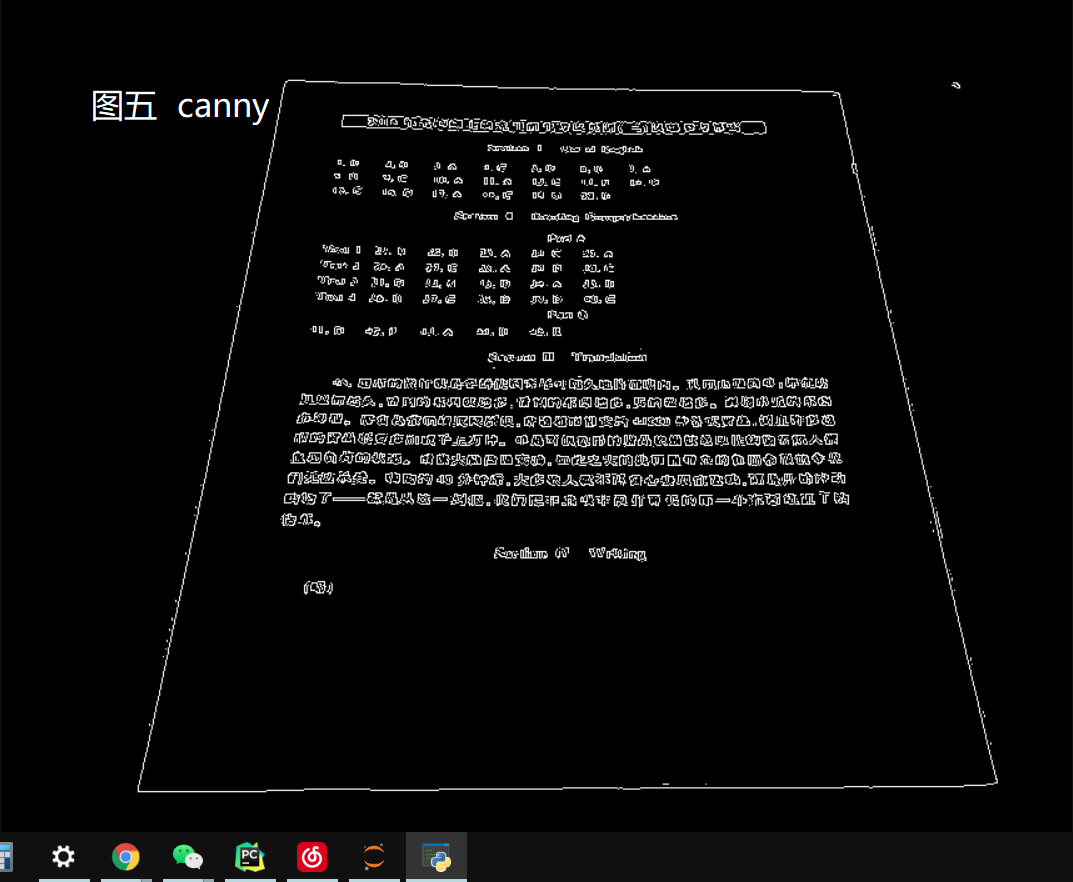
图五 canny
代码_main_2
while True:
    thres1 = cv.getTrackbarPos('thres1', 'img')
    thres2 = cv.getTrackbarPos('thres2', 'img')
    thres3 = cv.getTrackbarPos('thres3', 'img')
    img_gray = cv.cvtColor(img, cv.COLOR_BGR2GRAY)
    img_canny = cv.Canny(img_gray, 50, 200)  # 计算出边缘(下上阈值),大于阈值算边缘

    ## 找轮廓(所有和最大)
    img_contour, hierarchy = cv.findContours(img_canny, cv.RETR_EXTERNAL, cv.CHAIN_APPROX_SIMPLE)  # 找到所有轮廓
    img_contour = utlis.findBiggestContour(img_contour)  # 找到最大边缘折角坐标
    ct = utlis.reorder(img_contour,2)   #重新排序坐标位置
    ct = np.array([ct], np.int32)     #转化成整数数组并转化成列表
    cv.drawContours(img,img_contour,-1,(0,255,0),10)    #四个角定位点
    cv.polylines(img,ct,True,(0,255,0),2)   #多边形

    ##透视
    matrix = cv.getPerspectiveTransform(np.float32(utlis.reorder(img_contour,1)), #   获取透视转换配置数据(待转换坐标(↖↙↘↗),转换后坐标)
                                        np.float32([[0, 0], [0, height], [weigh, 0], [weigh, height]]))
    pers = cv.warpPerspective(img_gray, matrix, (weigh, height))     #透视操作(操作图片,配置数据,显示大小(全显示则需和坐标))

    ## 自适应阈值:对不同区域取不同阈值(如在采光条件不同的情况下)
    adapt = cv.adaptiveThreshold(pers, 200, 1, 0, 5, 5)  # 自适应阈值(阈值上限,自适应阈值算法,阈值类型,阈值块大小,算法相关的常数C)

    cv.imshow('img', img)
    cv.waitKey(0)
运行效果2
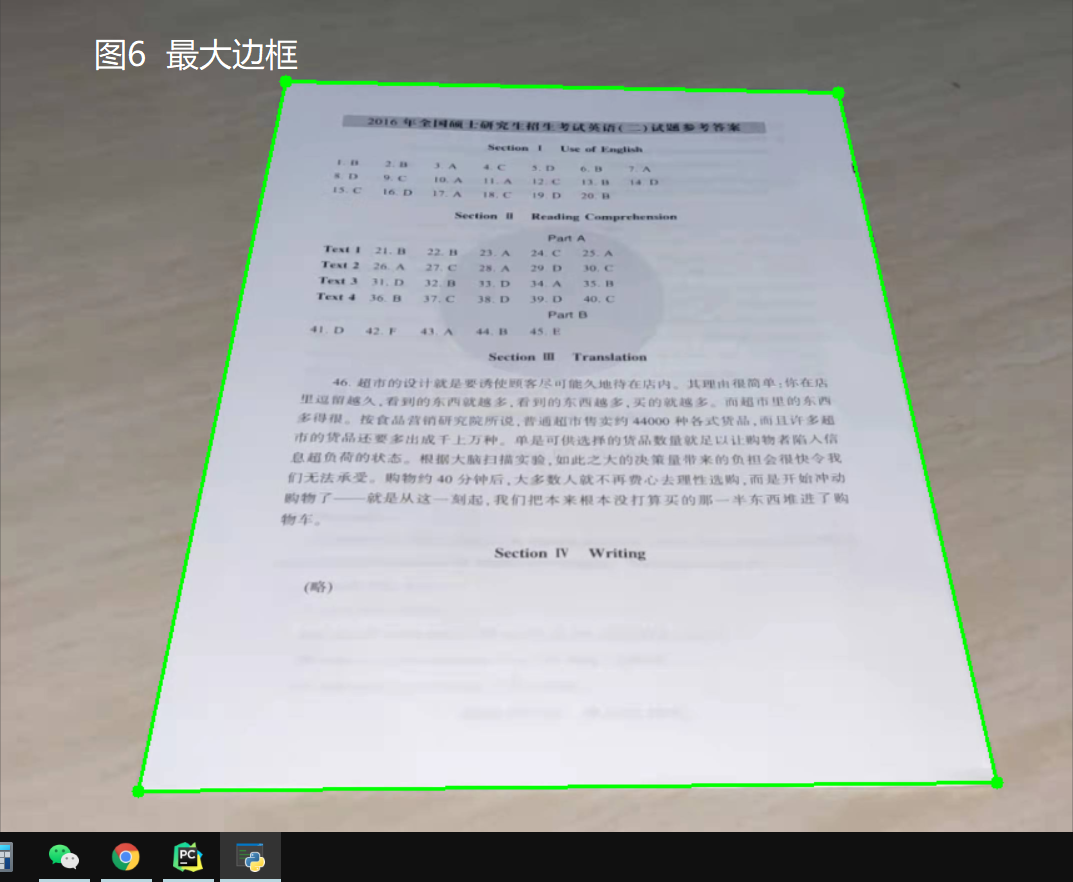
图六 最大边框
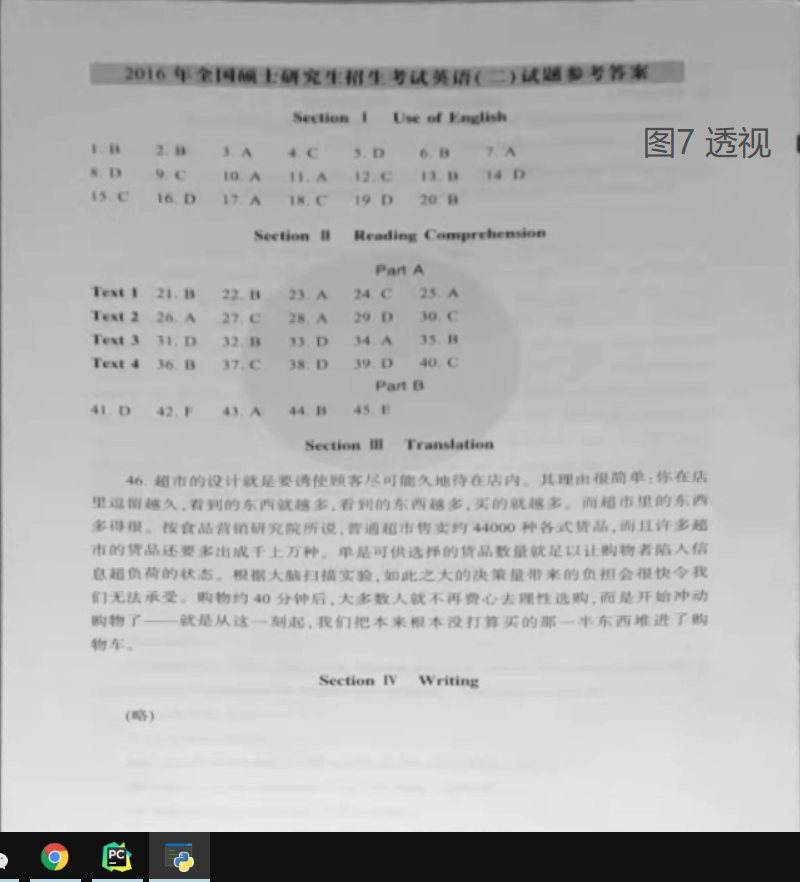
图七 透视
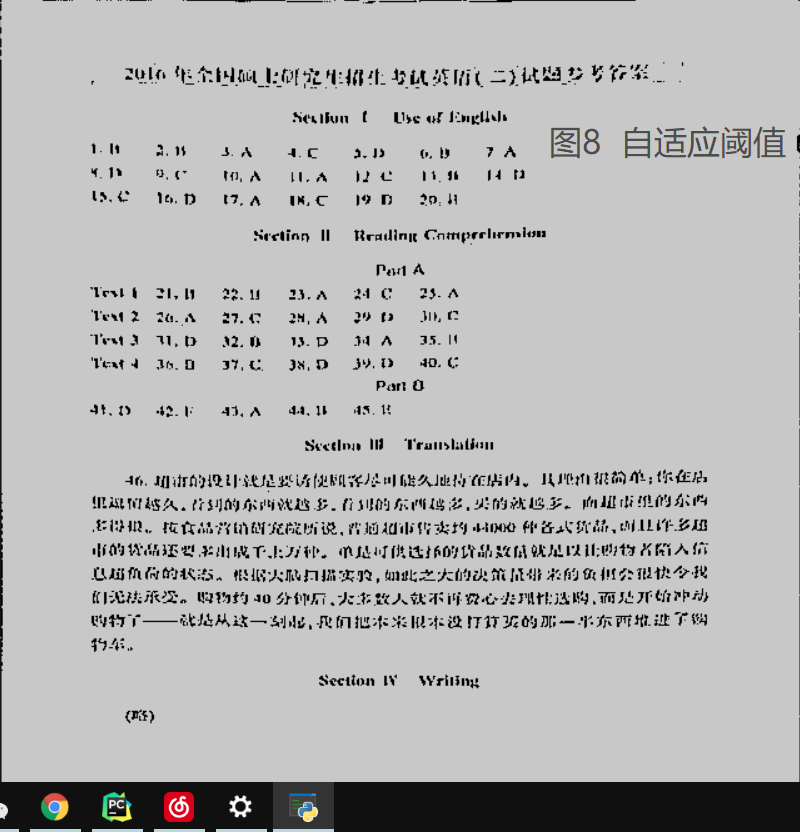
图八 自适应阈值
代码_utlis
import cv2 as cv


def findBiggestContour(contours):
    ## 找到最大轮廓
    max_contour = []
    contour_max = 0
    for contour in contours:
        area = cv.contourArea(contour)  #获得轮廓面积
        print(area)
        length = cv.arcLength(contour,True)     #获得轮廓周长(是否闭合)
        poly = cv.approxPolyDP(contour,0.02*length,True)    #将曲线拟合为多边形,输出多边形折点坐标(轮廓距离物体距离(越小越好),是否闭合)
        if area >= 5000 and len(poly) == 4:    #面积大于5000且多边形条数为4(矩形)
            if area > contour_max:
                contour_max = area
                max_contour = poly
    return max_contour

def reorder(location,mod):
    ## 重新编排坐标信息顺序
    if mod == 1:    #↖↙↗↘
        list = []
        list.append(location[0][0])
        list.append(location[1][0])
        list.append(location[3][0])
        list.append(location[2][0])
    if mod == 2:    #↖↗↘↙
        list = []
        list.append(location[0][0])
        list.append(location[3][0])
        list.append(location[2][0])
        list.append(location[1][0])

    return list
遇到的问题
Q1:import 同文件夹下的自定义包失败
A1:在本目录设置:mark this directory as source root
Q2:部分函数解析
A2:
1. cv.approxPolyDP():将曲线拟合为多边形,返回多边形折点坐标,需要选择判断对象是闭合曲线还是非闭合曲线
2. cv.getPerspectiveTransform():获取透视转换配置数据,输入坐标依次为:↖↙↗↘,和cv.polylines()不同,所以使用自定义函数utlis.reorder()进行区分转换
cv.warpPerspective():进行透视转换,需注意输入dsize参数--展示大小,如果想要展示所有内容需>=图片大小
3. cv.adaptiveThreshold():自适应阈值,弥补了图片不同区域不同光量情况下普通阈值操作的不足。基本思想是不同区域计算给予不同阈值
Q3:canny()检测边缘效果差
A3:opencv中canny()没有前面的降噪过程,需要先进行模糊(一般选择高斯模糊),效果很大程度取决于模糊。


【推荐】国内首个AI IDE,深度理解中文开发场景,立即下载体验Trae
【推荐】编程新体验,更懂你的AI,立即体验豆包MarsCode编程助手
【推荐】抖音旗下AI助手豆包,你的智能百科全书,全免费不限次数
【推荐】轻量又高性能的 SSH 工具 IShell:AI 加持,快人一步
· 无需6万激活码!GitHub神秘组织3小时极速复刻Manus,手把手教你使用OpenManus搭建本
· Manus爆火,是硬核还是营销?
· 终于写完轮子一部分:tcp代理 了,记录一下
· 别再用vector<bool>了!Google高级工程师:这可能是STL最大的设计失误
· 单元测试从入门到精通