R3300L电视盒子刷机
1.先线刷当贝安卓系统到EMMC
- 打开USB_Burning_Tool, 打开img文件, Erase flash 和 Erase bootloader 默认勾选. 等着
- R3300L断开电源, 开关关上(弹出状态), 顶住AV口内的小开关, 连上USB线,
- 等待几秒, 会看到USB_Burning_Tool界面显示Connect success, 然后点击Start
- 然后就等进度条一直写到100%
- 完成后点击Stop, 关闭USB_Burning_Tool
拔掉USB线, 重新连上HDMI, 加电, 系统开机就是新的安卓系统了
使用的系统是20180123-S905L-R3300L-V12C-root-qlzy
参考:R3300L运行CoreELEC, EmuELEC和Armbia
2.再刷armbian系统到TF卡
双系统不用把armbian系统刷进emmc,需要在安卓系统中安装Reboot to LibreELEC的apk来启动TF卡系统,装上TF卡就自动进行armbian系统
参考:魔百盒R3300L、CM101H以及中兴ZX10 B860AV1.2刷armbian跑甜糖
使用的系统版本是Armbian_20.10_Arm-64_buster_current_5.9.0.img
3.armbian换源
cp /etc/apt/sources.list /etc/apt/sources.list.bak
换成清华源
deb https://mirrors.tuna.tsinghua.edu.cn/debian buster main contrib non-free
#deb-src https://mirrors.tuna.tsinghua.edu.cn/debian buster main contrib non-free

deb https://mirrors.tuna.tsinghua.edu.cn/debian buster-updates main contrib non-free
#deb-src https://mirrors.tuna.tsinghua.edu.cn/debian buster-updates main contrib non-free

deb https://mirrors.tuna.tsinghua.edu.cn/debian buster-backports main contrib non-free
#deb-src https://mirrors.tuna.tsinghua.edu.cn/debian buster-backports main contrib non-free

deb https://mirrors.tuna.tsinghua.edu.cn/debian-security/ buster/updates main contrib non-free
#deb-src https://mirrors.tuna.tsinghua.edu.cn/debian-security/ buster/updates main contrib non-free
然后
apt-get update
如果遇到NO_PUBKEY的报错
Err:4 https://mirrors.tuna.tsinghua.edu.cn/debian buster-backports InRelease
  The following signatures couldn't be verified because the public key is not available: NO_PUBKEY XXXXXXXXX NO_PUBKEY XXXXXXXXX
执行下面命令
sudo apt-key adv --keyserver keyserver.ubuntu.com --recv-keys XXXXXXX
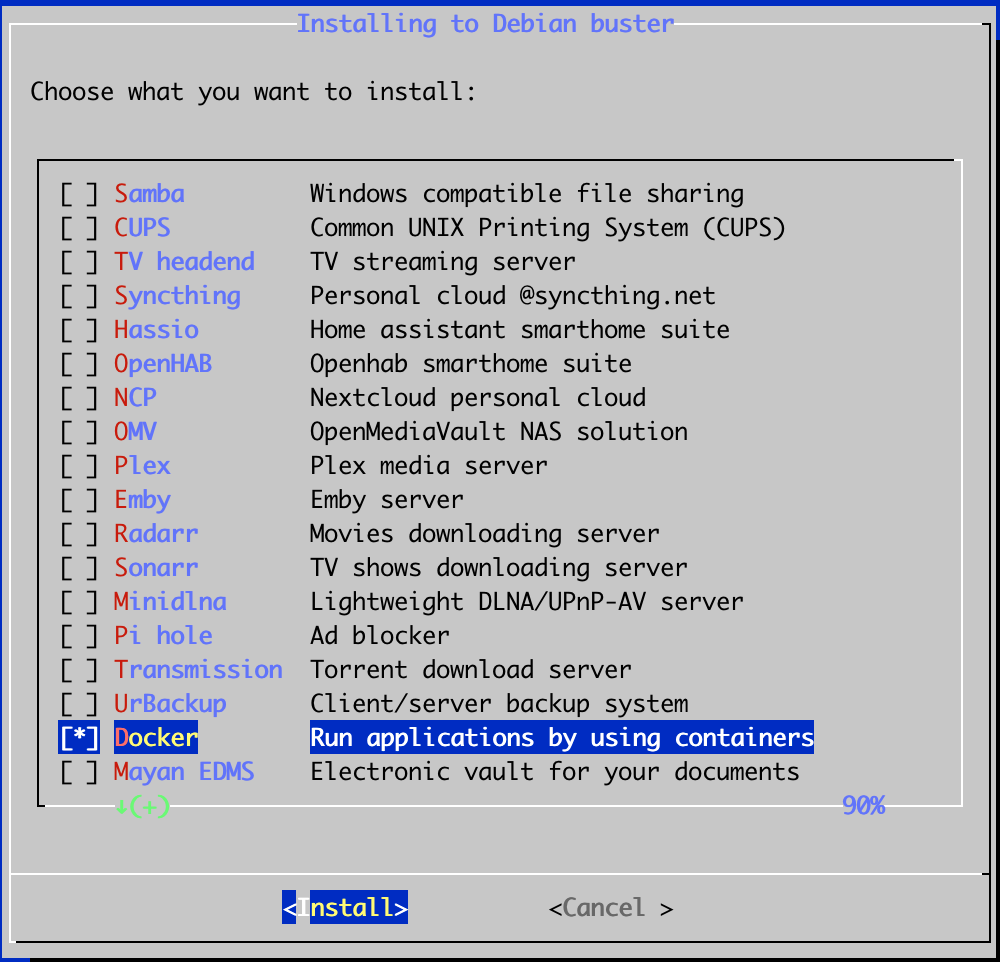
4.安装docker
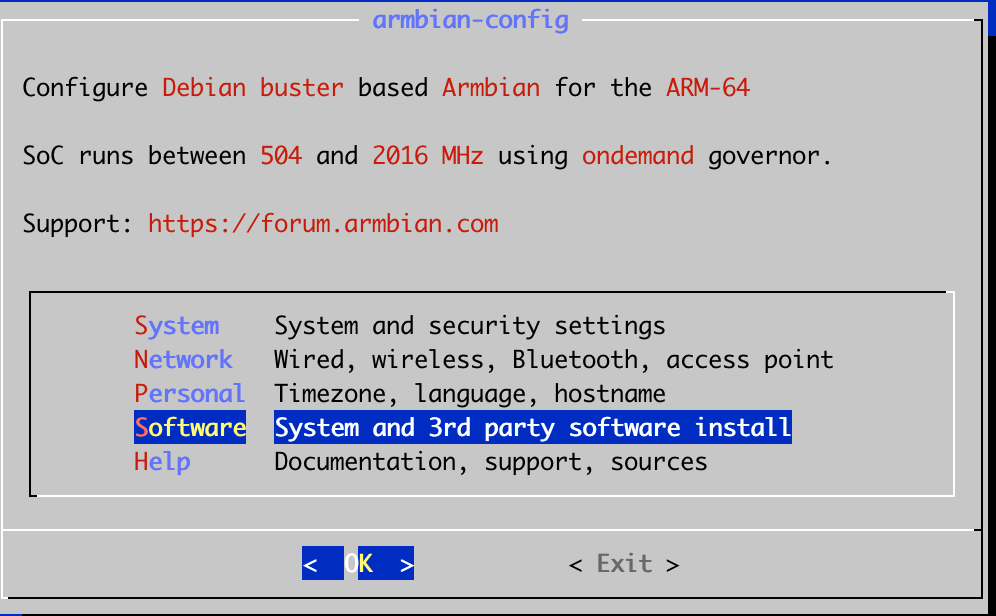
armbian-config

root@arm-64:~# docker -v
Docker version 25.0.3, build 4debf41
5.docker部署openwrt
1.部署openwrt
假设armbian的ip是192.168.0.xx
创建network
docker network create -d macvlan --subnet=192.168.0.0/24 --gateway=192.168.0.1 -o parent=eth0 macnet
启动pod,其中192.168.0.11是openwrt后面会使用的ip
docker run \
  -d \
  --name=unifreq-openwrt-aarch64 \
  --restart=unless-stopped \
  --network=macnet \
  --privileged \
  --ip=192.168.0.11 \
  unifreq/openwrt-aarch64:latest
打开网卡混杂模式
sudo ip link set eth0 promisc on
进入pod查看/etc/config/network文件的option ipaddr,查看其值为192.168.0.1还是192.168.1.1
接着将pod中/etc/config/network的192.168.0.1或者192.168.1.1修改成192.168.0.11
docker exec unifreq-openwrt-aarch64 sed -e "s/192.168.0.1/192.168.0.11/" -i /etc/config/network
重启pod
docker restart unifreq-openwrt-aarch64
参考:M401a系列:armbian下docker安装openwrt做旁路由
2.登录openwrt
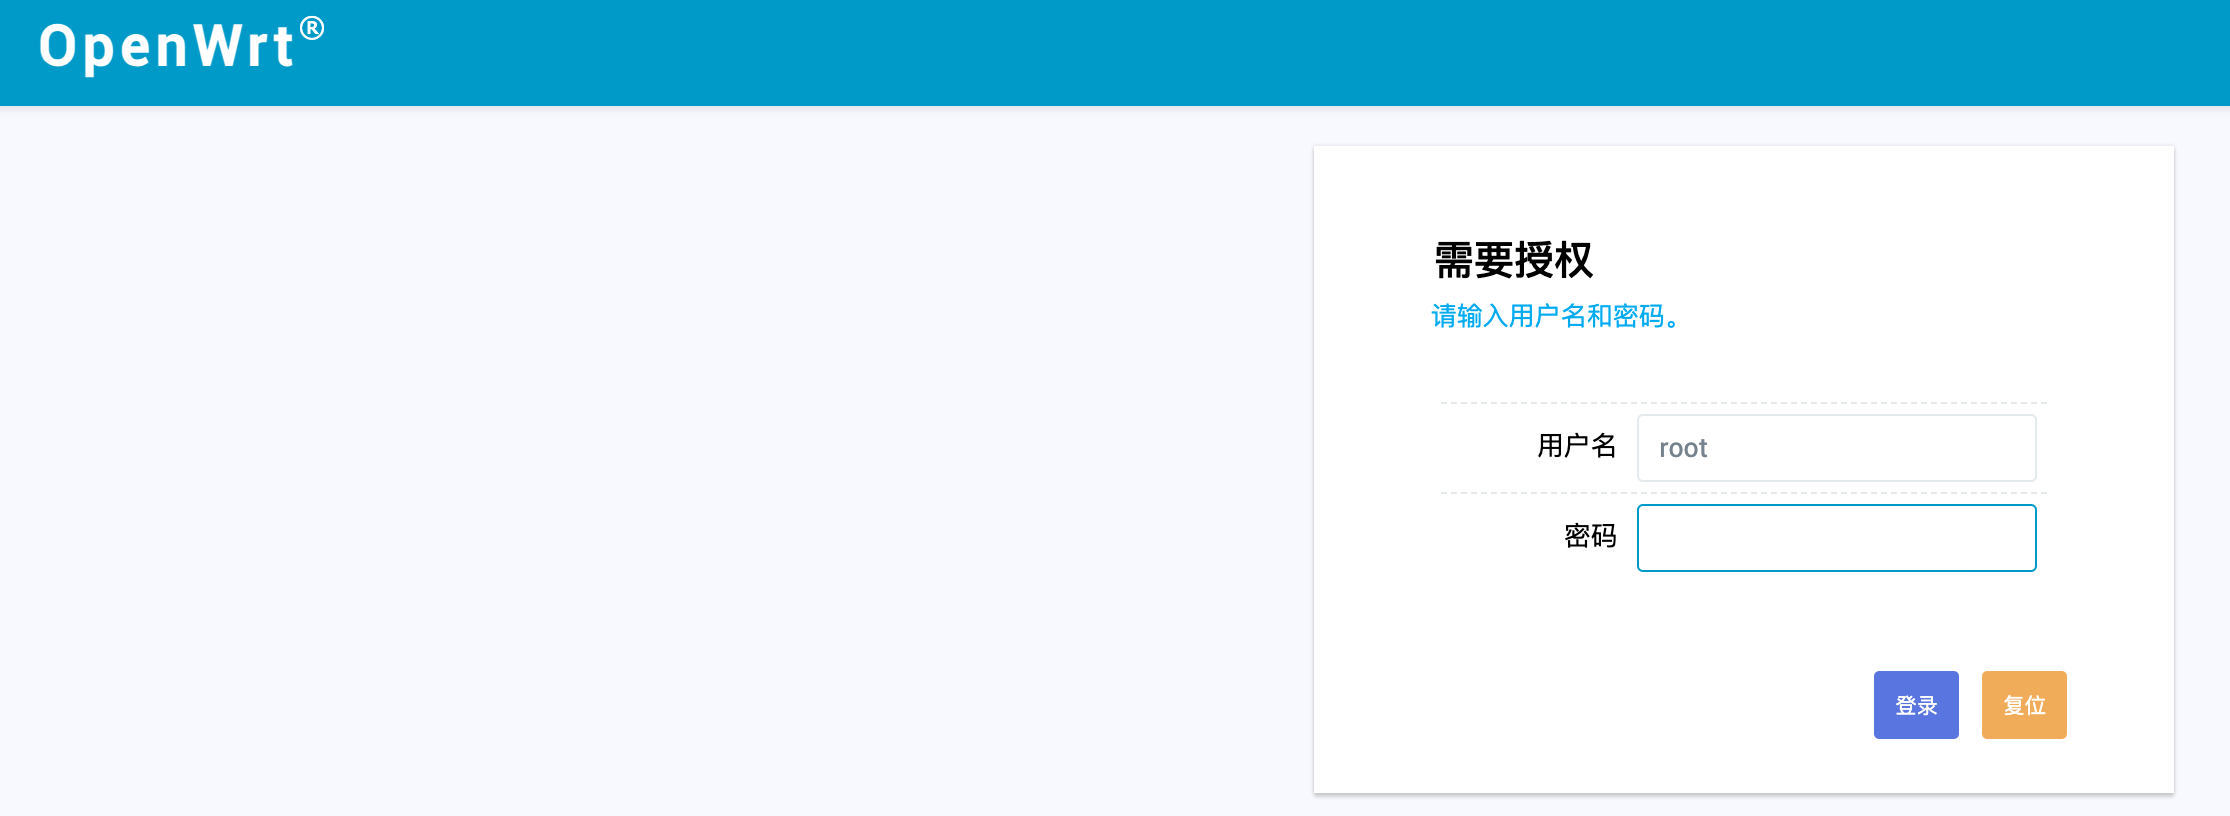
登录192.168.0.11访问openwrt的管理页面,注意是http的浏览器访问的时候需要接受风险,默认账号密码是root和password

3.设置openwrt
这时候openwrt需要进行一些设置
1.关闭 DHCP
网络 => 接口 => LAN => DHCP 服务器 => 基本设置
操作: 勾选忽略此接口

2.关闭ipv6
网络 => 接口 => LAN => DHCP 服务器 => IPv6 设置
操作: 禁用 路由通告服务, DHCPv6 服务, NDP 代理

3.配置 网关 和 DNS,这样在pod中才能访问网络
网络 => 接口 => LAN => 一般设置 => 基本设置
操作:
1. IPv4 网关 改为 192.168.0.1
2. IPv4 广播 改为 192.168.0.255
3. 使用自定义的 DNS 服务器 改为 114.114.114.114
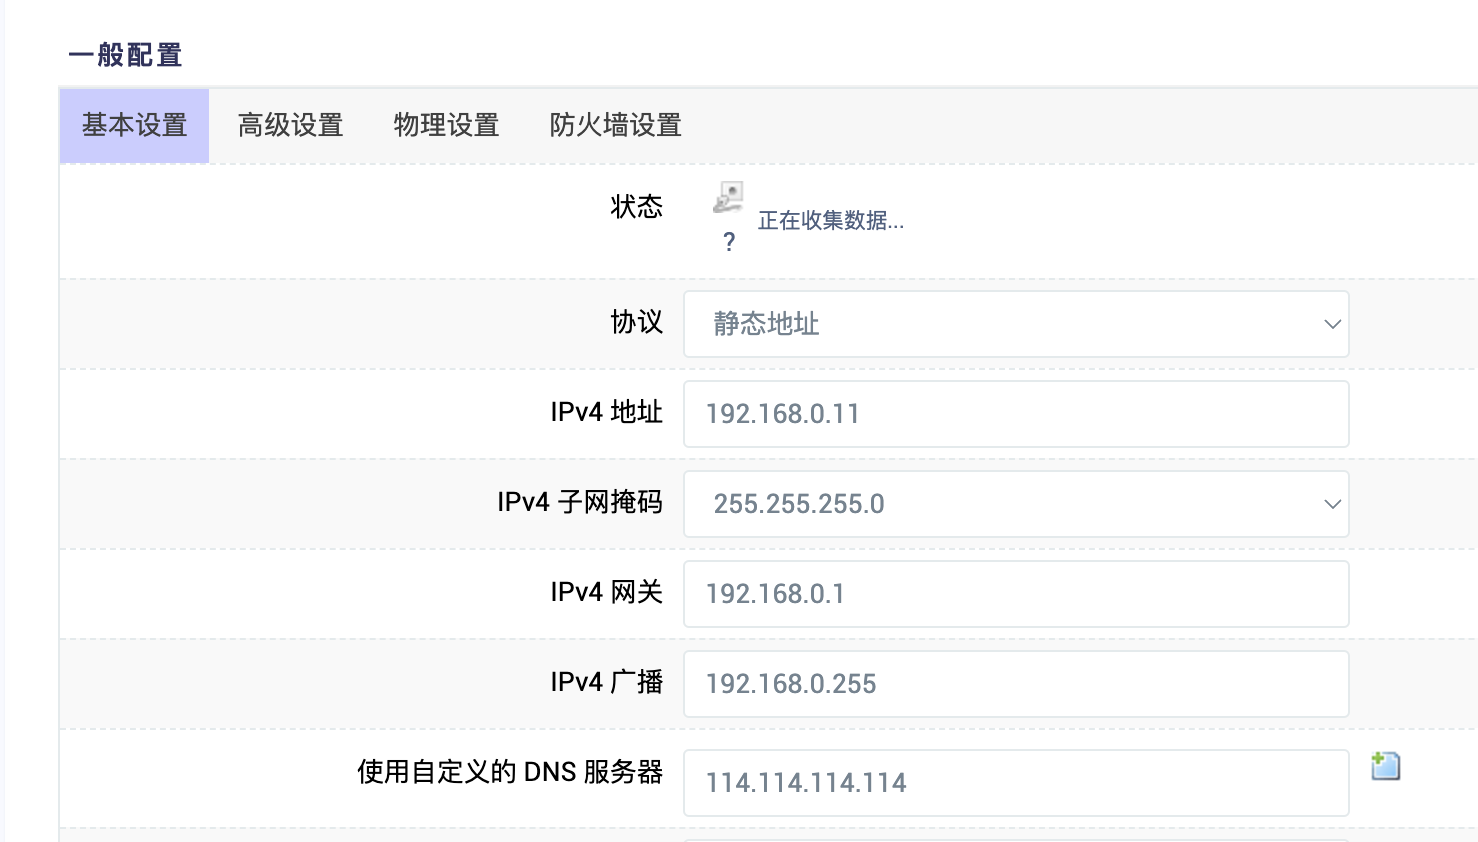
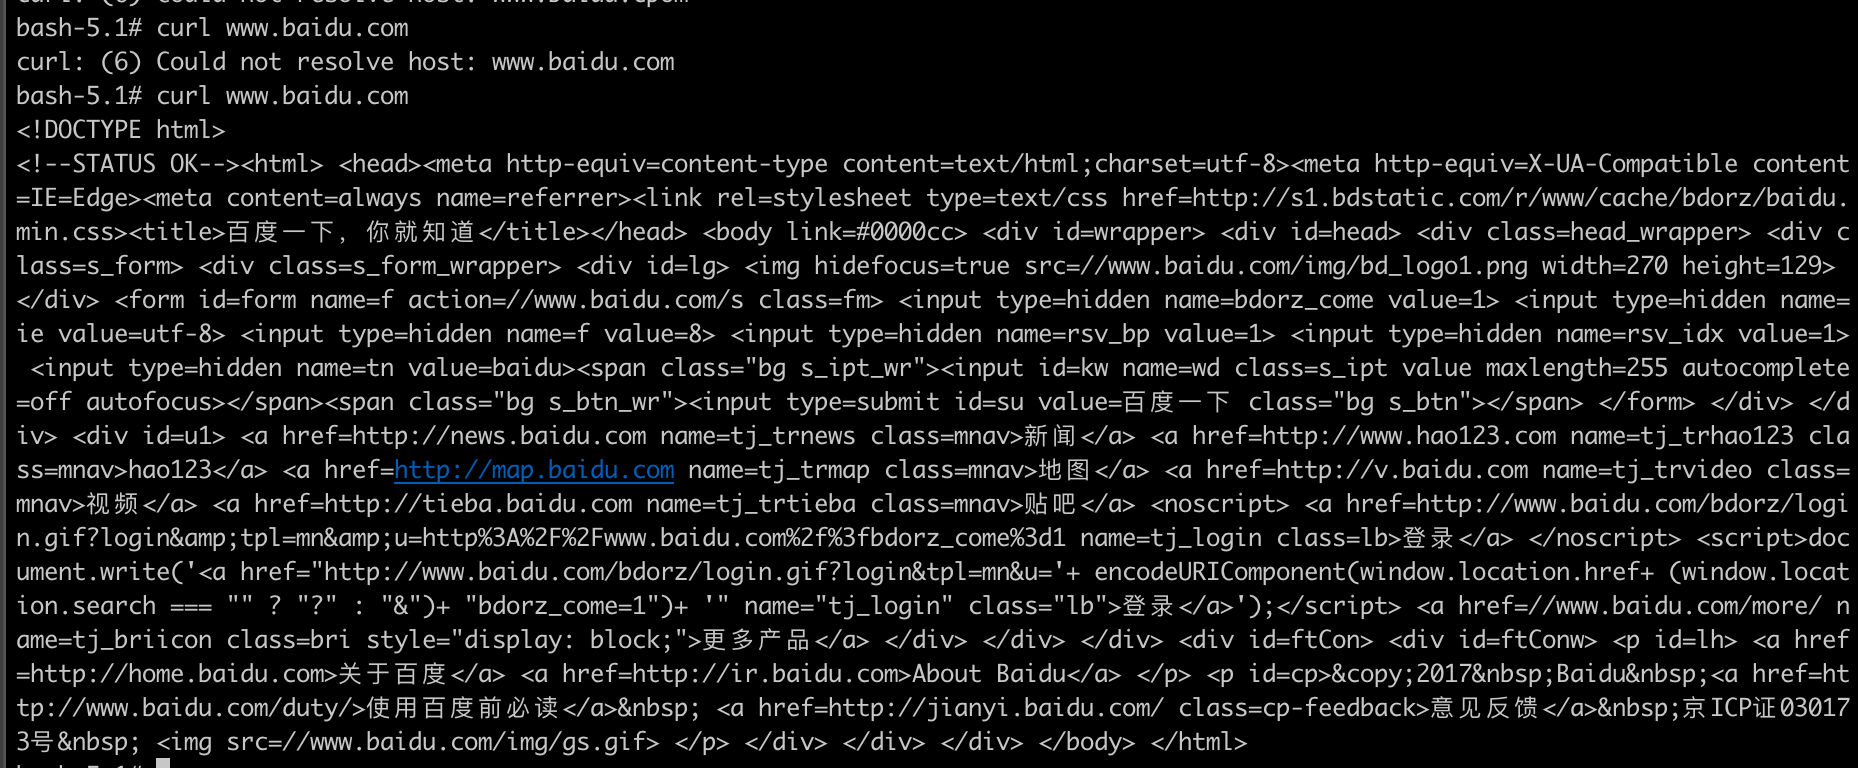
这时候pod中就可以访问外网了
4.armbian访问openwrt
其中192.168.0.116是armbian机器的ip,192.168.0.11是openwrt的ip
root@arm-64:~# ip link add mynet link eth0 type macvlan mode bridge
root@arm-64:~# ip addr add 192.168.0.116 dev mynet
root@arm-64:~# ip link set mynet up
root@arm-64:~# ip route add 192.168.0.11 dev mynet
root@arm-64:~# ping 192.168.0.11

PING 192.168.0.11 (192.168.0.11) 56(84) bytes of data.
64 bytes from 192.168.0.11: icmp_seq=1 ttl=64 time=1.02 ms
64 bytes from 192.168.0.11: icmp_seq=2 ttl=64 time=0.415 ms
64 bytes from 192.168.0.11: icmp_seq=3 ttl=64 time=0.426 ms
64 bytes from 192.168.0.11: icmp_seq=4 ttl=64 time=0.413 ms
参考:N1 通过 Docker 安装 Openwrt 为旁路由
5.设置软路由ss kx上网
注意需要把软路由接到主路器上
如果不想修改主路由的DNS地址,那么可以通过修改手机的路由器地址到openwrt的ip地址+修改DNS地址到openwrt的ip地址的方式
参考:软路由(operwrt)通过ss Plus+ kx上网教程
本文只发表于博客园和tonglin0325的博客,作者:tonglin0325,转载请注明原文链接:https://www.cnblogs.com/tonglin0325/p/4663301.html


