Presto学习笔记——Go客户端连接Presto
1.查询PrestoDB(facebook版本)
1.创建PrestoDB环境
使用docker创建presto测试环境
1 | https://hub.docker.com/r/prestodb/presto/tags |
拉取镜像
1 | docker pull prestodb/presto:0.284 |
启动
1 | docker run -p 8080:8080 -ti -v /Users/lintong/Downloads/config.properties:/opt/presto-server/etc/config.properties -v /Users/lintong/Downloads/jvm.config:/opt/presto-server/etc/jvm.config prestodb/presto:0.284 |
其中config.properties配置文件
1 2 3 4 5 6 7 | coordinator=truenode-scheduler.include-coordinator=truehttp-server.http.port=8080query.max-memory=5GBquery.max-memory-per-node=1GBdiscovery-server.enabled=truediscovery.uri=http://localhost:8080 |
jvm.config
1 2 3 4 5 6 7 8 9 | -server-Xmx4G-XX:+UseG1GC-XX:G1HeapRegionSize=32M-XX:+UseGCOverheadLimit-XX:+ExplicitGCInvokesConcurrent-XX:+HeapDumpOnOutOfMemoryError-XX:+ExitOnOutOfMemoryError-Djdk.attach.allowAttachSelf=true |
配置参考:https://github.com/prestodb/presto/tree/master/docker/etc
https://prestodb.github.io/docs/current/installation/deployment.html
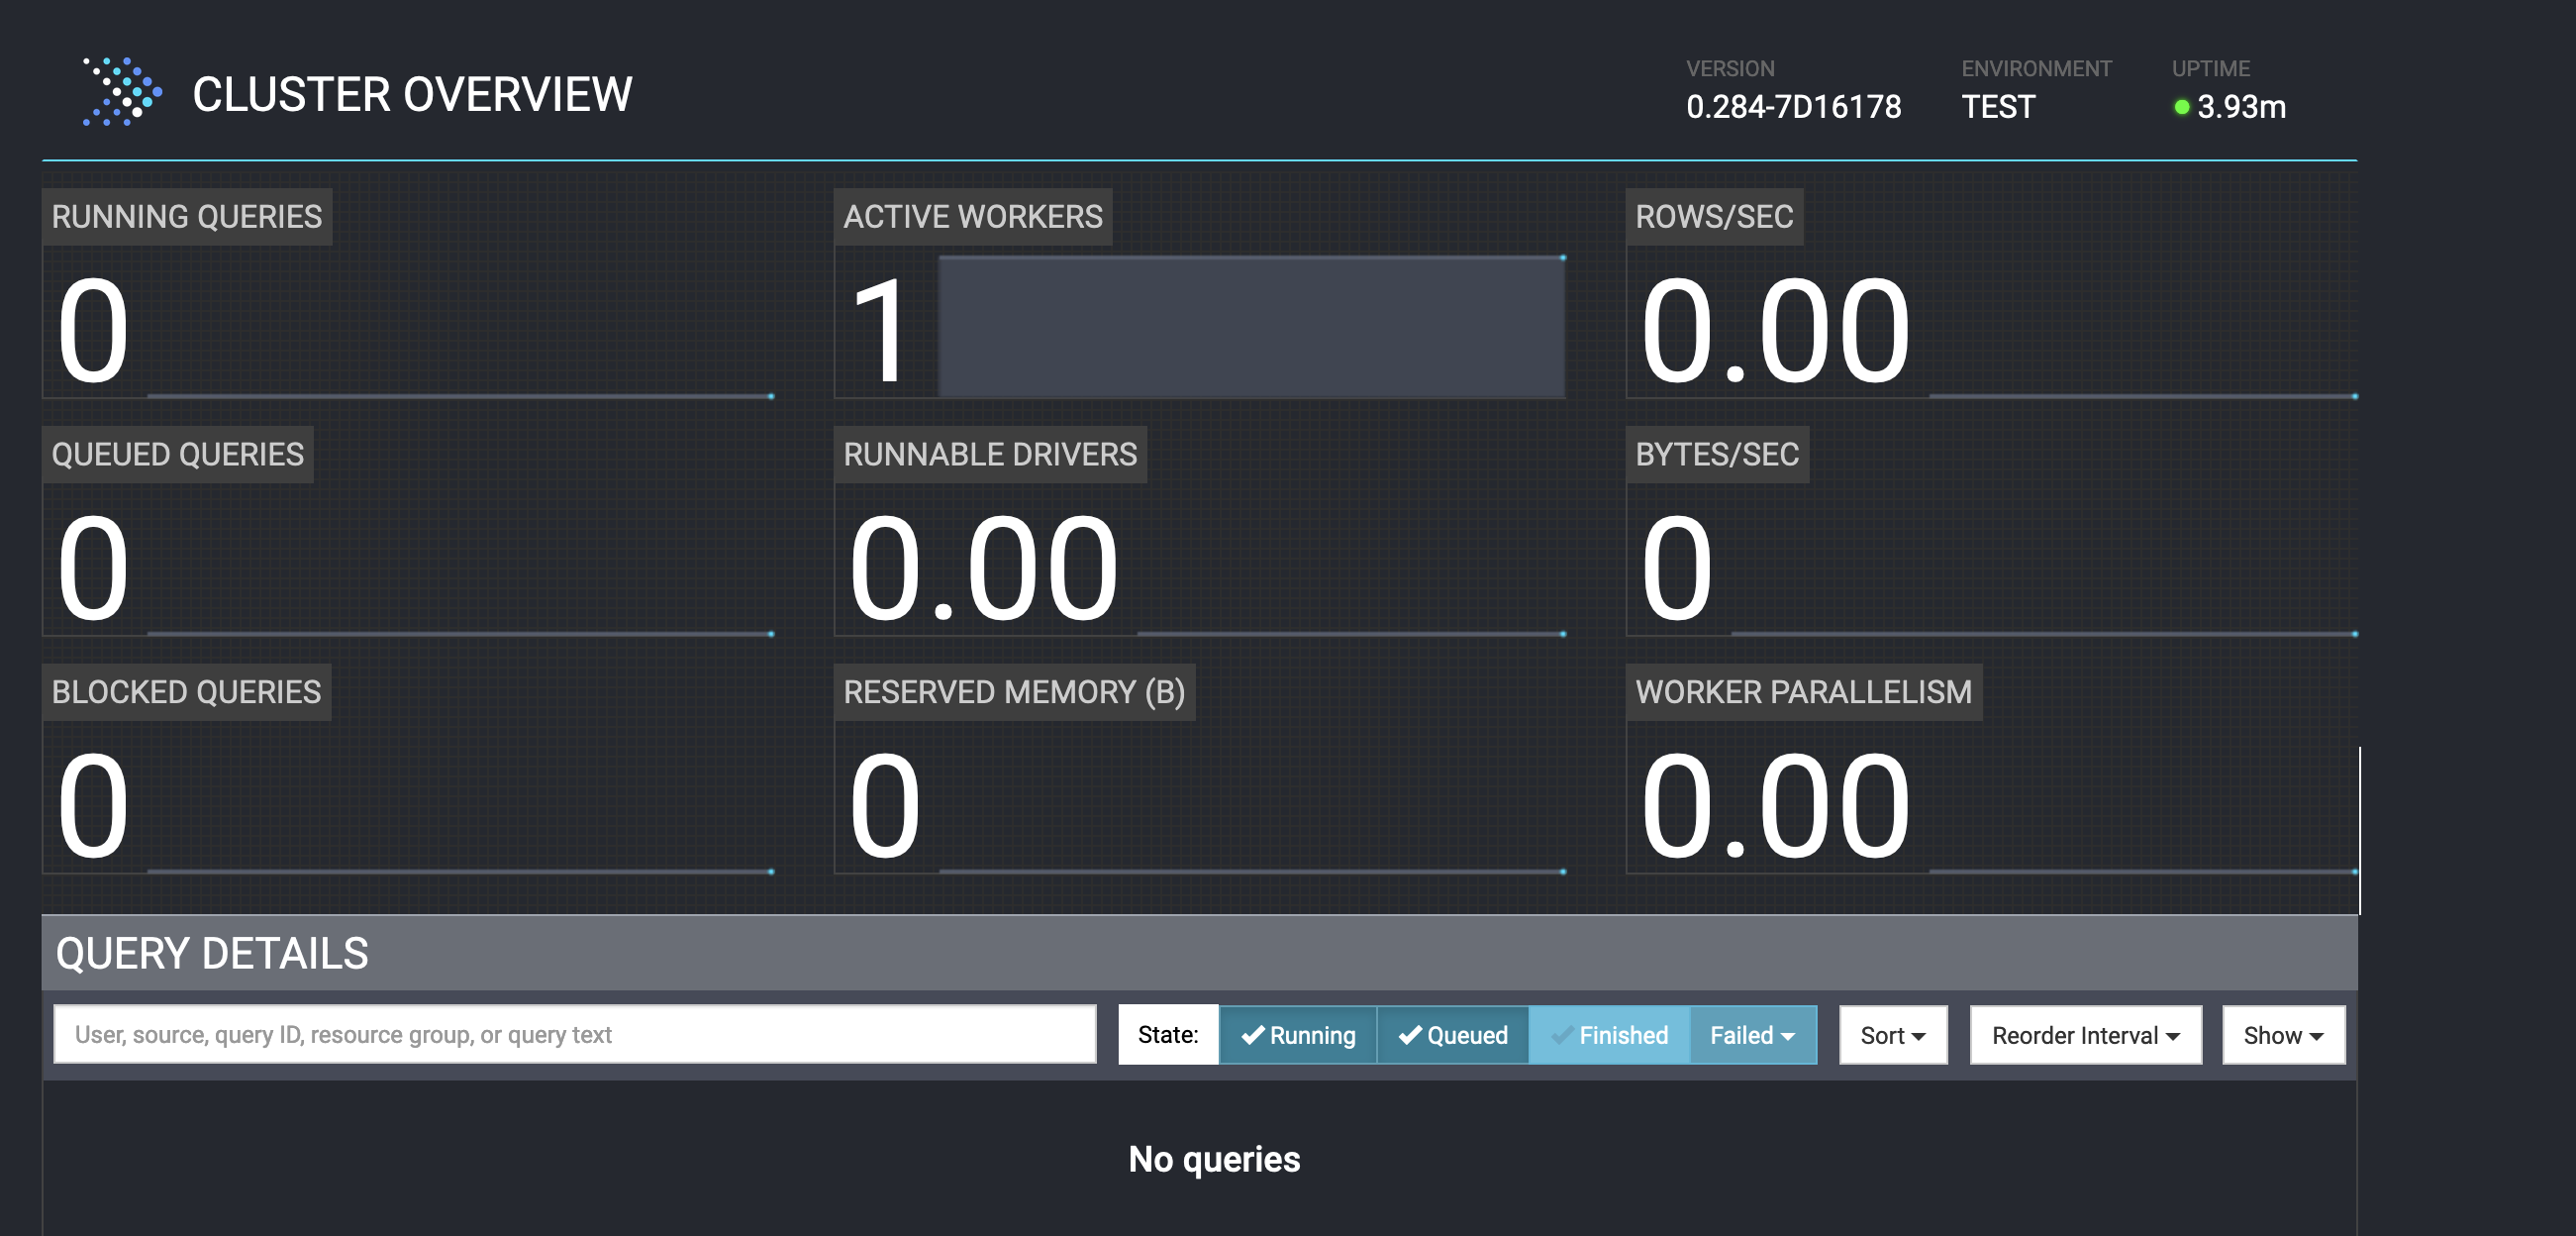
访问localhost:8080

2.使用client连接PrestoDB
可以使用presto-go-client,官方文档
1 | https://github.com/prestodb/presto-go-client |
引入依赖
1 | go get github.com/prestodb/presto-go-client/presto |
go连接数据库使用的是database/sql,还需要额外引入具体数据库的driver,比如
presto的github.com/prestodb/presto-go-client/presto
mysql的github.com/go-sql-driver/mysql
impala的github.com/bippio/go-impala
查询presto代码
1 2 3 4 5 6 7 8 9 10 11 12 13 14 15 16 17 18 19 20 21 22 23 24 25 26 27 28 29 30 31 | import ( "database/sql" "fmt" _ "github.com/prestodb/presto-go-client/presto")func main() { dsn := "http://user@localhost:8080?catalog=default&schema=test" db, err := sql.Open("presto", dsn) if err != nil { fmt.Println(err) } rows, err := db.Query("SELECT name, age FROM foobar WHERE id=?") if err != nil { fmt.Println(err) } defer func() { _ = db.Close() }() // 迭代结果行 for rows.Next() { var col1 string var col2 int if err := rows.Scan(&col1, &col2); err != nil { fmt.Println("扫描行失败:", err) return } fmt.Println(col1, col2) }} |
参考:golang+presto查询在数据平台中ad hoc查询
如果想同时查询多行的话,也可以先定义一个struct
1 2 3 4 5 6 | type YourTable struct { Col1 string Col2 int Col3 float64 // 其他列...} |
然后在迭代查询的时候使用这个struct
1 2 3 4 5 6 7 8 9 | // 迭代结果行for rows.Next() { var row YourTable if err := rows.Scan(&row.Col1, &row.Col2, &row.Col3); err != nil { fmt.Println("扫描行失败:", err) return } fmt.Println(row)} |
3.使用REST API连接PrestoDB
参考官方文档
1 | https://prestodb.io/docs/current/develop/client-protocol.html |
其实presto-go-client底层也是使用presto的REST API的POST请求来提交任务,参考源码
1 | https://github.com/prestodb/presto-go-client/tree/master/presto#L635 |
2.查询Trino(社区版本)
1.创建Trino环境
创建Trino环境用于测试可以使用docker
1 | https://hub.docker.com/r/trinodb/trino/tags |
拉取镜像
1 | docker pull trinodb/trino:435 |
启动
1 | docker run -p 8080:8080 -ti trinodb/trino:435 |
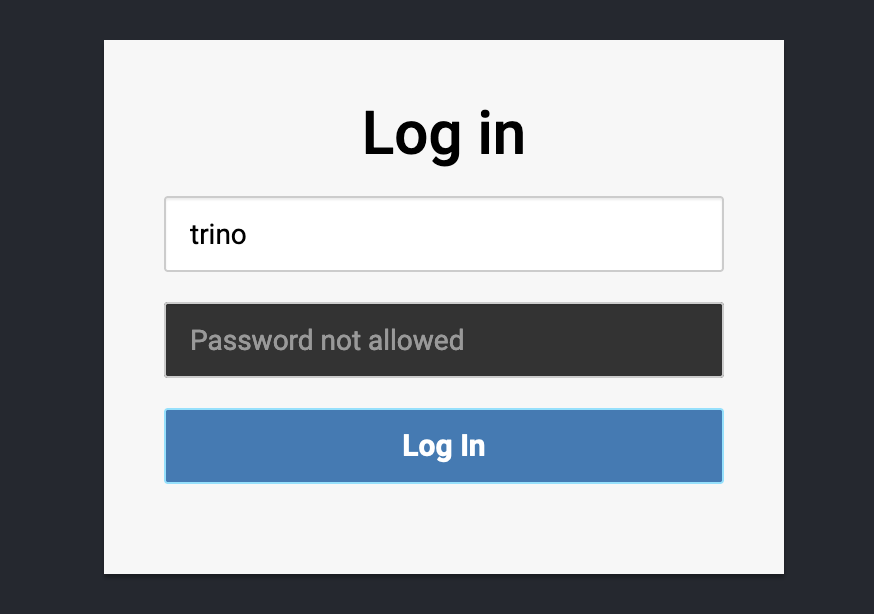
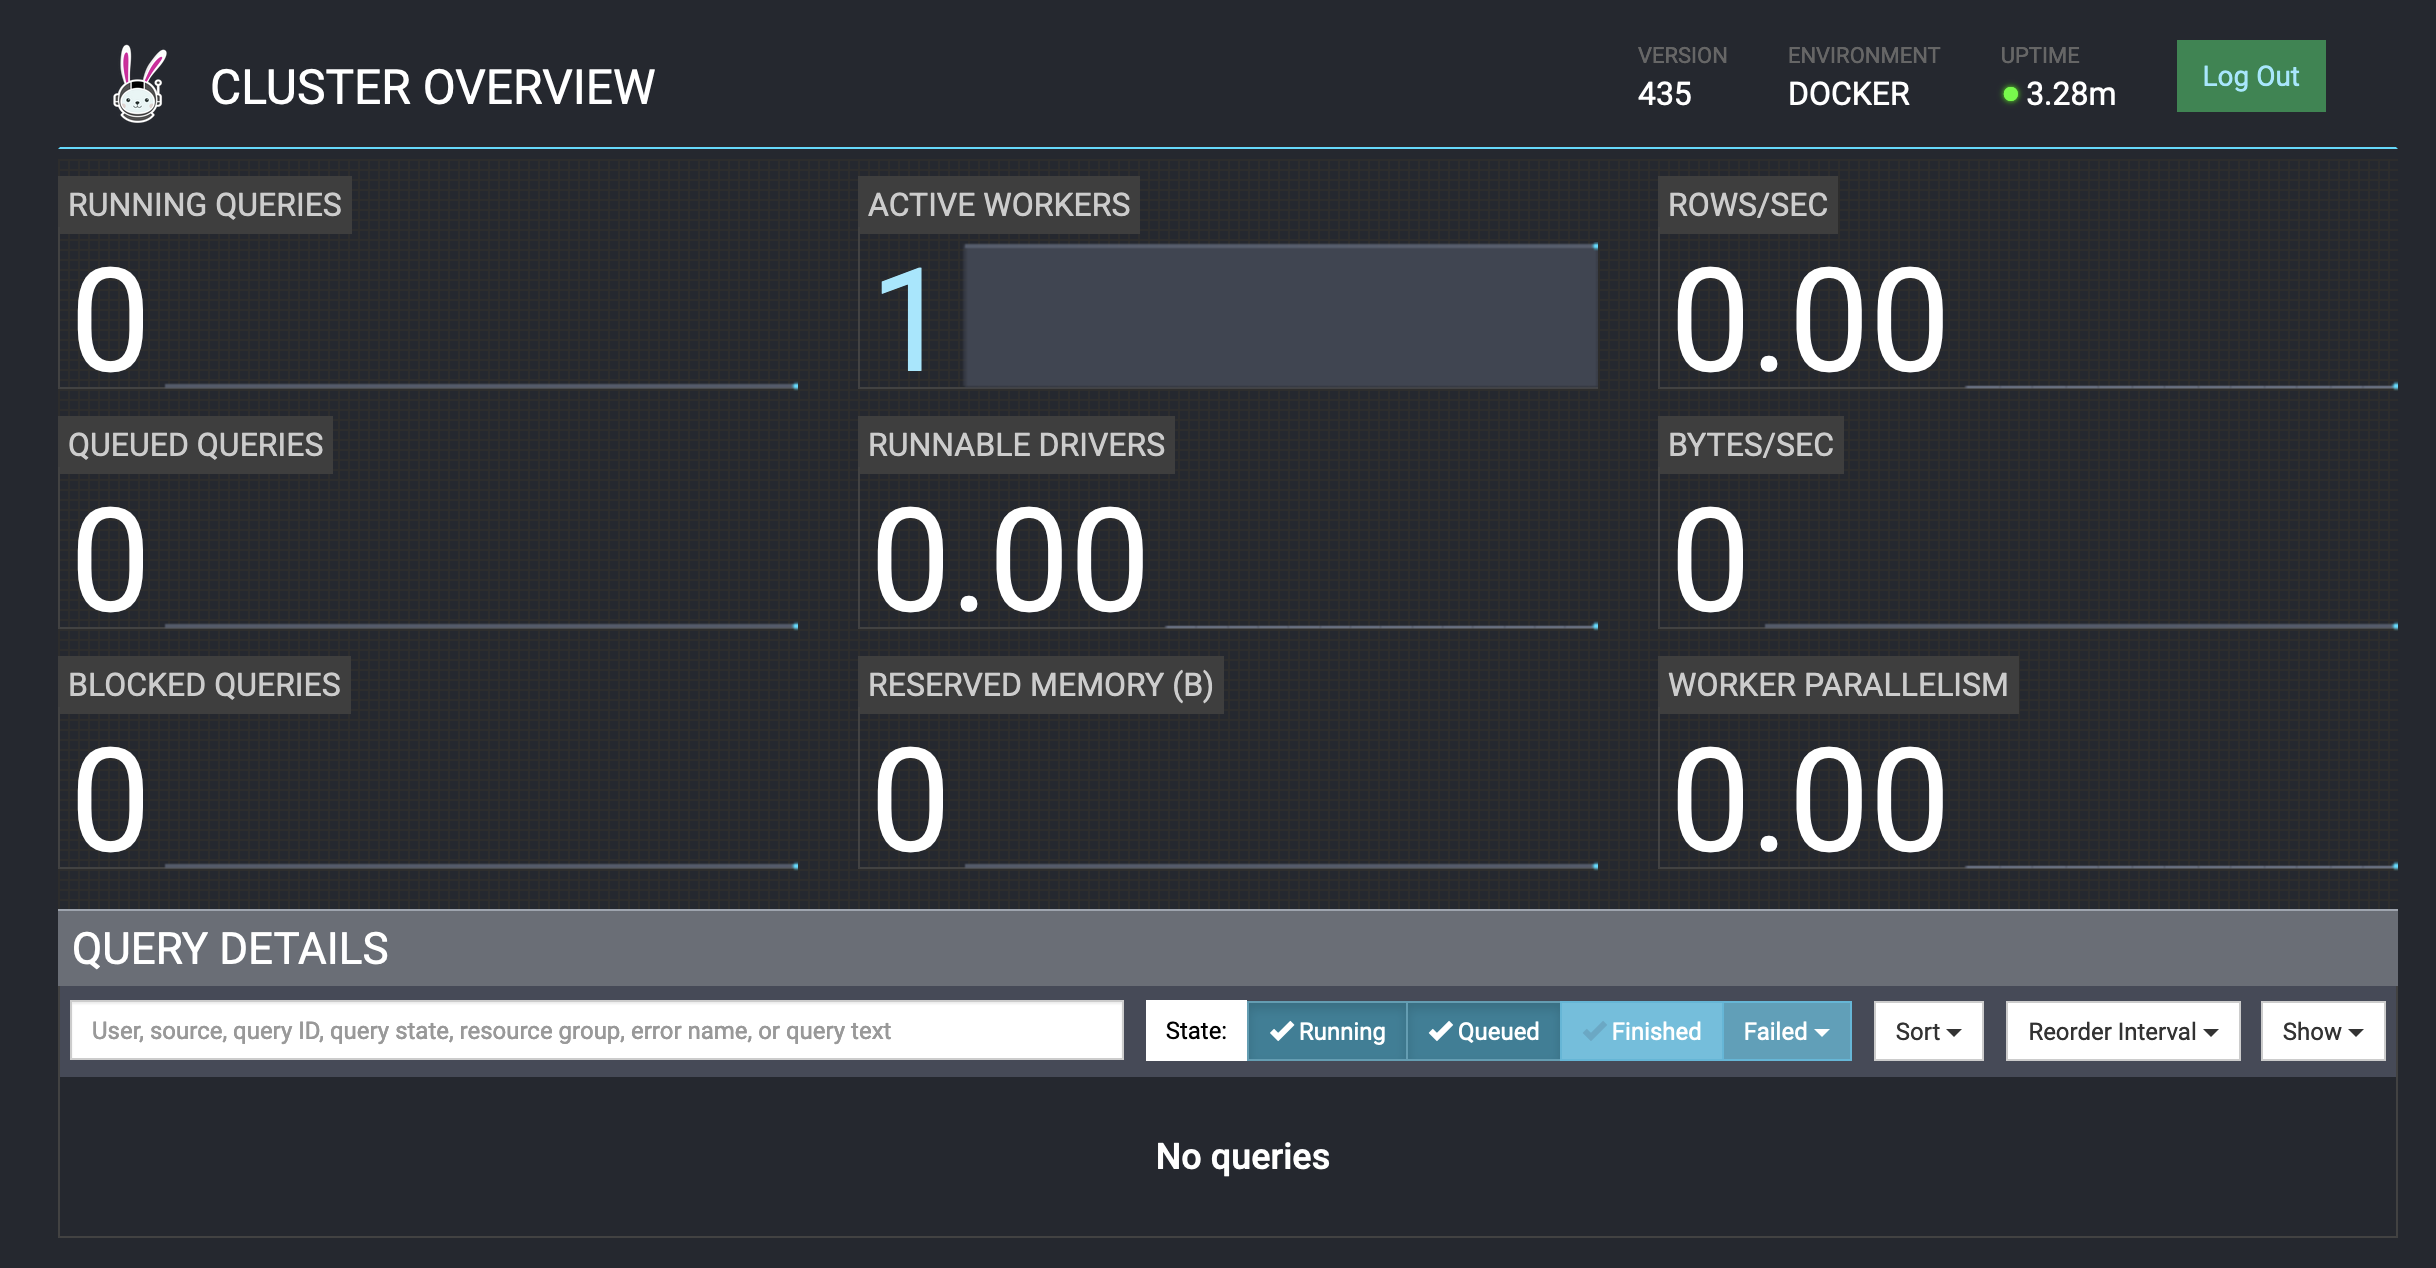
访问localhost:8080,默认密码不启用,随便输入一个用户名

界面

2.使用client连接trino
可以使用trino-go-client,官方文档
1 | https://github.com/trinodb/trino-go-client |
引入依赖
1 | go get github.com/trinodb/trino-go-client/trino |
查询trino代码
1 2 3 4 5 6 7 8 9 10 11 12 13 14 15 16 17 | import ( "database/sql" "fmt")import _ "github.com/trinodb/trino-go-client/trino"func main() { dsn := "http://user@localhost:8080?catalog=default&schema=test" db, err := sql.Open("trino", dsn) if err != nil { fmt.Println(err) } defer func() { _ = db.Close() }() db.Query("SELECT * FROM foobar WHERE id=?", 1, sql.Named("X-Trino-User", string("Alice")))} |
3.使用REST API连接TrinoDB
参考官方文档
1 | https://trino.io/docs/current/develop/client-protocol.html |
其实trino-go-client底层也是使用trino的REST API的POST请求来提交任务,参考源码
1 | https://github.com/trinodb/trino-go-client/blob/master/trino/trino.go#L820 |
本文只发表于博客园和tonglin0325的博客,作者:tonglin0325,转载请注明原文链接:https://www.cnblogs.com/tonglin0325/p/18187831


【推荐】国内首个AI IDE,深度理解中文开发场景,立即下载体验Trae
【推荐】编程新体验,更懂你的AI,立即体验豆包MarsCode编程助手
【推荐】抖音旗下AI助手豆包,你的智能百科全书,全免费不限次数
【推荐】轻量又高性能的 SSH 工具 IShell:AI 加持,快人一步
· winform 绘制太阳,地球,月球 运作规律
· 震惊!C++程序真的从main开始吗?99%的程序员都答错了
· AI与.NET技术实操系列(五):向量存储与相似性搜索在 .NET 中的实现
· 【硬核科普】Trae如何「偷看」你的代码?零基础破解AI编程运行原理
· 超详细:普通电脑也行Windows部署deepseek R1训练数据并当服务器共享给他人