Docker部署ELK
使用elk三者聚合在一起的镜像
镜像地址:https://hub.docker.com/r/sebp/elk
配置最大虚拟内存区域:
$ vim /etc/sysctl.conf
vm.max_map_count = 655360
$ sysctl -p
拉取镜像 启动容器
docker pull sebp/elk:792

# 创建挂载目录,用来保存es存储的nodes数据
mkdir -p /yao/elk

# 挂载es目录/yao/elk 可自定义为宿主机对应目录位置
-v /yao/elk:/var/lib/elasticsearch

# 运行容器
docker run -d -p 5601:5601 -p 9200:9200 -p 5044:5044 -v /yao/elk:/var/lib/elasticsearch -it --name elk sebp/elk:792
查看容器

使用浏览器访问:http://宿主机ip:9200,http://宿主机ip:5601
具体使用:
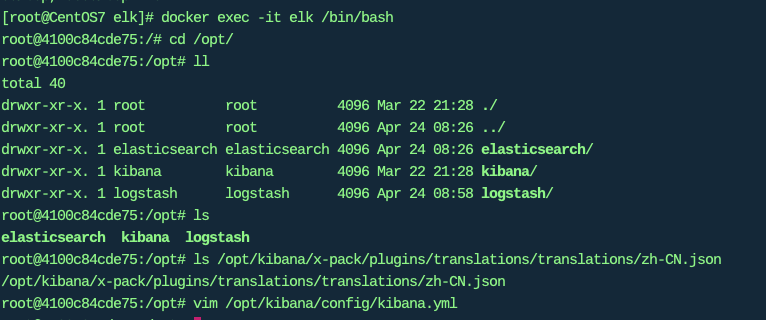
进入容器、查看elk组件安装路径:
docker exec -it elk /bin/bash

kibana设置中文界面
ls /opt/kibana/x-pack/plugins/translations/translations/zh-CN.json
vim /opt/kibana/config/kibana.yml
在容器内重启kibana
service kibana status
service kibana restart
其他组件的管理操作:
service elasticsearch status

service logstash status
下载filebeat。选择相同版本
https://www.elastic.co/cn/downloads/past-releases/filebeat-7-9-2
hosts为对应es的ip地址。10.211.55.3改为自己对应的ip即可。
备注:
因为filebeat使用的是tar.gz压缩包方式安装,在终端执行后台运行,窗口关闭会停止filebeat进程的问题,所以centos服务器使用rpm方式安装。
安装filebeat
wget https://artifacts.elastic.co/downloads/beats/filebeat/filebeat-7.9.2-x86_64.rpm

rpm -vi filebeat-7.9.2-x86_64.rpm

# 修改filebeat.yml
# 先复制原有的配置文件为bak
/etc/filebeat/filebeat.yml /etc/filebeat/filebeat.yml_bak

# 复制下列的信息
vim /etc/filebeat/filebeat.yml
filebeat.inputs:
- type: log
  paths:
    - /tmp/access-20220422.log
  # include_lines: ['go/yougo']
setup.template.name: "test-log"
setup.template.pattern: "test-log-*"
setup.ilm.enabled: false
output.elasticsearch:
  hosts: ["10.211.55.3:9200"]
  username: "elastic"
  password: "123456"
  index: "test-log-%{+yyyy.MM.dd}"
    启动:systemctl start filebeat

    停止:systemctl stop filebeat

    重启:systemctl restart filebeat

    开机自启动:systemctl enable filebeat

    开机不启动:systemctl disable filebeat
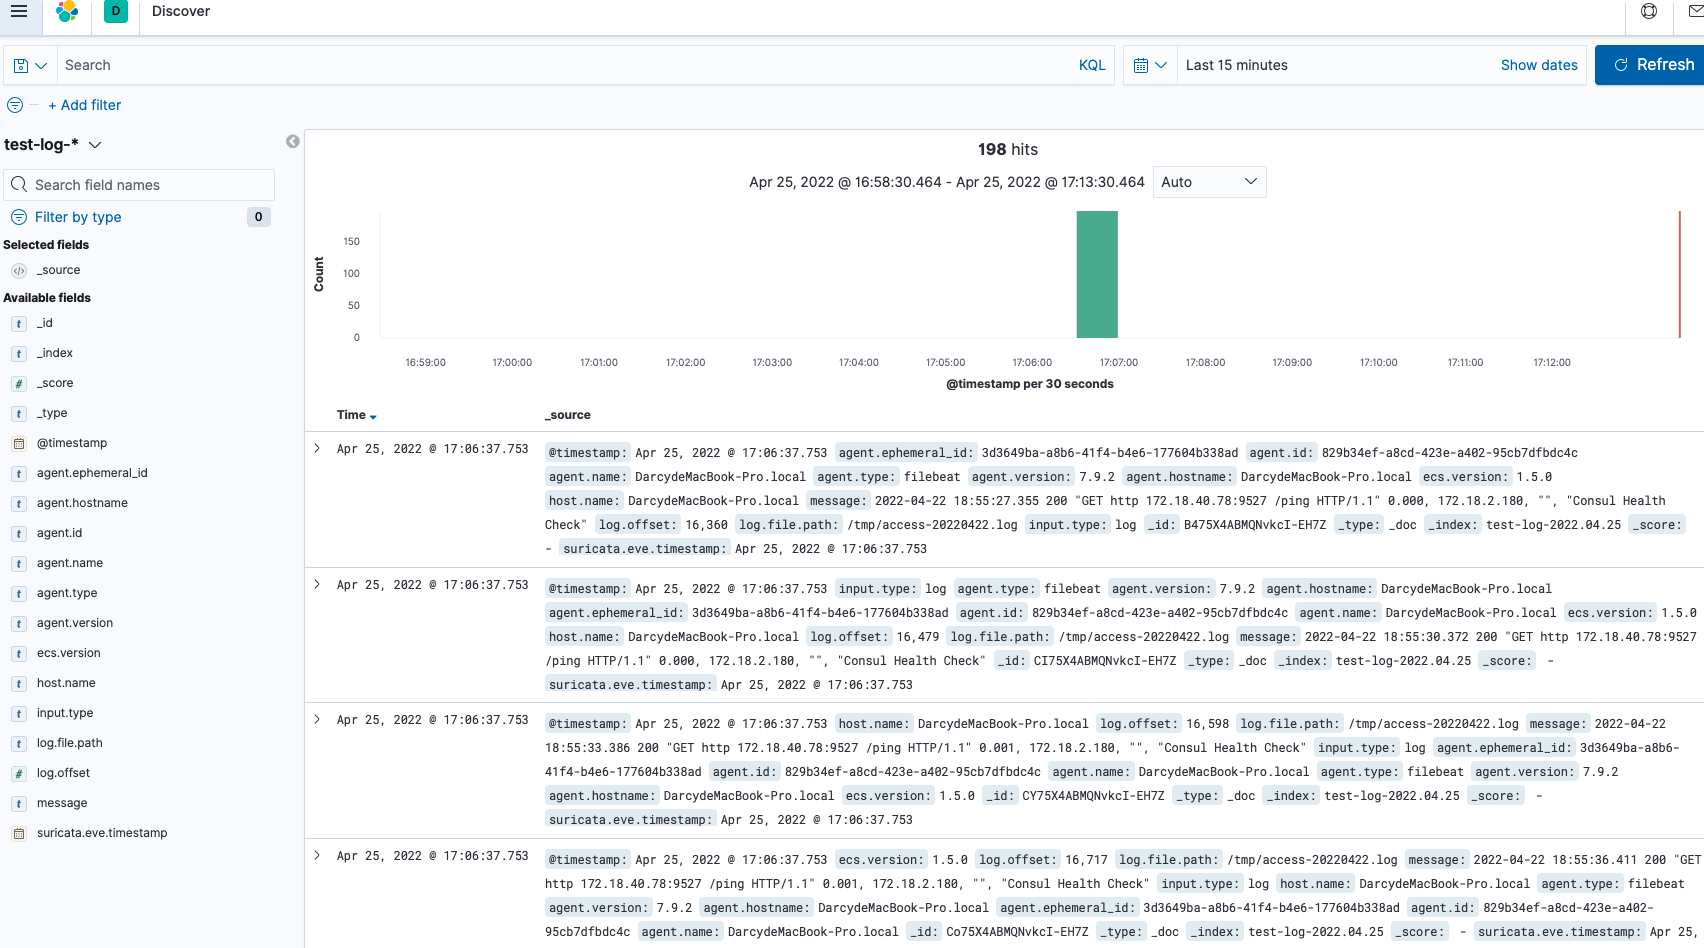
效果图


备注
# 【重点】RPM安装后使用后台运行后 exit退出客户端即可保留
nohup /usr/share/filebeat/bin/filebeat -e -c /tmp/inte.yml > /dev/null 2>&1 &


