Linux_Best Practice_04_Ubuntu 18.04
1. network setup
- open up "network" -> manually set IP.
- To check -> ip address
2. proxy setup
- open up "network"
- set to lasproxy.is.ad.igt.com 9000
3. Disply -> Resolution
4. responsory setup
Creating an Apt Proxy Conf File
Apt loads all configuration files under /etc/apt/apt.conf.d. We can create a configuration specifically for our proxy there, keeping it separate from all other configurations.
- Create a new configuration file named proxy.conf.
sudo touch /etc/apt/apt.conf.d/proxy.conf
- Open the proxy.conf file in a text editor.
sudo vi /etc/apt/apt.conf.d/proxy.conf
- Add the following line to set your HTTP proxy.
Acquire::http::Proxy "http://user:password@proxy.server:port/";
- Add the following line to set your HTTPS proxy.
Acquire::https::Proxy "http://user:password@proxy.server:port/";
- Save your changes and exit the text editor.
Your proxy settings will be applied the next time your run Apt.
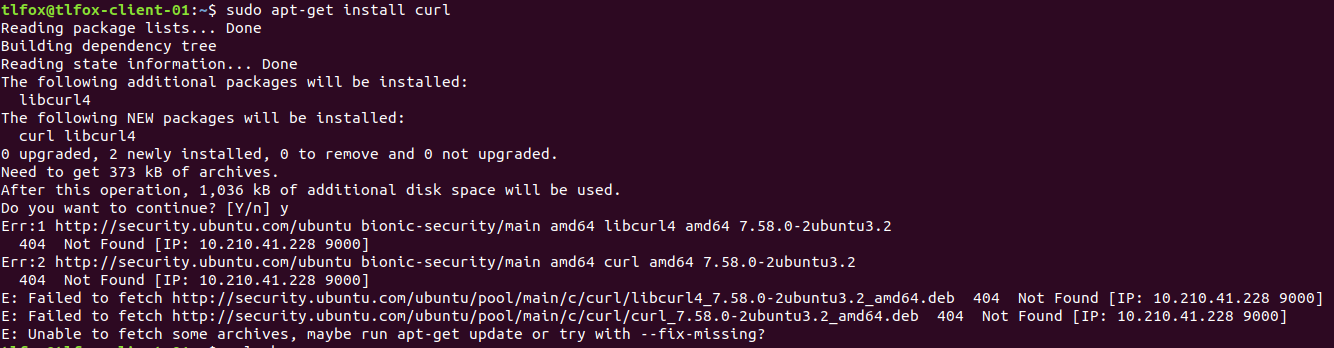
do apt upgrade/update to solve not found issue.

 浙公网安备 33010602011771号