[CTF] 2022 CNSS Recruit SA 复现wp
🖥️Wake On Lan
Windows设备管理器开启WOL

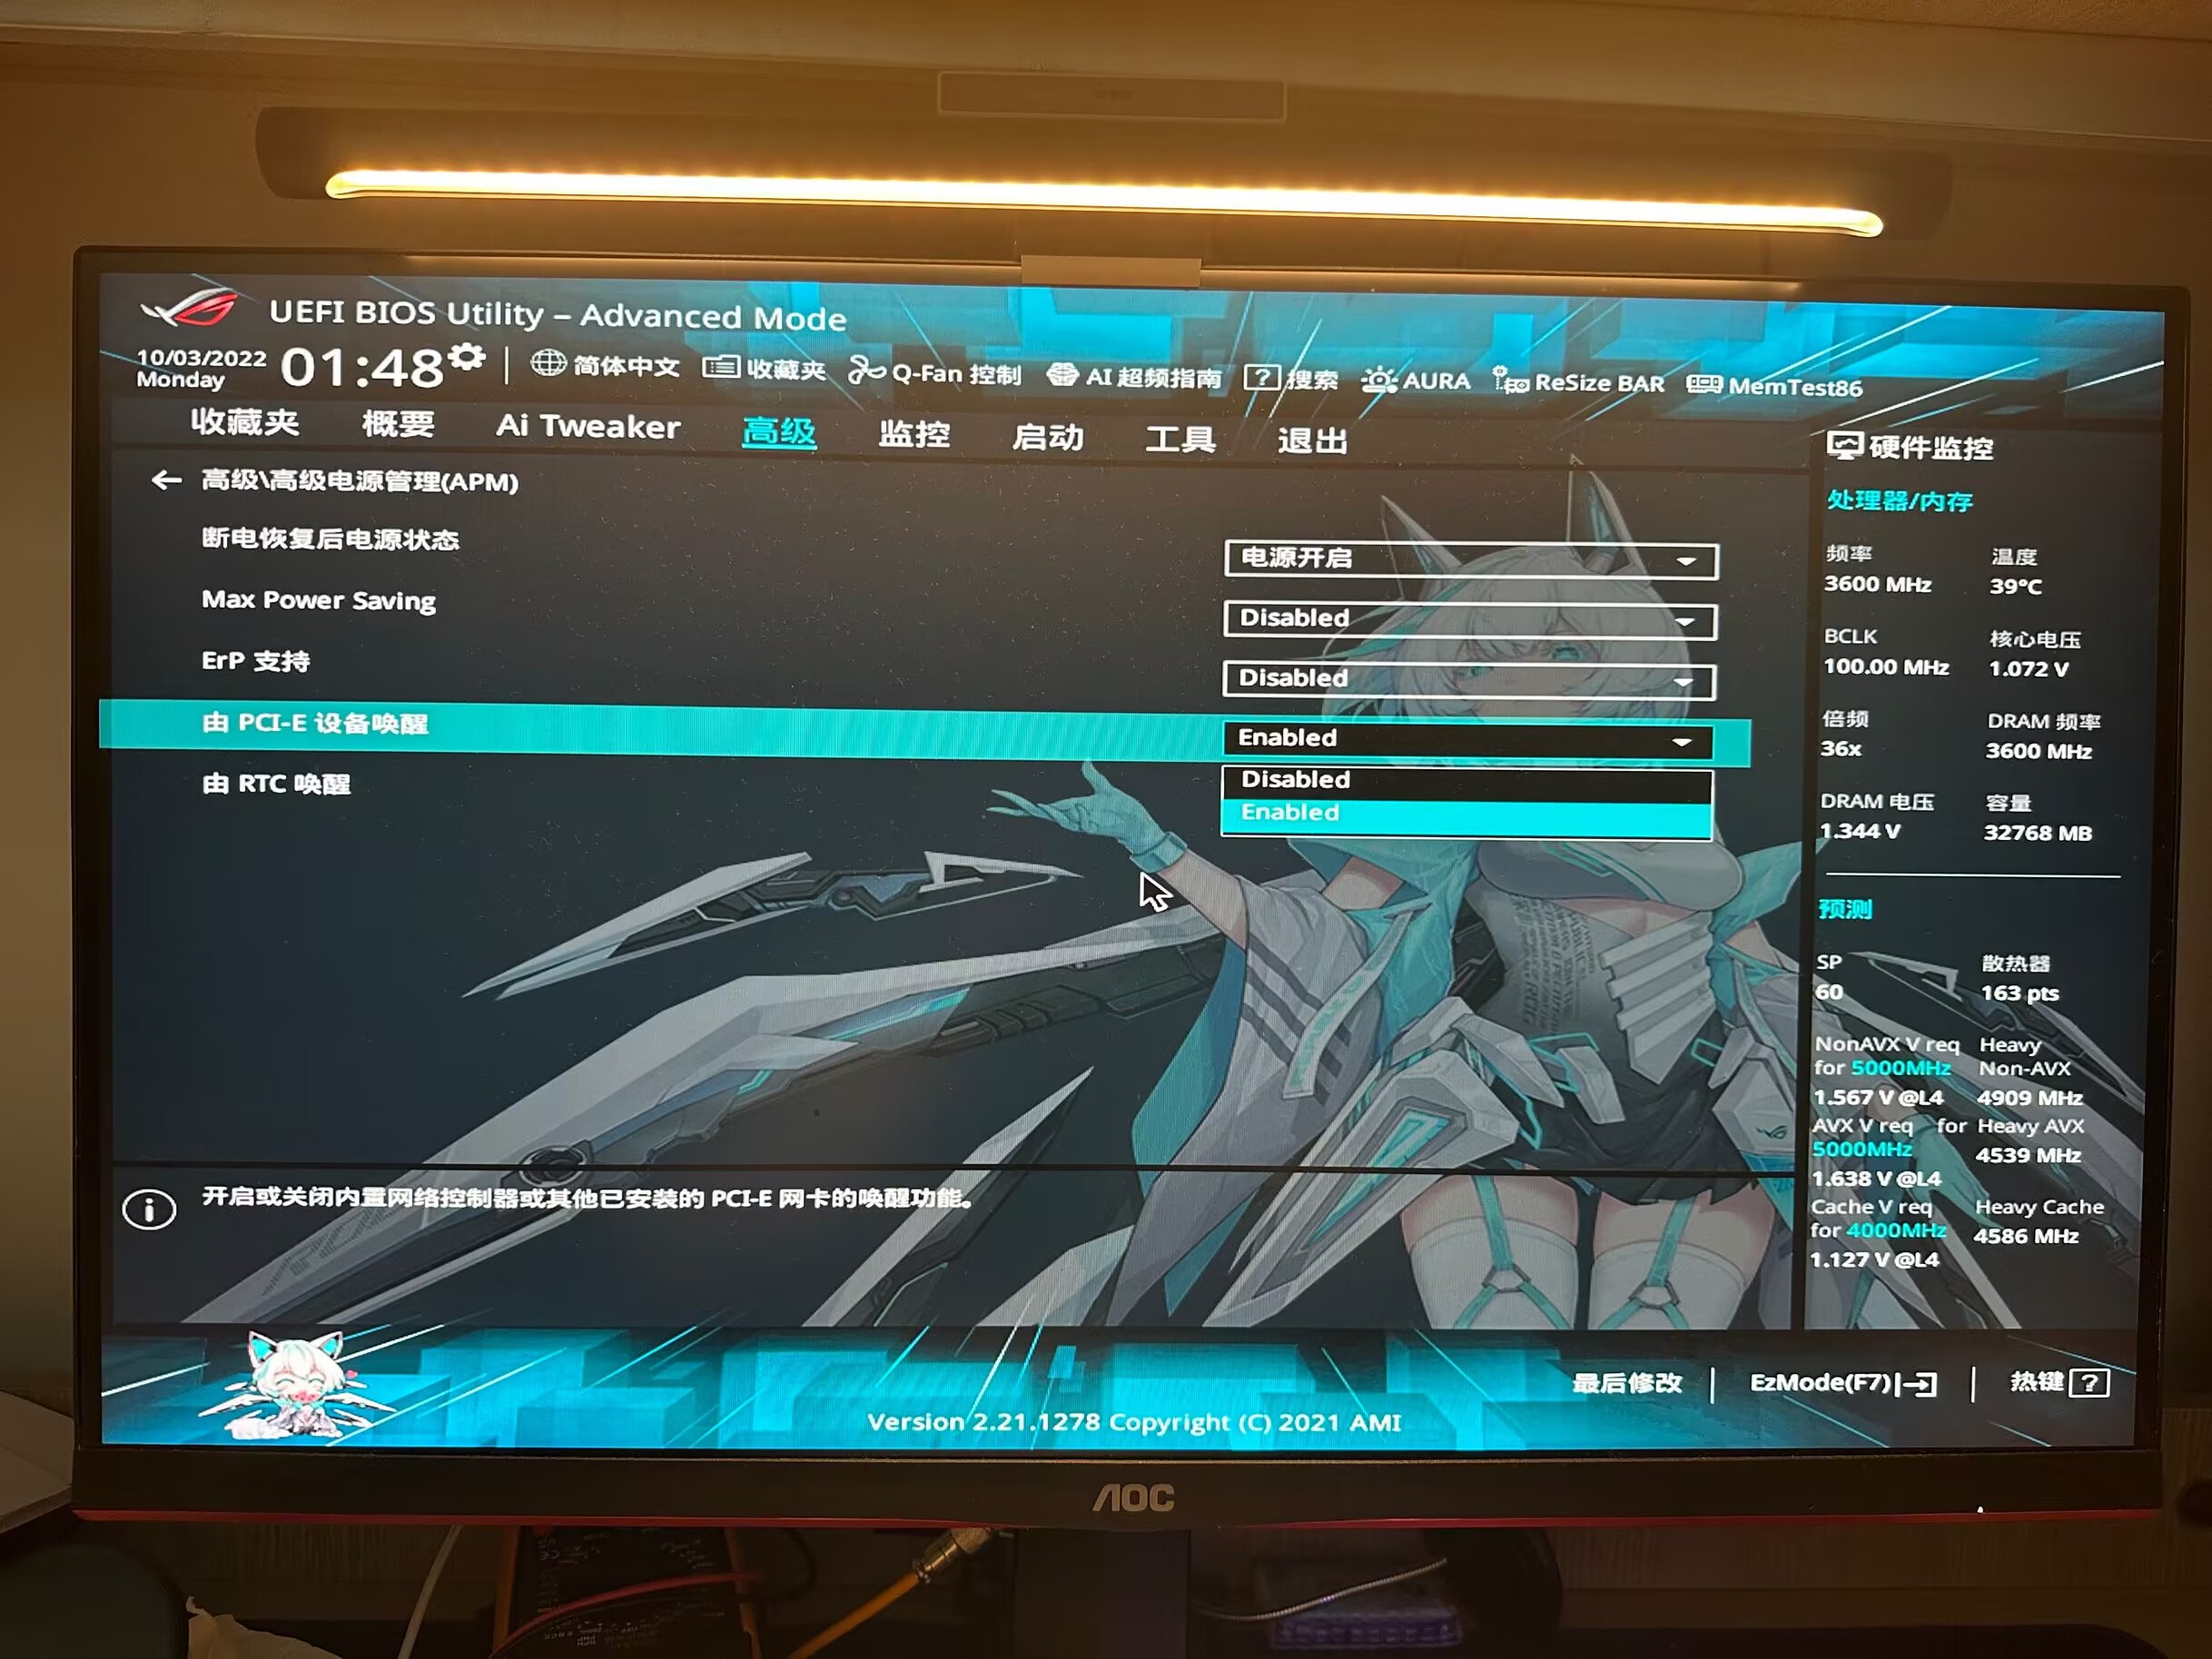
BIOS打开WOL(ROG主板为PCIE唤醒)
编写python程序 Flask + wakeonlan 将唤醒简化为仅需访问网页
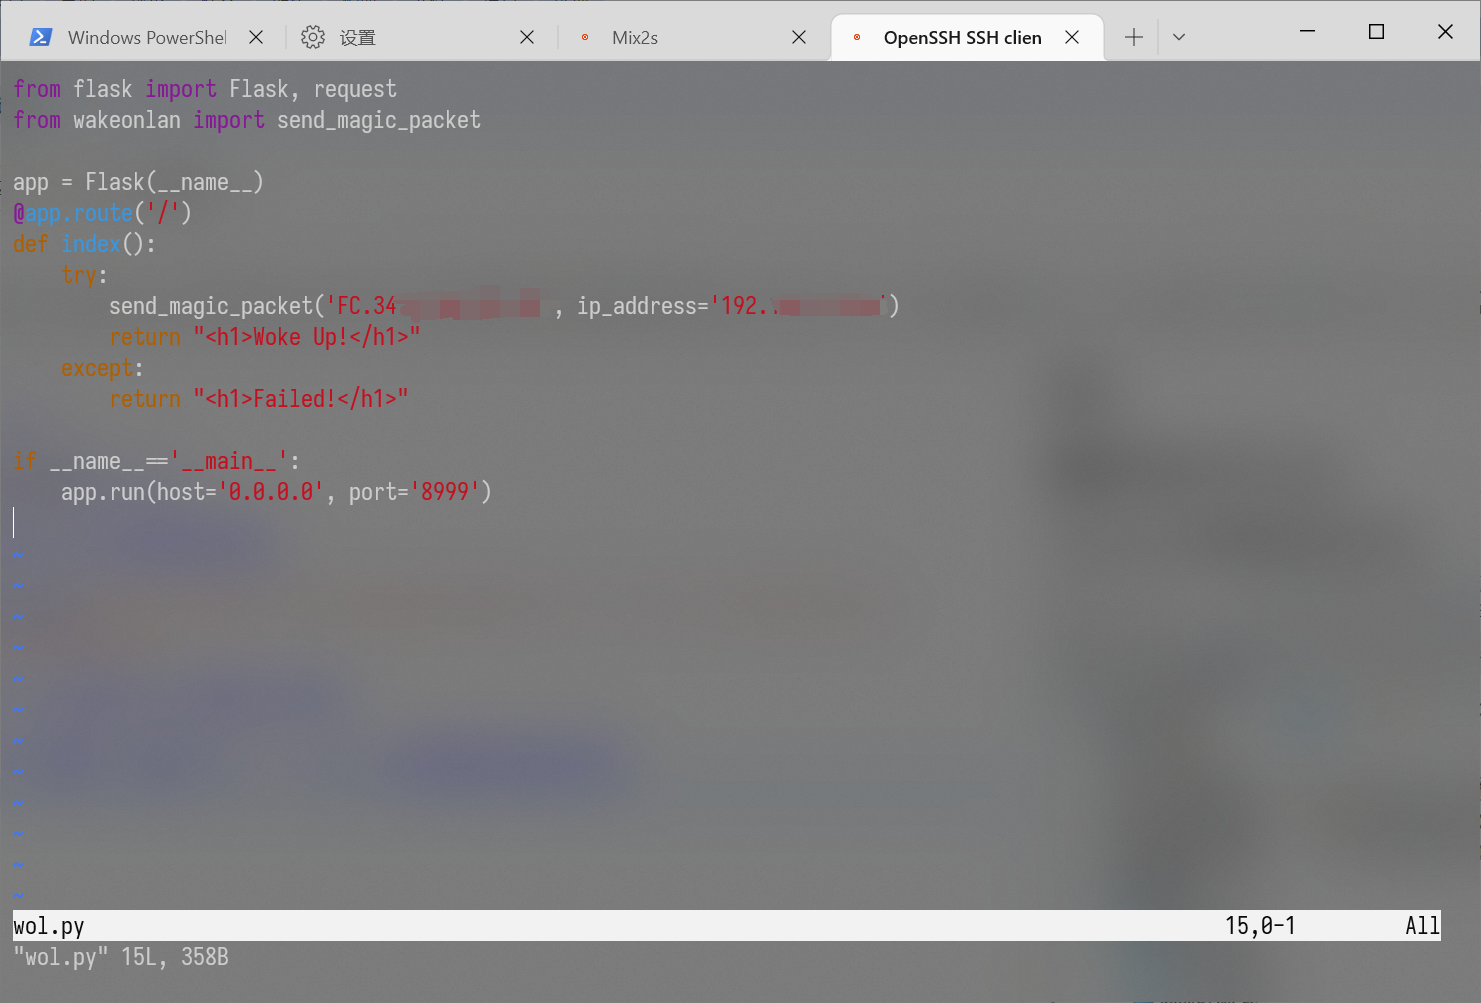
from flask import Flask, request
from wakeonlan import send_magic_packet

app = Flask(__name__)
@app.route('/')
def index():
    try:
        send_magic_packet('FC.34.97.**.**.**.**', ip_address='192.168.*.***')
        return "<h1>Woke Up!</h1>"
    except:
        return "<h1>Failed!</h1>"

if __name__=='__main__':
    app.run(host='0.0.0.0', port='8999')
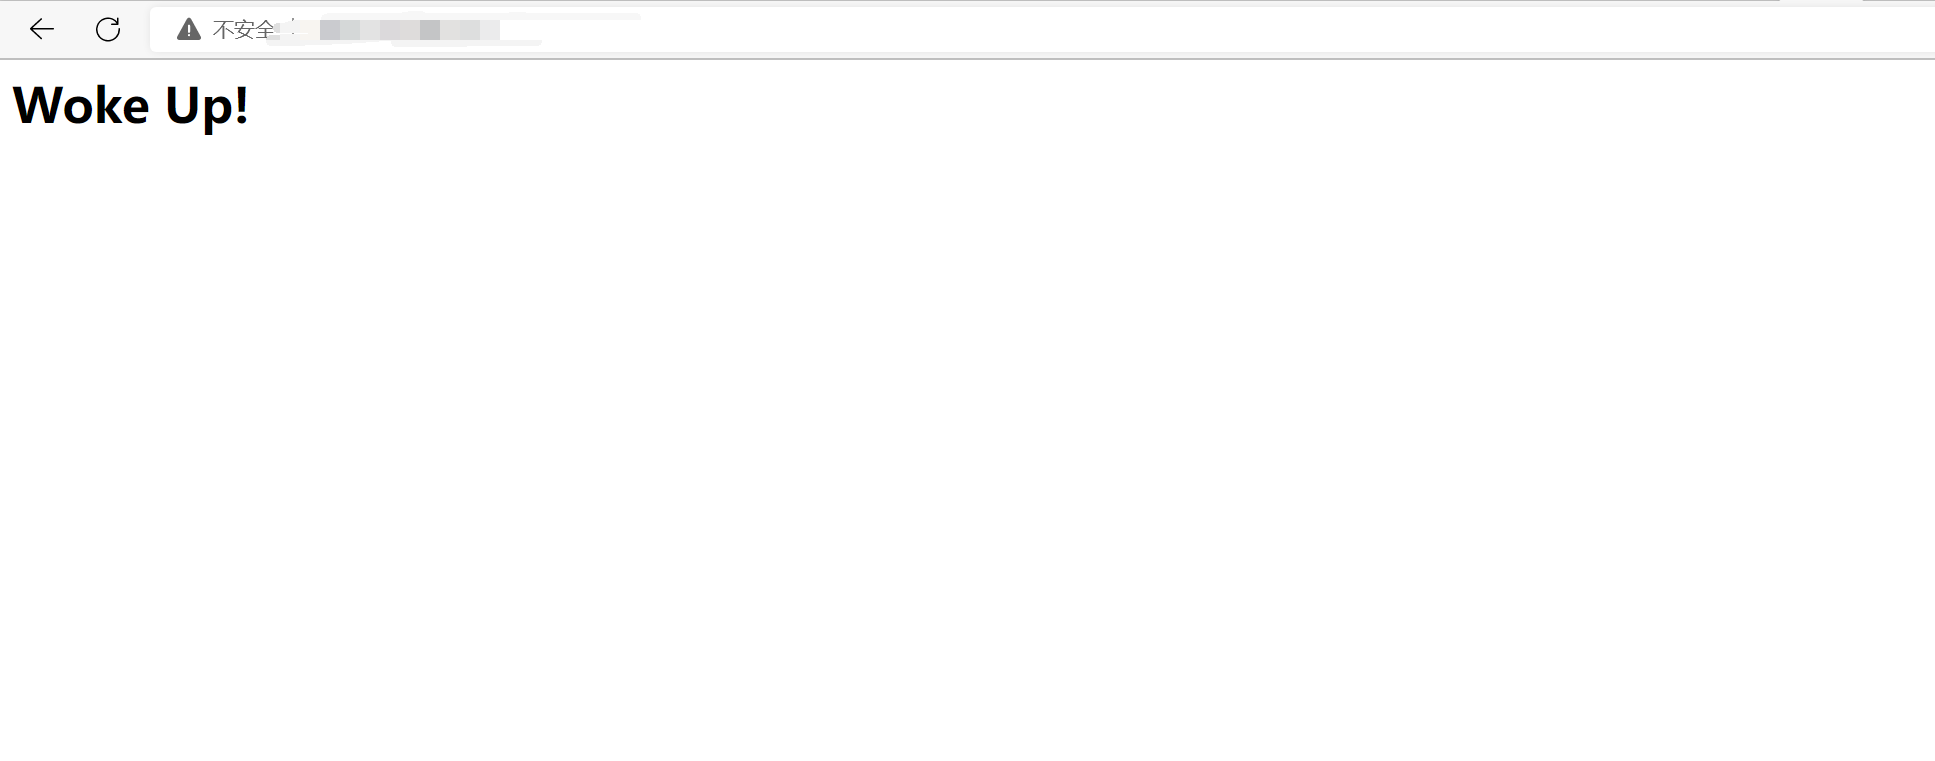
效果:
配置frp内网穿透, 可以外网访问

配置自启动

配置快捷指令一键访问(非唯一方法, 选用是因为比较便捷+支持siri)
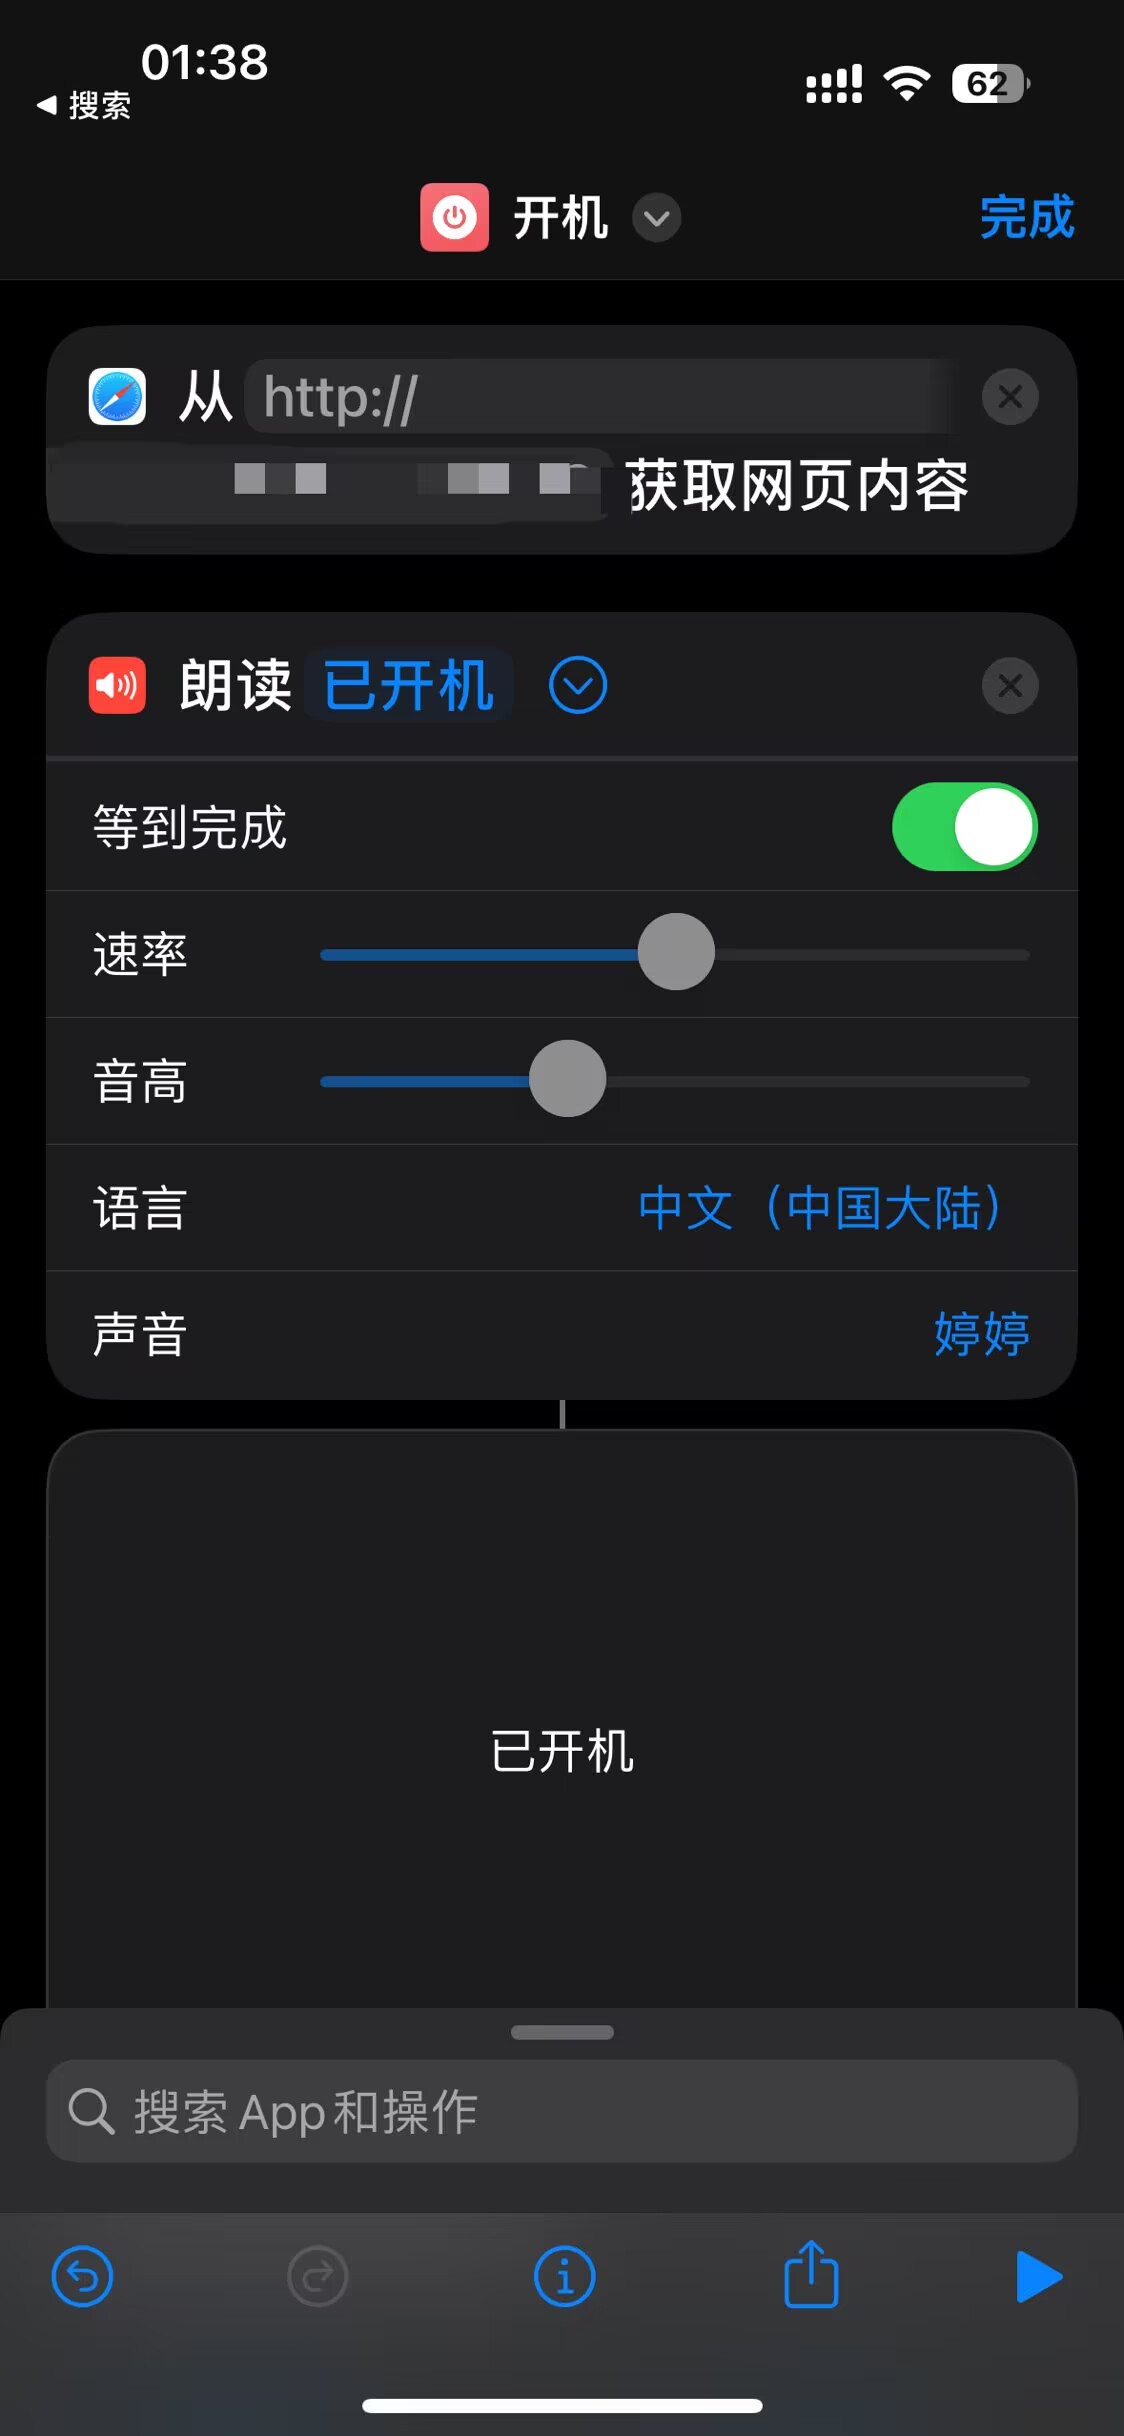
最终效果
最终效果(https://uestc.feishu.cn/file/boxcnDrwZvBer9oiyYapuSwNjvh)
📺GUI Undoubtedly Indispensable
环境准备
sudo apt-get install tightvncserver x-window-system-core gdm3 ubuntu-desktop gnome-panel gnome-settings-daemon metacity nautilus gnome-terminal # 安装Vncserver/桌面环境/依赖

配置vncserver
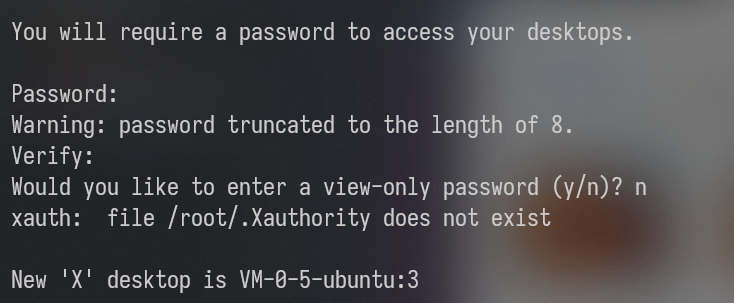
vncserver
输入密码, 第二个选n即可
chmod +x ~/.vnc/xstartup # 修改配置文件权限
vim ~/.vnc/xstartup
打开配置文件, 删除原内容, 换为如下内容:
#!/bin/sh
export XKL_XMODMAP_DISABLE=1
unset SESSION_MANAGER
unset DBUS_SESSION_BUS_ADDRESS
gnome-panel &
gnome-settings-daemon &
metacity &
nautilus &
gnome-terminal &
保存并重启vnc
vncserver -kill :1 ; vncserver
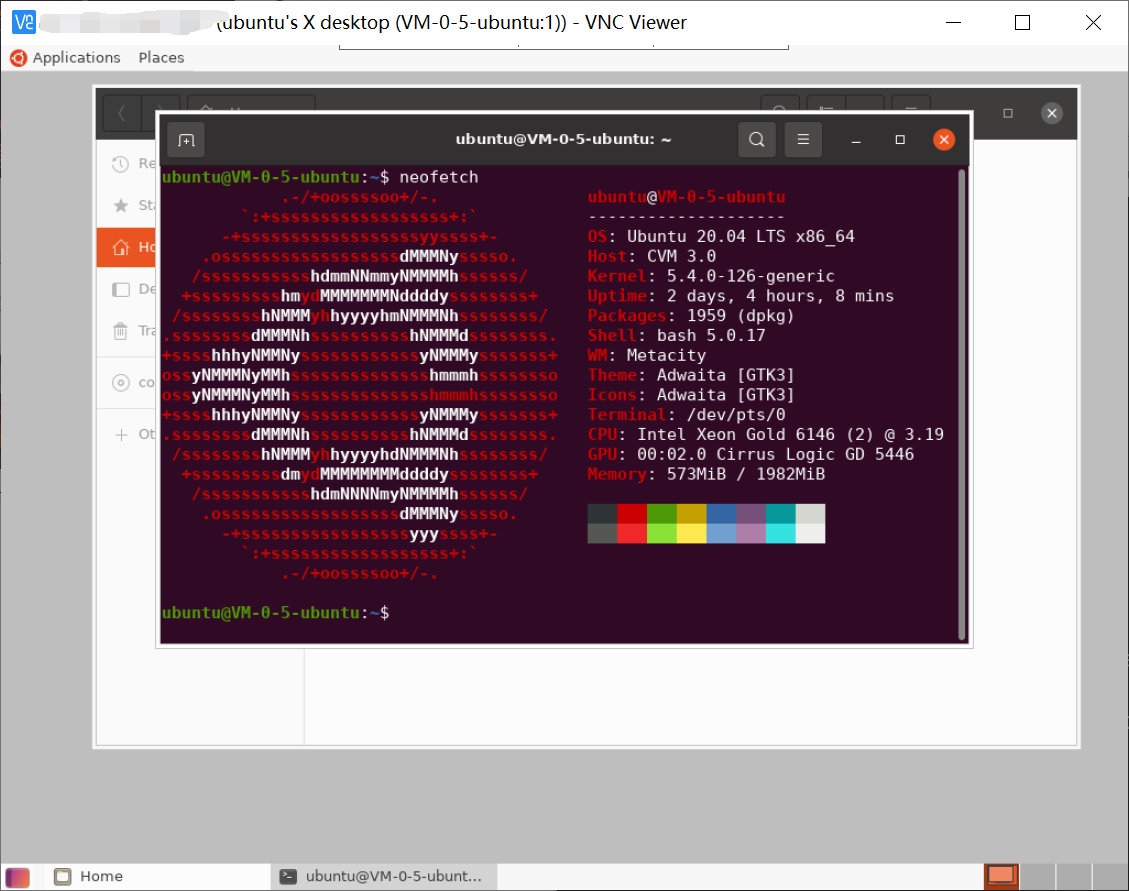
远程连接
windows使用VNC Viewer连接
😋懒人福音
脚本
Codename=$(cat /etc/os-release | grep VERSION_CODENAME |awk -F'=' '{print $2}')
echo "[Info] 检测到您的Ubuntu系统版本为:$Codename"

echo "**********************************"
echo "请选择镜像源:"
echo "
    1.阿里
    2.清华
    3.网易
    4.中科大
    "
echo "**********************************"
read -s -n1 sourceChoice

if [ $sourceChoice -ne 1 ] && [ $sourceChoice -ne 2 ] && [ $sourceChoice -ne 3 ] && [ $sourceChoice -ne 4 ];then
    echo
    echo '输入有误,Good Bye.'
    exit
fi

case $sourceChoice in
	1)
		choose='aliyun'
	;;
	2)
		choose='tsinghua'
	;;
	3)
		choose='163'
	;;
	4)
		choose='ustc'
	;;
esac

case $choose in
	aliyun)
		sourceweb='http://mirrors.aliyun.com'
	;;
	tsinghua)
		sourceweb='https://mirrors.tuna.tsinghua.edu.cn'
	;;
	163)
		sourceweb='http://mirrors.163.com'
	;;
	ustc)
		sourceweb='http://mirrors.ustc.edu.cn'
	;;
esac

echo "[Info] 备份sources.list..."
cp /etc/apt/sources.list /etc/apt/sources.list.bak
echo "[Info] 设置新的镜像源..."
echo "\
deb $sourceweb/ubuntu/ $Codename main restricted universe multiverse
deb $sourceweb/ubuntu/ $Codename-security main restricted universe multiverse
deb $sourceweb/ubuntu/ $Codename-updates main restricted universe multiverse
deb $sourceweb/ubuntu/ $Codename-proposed main restricted universe multiverse
deb $sourceweb/ubuntu/ $Codename-backports main restricted universe multiverse
deb-src $sourceweb/ubuntu/ $Codename main restricted universe multiverse
deb-src $sourceweb/ubuntu/ $Codename-security main restricted universe multiverse
deb-src $sourceweb/ubuntu/ $Codename-updates main restricted universe multiverse
deb-src $sourceweb/ubuntu/ $Codename-proposed main restricted universe multiverse
deb-src $sourceweb/ubuntu/ $Codename-backports main restricted universe multiverse">/etc/apt/sources.list
echo "[Info] 更新源..."
apt update
echo "[Info] 正在更新软件..."
apt upgrade -y
echo "[Info] 设置超时时间为1000000"
echo "export TMOUT=1000000" >> /etc/profile
echo "[Info] 正在安装git"
apt install -y git
read -p "请输入你的git用户名: " username
read -p "请输入你的git邮箱: " email
git config --global user.name "$username"
git config --global user.email "$email"
echo "[Info] 正在切换系统Local为中文"
echo "LANG=\"zh_CN.UTF-8\"
LANGUAGE=\"zh_CN:zh\"" > /etc/default/locale
echo "[Info] 正在配置.vimrc"
echo "######################################  编码配置  #######################################
# fileencoding 选项是 Vim 写入文件时采用的编码类型;
set fileencodings=utf-8,ucs-bom,gb18030,gbk,gb2312,cp936
# termencoding 选项表示输出到终端时采用的编码类型。
set termencoding=utf-8
# 设置编码格式,encoding 选项用于缓存的文本、寄存器、Vim 脚本文件等;
set encoding=utf-8

# nu是number 的缩写,所以上面两个配置命令是完全等效的,二选一即可。取消行号可使用 set nonu。
#set number
set nu

# 突出显示当前行。
set cursorline

# Vim 编辑器里默认是不启用鼠标的,通过此设置即可启动鼠标。
set mouse=a
set selection=exclusive
set selectmode=mouse,key

# 设置自动缩进,即每行的缩进同上一节相同。
# set autoindent
# 设置Tab键宽度为 4 个空格。
set tabstop=2
# 由于 Tab 键在不同的编辑器缩进不一致,该设置自动将 Tab 转为空格。
set expandtab

# 打开语法高亮
syntax on

# 在底部显示,当前处于命令模式还是插入模式。
set showmode
# 命令模式下,在底部显示,当前键入的指令。比如,键入的指令是2y3d,那么底部就会显示2y3,当键入d的时候,操作完成,显示消失。
set showcmd

# 启用256色。
set t_Co=256


# 自动折行,关闭折行,set nowrap
set wrap

######################################  搜索配置  #######################################
# 进入搜索模式:Esc / xxx

# 光标遇到圆括号、方括号、大括号时,自动高亮对应的另一个圆括号、方括号和大括号。
set showmatch
# 搜索时,高亮显示匹配结果。
set hlsearch
# 输入搜索模式时,每输入一个字符,就自动跳到第一个匹配的结果。
set incsearch
# 搜索时忽略大小写。
set ignorecase

######################################  编辑配置  #######################################
# 不创建备份文件。默认情况下,文件保存时,会额外创建一个备份文件,文件名是在原文件名的末尾,再添加一个波浪号(〜)
set nobackup
# 不创建交换文件。交换文件主要用于系统崩溃时恢复文件,文件名的开头是.、结尾是.swp。
set noswapfile
# 如果行尾有多余的空格(包括 Tab 键),该配置将让这些空格显示成可见的小方块。
set listchars=tab:»■,trail:■
set list
# 命令模式下,底部操作指令按下 Tab 键自动补全。第一次按下 Tab,会显示所有匹配的操作指令的清单;第二次按下 Tab,会依次选择各个指令。
set wildmenu
set wildmode=longest:list,full" > /etc/.vimrc

read -p "是否需要配置系统代理? [y/n]" input
case $input in
        [yY]*)
                read -p "请输入选择代理类型 [socks5/http/https]" proxyType
                read -p "请输入选择代理ip地址"  proxyIP
                read -p "请输入选择代理端口"  proxyPort
                echo "export ALL_PROXY=$proxyType://$proxyIP:$proxyPort" >> ~/.bashrc
                ;;
esac

echo "[Info] 正在安装zsh"
apt install -y zsh
echo "[Info] 正在安装Oh-my-zsh"
sh -c "$(curl -fsSL https://gitee.com/whisky-root/ohmyzsh/raw/master/tools/install.sh)"
公网获取
wget http://file.easierflying.com/scriptForLazy.sh && sudo bash scriptForLazy.sh && sudo rm -f scriptForLazy.sh
🚀萌新也想搭载上X-引擎
安装nginx
sudo apt-get install nginx
nginx -v # 检查是否安装完成

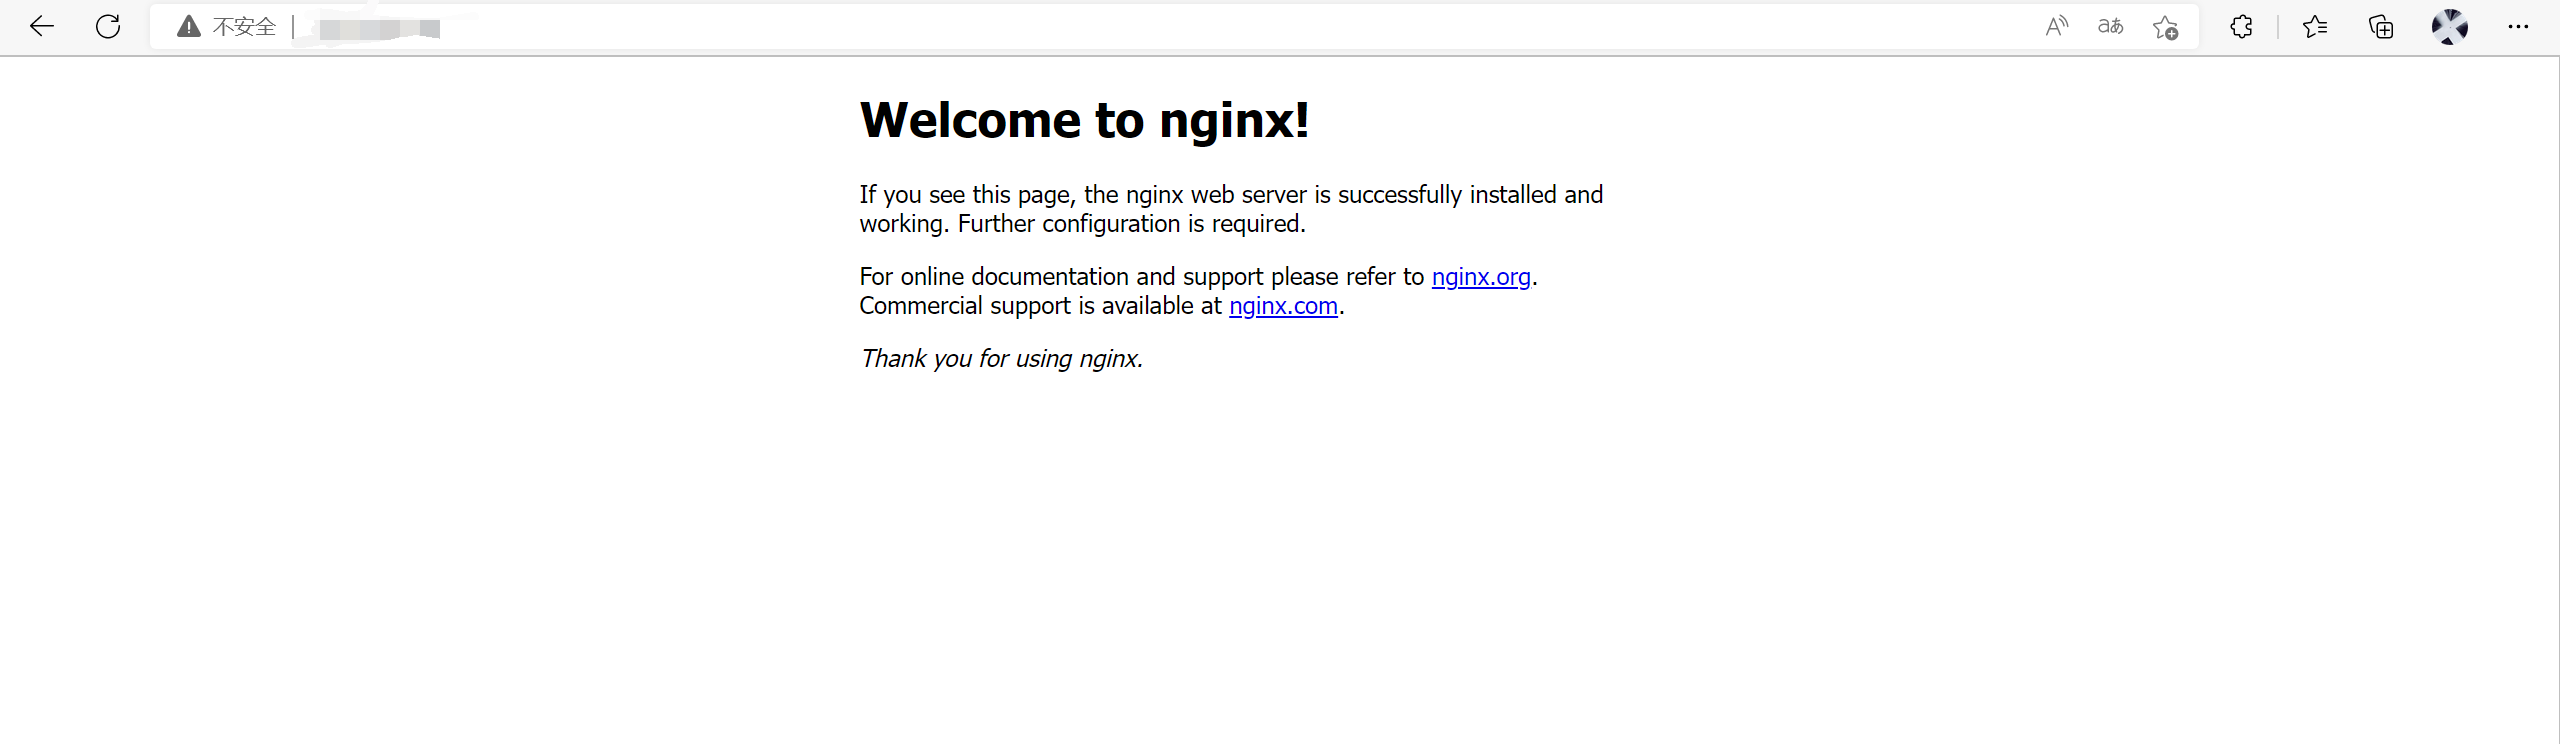
默认页面
修改默认页面
创建新配置文件
sudo vim /etc/nginx/conf.d/default.conf
输入如下内容
server {
        listen       80 default_server;
        listen       [::]:80 default_server;
        server_name  服务器ip/域名;

        root         /home/ubuntu/server/;

        include /etc/nginx/default.d/*.conf;

        location / {
            index index.html index.htm;
        }

        error_page 404 /404.html;
            location = /40x.html {
        }

        error_page 500 502 503 504 /50x.html;
            location = /50x.html {
        }
}
进入默认配置文件中删除默认的页面配置
sudo vim /etc/nginx/sites-enabled/default
将页面文件解压到/home/ubuntu/server, 重启nginx
sudo service nginx restart
效果:

配置三个新页面
新建配置文件
sudo vim /etc/nginx/conf.d/h123.conf
server {
        listen 81;
        server_name localhost;

        location / {
                root /home/ubuntu/server;
                index h1.html;
        }
}

server {
        listen 82;
        server_name localhost;

        location / {
                root /home/ubuntu/server;
                index h2.html;
        }
}

server {
        listen 83;
        server_name localhost;

        location / {
                root /home/ubuntu/server;
                index h3.html;
        }
}
将h1.html, h2.thml, h3.html解压至server目录下, 重启nginx
sudo service nginx restart
效果:

链接跳转
配置文件
server {
        listen       84;

        location /google {
                rewrite ".*" https://www.google.com/;
        }
        location /github {
                rewrite ".*" https://github.com/;
        }
        location ^~ /cnss/ {
                rewrite ".*" https://recruit.cnss.io/;
        }
}
戳我看效果(https://uestc.feishu.cn/file/boxcnfcI9nQ7W09VzKFDuirCf2d)
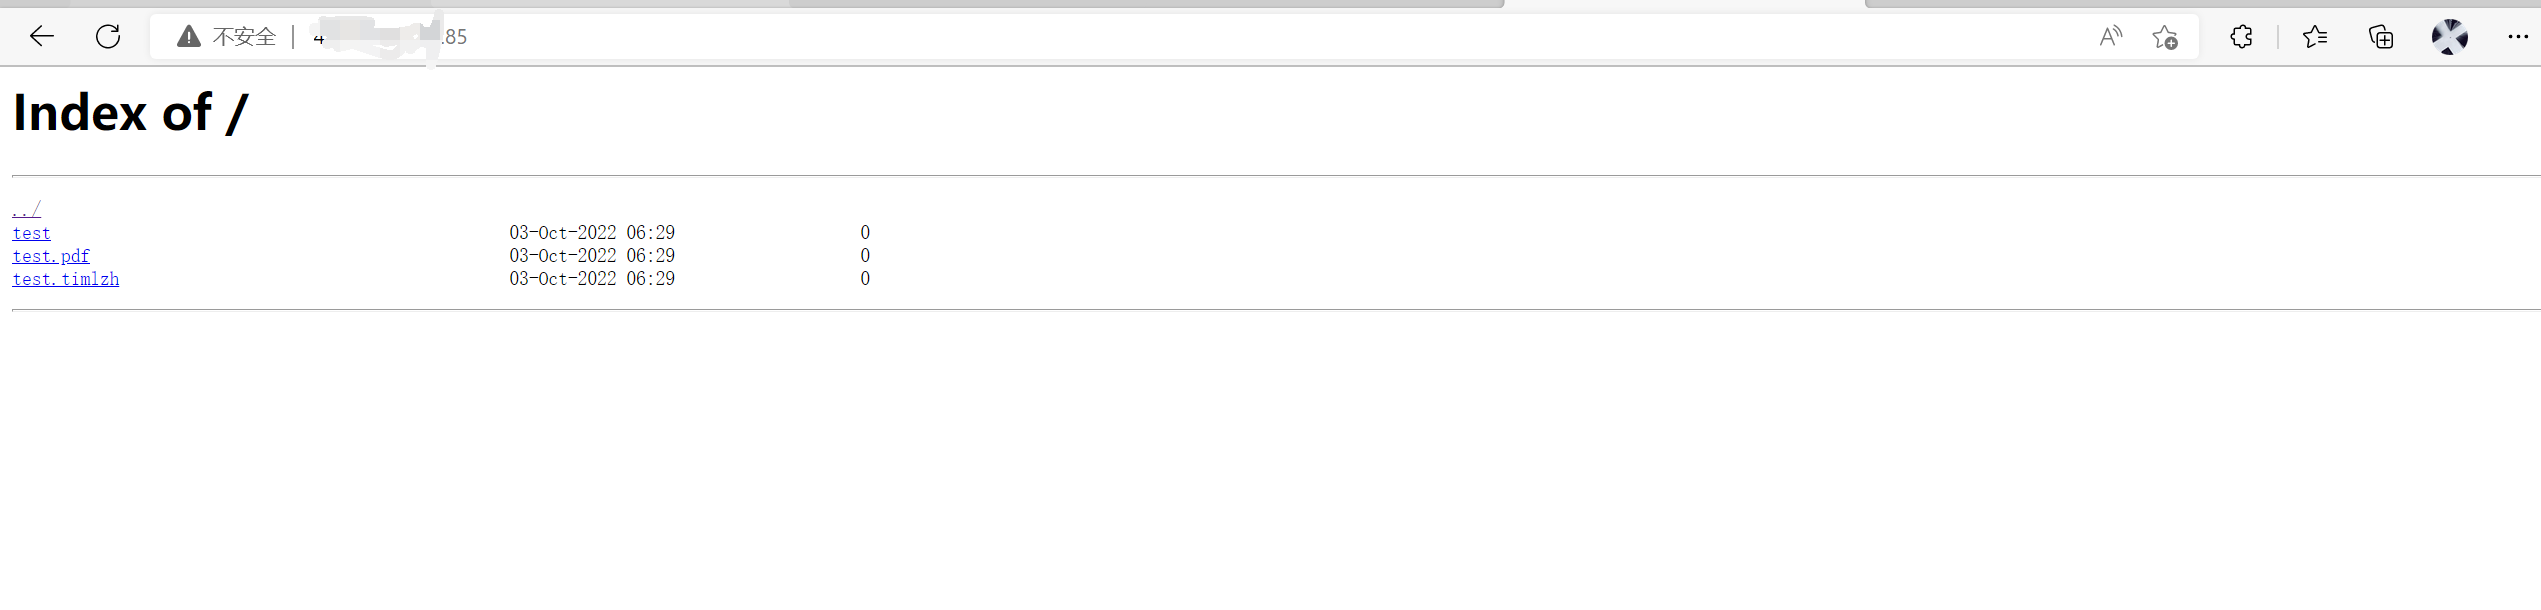
文件页面
配置文件
server {
    listen  85;
    server_name localhost;
    charset utf-8;
    root /home/ubuntu/fileServer/;
    location / {
        autoindex on;
        autoindex_exact_size on;
        autoindex_localtime off;
    }
}
效果:
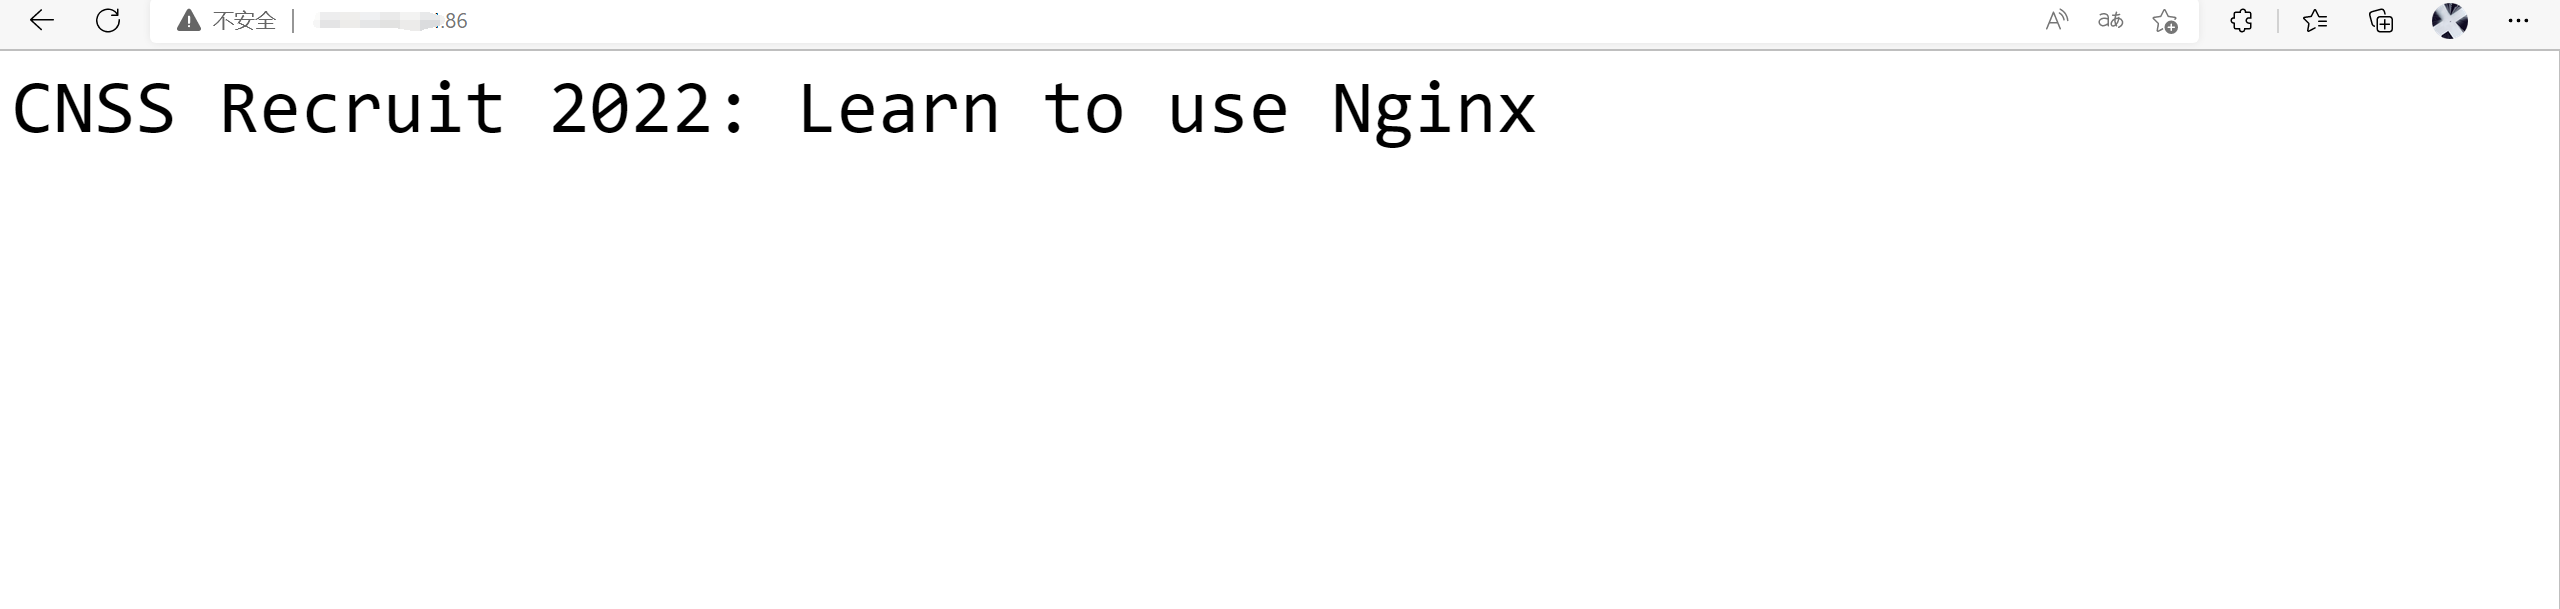
负载均衡
这里用三个不同的端口模拟三个服务器
upstream server_list{
        server 43.xxx.xxx.xxx:81 weight=1;
        server 43.xxx.xxx.xxx:82 weight=2;
        server 43.xxx.xxx.xxx:83 weight=3;
}
server {
        listen       86;
        server_name  localhost;

        location / {
                proxy_pass http://server_list;
        }
}
效果:


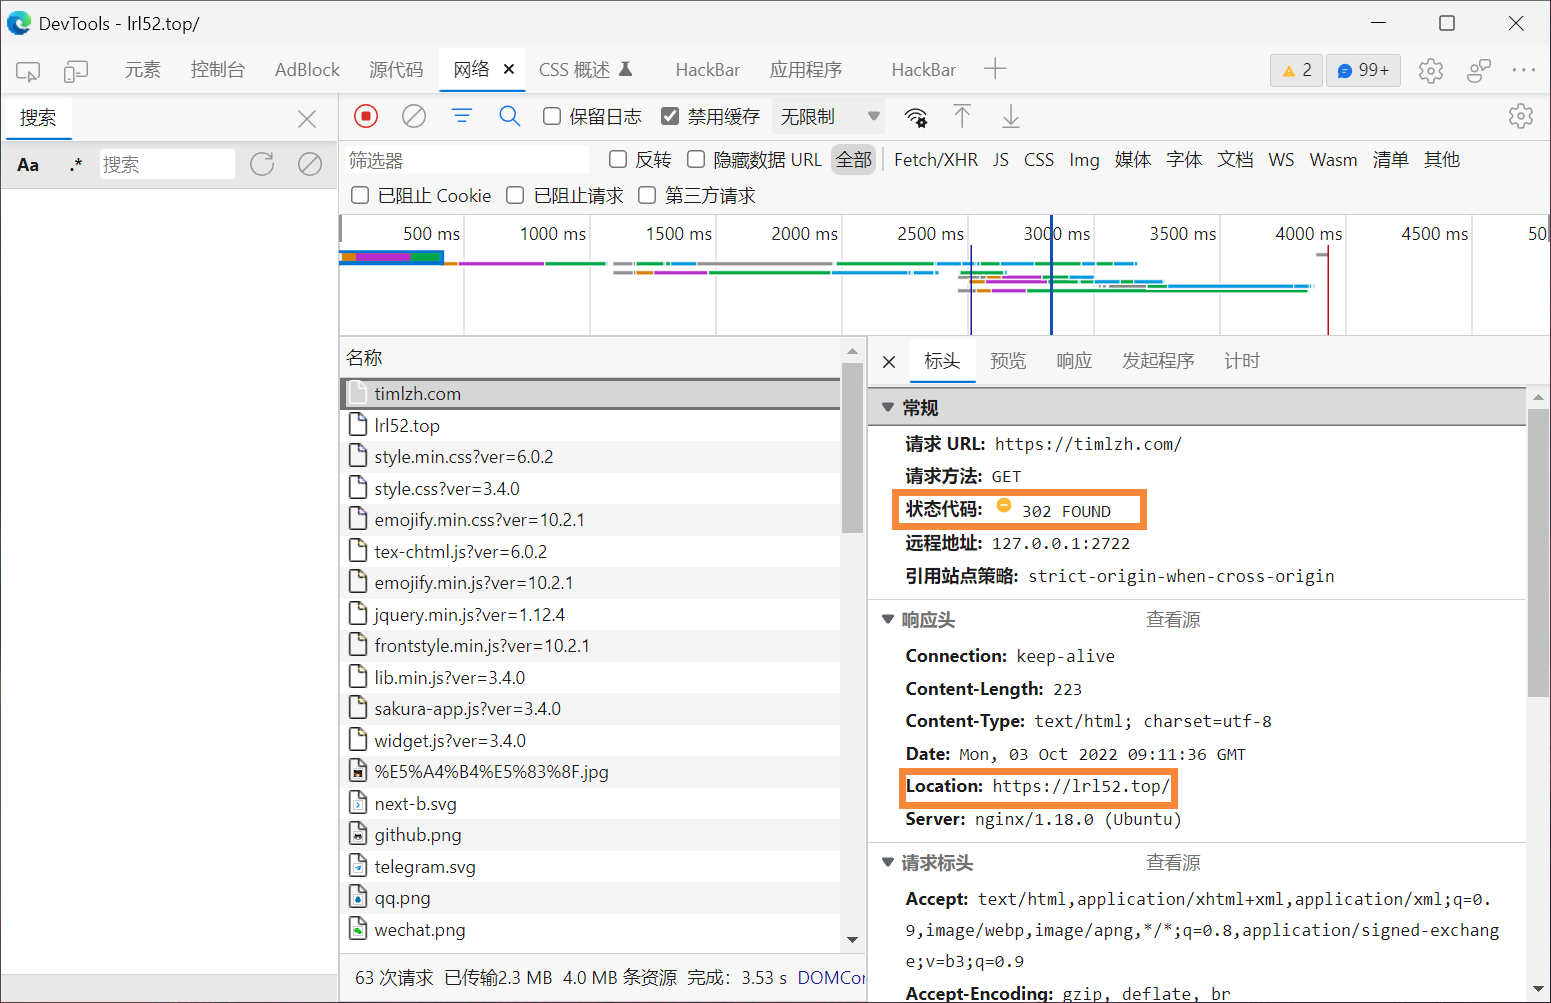
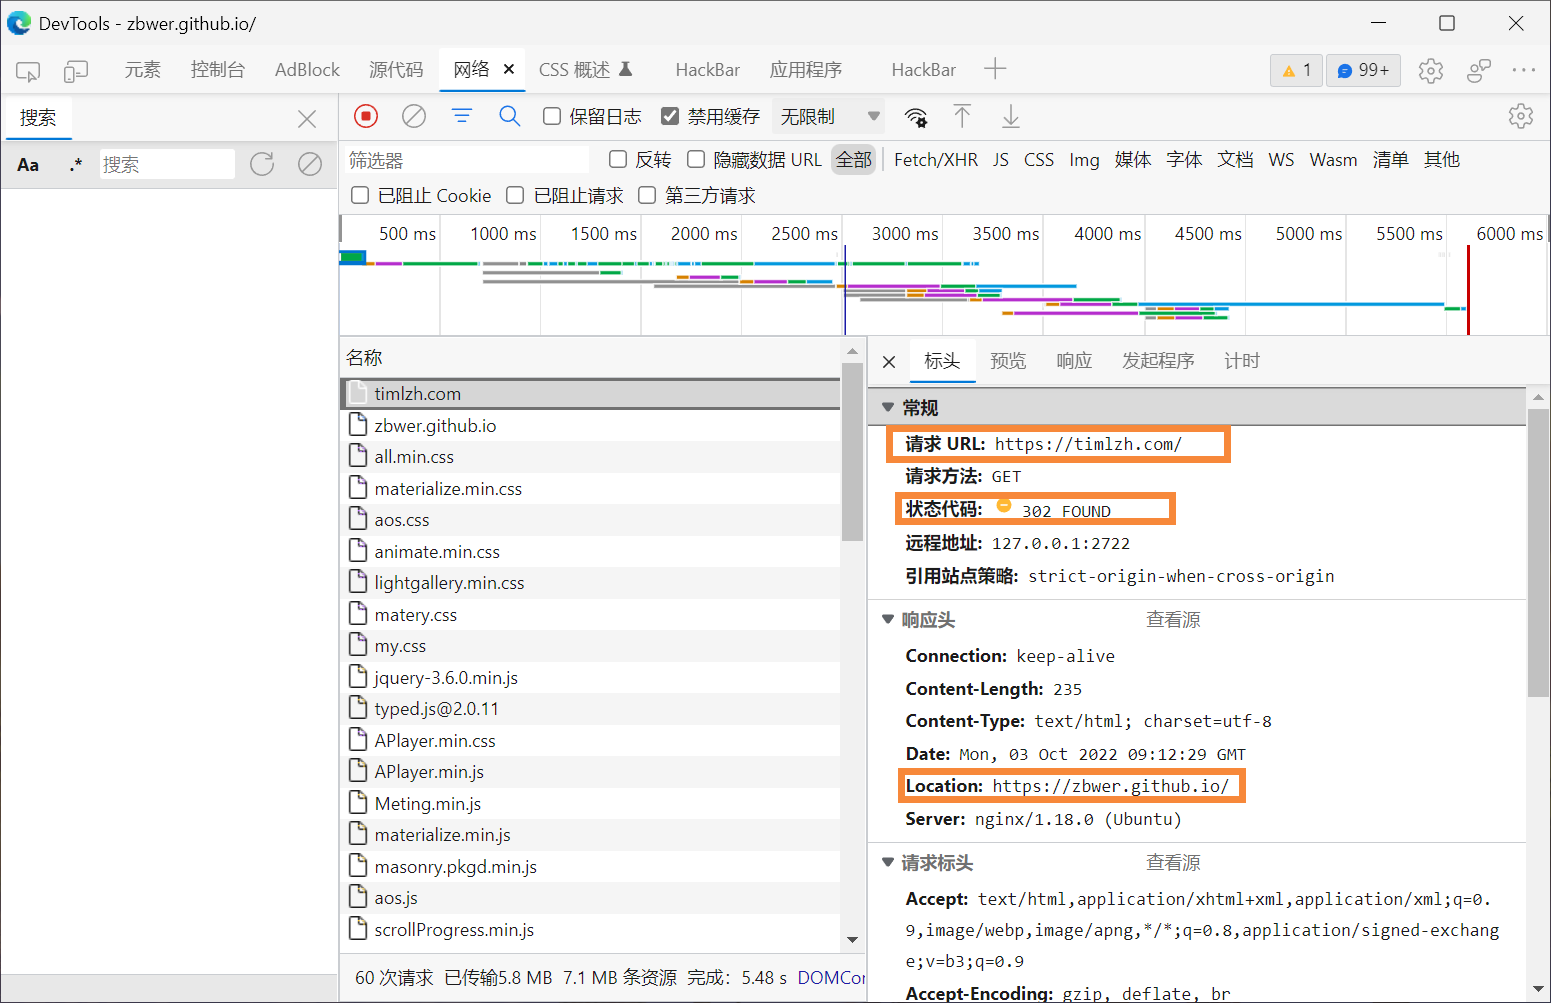
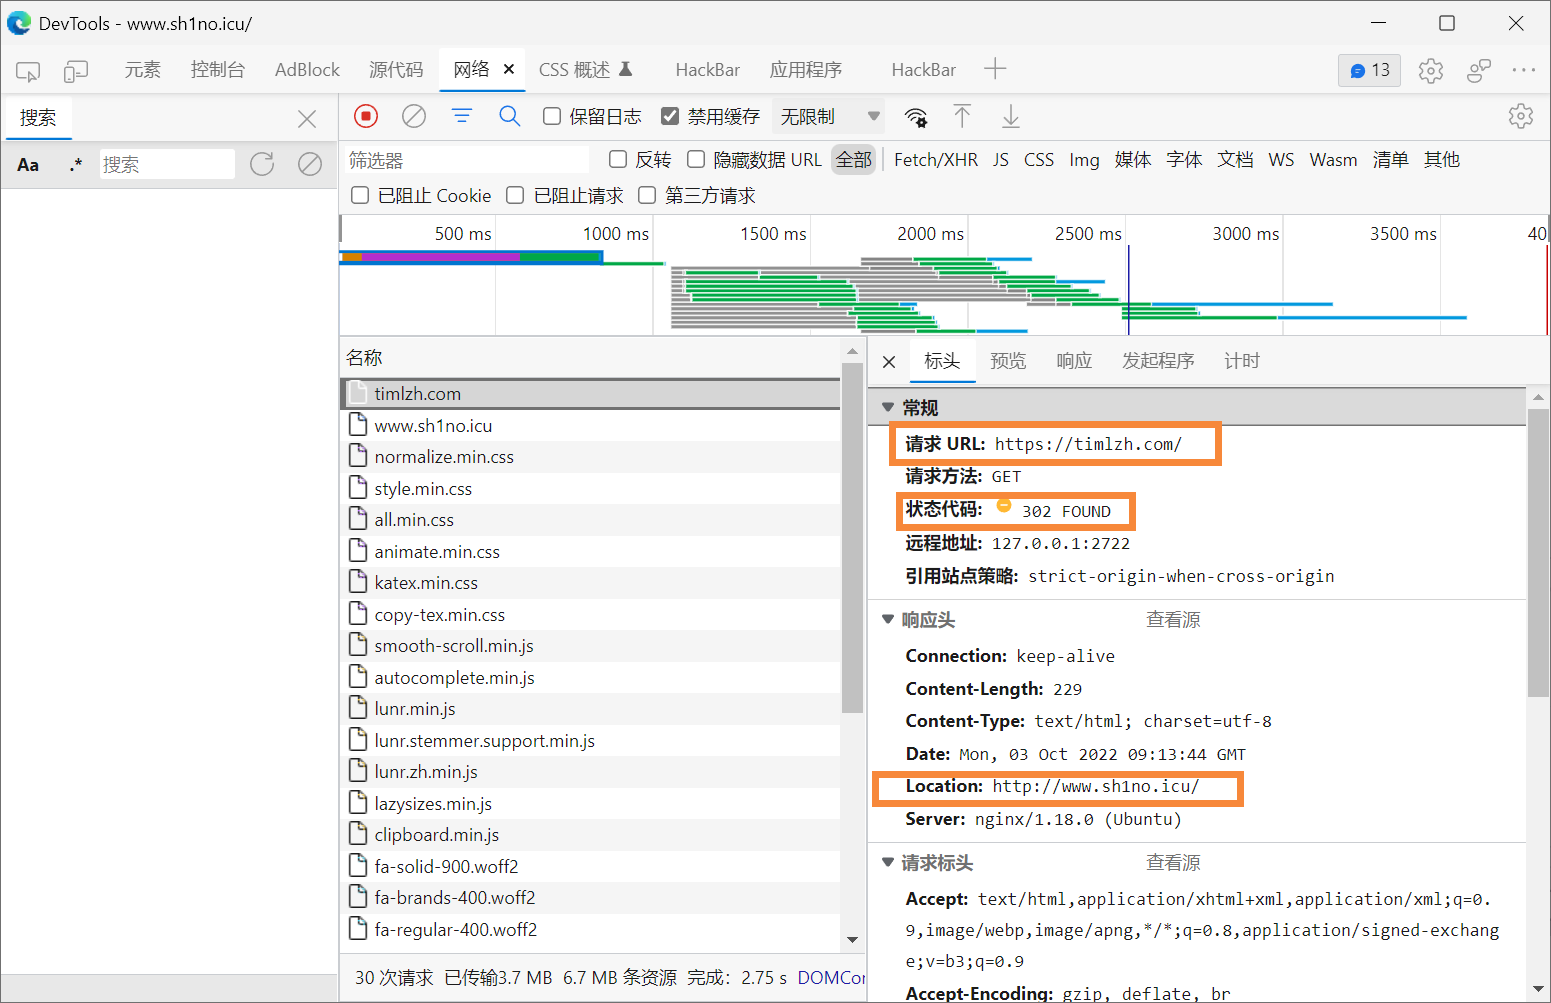
轮询(不知道算不算曲线救国)
编写python脚本
from flask import Flask, redirect

ind = -1
urls = [
    "https://www.cnblogs.com/timlzh/",
    "http://www.sh1no.icu/",
    "https://4ever-xxxl.github.io/about/",
    "https://zbwer.github.io/",
    "https://lrl52.top/"
        ]
app=Flask(__name__)  #实例
@app.route("/")
def index():
    global ind
    ind += 1
    ind %= len(urls)
    return redirect(urls[ind])

if __name__=="__main__":
    app.run()
nginx转发一下
        location / {
                proxy_pass        http://127.0.0.1:5000/;
                proxy_redirect     off;

                proxy_set_header   Host             $http_host;
                proxy_set_header   X-Real-IP        $remote_addr;
                proxy_set_header   X-Forwarded-For  $proxy_add_x_forwarded_for;
        }
效果:
https
配置文件
server {
        listen 443 ssl;
        server_name timlzh.com;
        ssl_certificate /home/ubuntu/timlzh.com_nginx/timlzh.com_bundle.crt;
        ssl_certificate_key /home/ubuntu/timlzh.com_nginx/timlzh.com.key;
        ssl_session_timeout 5m;
        ssl_ciphers ECDHE-RSA-AES128-GCM-SHA256:ECDHE:ECDH:AES:HIGH:!NULL:!aNULL:!MD5:!ADH:!RC4;
        ssl_protocols TLSv1.2 TLSv1.3;
        ssl_prefer_server_ciphers on;
        root         /home/ubuntu/server/;

        location / {
                index index.html index.htm;
        }
}


 浙公网安备 33010602011771号