ubuntu22.04 autoware安装教程
本文给大家介绍一下如何在ubuntu22.04上安装基于ros2的开源自动驾驶框架autoware
Prerequisite
- OS
- Ubuntu22.04
- ROS
- ROS2 Humble
- Git
sudo apt-get -y update & sudo apt-get -y install git
How to set up a development environment
1、参考博文联想拯救者Y9000P 2023版 双系统ubuntu安装nvidia显卡驱动简明教程 安装nvidia驱动,注意不要安装最新版的推荐驱动版本,否则有可能会有花屏状况的发生
2、参考博文ubuntu22.04 安装ros操作系统配置ROS开发环境
3、为了防止出现rosdep初始化失败情况的发生,可参考本文之后,世上再无rosdep更新失败问题!如果有....小鱼就...进行相关操作
4、为了避免出现下载cuda,cudnn及tensorrt时出现DNS解析失败,进行如下修改
sudo vim /etc/resolv.conf

注释掉nameserver 127.0.0.53,添加nameserver 8.8.8.8,保存退出
5、参照ROS2 软件仓库镜像使用帮助进行ROS2软件仓库镜像配置
Main
1、Clone autowarefoundation/autoware and move to the directory.
点击查看代码
git clone https://hub.njuu.cf/autowarefoundation/autoware.git
cd autoware
点击查看代码
./setup-dev-env.sh

选择N,进行下一步,等待其自行安装,安装的相关版本配置存放在文件amd64.env文件中,最后出现

恭喜你,autoware的基础环境配置已经成功完成
How to set up a workspace
1、Create the src directory and clone repositories into it.Autoware uses vcstool to construct workspaces.
点击查看代码
cd autoware
mkdir src
vcs import src < autoware.repos
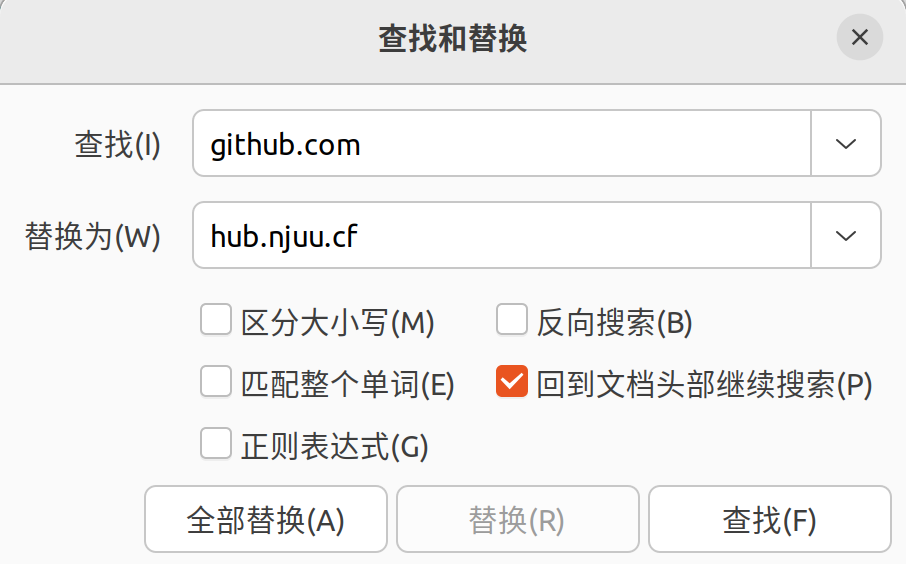
PS:在运行命令之前,我们需要对autoware.repos文件进行相关修改
sudo gedit autoware.repos

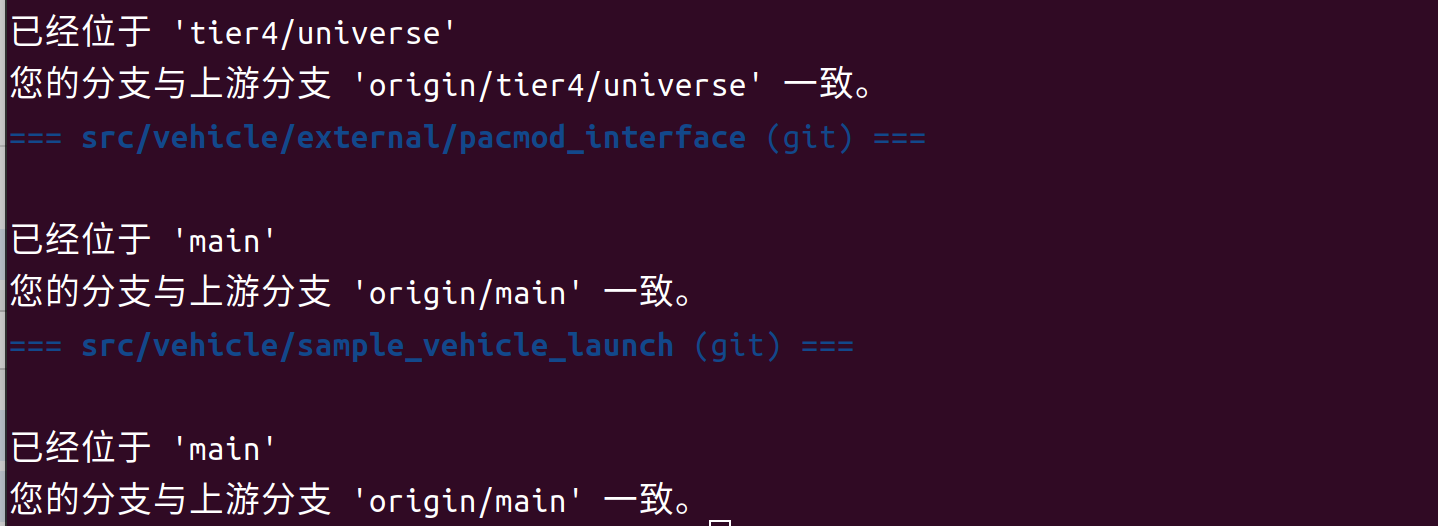
运行成功界面如下

2、Install dependent ROS packages.
Autoware requires some ROS 2 packages in addition to the core components. The tool rosdepc allows an automatic search and installation of such dependencies. You might need to run rosdepc update before rosdepc install.
点击查看代码
source /opt/ros/humble/setup.bash
rosdepc install -y --from-paths src --ignore-src --rosdistro $ROS_DISTRO
3、Build the workspace.
Insufficient memory
Building Autoware requires a lot of memory, and your machine can freeze or crash if memory runs out during a build. To avoid this problem, 16-32GB of swap should be configured.
以上是官方建议,但是根据个人实际操作,设置为128G编译成功,避免中途出现其他问题
点击查看代码
# Optional: Check the current swapfile
free -h

# Remove the current swapfile
sudo swapoff /swapfile
sudo rm /swapfile

# Create a new swapfile
sudo fallocate -l 128G /swapfile
sudo chmod 600 /swapfile
sudo mkswap /swapfile
sudo swapon /swapfile

# Optional: Check if the change is reflected
free -h
If there are too many CPU cores (more than 64) in your machine, it might requires larger memory. A workaround here is to limit the job number while building.
我的电脑为拯救者Y9000P 2023款,24核心,所以我执行以下指令进行编译安装
MAKEFLAGS="-j24" colcon build --symlink-install --cmake-args -DCMAKE_BUILD_TYPE=Release

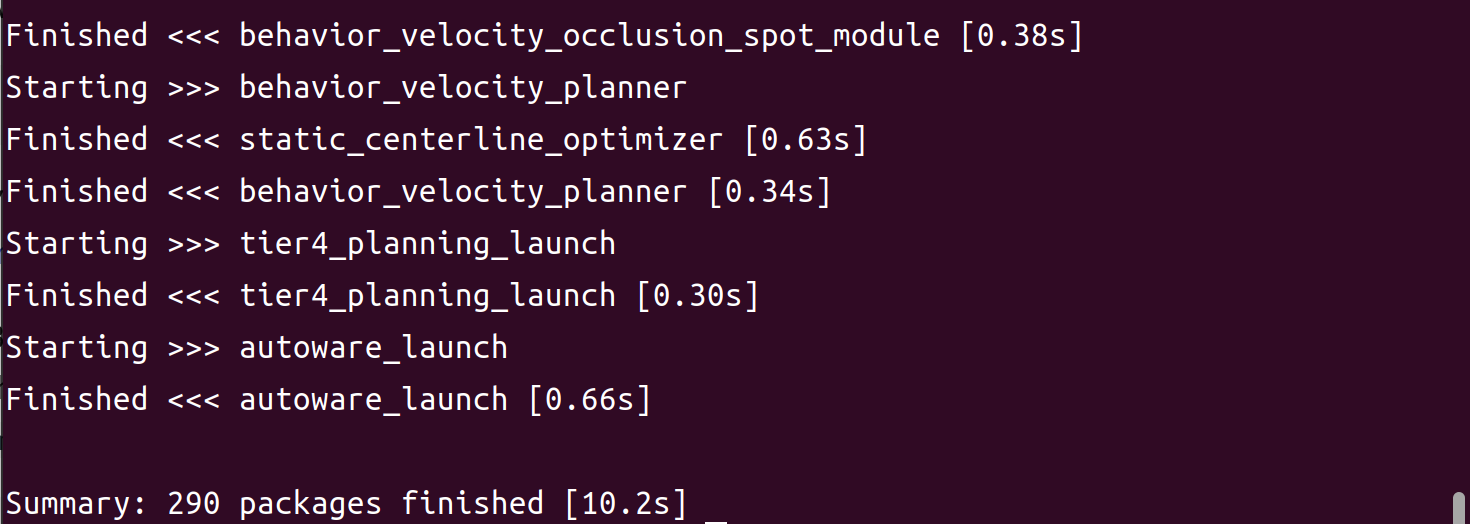
若出现上述提示,恭喜你已经编译安装成功了
PS:该方法是经过本人不断实践整理所得,可能存在一些不足,若在参考期间出现任何问题,欢迎联系指正


【推荐】国内首个AI IDE,深度理解中文开发场景,立即下载体验Trae
【推荐】编程新体验,更懂你的AI,立即体验豆包MarsCode编程助手
【推荐】抖音旗下AI助手豆包,你的智能百科全书,全免费不限次数
【推荐】轻量又高性能的 SSH 工具 IShell:AI 加持,快人一步
· 地球OL攻略 —— 某应届生求职总结
· 周边上新:园子的第一款马克杯温暖上架
· Open-Sora 2.0 重磅开源!
· 提示词工程——AI应用必不可少的技术
· .NET周刊【3月第1期 2025-03-02】