031、Vue3+TypeScript基础,路由中to的字符串写法和对象写法2种写法
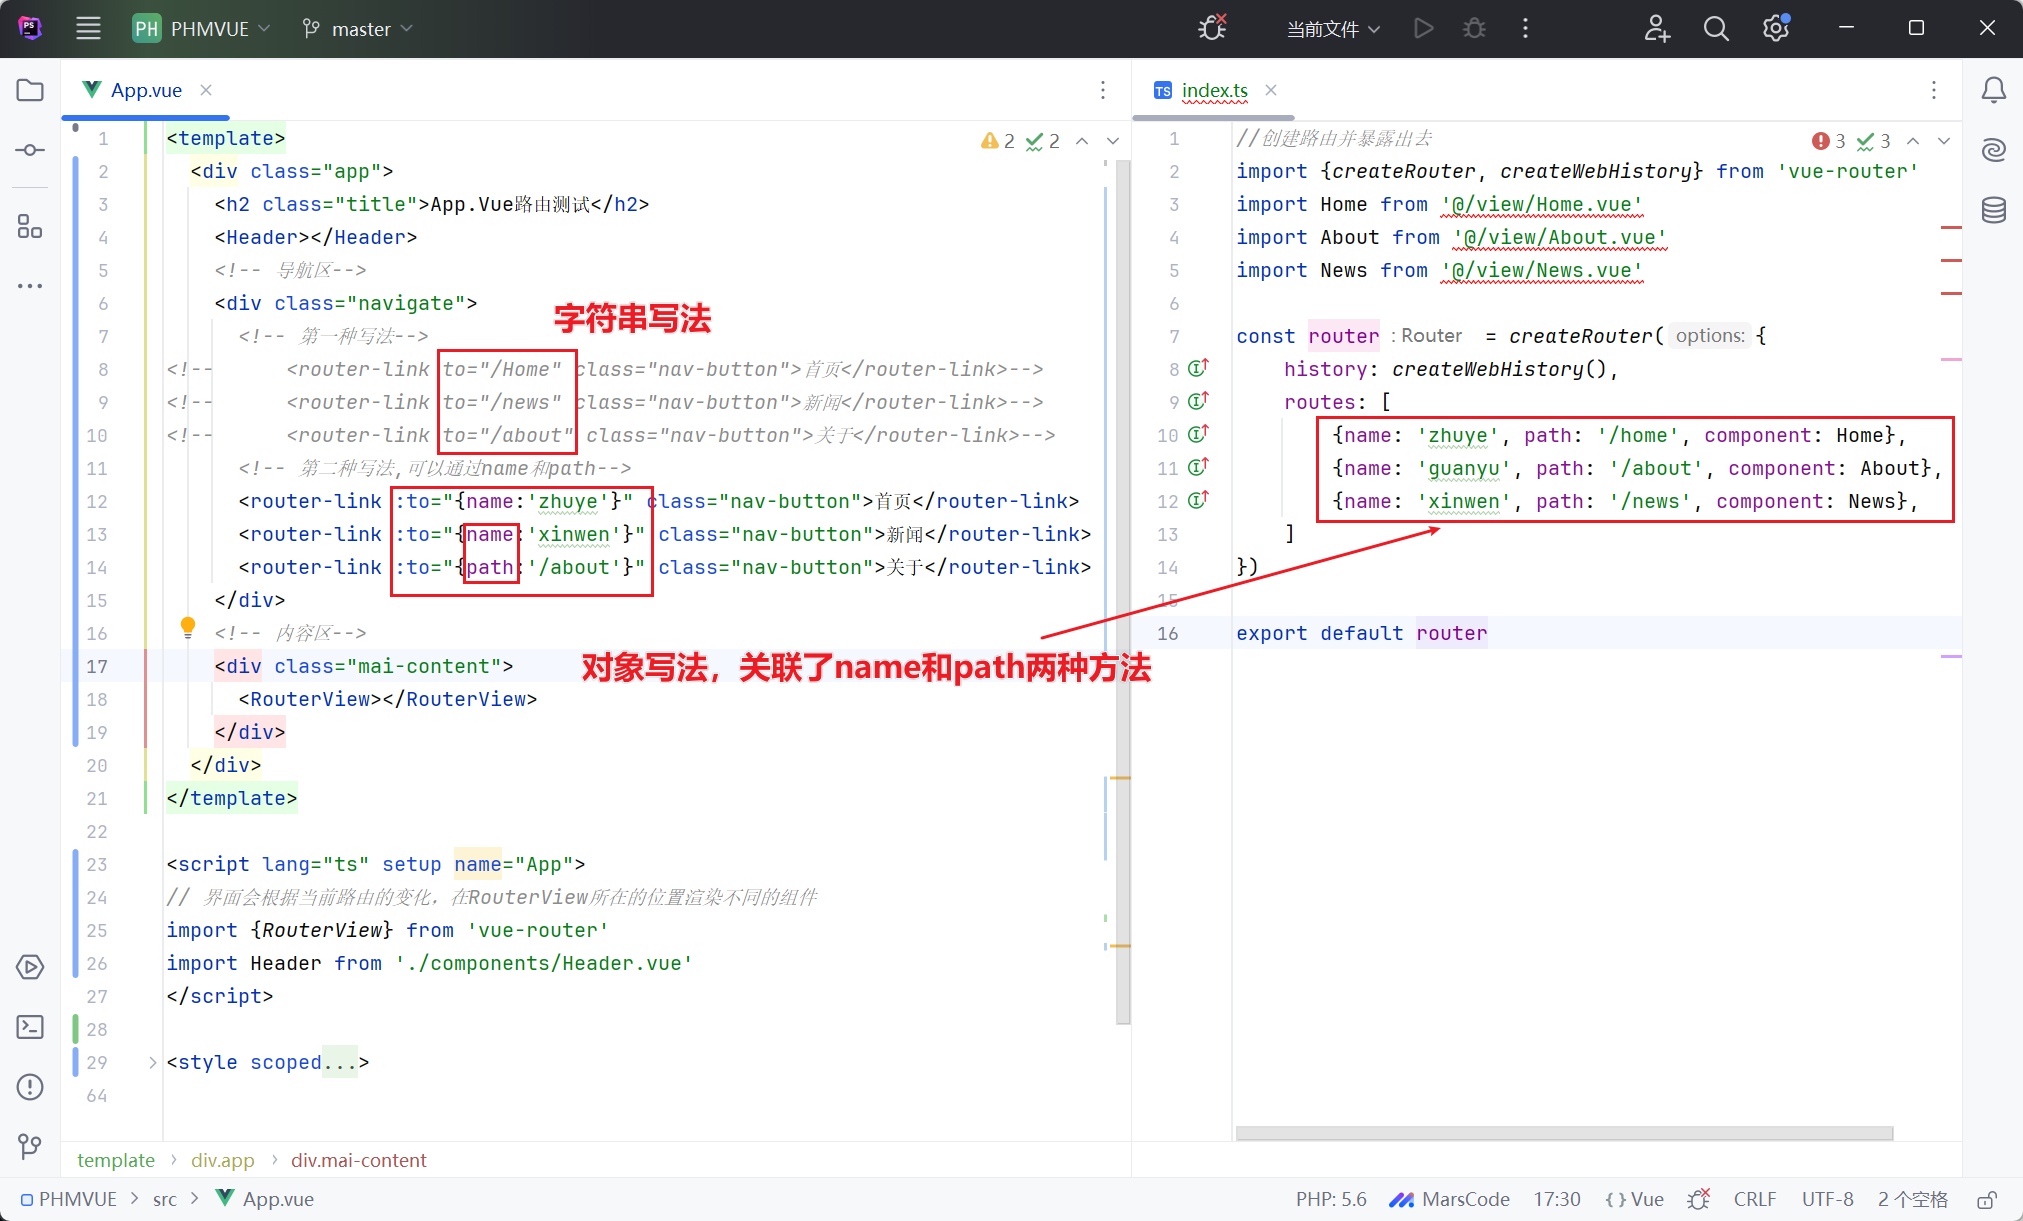
01、index.ts代码如下:
//创建路由并暴露出去
import {createRouter, createWebHistory} from 'vue-router'
import Home from '@/view/Home.vue'
import About from '@/view/About.vue'
import News from '@/view/News.vue'

const router = createRouter({
    history: createWebHistory(),
    routes: [
        {name: 'zhuye', path: '/home', component: Home},
        {name: 'guanyu', path: '/about', component: About},
        {name: 'xinwen', path: '/news', component: News},
    ]
})

export default router
02、main.js代码如下:
// 引入createApp用于创建Vue实例
import {createApp} from 'vue'
// 引入App.vue根组件
import App from './App.vue'

//引入路由
import router from './router'

const app = createApp(App);
//使用路由
app.use(router);
// App.vue的根元素id为app
app.mount('#app')
03、App.vue代码如下:
<template>
  <div class="app">
    <h2 class="title">App.Vue路由测试</h2>
    <Header></Header>
    <!-- 导航区-->
    <div class="navigate">
      <!-- 第一种写法-->
<!--      <router-link to="/Home" class="nav-button">首页</router-link>-->
<!--      <router-link to="/news" class="nav-button">新闻</router-link>-->
<!--      <router-link to="/about" class="nav-button">关于</router-link>-->
      <!-- 第二种写法,可以通过name和path-->
      <router-link :to="{name:'zhuye'}" class="nav-button">首页</router-link>
      <router-link :to="{name:'xinwen'}" class="nav-button">新闻</router-link>
      <router-link :to="{path:'/about'}" class="nav-button">关于</router-link>
    </div>
    <!-- 内容区-->
    <div class="mai-content">
      <RouterView></RouterView>
    </div>
  </div>
</template>

<script lang="ts" setup name="App">
// 界面会根据当前路由的变化,在RouterView所在的位置渲染不同的组件
import {RouterView} from 'vue-router'
import Header from './components/Header.vue'
</script>

<style scoped>
.app {
  background-color: #ddd;
  box-shadow: 0 0 10px;
  border-radius: 10px;
  padding: 20px;
}

.nav-button {
  display: inline-block; /* 让链接显示为块级元素,以便应用宽度和高度 */
  padding: 10px 20px; /* 内边距 */
  margin: 0 5px; /* 外边距,用于按钮之间的间隔 */
  text-decoration: none; /* 移除下划线 */
  color: white; /* 文本颜色 */
  background-color: #007bff; /* 背景颜色 */
  border-radius: 5px; /* 边框圆角 */
  transition: background-color 0.3s; /* 平滑过渡效果 */
}

.nav-button:hover {
  background-color: #0056b3; /* 鼠标悬停时的背景颜色 */
}

.nav-button.router-link-active {
  background-color: #28a745; /* 当前激活(路由匹配)时的背景颜色 */
}

.mai-content {
  /* 添加边框样式 */
  border: 2px solid #000; /* 边框宽度、样式和颜色 */
  border-radius: 5px; /* 可选:添加边框圆角 */
  padding: 20px; /* 可选:给内部内容添加一些内边距 */
  margin: 20px; /* 可选:给元素添加一些外边距,以便与其他元素隔开 */
}
</style>
04、Header.vue代码如下:
<template class="hop-head">
  <h2 class="title">Vue路由测试header</h2>
</template>

<script setup lang="ts" name="hop-head">
import {onMounted, onUnmounted} from 'vue'

onMounted(() => {
  console.log('header组件被挂载')
})
onUnmounted(() => {
  console.log('header组件被卸载')
})

</script>
<style scoped>
.title {
  text-align: center;
  word-spacing: 5px;
  margin: 50px 0;
  height: 70px;
  line-height: 70px;
  background-image: linear-gradient(45deg, gray, white);
  border-radius: 15px;
  box-shadow: 0 0 10px;
  font-size: 20px;
}
</style>
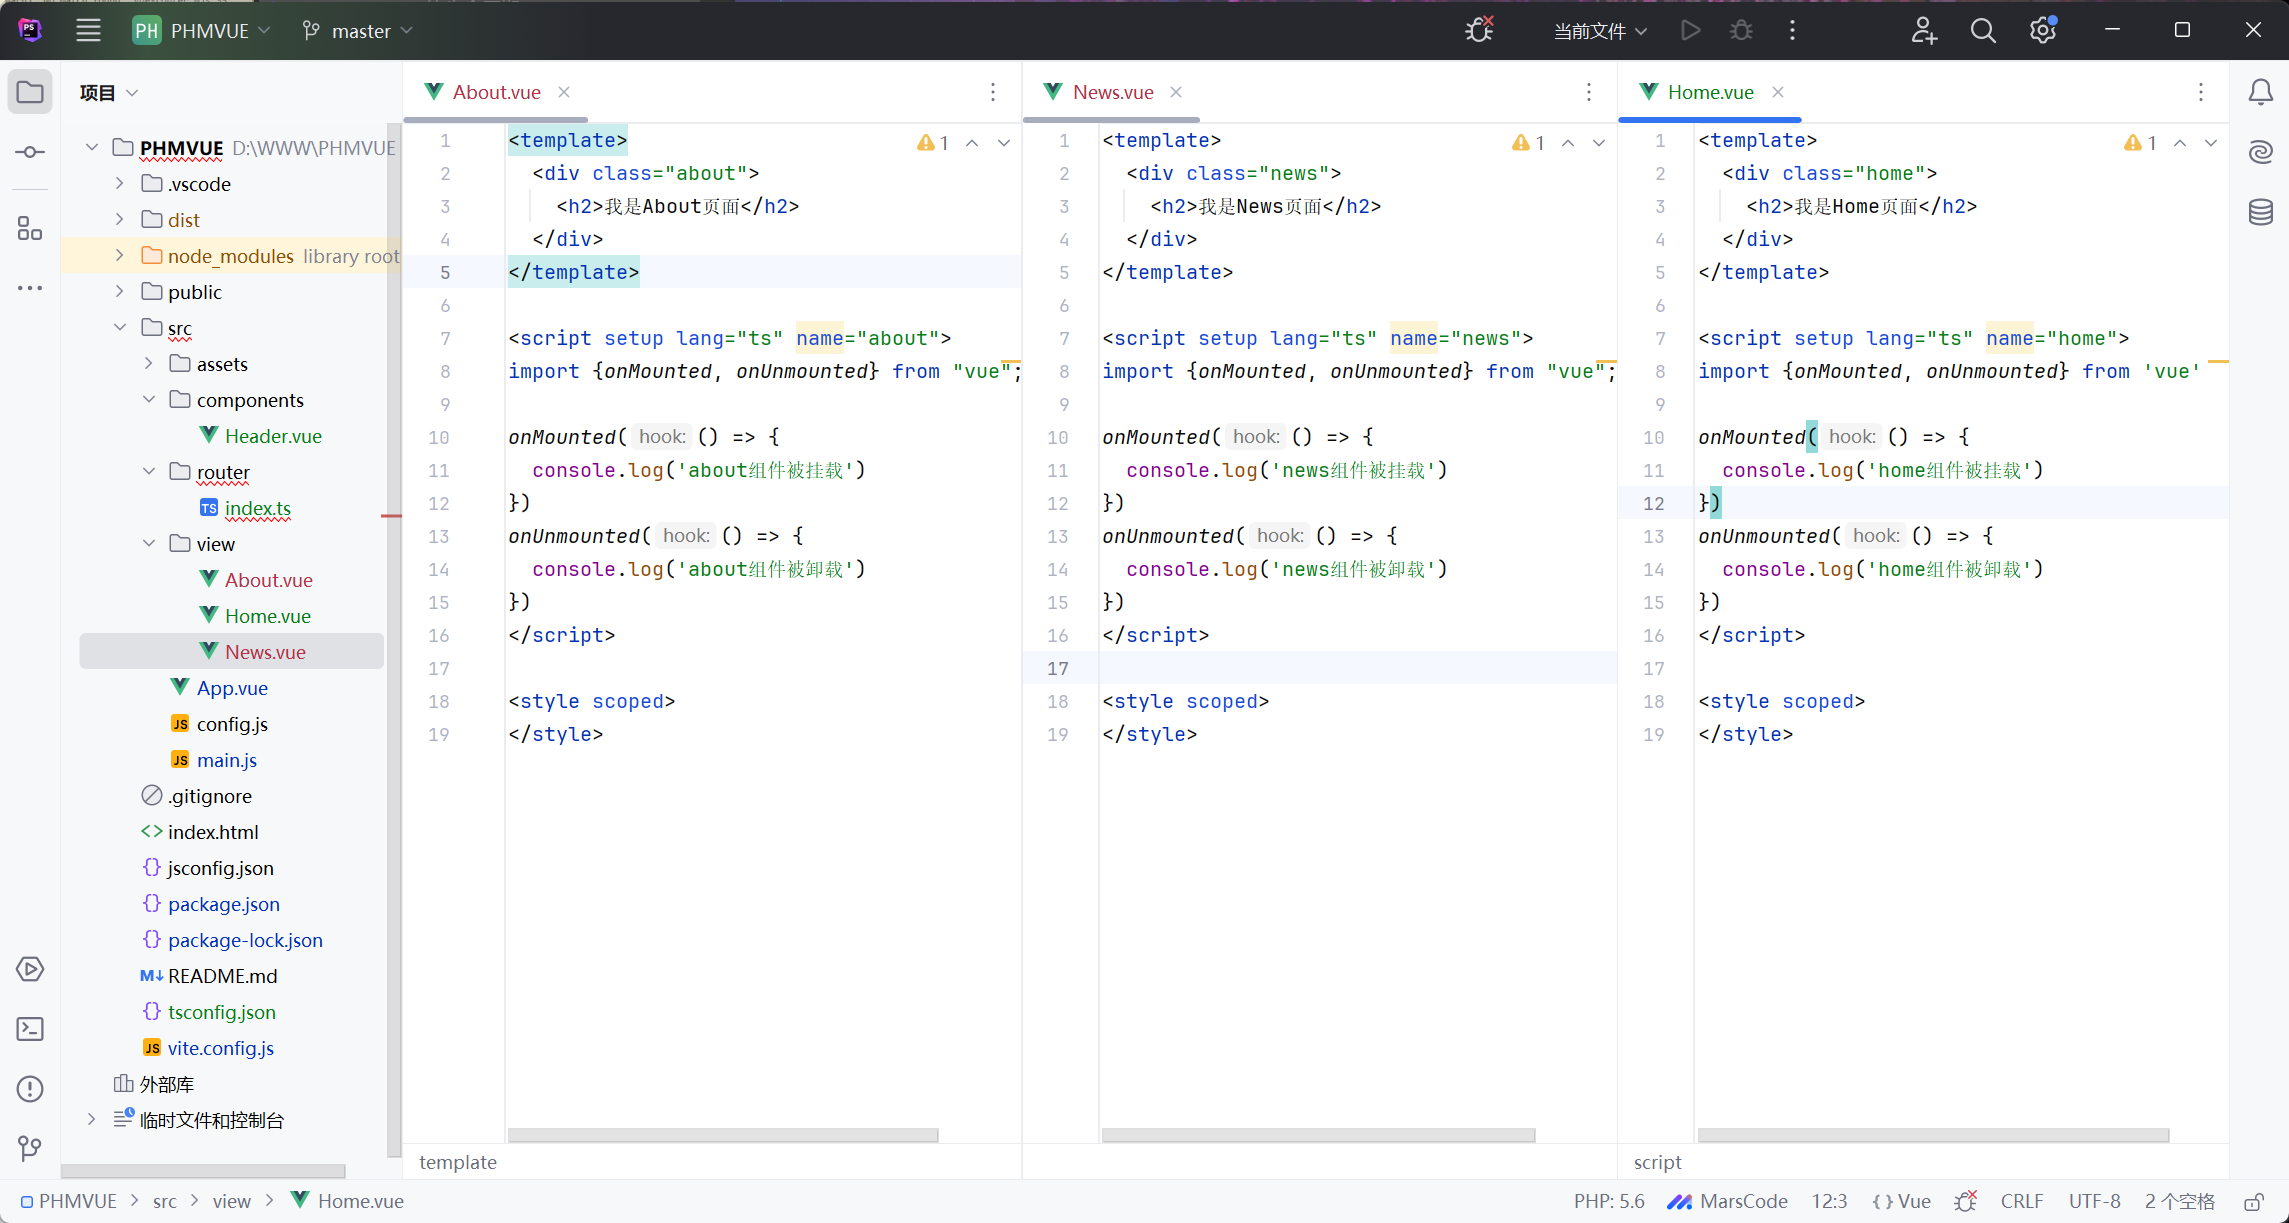
05、About.vue、News.vue、Home.vue代码类似,如下所示:
<template>
  <div class="about">
    <h2>我是About页面</h2>
  </div>
</template>

<script setup lang="ts" name="about">
import {onMounted, onUnmounted} from "vue";

onMounted(() => {
  console.log('about组件被挂载')
})
onUnmounted(() => {
  console.log('about组件被卸载')
})
</script>

<style scoped>
</style>
06、如下所示:
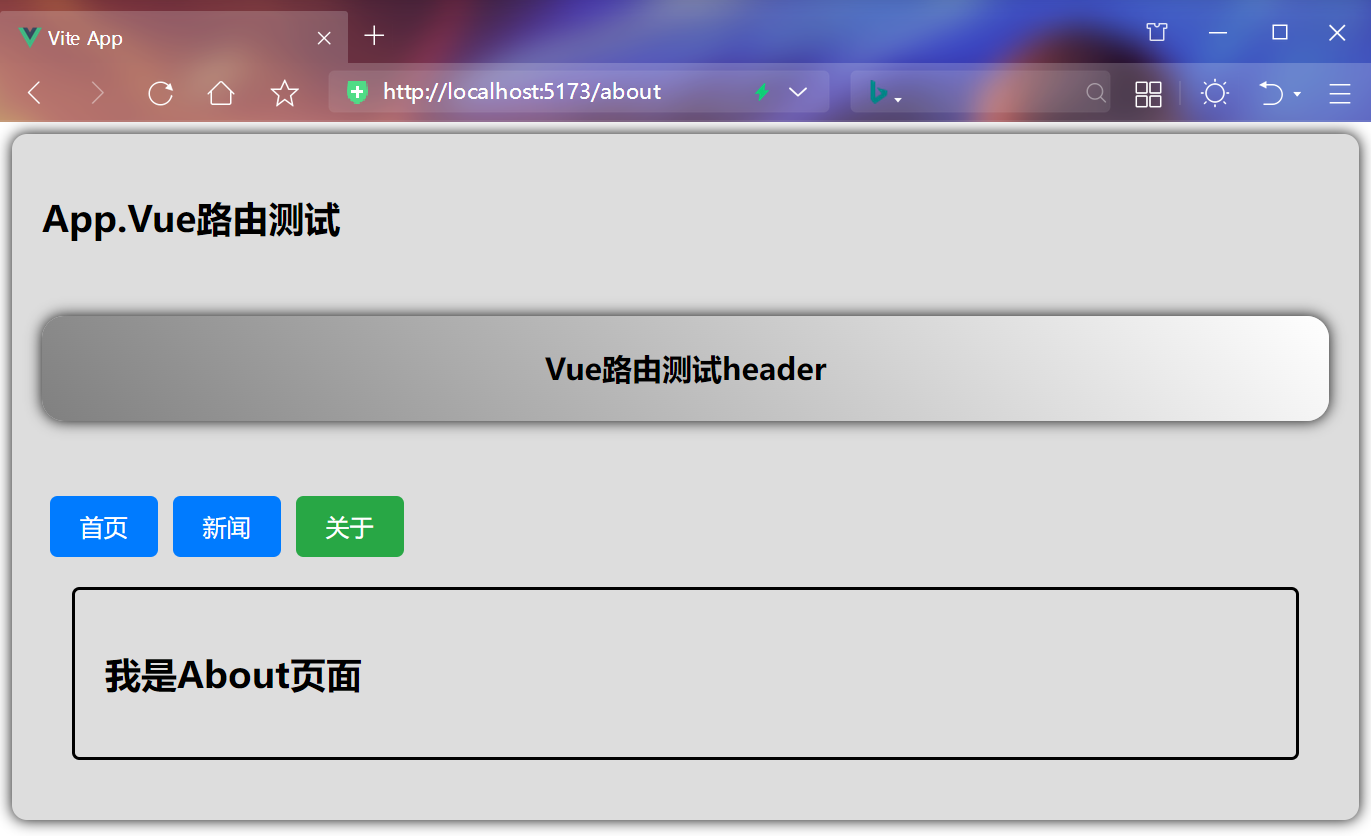
07、主要效果如下:
08、效果如下: