Mac M1 安装ElasticSearch & kibana
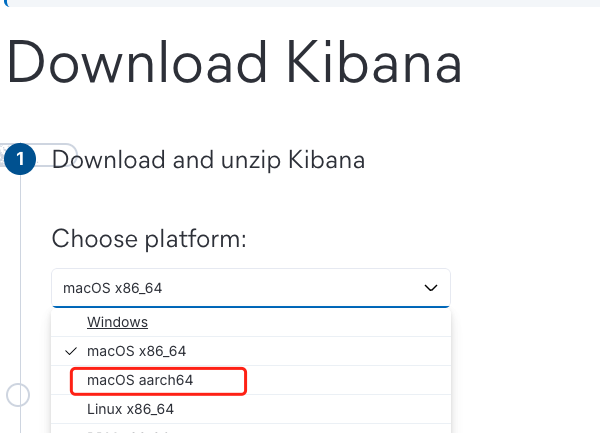
首先,下载安装包(需要注意的是:Kibana 的版本需要和 Elasticsearch 的版本一致。这是官方支持的配置。)
ElasticSearch:https://www.elastic.co/cn/downloads/elasticsearch
kibana:https://www.elastic.co/cn/downloads/kibana
其次,安装ES
直接解压下载好的elasticsearch-8.14.3-darwin-aarch64.tar.gz,终端进入……/ES/elasticsearch-8.14.3/bin中,
执行命令:./elasticSearch
报错:
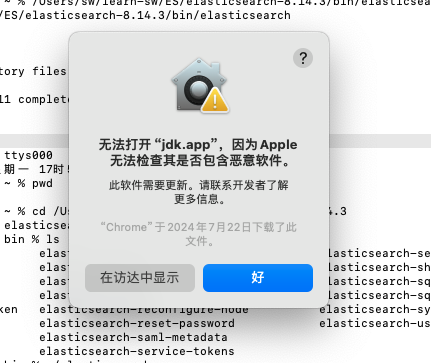
原因是,elasticSearch是基于java开发的,需要jdk运行环境,ES 7.X后,将jdk直接打包到了自己的包中,不再本地寻找jdk安装环境。
但是,对于mac系统,他检测到jdk.app 没有安全认证信息,所以执行这个应用。我尝试了网上的方法,在【安全与隐私】中放行,但是失败了。
还有一种方式,执行在终端执行命令:sudo spctl --master-disable(用于在macOS上禁用系统安全性和隐私设置中的"Gatekeeper"功能)
(Gatekeeper是macOS的一项安全功能,用于帮助用户防止安装和运行来自未经认证的开发者的软件。它通过验证应用程序的数字签名,并检查应用程序是否有权限运行,以确保用户不会无意间安装或运行可能不安全的软件。)
安全起见,在安装完之后,最好执行命令sudo spctl --master-enable 开启Gatekeeper
再次执行./elasticSearch 开始启动ES,报错:
✅ Elasticsearch security features have been automatically configured!
✅ Authentication is enabled and cluster connections are encrypted.
❌ Unable to auto-generate the password for the elastic built-in superuser.
ℹ️ HTTP CA certificate SHA-256 fingerprint: 7b2c93e96f3d6d67358141309fd6aceaa1a429c07763eed4702b919262bd6dec
❌ Unable to generate an enrollment token for Kibana instances, try invoking `bin/elasticsearch-create-enrollment-token -s kibana`.
ℹ️ Configure other nodes to join this cluster: • On this node: ⁃ Create an enrollment token with `bin/elasticsearch-create-enrollment-token -s node`. ⁃ Uncomment the transport.host setting at the end of config/elasticsearch.yml. ⁃ Restart Elasticsearch. • On other nodes: ⁃ Start Elasticsearch with `bin/elasticsearch --enrollment-token <token>`, using the enrollment token that you generated.
再往下报错:free: 22.3gb[9.7%], shards will be relocated away from this node; currently relocating away shards totalling [0] bytes; the node is expected to continue to exceed the high disk watermark when these relocations are complete
原因是磁盘空间不足,创建节点副本失败。ES默认配置要求磁盘空间空闲率要到15%以上,所以,我把我电脑没用的文件和代码删了一部分,再次启动,成功!
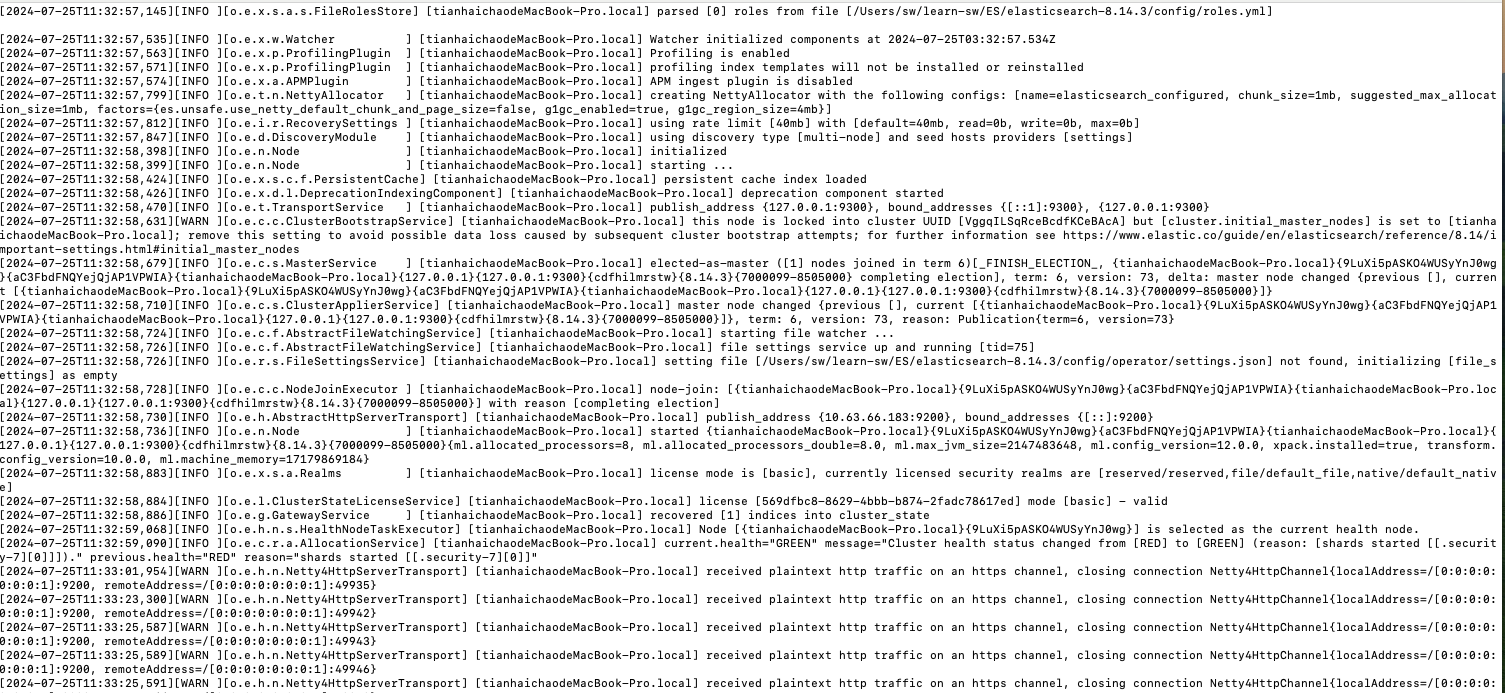
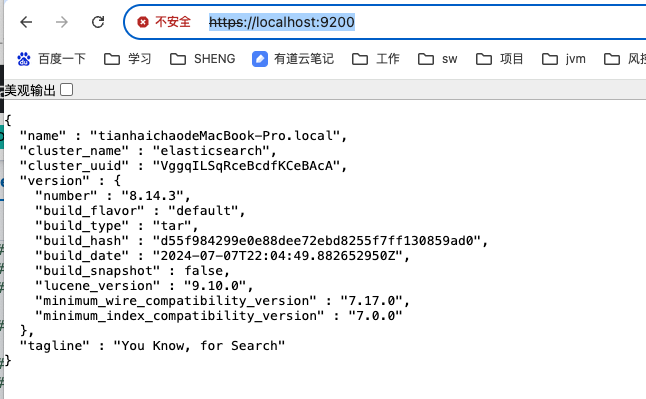
不过,http://localhost:9200/访问报错,看后台报错,改成https://localhost:9200/

用户名密码:Elasticsearch 在启用 X-Pack 安全特性时,初始默认用户名是 elastic,默认密码在安装 X-Pack 并启动 Elasticsearch 之后,可以通过运行 elasticsearch-setup-passwords 命令来设置。
新开一个终端,执行命令:elasticsearch-setup-passwords auto (当然,你也可以使用elasticsearch-setup-passwords interactive为每个es保留用户设置密码)
输出的用户名密码记得保存!!!!
./elasticsearch-setup-passwords auto
******************************************************************************
Note: The 'elasticsearch-setup-passwords' tool has been deprecated. This       command will be removed in a future release.
******************************************************************************

Initiating the setup of passwords for reserved users elastic,apm_system,kibana,kibana_system,logstash_system,beats_system,remote_monitoring_user.
The passwords will be randomly generated and printed to the console.
Please confirm that you would like to continue [y/N]y


Changed password for user apm_system
PASSWORD apm_system = E5mMyF5DOoI0C7B7amuc

Changed password for user kibana_system
PASSWORD kibana_system = 2ml71TAC6gf34URPtZiq

Changed password for user kibana
PASSWORD kibana = 2ml71TAC6gf34URPtZiq

Changed password for user logstash_system
PASSWORD logstash_system = SDxKQoUo8vyzTXjN4KMV

Changed password for user beats_system
PASSWORD beats_system = mwsY0Kb0T5HDi8qL8kzK

Changed password for user remote_monitoring_user
PASSWORD remote_monitoring_user = 8k11nOytNBZMs16rZYzN

Changed password for user elastic
PASSWORD elastic = vu4SAYVG0lbJ6OAykjey
选择elastic用户登录后,通过ES认证。
======================================Kibana 开始================================================================
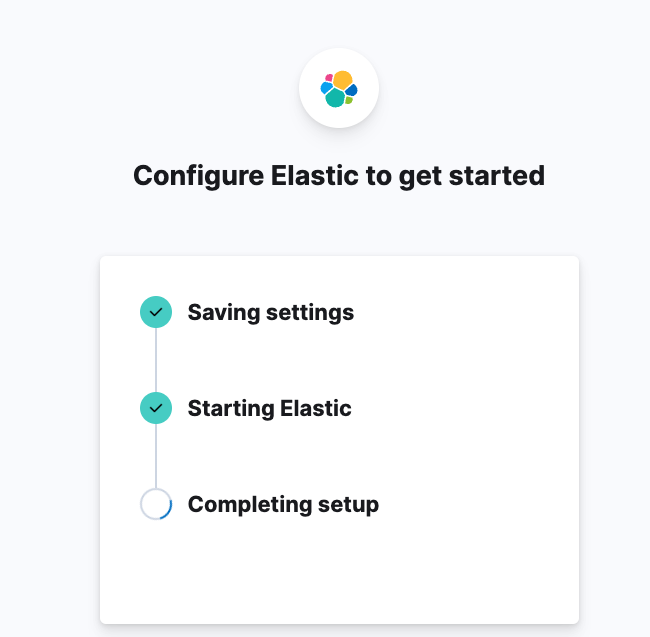
同样的解压kibana-8.14.3-darwin-aarch64.tar.gz,在终端中进入Kibana解压路径/bin ,执行./kibana
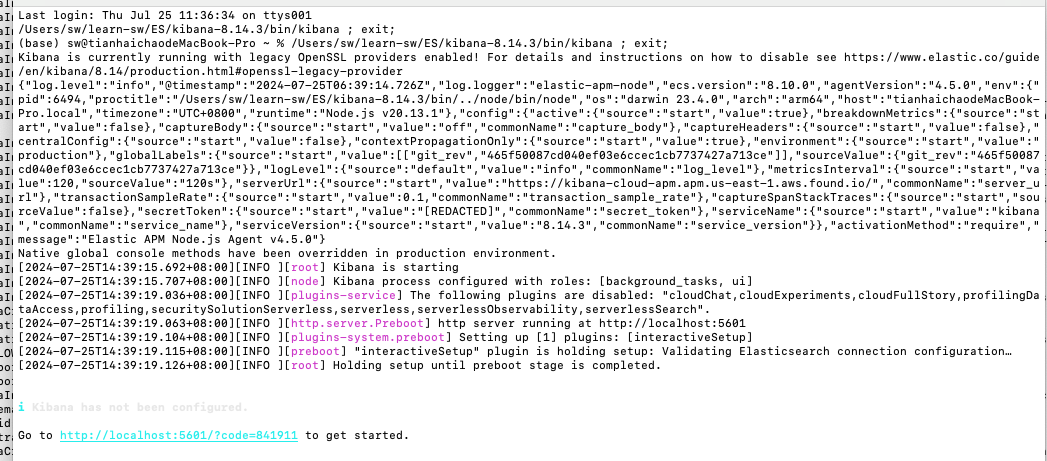
浏览器访问:http://localhost:5601/?code=841911
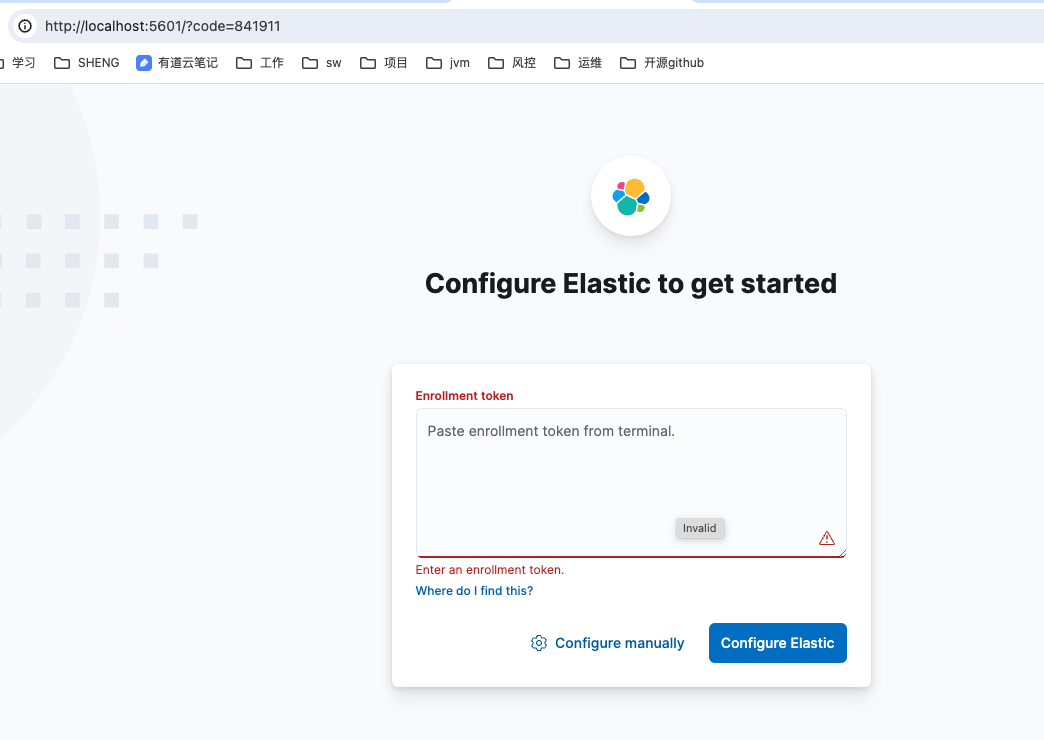
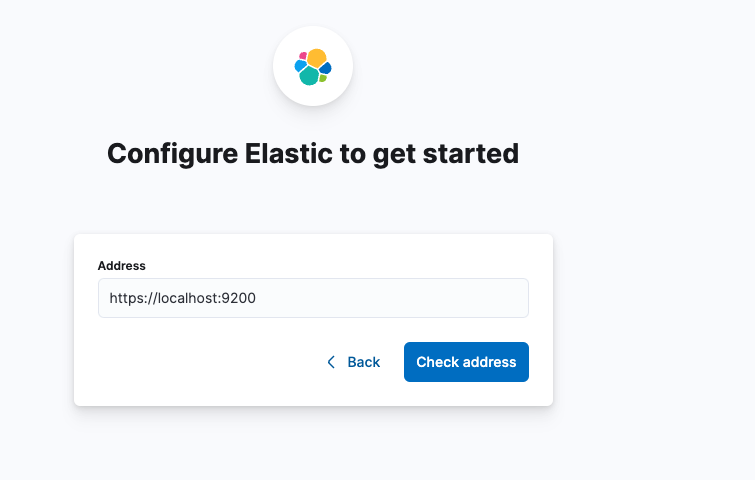
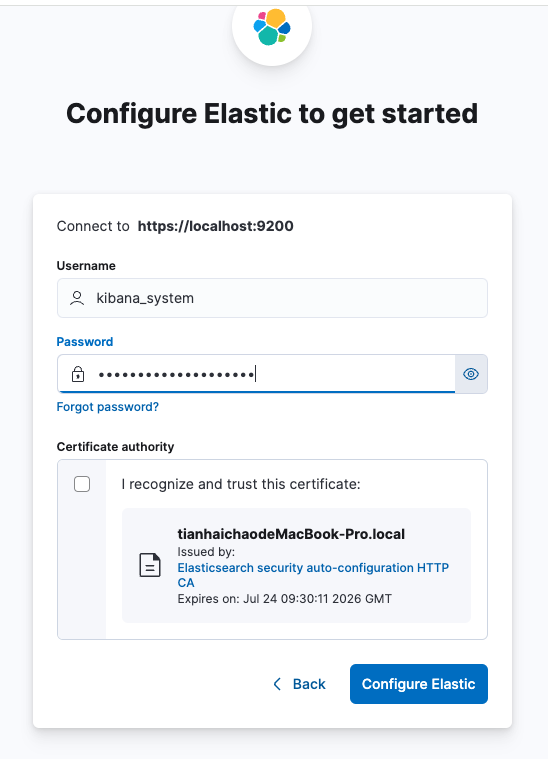
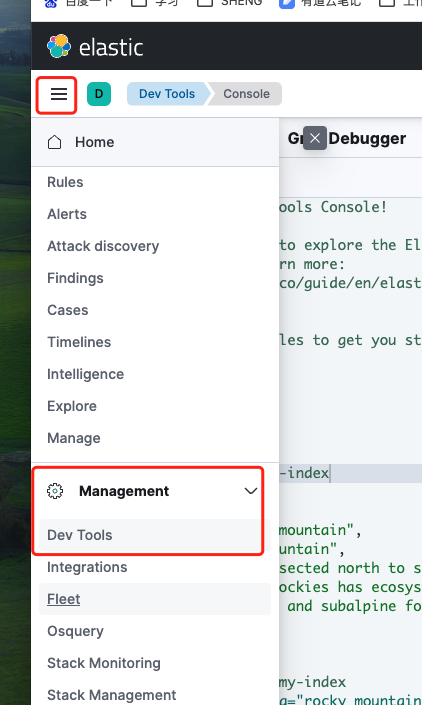
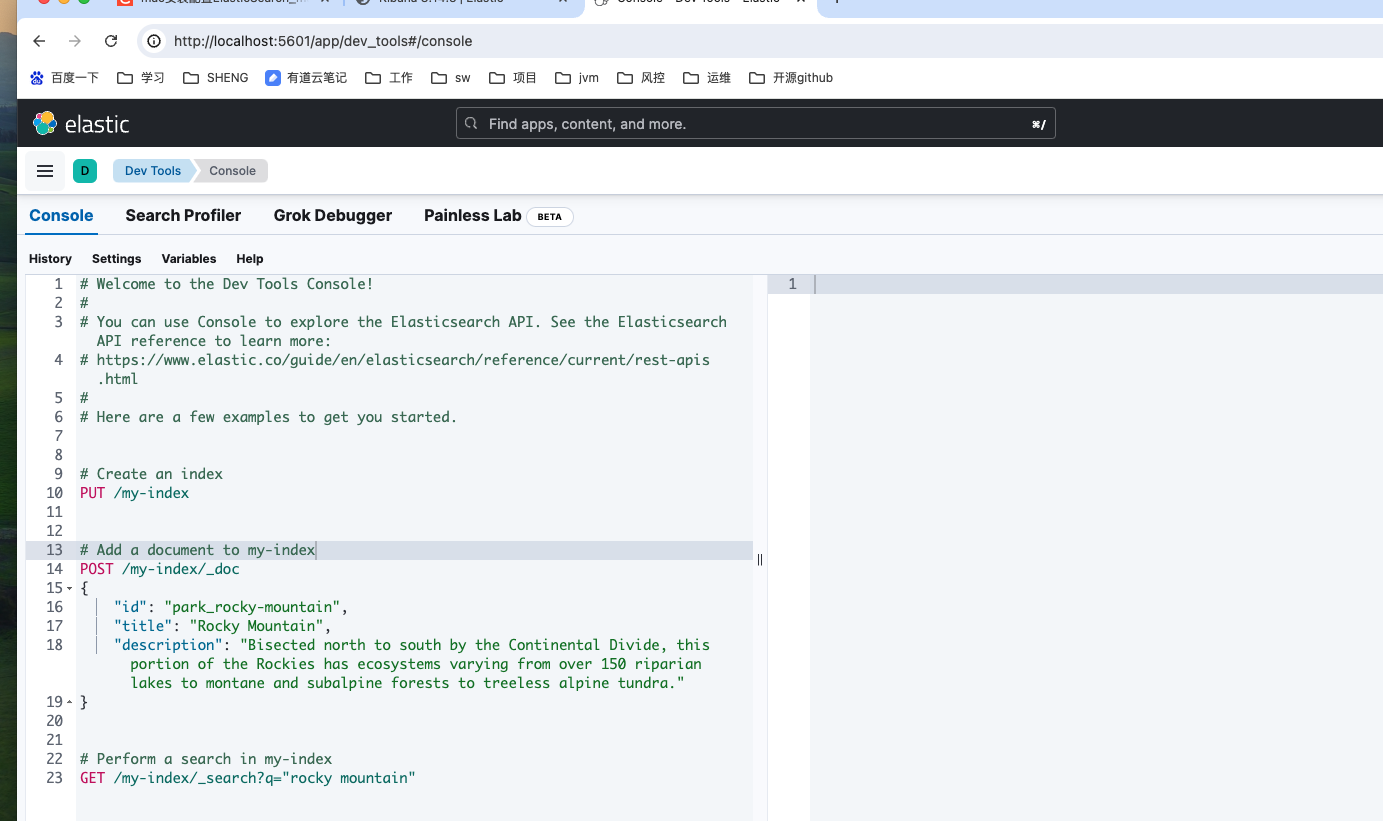
上面安装ES的时候自动生成了保留用户kibana_system的密码,登录进去,安装下面的操作,就可以进入到我们的操作ES的console里了,接下来,就来开启我们的ES之旅吧!
