记录一次CentOs7上安装mysql的过程
一、安装YUM Repo
1、由于CentOS 的yum源中没有mysql,需要到mysql的官网下载yum repo配置文件。
下载命令:
# wget https://dev.mysql.com/get/mysql57-community-release-el7-9.noarch.rpm
如果提示没有wget命令,使用yum命令安装wget
# yum install -y wget
2、然后进行repo的安装:
# rpm -ivh mysql57-community-release-el7-9.noarch.rpm
执行完成后会在/etc/yum.repos.d/目录下生成两个repo文件mysql-community.repo mysql-community-source.repo
二、使用yum命令即可完成安装
1、进入/etc/yum.repos.d
# cd /etc/yum.repos.d
2、执行安装命令:
# yum install mysql-server
时间:2023年8月9日更新
安装提示失败
运行
1.
rpm --import https://repo.mysql.com/RPM-GPG-KEY-mysql-2022
2.
yum install mysql-devel
再执行
yum install mysql-server
三、进入mysql
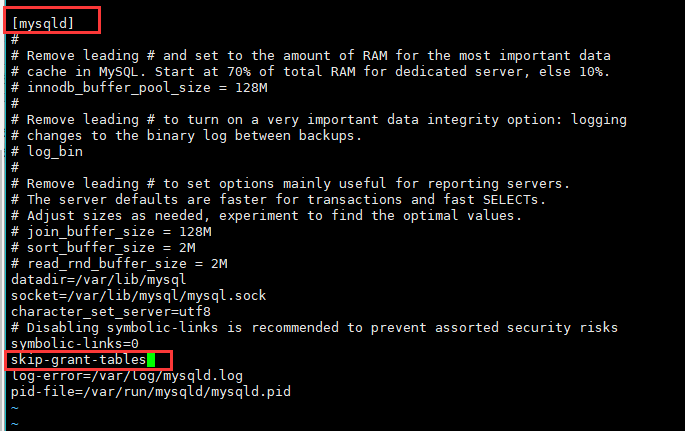
1、修改my.cnf文件,跳过密码
# vi /etc/my.cnf
找到[mysqld],在其下面的任意一行添加 skip-grant-tables
3、启动msyql:
# systemctl start mysqld
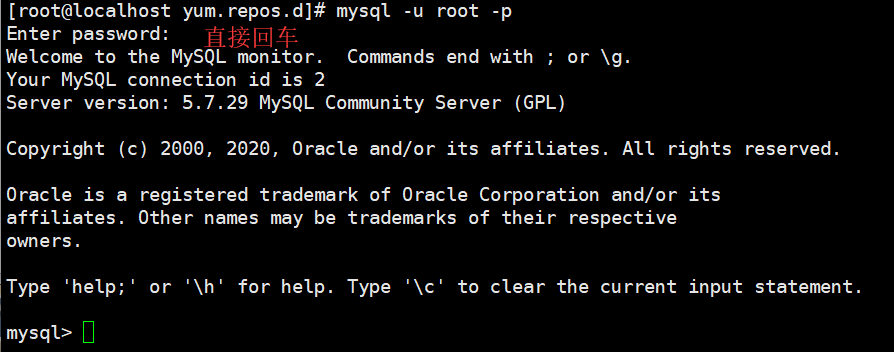
4、进入mysql
# mysql -u root -p
四、修改root用户密码
1、刷新表权限,防止出现ERROR 1290 (HY000): The MySQL server is running with the --skip-grant-tables option so it cannot execute this statement
mysql> flush privileges;
2、修改用户密码
mysql> alter user 'root'@'localhost' identified by '123456';
3、删除my.cnf文件中的skip-grant-tables
4、使用密码登录mysql
五、开启远程登录
1、grant all privileges on *.* to 'root'@'%' identified by '123456' with grant option;

 浙公网安备 33010602011771号