

cv2-多边形填充
多边形图像填充
cv2.fillPoly
cv2.fillPoly(img, pts, color,lineType=None,shift=None,offset=None)
用来填充任意形状的图像,常常用于多边形的填充,可用于一个或者多个图形的填充
参数说明
img图片pts多边形坐标array类型,最好带上[]color填充颜色
area1 = np.array([[250, 200], [300, 100], [750, 800], [100, 1000]])
area2 = np.array([[1000, 200], [1500, 200], [1500, 400], [1000, 400]])

img = np.zeros((1080, 1920, 3), np.uint8)

cv2.fillPoly(img,[area1,area2], color=(255, 255, 255))
plt.imshow(img)
plt.show()

cv2.fillConvexPoly
可用于对一个图像的填充,只能用来填充凸多边形
cv2.fillConvexPoly(img, points, color)
imgImage.pointsPolygon vertices.colorPolygon color.lineTypeType of the polygon boundaries.
单个多边形填充。
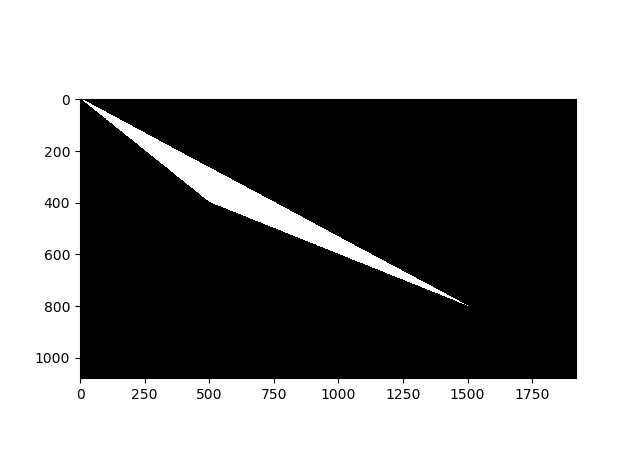
img = np.zeros((1080, 1920, 3), np.uint8)
triangle = np.array([[0, 0], [1500, 800], [500, 400]])

cv2.fillConvexPoly(img, triangle, (255, 255, 255))

plt.imshow(img)
plt.show()
作用
制作掩膜,实现任意区域裁剪
 # 加载图像
img = cv2.imread("D:\\shi\\a.png")

# 坐标点points
pts = np.array([[(200, 200), (1800, 100), (1600, 800), (200, 800), (100, 400)]], dtype=np.int32)

# 作为mask
mask = np.zeros(img.shape[:2], np.uint8)  # 全0

# 在mask上将多边形区域填充为白色
cv2.fillPoly(mask, pts, 255)  # 填充,用 255 填充

# 通过 mask 来提取  mask 对应 原图像的索引
img_height = mask.shape[0]
img_weight = mask.shape[1]

# 逐位与,得到裁剪后图像,此时是黑色背景
dst = cv2.bitwise_and(img, img, mask=mask)

bg = np.ones_like(img, np.uint8) * 255
bg = cv2.bitwise_not(bg, bg, mask=mask)  # bg的多边形区域为0,背景区域为255
dst_white = bg + dst

# 添加其他颜色背景
other = np.ones_like(img) * 128  # 其他背景颜色
mask2 = np.ones(img.shape, np.uint8) * 255
mask2 = cv2.fillPoly(mask2, [pts], (0, 0, 0,))
other = cv2.bitwise_and(other, mask2)
dst_other = dst + other

cv2.imwrite("dst-mask.jpg", mask)
cv2.imwrite("dst-black.jpg", dst)
cv2.imwrite("dst-white.jpg", dst_white)
cv2.imwrite("other-otherd.jpg", dst_other)
按位运算
-
bitwise_and是对二进制数据进行“与”操作,即对图像每个像素值进行二进制“与”操作,1&1=1,1&0=0,0&1=0,0&0=0 -
bitwise_or是对二进制数据进行“或”操作,即对图像每个像素值进行二进制“或”操作,1|1=1,1|0=0,0|1=0,0|0=0 -
bitwise_xor是对二进制数据进行“异或”操作,即对图像每个像素值进行二进制“异或”操作,1^1=0,1^0=1,0^1=1,0^0=0 -
bitwise_not是对二进制数据进行“非”操作,即对图像每个像素值进行二进制“非”操作,~1=0,~0=1
