服务器部署JupyterLab
1.下载anaconda3
wget https://mirrors.tuna.tsinghua.edu.cn/anaconda/archive/Anaconda3-2022.05-Linux-x86_64.sh
2.安装anaconda3
bash Anaconda3-2022.05-Linux-x86_64.sh
接下来按照提示完成安装过程,基本不停Enter,Yes即可,最后的VScode根据需求安装。
3.将anaconda加入环境变量
vi /etc/profile
添加路径
#Anacanda
export PATH="/root/anaconda3/bin:$PATH"
更新设置
source /etc/profile
4.生成jupyterlab配置文件
jupyter notebook --generate-config
下面会显示:
Writing default config to: /root/.jupyter/jupyter_notebook_config.py
即为生成配置文件的地址
5.设置访问密码
jupyter notebook password
注意,Enter password和Verify password后面不显示内容,不要使用数字小键盘。
6.进入Ipython
ipython
7.python内获取密码哈希值
In [1]: from notebook.auth import passwd
In [2]: passwd()
Enter password:
Verify password:
Out[2]: 'sha1:ff1daf1d0042:836de0da04694213097b77ea4b354b73b6856f7d'
In [3]: exit
8.修改配置文件
vim /root/.jupyter/jupyter_notebook_config.py
追加以下内容(记得新建好/root/code根目录)
c.NotebookApp.password = u'sha1:ff1daf1d0042:836de0da04694213097b77ea4b354b73b6856f7d'
#就是刚才需要记下的哈希密码
c.NotebookApp.port = 9999
#指定jupyter lab 运行端口,写一个不冲突的端口即可
c.NotebookApp.allow_remote_access = True
# 允许远程访问
c.NotebookApp.ip='0.0.0.0'
# 就是设置所有ip皆可访问
c.NotebookApp.open_browser = False
# 禁止自动打开浏览器
c.ServerApp.root_dir = u'/root/code'
# 代码文件根目录
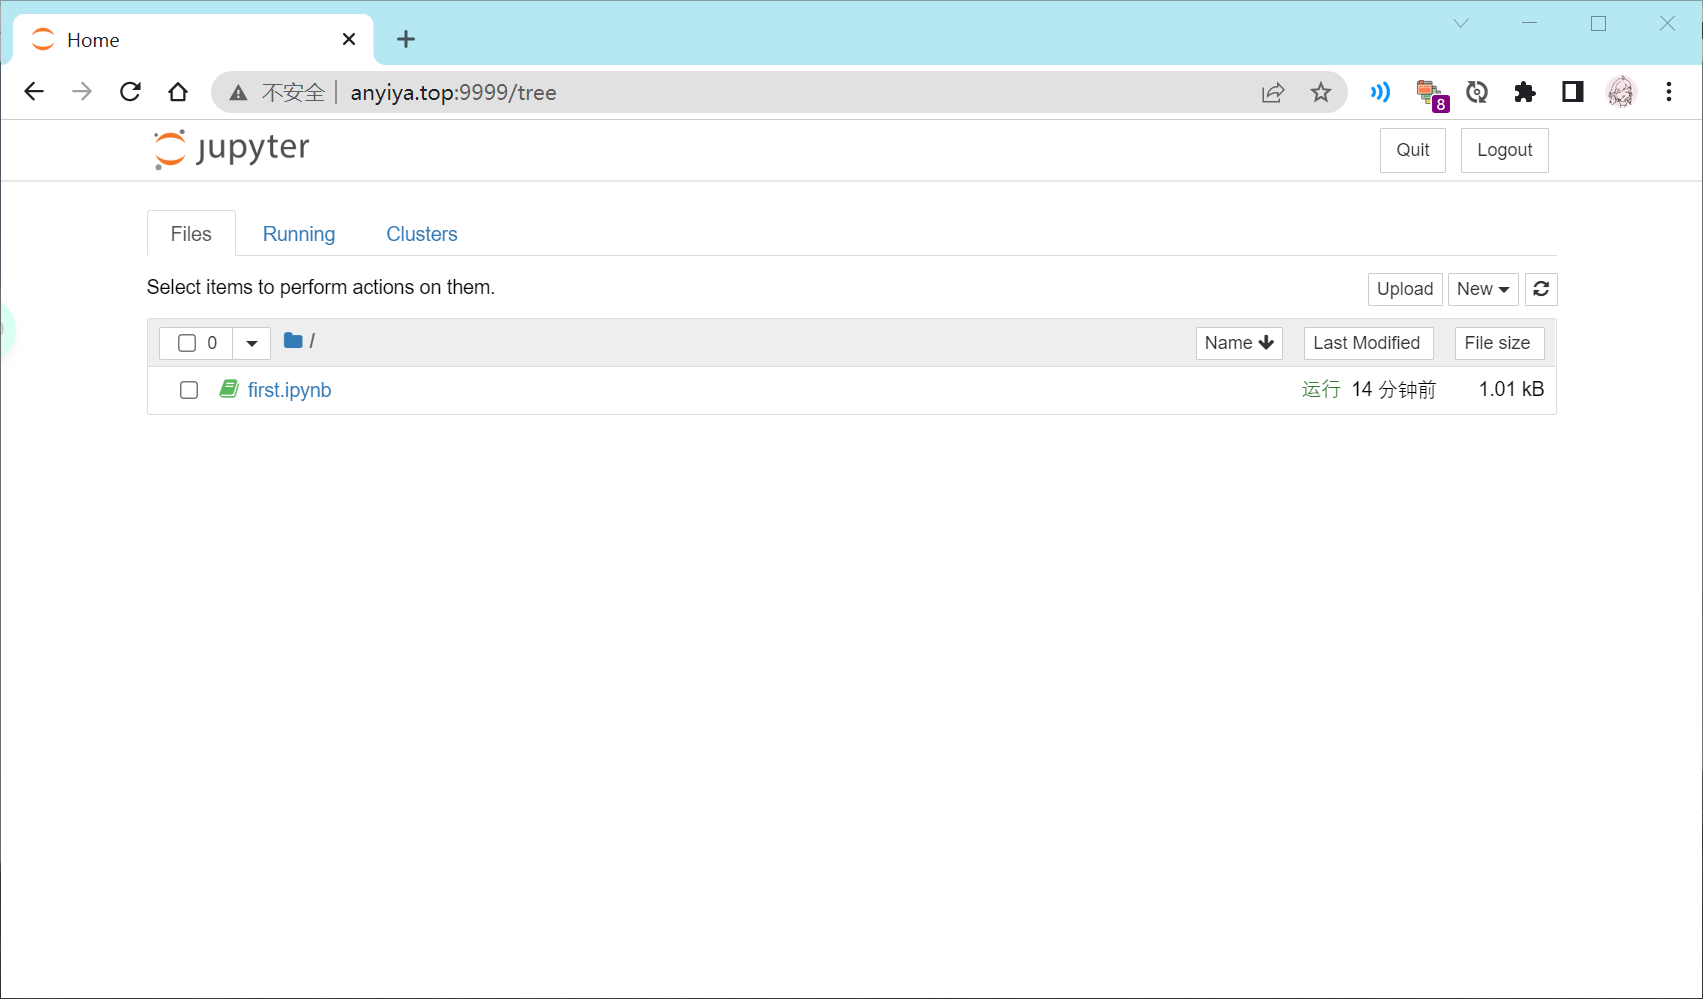
9.开启服务
nohup jupyter notebook --allow-root > jupyter.log 2>&1 &
nohup jupyter lab --allow-root > jupyter.log 2>&1 &
结尾遇到点小问题,在服务器控制台放行了端口,但是没有在部署的控制面板放行端口
以后就可以做一个代码跑在云服务上的程序员啦~~

 浙公网安备 33010602011771号