

《Windows Azure Platform 系列文章目录》
本文介绍的是由世纪互联运维的Azure China。
目前Azure China是要通过代码来配置Application Insight监控的,本文会详细介绍相关的内容。
1.首先,我们先创建1个新的资源组
2.然后在这个资源组里,创建新的Azure Function。如下图:
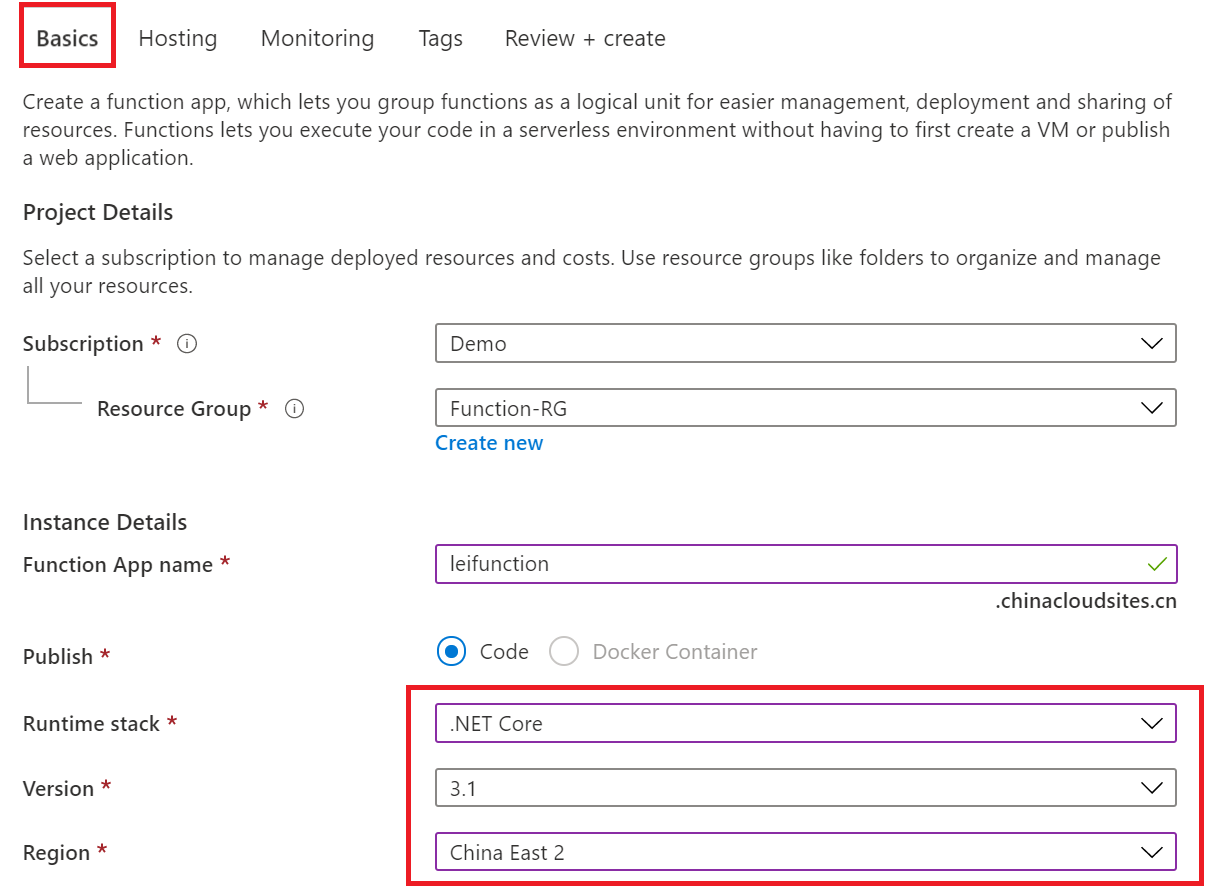
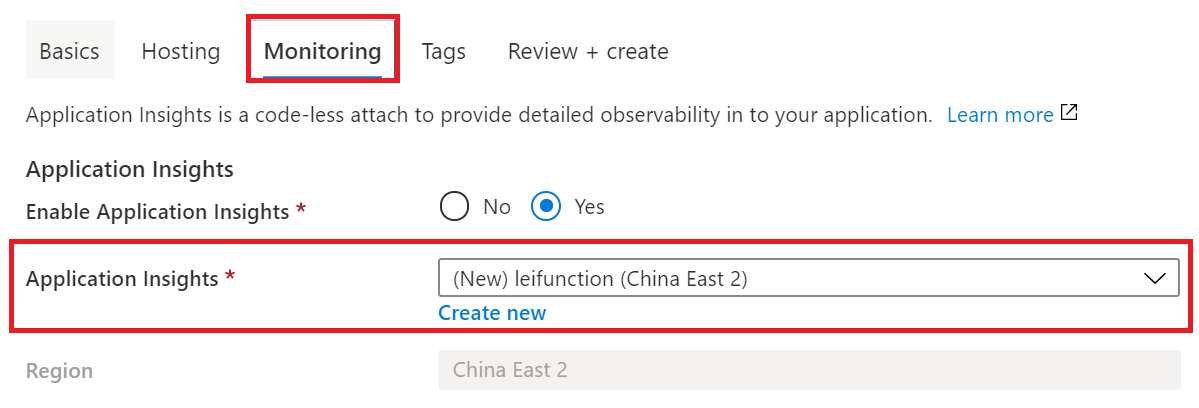
3.创建这个Function的时候,还会默认创建Application Insight。如下图:
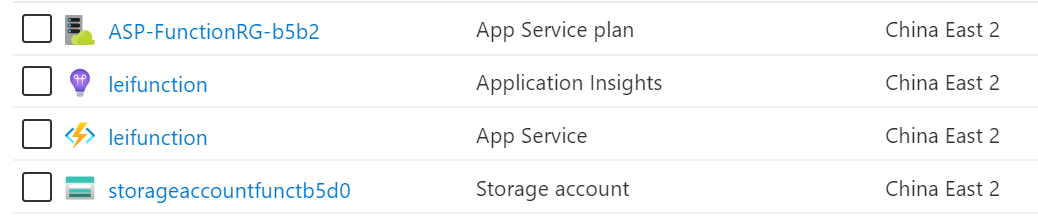
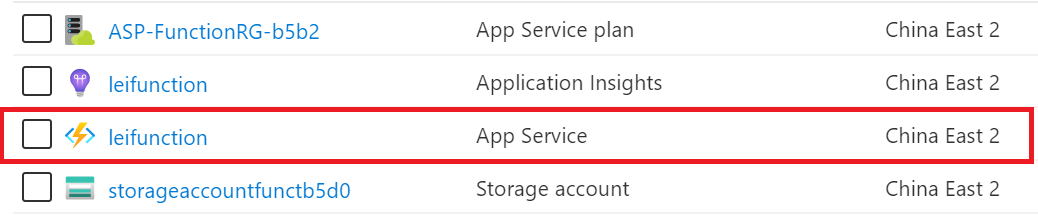
4.创建完毕后,资源如下:
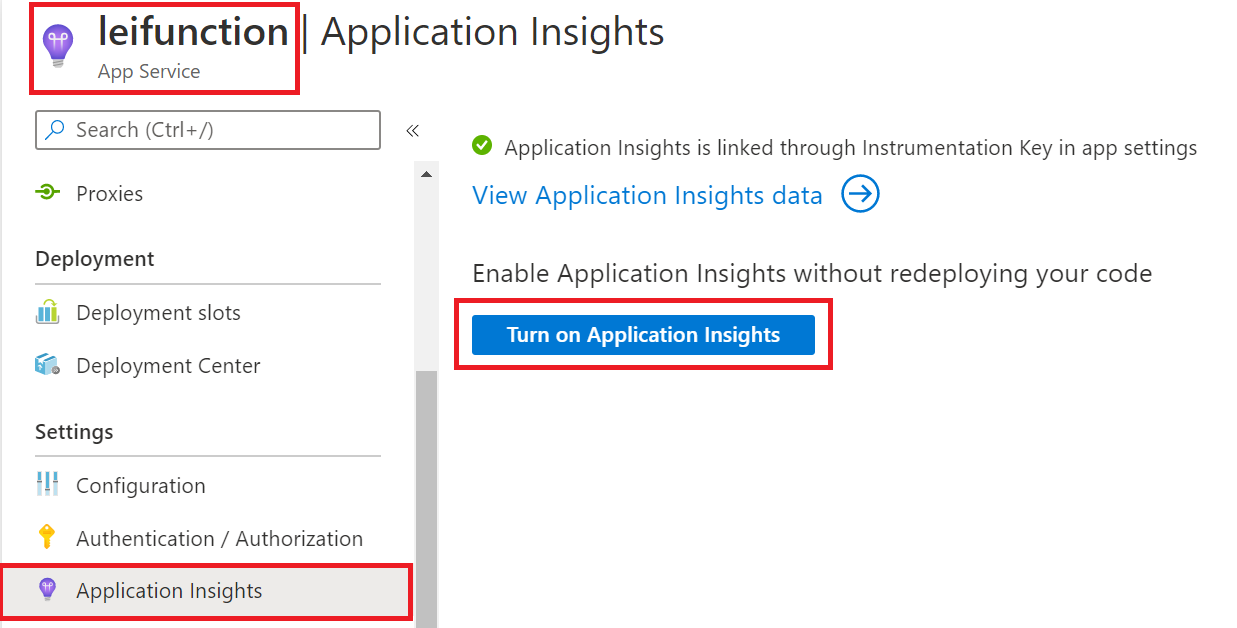
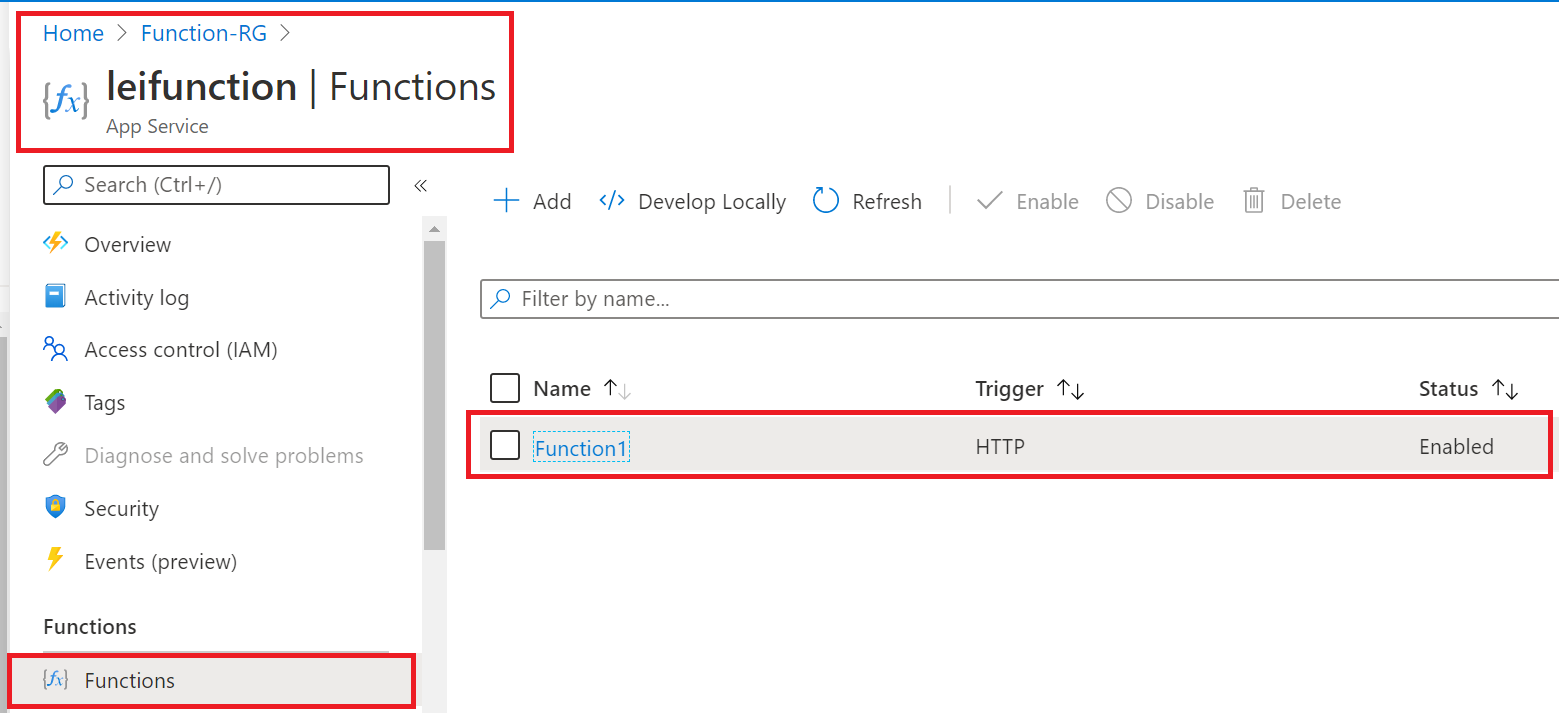
5.我们选择上面已经创建的Azure Function,打开Application Insight功能
选择完毕后,点击Apply生效。
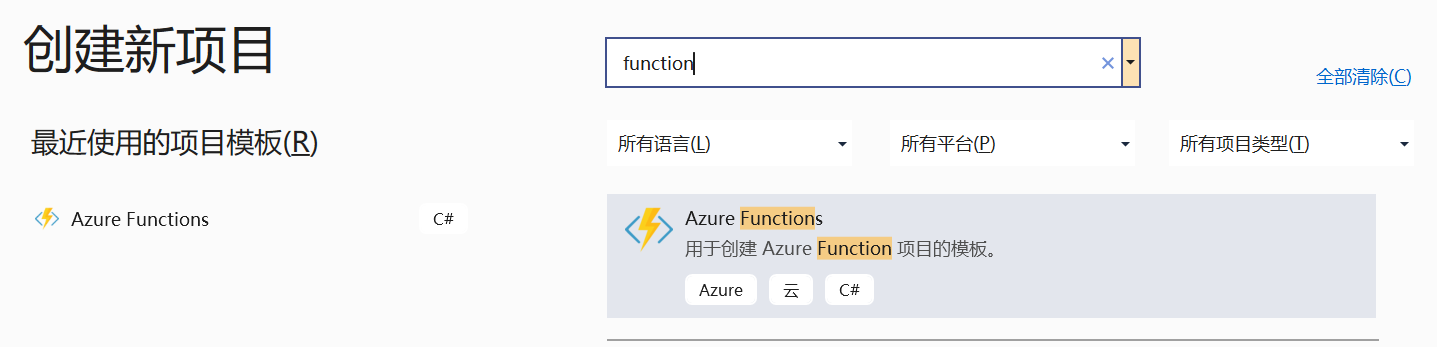
6.然后我们在本地PC,创建1个Azure Function项目:
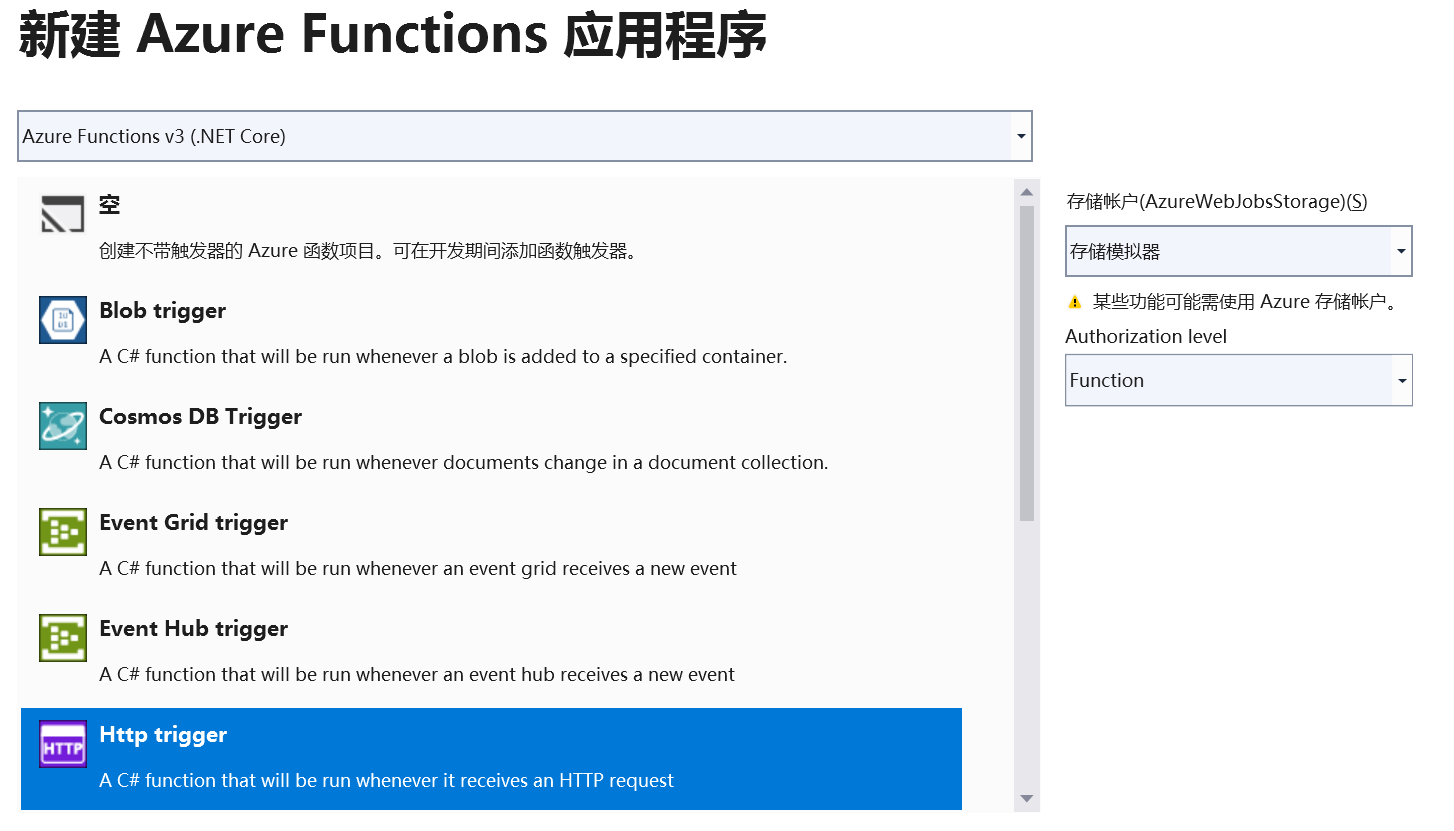
7.新建一个Function,类型为Http Trigger
8.在项目目录中,增加starup.cs类。如下图:
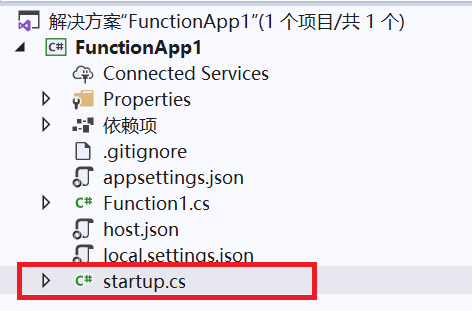
9.startup.cs代码如下:
using System;
using System.Collections.Generic;
using System.Linq;
using System.Text;
using Microsoft.ApplicationInsights.Channel;
using Microsoft.ApplicationInsights.Extensibility;
using Microsoft.ApplicationInsights.Extensibility.Implementation.ApplicationId;
using Microsoft.ApplicationInsights.Extensibility.PerfCounterCollector.QuickPulse;
using Microsoft.ApplicationInsights.WindowsServer.TelemetryChannel;
using Microsoft.Azure.Functions.Extensions.DependencyInjection;
using Microsoft.Extensions.DependencyInjection;

[assembly: FunctionsStartup(typeof(FunctionApp1.Startup))]


namespace FunctionApp1
{
    internal class Startup : FunctionsStartup
    {
        public override void Configure(IFunctionsHostBuilder builder)
        {
            var quickPulseFactory = builder.Services.FirstOrDefault(sd => sd.ServiceType == typeof(ITelemetryModule) &&
            sd.ImplementationType == typeof(QuickPulseTelemetryModule));
            if (quickPulseFactory != null)
            {
                builder.Services.Remove(quickPulseFactory);
            }

            var appIdFactory = builder.Services.FirstOrDefault(sd => sd.ServiceType == typeof(IApplicationIdProvider));
            if (appIdFactory != null)
            {
                builder.Services.Remove(appIdFactory);
            }

            var channelFactory = builder.Services.FirstOrDefault(sd => sd.ServiceType == typeof(ITelemetryChannel));
            if (channelFactory != null)
            {
                builder.Services.Remove(channelFactory);
            }

            builder.Services.AddSingleton<ITelemetryModule, QuickPulseTelemetryModule>(_ =>
            new QuickPulseTelemetryModule
            {
                QuickPulseServiceEndpoint = "https://live.applicationinsights.azure.cn/QuickPulseService.svc"
            });

            builder.Services.AddSingleton<IApplicationIdProvider, ApplicationInsightsApplicationIdProvider>(_ => new ApplicationInsightsApplicationIdProvider() { ProfileQueryEndpoint = "https://dc.applicationinsights.azure.cn/api/profiles/{0}/appId" });

            builder.Services.AddSingleton<Microsoft.ApplicationInsights.Channel.ITelemetryChannel>(_ => new ServerTelemetryChannel() { EndpointAddress = "https://dc.applicationinsights.azure.cn/v2/track" });
        }
    }

}
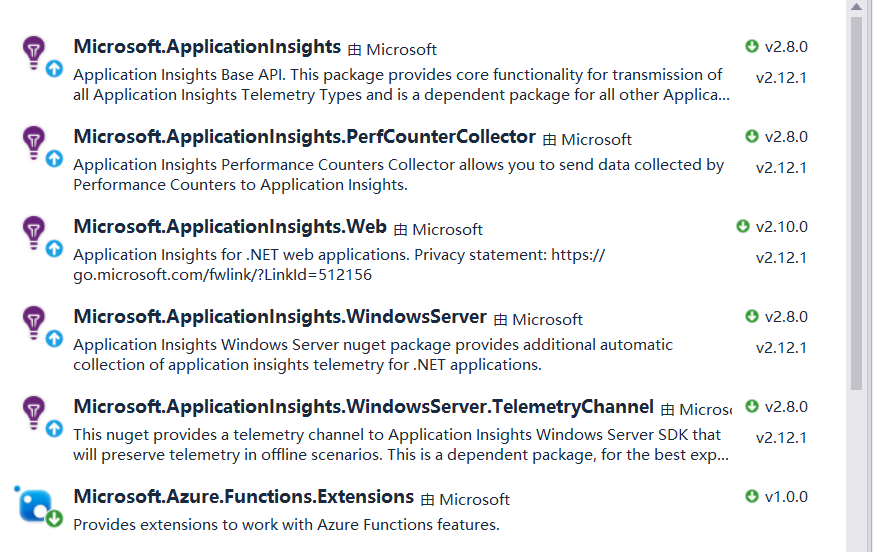
10.在项目中,增加对下面依赖性的引用:
11.在项目根目录中,增加文件:appsettings.json
{
  "ApplicationInsights": {
    "InstrumentationKey": "[Application Insight的秘钥]"
  },
  "Logging": {
    "LogLevel": {
      "Default": "None"
    }
  }
}
12.上面的Application Insight的秘钥,我们可以通过查看Application Insight的访问秘钥:

页面跳转:
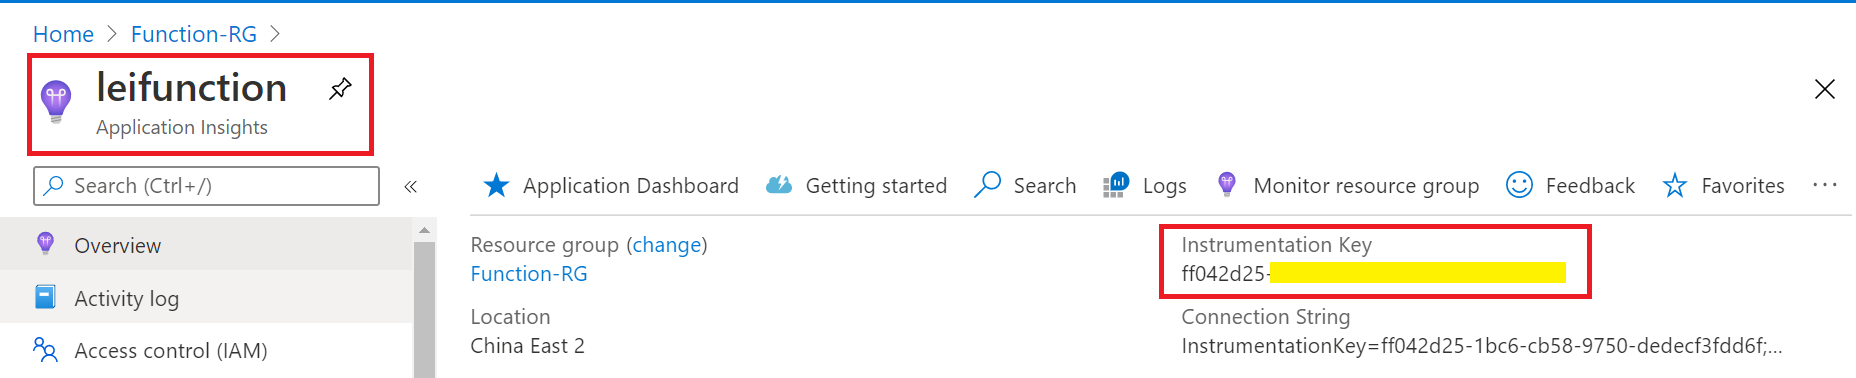
把上面的Instrumentation Key,粘贴到步骤11的配置项里。
13.在Visual Studio项目中,修改Function1.cs的代码:
using System;
using System.IO;
using System.Threading.Tasks;
using Microsoft.AspNetCore.Mvc;
using Microsoft.Azure.WebJobs;
using Microsoft.Azure.WebJobs.Extensions.Http;
using Microsoft.AspNetCore.Http;
using Microsoft.Extensions.Logging;
using Newtonsoft.Json;
using Microsoft.ApplicationInsights;
using Microsoft.ApplicationInsights.Extensibility;

namespace FunctionApp1
{

    public static class Function1
    {
        [FunctionName("Function1")]
        public static async Task<IActionResult> Run(
            [HttpTrigger(AuthorizationLevel.Function, "get", "post", Route = null)] HttpRequest req,
            ILogger log)
        {
            string name = req.Query["name"];

            //增加的代码
            var telemetry = new TelemetryClient();
            telemetry.TrackTrace("Request " + name);
            //代码结束

            string requestBody = await new StreamReader(req.Body).ReadToEndAsync();
            dynamic data = JsonConvert.DeserializeObject(requestBody);
            name = name ?? data?.name;

            string responseMessage = string.IsNullOrEmpty(name)
                ? "This HTTP triggered function executed successfully. Pass a name in the query string or in the request body for a personalized response."
                : $"Hello, {name}. This HTTP triggered function executed successfully.";

            //增加的代码
            telemetry.TrackTrace("Execute finished");
            //代码结束

            return new OkObjectResult(responseMessage);
        }
    }
}
读者注意上面的
//增加的代码部分 和 //代码结束 部分
主要是将服务器端的数据log进行输出,输出到Azure Application Insight
14.Azure Function代码修改完毕后,我们就可以从Azure云端,下载发布配置文件。
选择下载发布配置文件。如下图:

15.将上面的发布文件保存到本地,回到Visual Studio项目

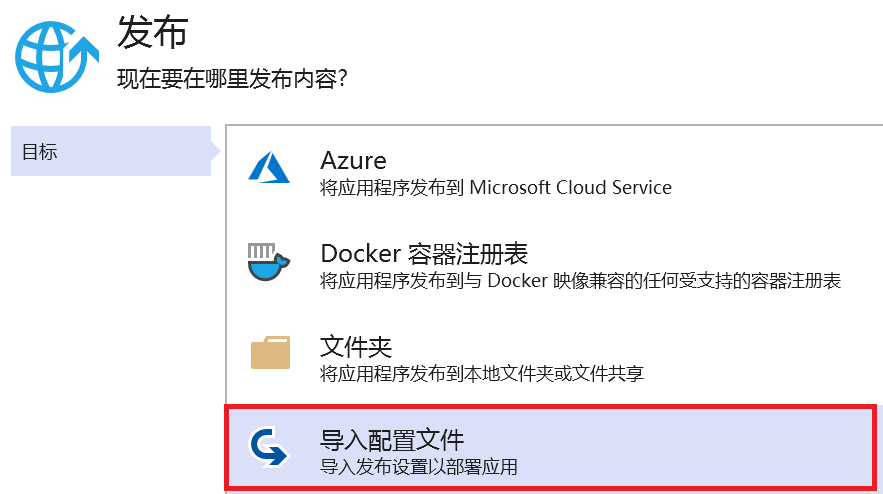
16.把我们在步骤14中的下载的文件,导入配置文件,然后重新在本地Visual Studio发布应用。
17.发布完毕后,我们可以访问Function进行调试。
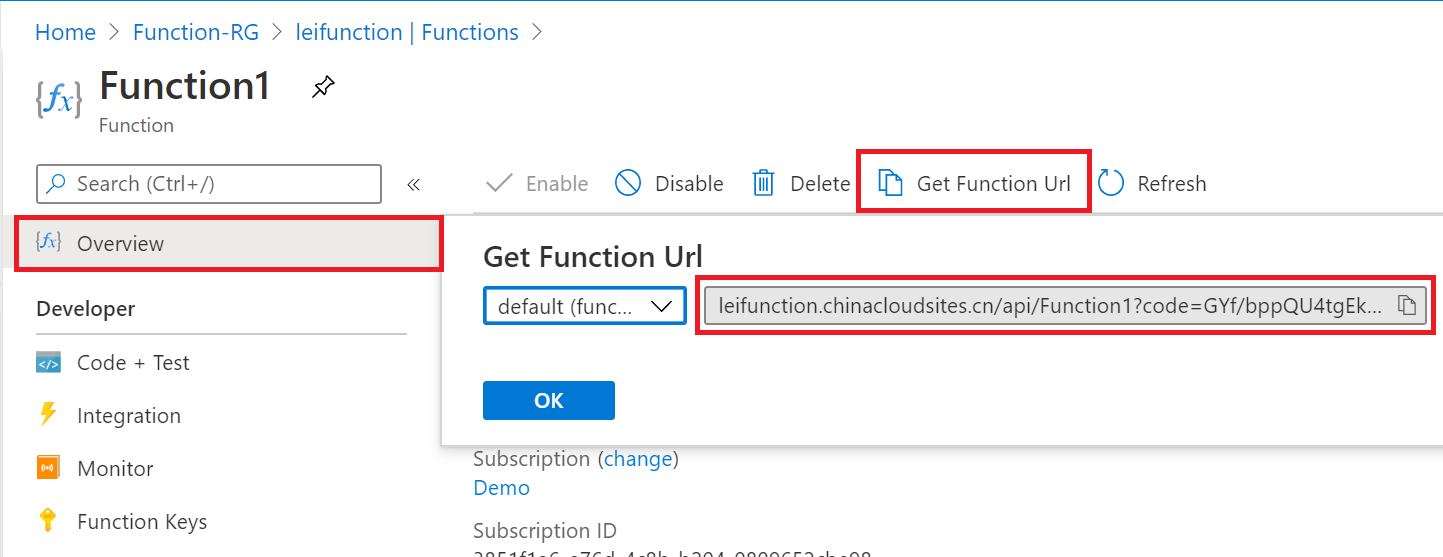
18.如下图,拿到Function的url
19.我们在浏览器里,多次请求上面的url。步骤略。
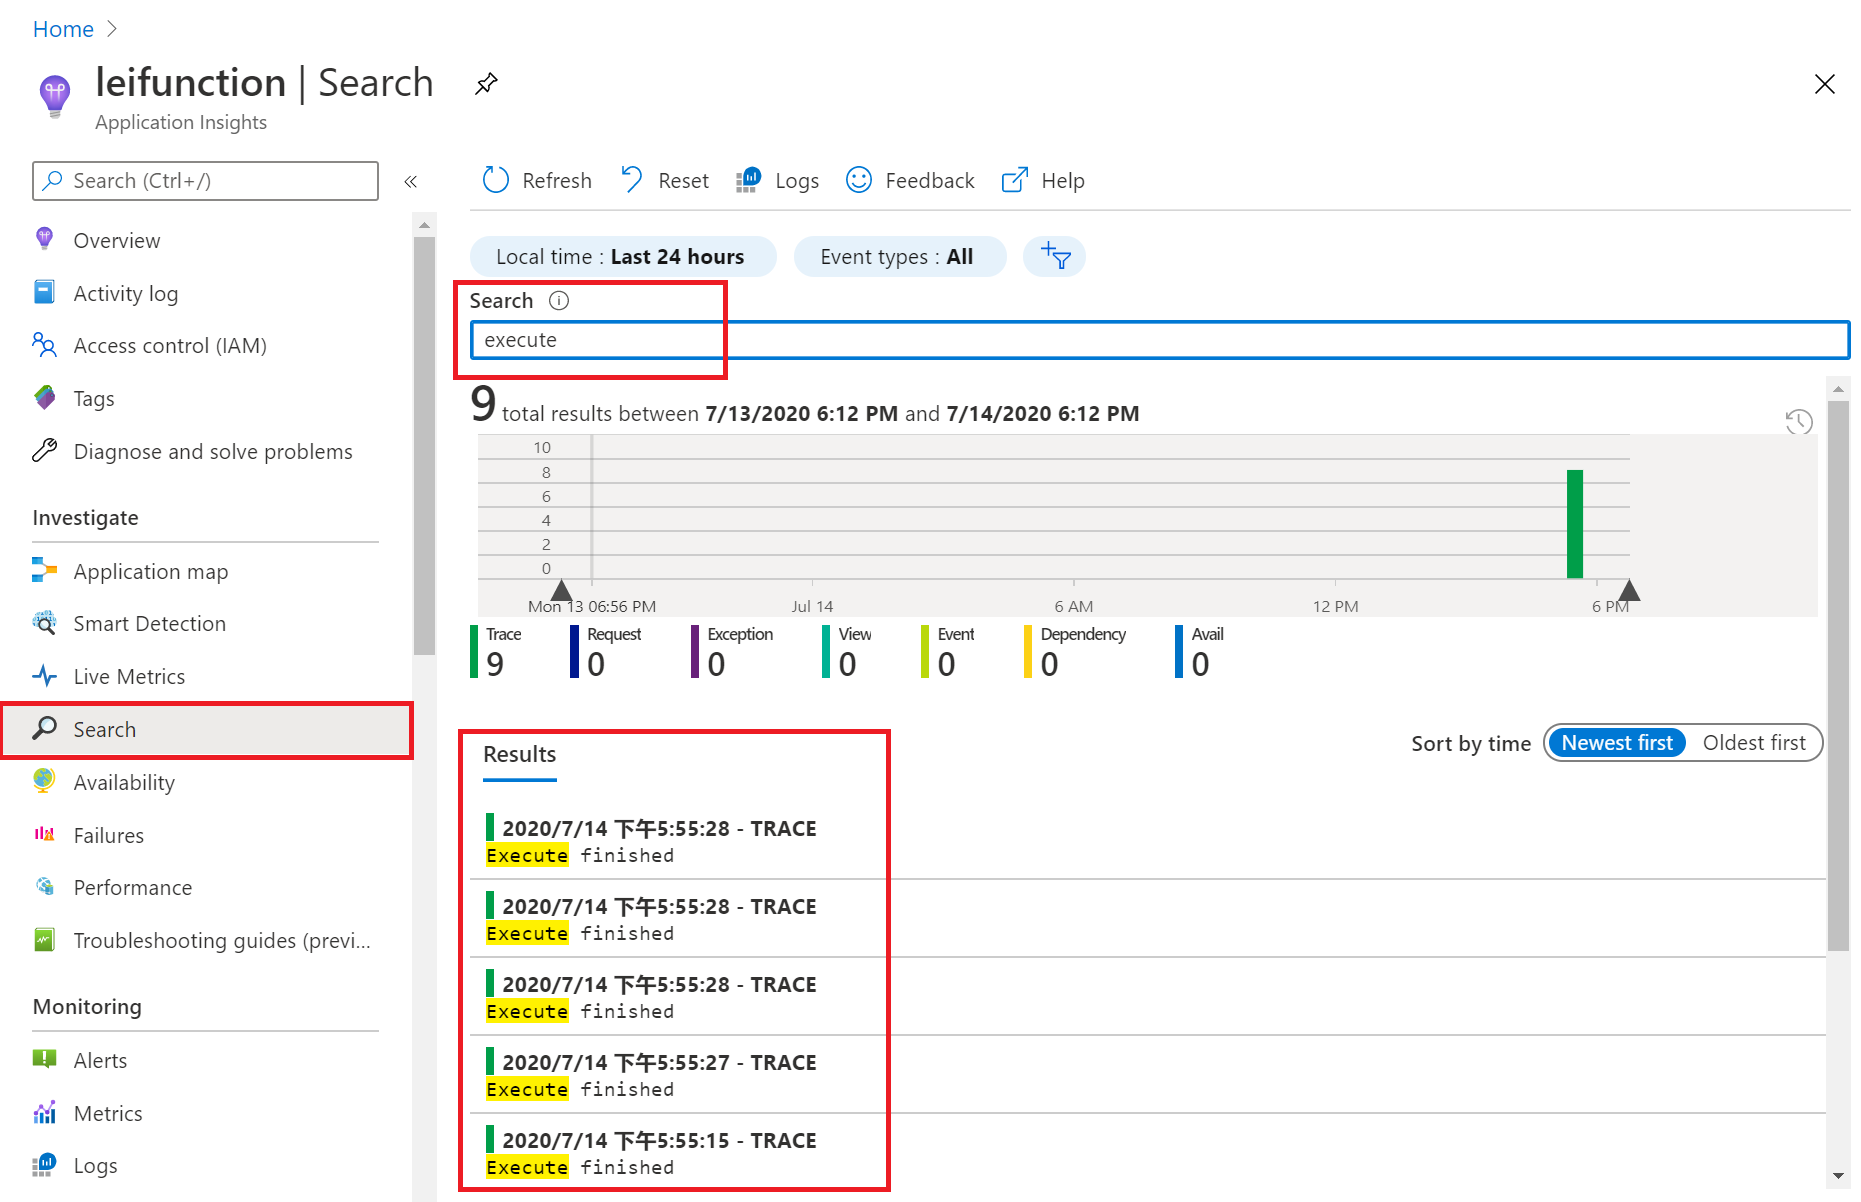
20.多次访问url之后,我们可以在Azure Application Insight的Search,查看到我们在步骤13中,增加的代码片段。

 浙公网安备 33010602011771号