
ubuntu20设置ssh远程连接
1.安装openssh-server
打开终端安装openssh-server软件包:
sudo apt update  # 更新包
sudo apt install openssh-server  # 安装openssh-server
2.查看ssh状态
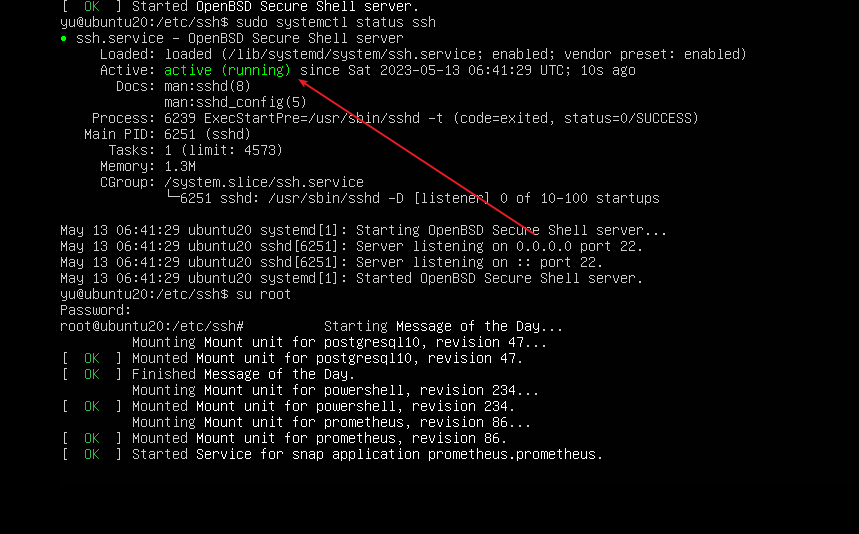
安装完成后,ssh服务默认启动了,可以通过下面的命令检查服务运行状态:
sudo systemctl status ssh
3.防火墙开启ssh端口
Ubuntu 默认使用 ufw 防火墙配置工具,如果启用了防火墙,需要让防火墙开启ssh端口:
sudo ufw allow ssh

4.配置允许root远程ssh登录访问
使用sudo权限,编辑ssh的配置文件。
sudo vim /etc/ssh/sshd_config

将#PermitRootLogin prohibit-password中prohibit-password去掉改为yes,并把PermitRootLogin yes之前的#去掉,即PermitRootLogin yes
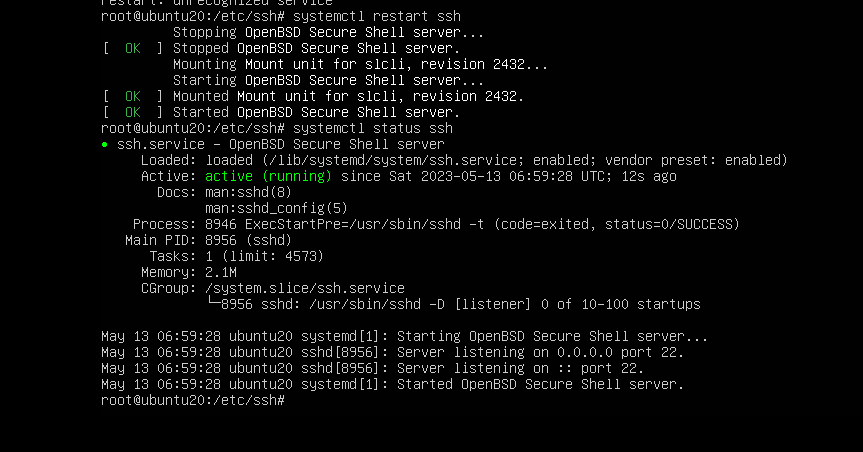
重启ssh服务
systemctl sshd restart
4.连接ssh服务
通过网络连接到 Ubuntu 计算机,请使用以下格式调用 ssh 命令,然后输入用户名和IP地址:
ssh root@192.168.79.131首次连接时会看到以下内容(192.168.79.131是需要被ssh远程访问的IP地址,是内网IP地址)
The authenticity of host '192.168.79.131 (192.168.79.131)' can't be established. ECDSA key fingerprint is SHA256:AqAuoVjwoRuoiFCZ6tdDmIZBvixrHZn4ykzHkB+wVb8. Are you sure you want to continue connecting (yes/no/[fingerprint])?
输入yes后按回车键,提示输入密码。
Warning: Permanently added '192.168.79.131' (ECDSA) to the list of known hosts. ubuntu20@192.168.79.131's password:
正确输入密码后,连接建立。
5.ssh服务的启用与禁用
sudo systemctl disable --now ssh  # 禁用服务
sudo systemctl enable --now ssh  # 启用服务
 浙公网安备 33010602011771号