Git安装与配置
Linux下安装git
包管理器方式安装
$yum install git
从源代码安装
$tar -jxvf git-2.19.0.tar.bz2
$cd git-2.19.0
安装方法在INSTALL文件当中,参照其中的指示完成安装。
下面的命令将Git安装在/usr/local/bin中
$make prefix=/usr/local all
$sudo make prefix=/usr/local install
Windows下安装git
一直下一步
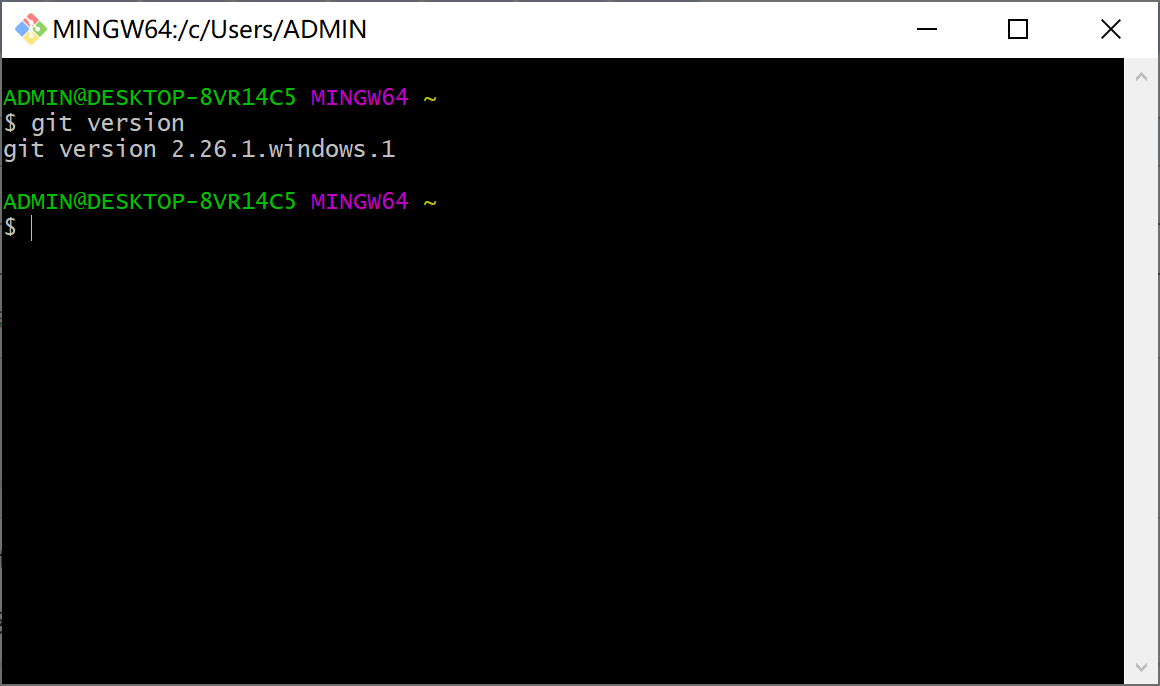
安装完成后,可执行git version查看安装的git版本信息

TortoiseGit提供了git和windows资源管理器的整合,提供了git的图形化操作界面。
TortoiseGit安装:一直下一步
Git基本配置
系统配置(对所有用户有效)
存放在git安装目录下:%Git%/etc/gitconfig;若使用git config时用--system选项,读写的就是这个文件:
git config --system core.autocrlf
用户配置(只适用于该用户)
存放在用户目录下。例如Linux存放在:~/.gitconfig;若使用git config时用--global选项,读写的就是这个文件:
git config --global user.name
仓库配置(只对当前项目生效 )
当前仓库的配置文件(也就是工作目录中的.git/config文件);若使用git config时用--local选项,读写的就是这个文件:
git config --local remote.origin.url
Git基本配置
配置个人身份,这个配置信息会在Git仓库中提交的修改信息中体现,但和Git服务器认证用的密码或者公钥密码无关
git config --global user.name "zhangxutong"
git config --global user.email zhangxutong@qq.com
文本换行符配置
windows使用回车和换行两个字符结束一行,Mac和Linux只使用换行一个字符,这会扰乱跨平台协作
在Windows系统上,把core.autocrlf设置为true,签出代码时,LF会被转换成CRLF,提交时,自动把行结束符CRLF转换成LF
git config --global core.autocrlf true
如果使用Windows系统开发仅运行在Windows上的项目,可设置为false,把回车符记录在库中
git config --global core.autocrlf false
Mac和Linux只使用LF作为换行符,因此你不想签出文件时自动转换。当一个以CRLF为行结束符的文件不小心被引入时肯定想进行进行修正,把core.autocrlf设置成input来告诉Git在提交时把CRLF换成成LF,签出时不转换
git config --global core.autocrlf input
文本编码配置
i18n.commitEncoding:用来让git commit log存储时,采用的编码,默认是utf-8
i18n.logOutputEncoding:查看git log时,显示采用的编码,建议设置为utf-8
#中文编码支持
git config --global gui.encoding utf-8
git config --global i18n.commitencoding utf-8
git config --global i18n.logoutputencoding utf-8
#显示路径中的中文
git config --global core.quotepath false
与服务器的认证配置(常见的两种配置1:http/https协议认证,2:ssh协议认证)
http/https协议认证
设置口令缓存
git config --global credential.helper store
添加https证书信任
git config http.sslverify false
ssh协议认证
ssh协议是一种非常常用的git仓库访问协议,使用公钥认证,无需输入密码,加密传输
生成公钥
git工具安装成功后运行Git Bash,运行如下命令。(比如邮箱是zhangxutong@qq.com)
ssh-keygen -t rsa -C zhangxutong@qq.com

添加公钥到代码平台
登录代码平台-进入“Profile Settings”-点击左侧栏的“SSH Keys”-点击“Add SSH Key”,将刚生成的公钥文件的内容复制到“Public Key”栏,保存即可。


