
5步做一个 TensorFlow 聊天机器人:DeepQA
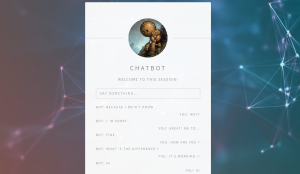
项目截图:
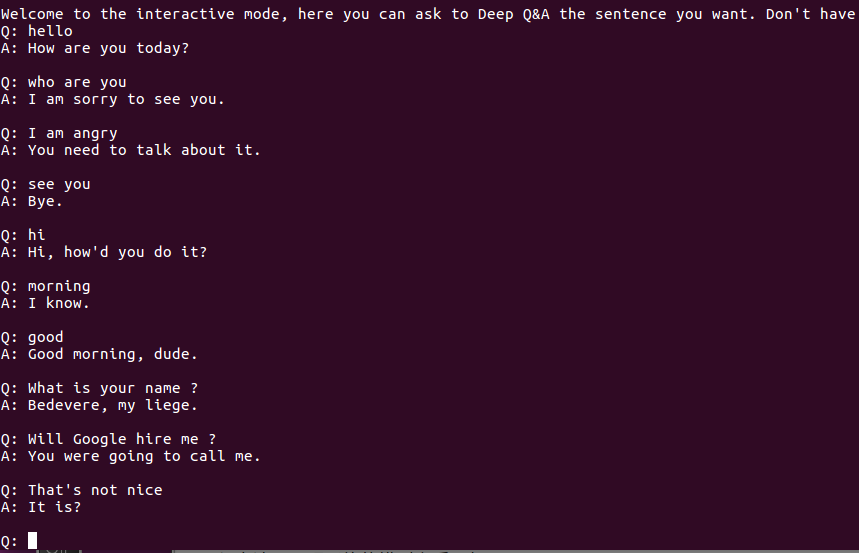
实测截图:
一步一步教程:
1.下载这个项目:
https://github.com/Conchylicultor/DeepQA
2.下载训练好的模型:
https://drive.google.com/file/d/0Bw-phsNSkq23OXRFTkNqN0JGUU0/view
(如果网址不能打开的话,今晚我会上传到百度网盘,分享到:http://www.tensorflownews.com/)
3.解压之后放在 项目 save 目录下
如图所示

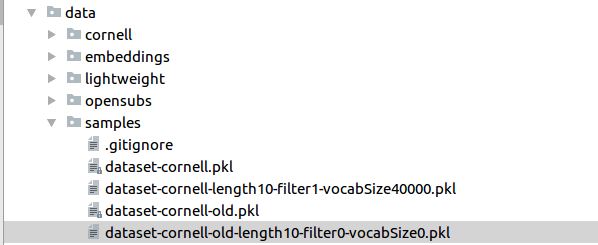
4.复制 save/model-pretrainedv2/dataset-cornell-old-lenght10-filter0-vocabSize0.pkl 这个文件到 data/samples/
如图所示:
5.在项目目录执行一下命令:
python3 main.py --modelTag pretrainedv2 --test interactive
程序读取了预训练的模型之后,如图:
聊天机器人资源合集
项目,语聊,论文,教程
https://github.com/fendouai/Awesome-Chatbot

 浙公网安备 33010602011771号