ubuntu+docker+tensorflow-serving2.2+tensorflow2.2
1.虚拟机安装ubuntu16.04
(1)下载ubuntu的镜像,下载地址为:http://mirrors.aliyun.com/ubuntu-releases/16.04/
推荐使用迅雷下载。
(2)安装ubuntu的时候,需要离线安装。
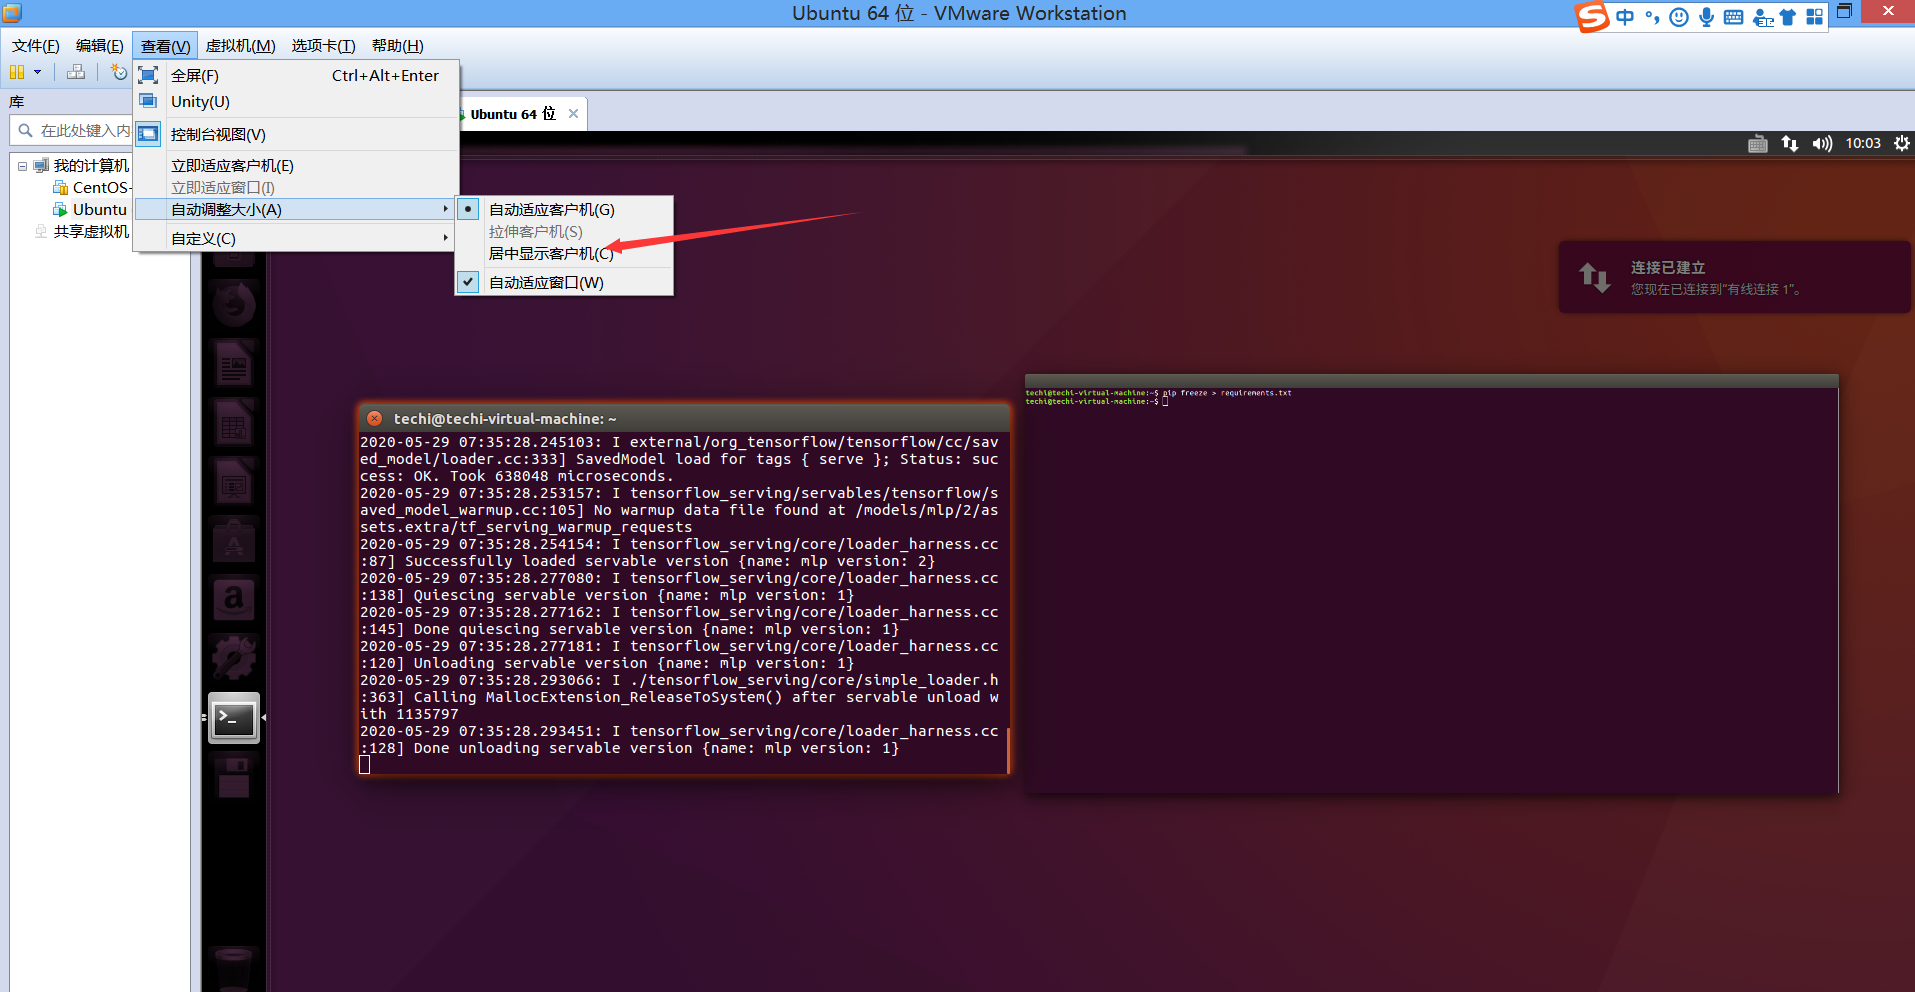
(3)如果遇到虚拟机屏幕无法自适应大小的问题,可以尝试安装vmware tool或者在编辑中将其改为自适应窗口。

2.安装anaconda、tensorflow2.2.0
(1)为apt安装清华源
sudo cp /etc/apt/sources.list /etc/apt/sources_init.list
sudo gedit /etc/apt/sources.list
然后,将list内容修改为清华大学镜像。
deb https://mirrors.tuna.tsinghua.edu.cn/ubuntu/ xenial main restricted universe multiverse
# deb-src https://mirrors.tuna.tsinghua.edu.cn/ubuntu/ xenial main restricted universe multiverse
deb https://mirrors.tuna.tsinghua.edu.cn/ubuntu/ xenial-updates main restricted universe multiverse
# deb-src https://mirrors.tuna.tsinghua.edu.cn/ubuntu/ xenial-updates main restricted universe multiverse
deb https://mirrors.tuna.tsinghua.edu.cn/ubuntu/ xenial-backports main restricted universe multiverse
# deb-src https://mirrors.tuna.tsinghua.edu.cn/ubuntu/ xenial-backports main restricted universe multiverse
deb https://mirrors.tuna.tsinghua.edu.cn/ubuntu/ xenial-security main restricted universe multiverse
# deb-src https://mirrors.tuna.tsinghua.edu.cn/ubuntu/ xenial-security main restricted universe multiverse

# 预发布软件源,不建议启用
# deb https://mirrors.tuna.tsinghua.edu.cn/ubuntu/ xenial-proposed main restricted universe multiverse
# deb-src https://mirrors.tuna.tsinghua.edu.cn/ubuntu/ xenial-proposed main restricted universe multiverse
(2)使用anaconda的sh脚本进行安装
镜像地址:https://mirrors.tuna.tsinghua.edu.cn/anaconda/archive/
bash Anaconda3-4.2.0-Linux-x86_64.sh
(3)安装tensorflow2.2
- pip install tensorflow==2.2.0 -i https://pypi.tuna.tsinghua.edu.cn/simple 使用pip安装可能会超时
- 直接使用whl文件进行安装 pip install tensorflow-2.2.0-cp37-cp37m-manylinux2010_x86_64.whl
3.安装docker
(1)sudo apt install apt-transport-https ca-certificates curl software-properties-common
(2)在/etc/apt/sources.list.d/docker.list文件中添加下面内容:deb [arch=amd64] https://download.docker.com/linux/ubuntu bionic stable
(3)curl -fsSL https://download.docker.com/linux/ubuntu/gpg | sudo apt-key add -
(4)sudo apt install docker-ce
(5)查看服务是否启动:systemctl status docker
(6)启动服务:sudo systemctl start docker
(7)测试hello world:docker run hello-world
4.docker中安装tensorflow-serving
(1)在etc/docker中建立daemon.json文件,并且添加阿里云镜像:
{
"registry-mirrors": ["https://9cpn8tt6.mirror.aliyuncs.com"]
}
(2)systemctl daemon-reload
systemctl restart docker
(3)docker pull tensorflow/serving:latest-devel
(4)查看镜像:sudo docker images
5.安装tensorflow-serving-api
pip install tensorflow-serving-api==2.2.0 -i https://pypi.tuna.tsinghua.edu.cn/simple
6.使用tensorflow serving进行模型部署
tensorflow serving 可以提供grpc和rest api两种远程连接的方式,可以进行模型的热部署和更新,非常方便。
7.安装grpc
sudo apt-get update && sudo apt-get install -y \
        build-essential \
        curl \
        libcurl3-dev \
        git \
        libfreetype6-dev \
        libpng12-dev \
        libzmq3-dev \
        pkg-config \
        python-dev \
        python-numpy \
        python-pip \
        software-properties-common \
        swig \
        zip \
        zlib1g-dev
pip install grpcio
7.ubuntu安装openssh-server
sudo apt-get install openssh-server
8.使用tensorflow-serving进行模型部署
tensorflow-serving进行模型部署,可以提供两种API进行远程调用,一种是grpc,一种是rest。并且,支持多个模型部署、模型版本动态更新、别名部署。
tensorflow-serving同时支持热部署。


 浙公网安备 33010602011771号