Nginx实现Rewrite地址重写
目录
rewrite介绍
# 什么叫做rewite重写
Rewrite主要实现url地址重写,以及重定向,就是把传入web的请求重定向到其他url的过程。将浏览器,发送到服务器的请求(url),根据规则重写,返回给用户
到底要干什么:就是修改url

# 为什么要修改url:
· 为了安全,为了提高用户的体验

# rewrite使用场景
1、地址跳转,用户访问www.drz.com这个URL是,将其定向至一个新的域名mobile.drz.com
2、协议跳转,用户通过http协议请求网站时,将其重新跳转至https协议方式
3、伪静态,将动态页面显示为静态页面方式的一种技术,便于搜索引擎的录入,同时建上动态URL地址对外暴露过多的参数,提升更高的安全性。
4、搜索引擎,SEO优化依赖于url路径,好记的url便于智齿搜索引擎录入

# rewrite配置示例:
句法:Syntax:  rewrite regex replacement [flag]
· rewrite:为关键字
· regex:正则表达式
· URL:需要替代内容
· [flag]:标记位
默认:Default: --
语境:Context: server,location,if

#用于切换维护页面场景
rewrite ^(.*)$ /page/maintain.html break;

# Nginx Rewrite的location正则表达式
参考:https://blog.51cto.com/renzhiyuan/1898091

# 注意:
ruturn也可以作为地址重写使用,但仅限于301和302的永久重定向和临时重定向
· 例:(将匹配信息临时重定向到新的URL)
   return 302 https://blog.driverzeng.com;
Rerite标记Flag
rewrite指令根据表达式来重定向URL,或者修改字符串,可以应用于server,location,if环境下,每行rewrite指令最后跟一个flag标记,支持的flag标记有如下表格所示:- rewrite ^(.*)$ /page/maintain.html break;(语法格式参考)
| flag | 作用 |
|---|---|
| last | 本条规则匹配完成后,停止匹配,不再匹配后面的规则,但会改变URL路径重新匹配 |
| break | 本条规则匹配完成后,停止匹配,不再匹配后面的规则 |
| redirect | 返回302临时重定向,地址栏会显示跳转后的地址。等于 return 302 |
| permanent | 返回301永久重定向,地址栏会显示跳转后的地址,但优先有浏览器缓存。等于 return 301 |
- break请求与last区别(不常用)
break 只要匹配到规则,则会去本地配置路径的目录中寻找请求的文件;
而last只要匹配到规则,会对其所在的server(...)标签重新发起请求。
# · break与last示例:
[root@web01 conf.d]# cat rewrite.conf
server {
        listen 80;
        server_name rewrite.drz.com;
        root /code;

        location ~ ^/break {
                rewrite ^/break /test/ break;
        }
        location ~ ^/last {
                rewrite ^/last /test/ last;
        }
        location /test/ {
                default_type application/json;
                return 200 "ok";
        }
}
# · break与last总结:(如上示例总结)
break请求:(一般使用在location中)
1、请求rewrite.drz.com/break
2、首先:会去查找本地的/code/test/index.html;
3、如果找到了,则返回/code/test/index.html的内容;
4、如果没找到该目录则报错404,如果找到该目录没找到对应的文件则403

# last请求:(位于server和if中)
1、请求rewrite.drz.com/last
2、首先:会去查找本地的/code/test/index.html;
3、如果找到了,则返回/code/test/index.html的内容;
4、如果没找到,会对当前server重新的发起一次请求,rewrite.drz.com/test/
5、如果有location匹配上,则直接返回该location的内容。
4、如果也没有location匹配,再返回404;

· 所以,在访问/break和/last请求时,虽然对应的请求目录/test都是不存在的,理论上都应该返回404,但是实际上请求/last的时候,是会有后面location所匹配到的结果返回的,原因在于此。
- redirect与permanent区别(常用为redirect)
# · redirect与permanent示例:
[root@web01 conf.d]# cat rewrite.conf
server {
        listen 80;
        server_name rewrite.drz.com;
        root /code;

        location /test {
                rewrite ^(.*)$  https://blog.driverzeng.com redirect;		# redirect示例
                #rewrite ^(.*)$  https://blog.driverzeng.com permanent;		# permanent示例
                #return 301 https://blog.driverzeng.com;			# 忽略,但也可用return方式
                #return 302 https://blog.driverzeng.com;
        }
}

# · redirect与permanent总结(如上示例可得)
redirect: 每次请求都会询问服务器,如果当服务器不可用时,则会跳转失败。
permanent: 第一次请求会询问,浏览器会记录跳转的地址,第二次则不再询问服务器,直接通过浏览器缓存的地址跳转。
Rewrite规则实践(大部分需开发实现功能)
案例一:
- 用户访问
/abc/1.html实际上真实访问的是/ccc/bbb/2.html
#http://www.drz.com/abc/1.html  ==>  http://www.drz.com/ccc/bbb/2.html

#1.准备真实访问路径
[root@web03 ~]# mkdir /code/ccc/bbb -p
[root@web03 ~]# echo "ccc_bbb_2" > /code/ccc/bbb/2.html

#2.Nginx跳转配置
[root@web03 ~]# cd /etc/nginx/conf.d/
[root@web03 conf.d]# cat ccbb.conf
server {
        listen 80;

        location / {
                root /code;
                index index.html;
        }
        location /abc {
                rewrite (.*) /ccc/bbb/2.html redirect;
                #return 302 /ccc/bbb/2.html;
        }
}

#3.重启Nginx服务
[root@web03 conf.d]# nginx -t
nginx: the configuration file /etc/nginx/nginx.conf syntax is ok
nginx: configuration file /etc/nginx/nginx.conf test is successful
[root@web03 conf.d]# nginx -s reload
案例二:
- 用户访问
/2018/ccc/2.html实际上真实访问的是/2014/ccc/bbb/2.html
##http://www.drz.com/2018/ccc/2.html  ==>  http://www.drz.com/2014/ccc/bbb/2.html

#1.准备真是的访问路径
[root@web03 conf.c]# mkdir /code/2014/ccc/bbb -p
[root@web03 conf.c]# echo "2014_ccc_bbb_2" > /code/2014/ccc/bbb/2.html

#2.Nginx跳转配置
[root@web03 conf.d]# cat ccbb.conf
server {
        listen 80;

        location / {
                root /code;
                index index.html;
        }
        location /2018 {
                rewrite ^/2018/(.*)$ /2014/$1 redirect;
        }
}

#3.重启nginx服务
[root@web03 conf.d]# nginx -t
nginx: the configuration file /etc/nginx/nginx.conf syntax is ok
nginx: configuration file /etc/nginx/nginx.conf test is successful
[root@web03 conf.d]# nginx -s reload
案例三:
- 用户访问/test实际上真实访问的是https://blog.driverzeng.com
#1.Nginx跳转配置
[root@web03 conf.d]# cat test.conf
server {
        listen 80;

        location /test {
                rewrite (.*) https://blog.driverzeng.com redirect;
        }
}

#2.重启nginx服务
[root@web03 conf.d]# nginx -s reload
案例四:
- 用户访问
couese-11-22-33.html实际上真实访问的是/course/11/22/33/course_33.html
#http://www.drz.com/couese-11-22-33.html  ==>  http://www.drz.com/course/11/22/33/course_33.html

#1.准备真是的访问路径
[root@web03 ~]# mkdir /code/course/11/22/33 -p
[root@web03 ~]# echo "curl docs.etiantian.org" > /code/course/11/22/33/course_33.html

#2.Nginx跳转配置
[root@web03 conf.d]# cat test.conf
server {
        listen 80;
        root /code;
        index index.html;
        location / {
                #灵活配法
                rewrite ^/course-(.*)-(.*)-(.*).html$ /course/$1/$2/$3/course_$3.html redirect;
                #固定配法
                #rewrite ^/course-(.*) /course/11/22/33/course_33.html redirect;
        }
}

#3.重启nginx服务
[root@web03 conf.d]# nginx -s reload
案例五
- 将
http请求跳转到https
server {
        listen 80;
        server_name www.dirverzeng.com;
        rewrite ^(.*) https://$server_name$1 redirect;
        #return 302 https://$server_name$request_uri;
}

server {
        listen 443;
        server_name blog.driverzeng.com;
        ssl on;
}
如何开启rewrite日志
# 在写rewrite规则之前,我们需要开启rewrite日志对规则的匹配进行调试。
[root@web01 code]# vim /etc/nginx/nginx.conf
/var/log/nginx/error.log notice;

http{
    rewrite_log on;
}
Rewrite规则补充
- Rewrite匹配优先级
1.先执行server块的rewrite指令
2.其次执行location匹配规则
3.最后执行location中的rewrite
- Rewrite与Nginx全局变量
Rewrite在匹配过程中,会用到一些Nginx全局变量
# $server_name    		当前用户请求的域名

server {
        listen 80;
        server_name test.drz.com;
        rewrite ^(.*)$ https://$server_name$1;
}

# $request_filename 请求的文件路径名(带网站的主目录/code/images/test.jpg)
# $request_uri 当前请求的文件路径(不带网站的主目录/inages/test.jpg)

大多数用于http协议转https协议
server {
        listen 80;
        server_name php.drz.com;
        return 302 https://$server_name$request_uri;
}

# $scheme 用的协议,比如http或者https
- 如何更加规范书写rewrite规则
server {
        listen 80;
        server_name www.drz.com drz.com;
        if ($http_host = drz.com){
            rewrite (.*) http://www.drz.com$1;
        }
}

#推荐书写格式
server {
        listen 80;
        server_name drz.com;
        rewrite ^ http://www.drz.com$request_uri;
}
server {
        listen 80;
        server_name www.drz.com;
}
实战演示
Rewrite实现页面跳转:
要求:
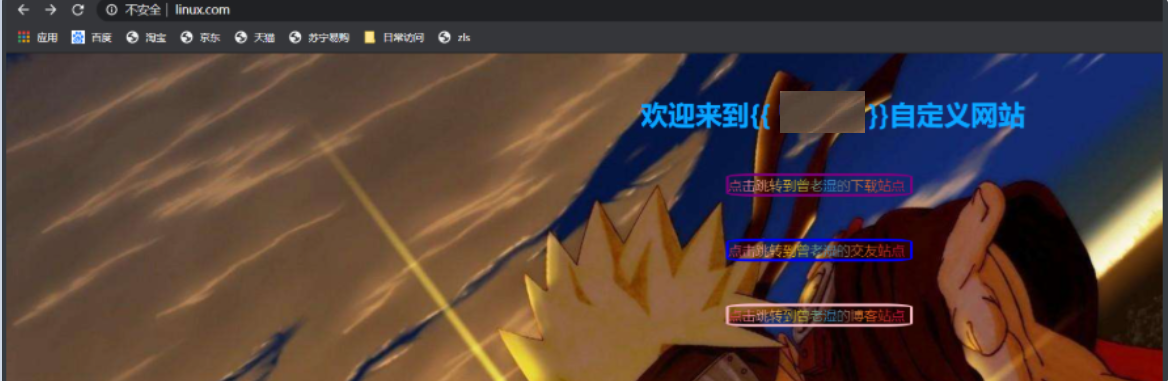
背景:现在我有一个网站,www.linux.com
www.linux.com访**问主页面**
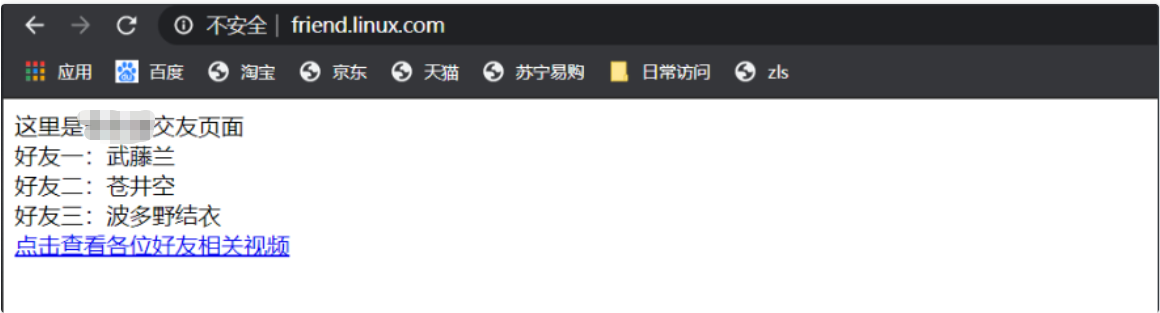
friend.linux.com访**问交友页面**
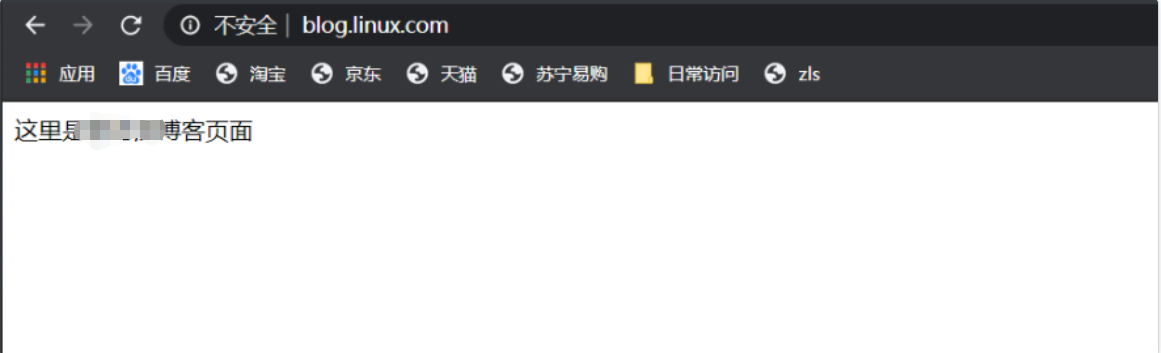
blog.linux.com访问博客页面
download.linux.com访问博客页面
在nginx上部署三套代码
使用rewrite和return两种方式完成以下需求
1、通过www.linux.com/download访**问到下载页面**
2、通过www.linux.com/friends访问到**交友页面**
3、通过www.linux.com/blog访问到博客页面
环境准备
| 主机名 | 外网ip | 内网ip | 角色 |
|---|---|---|---|
| web01 | 10.0.0.7 | 172.16.1.7 | web服务器 |
操作流程
nginx安装及配置
# 1.nginx安装
[root@web01 ~]# yum install -y nginx

# 2.书写配置文件
[root@web01 ~]# !vim
vim /etc/nginx/conf.d/all.conf +18

server {
        listen 80;
        server_name www.linux.com;
        charset utf-8,gbk;

        location / {
        root /code/page;
        index index.html;
        }

        location /download {
                rewrite (.*) http://download.linux.com redirect;
        }

        location /friends {
                rewrite (.*) http://friend.linux.com redirect;
        }
        location /blog {
                rewrite (.*) http://blog.linux.com redirect;

       # 另外有一种简单方式,可替代如上三种,需使用正则:
           location ~ /(download|blog|friends) {				 # 直接匹配三种
           rewrite ^/(.*)$ http://$1.linux.com redirect;	                 # 正则匹配根后面用户输入内容,$1表示引用(.*)
       # 或者使用下面方式,302临时跳转,变量为用户输入uri信息
                return 302 http://$request_uri.linux.com;                        # ruturn和rewrite方式取其一即可
        }
}

server {
        listen 80;
        server_name download.linux.com;
        root /code/download;
        index down.html;
}

server {
        listen 80;
        server_name friend.linux.com;
        root /code/friend;
        index friend.html;
}
server {
        listen 80;
        server_name blog.linux.com;
        root /code/blog;
        index blog.html;
}

# 3.根据配置文件创建对应目录
[root@web01 /]# mkdir /code/{blog,download,friend,page}

# 4.将压缩包上传到对应目录(.html结尾必须为站点目录下)
[root@web01 /]# ll /code/page/
total 204
-rw-r--r-- 1 root root 95014 Jun  2 14:59 1.b8bb4e9b.jpeg
drwxr-xr-x 2 root root     6 Jun  2 23:57 dist
-rw-r--r-- 1 root root   735 Jun  2 14:59 index.html
-rw-r--r-- 1 root root  1584 Jun  2 14:59 style.7dd7c9fb.css
-rw-r--r-- 1 root root  2341 Jun  2 14:59 style.7dd7c9fb.css.map

[root@web01 /]# ll /code/friend/
total 108
drwxr-xr-x 2 root root     6 Jun  3 00:18 friend
-rw-r--r-- 1 root root  1093 Jun  2 15:05 friend.html

[root@web01 /]# ll /code/blog/
total 8
drwxr-xr-x 2 root root   6 Jun  3 00:19 blog
-rw-r--r-- 1 root root 250 Jun  2 15:08 blog.html

[root@web01 /]# ll /code/download/
total 8
-rw-r--r-- 1 root root 255 Jun  2 15:01 down.html

# 4.重启服务
[root@web01 /]# nginx -t
nginx: the configuration file /etc/nginx/nginx.conf syntax is ok
nginx: configuration file /etc/nginx/nginx.conf test is successful
[root@web01 /]# systemctl start nginx

# 5.windows配置域名(需要一对多)
10.0.0.7 www.linux.com	download.linux.com blog.linux.com friend.linux.com
- 页面测试www.linux.com

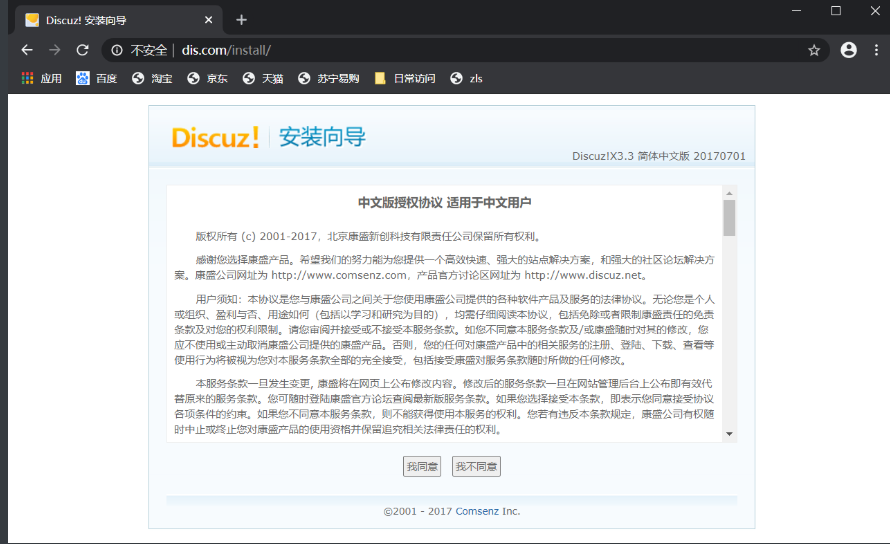
Rewrite实现伪静态
要求
搭建discuz,从页面中复制rewrite,插入到配置文件,实现伪静态
环境准备
| 主机名 | 外网ip | 内网ip | 角色 |
|---|---|---|---|
| web01 | 10.0.0.7 | 172.16.1.7 | web服务器、php服务器 |
| db01 | 10.0.0.51 | 172.16.1.51 | 数据库服务器 |
操作流程
1.web服务器安装及配置
# 1.安装nginx
[root@web01 ~]# yum install -y nginx
# 2.安装php
[root@web01 /tmp]# yum localinstall -y php*
# 3.将php用户统一为nginx用户
[root@web01 ~]# vim /etc/php-fpm.d/www.conf
user = nginx
group = nginx
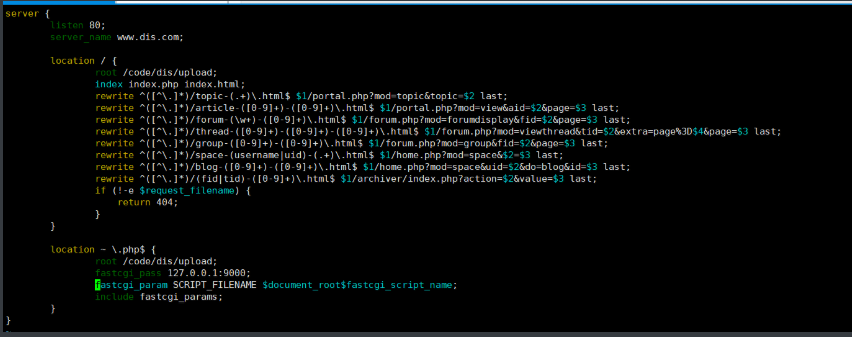
# 4.书写配置文件
[root@web01 ~]# vim /etc/nginx/conf.d/www.dis.conf
server {
listen 80;
server_name www.dis.com;
root /code/dis/upload;
index index.php index.html;
location ~ \.php$ {
fastcgi_pass 127.0.0.1:9000;
fastcgi_index index.php;
fastcgi_param SCRIPT_FILENAME $document_root$fastcgi_script_name;
include /etc/nginx/fastcgi_params;
}
}
# 5.根据配置文件创建对应目录,并将代码上传至站点目录中,并对站点目录授权
[root@web01 ~]# mkdir /code/dis
[root@web01 ~]# wget http://test.driverzeng.com/Nginx_Code/Discuz_X3.3_SC_GBK.zip
[root@web01 dis]# ll
total 10584
-rw-r--r-- 1 root root 10829853 Aug 23 2019 Discuz_X3.3_SC_GBK.zip
drwxr-xr-x 2 root root 102 Jul 27 2017 readme
drwxr-xr-x 12 root root 4096 Jul 27 2017 upload
drwxr-xr-x 4 root root 72 Jul 27 2017 utility
[root@web01 dis]# chown -R nginx.nginx /code
# 6.启动服务
[root@web01 dis]# systemctl restart nginx
[root@web01 dis]# systemctl restart php-fpm
# 7.域名解析,浏览器访问
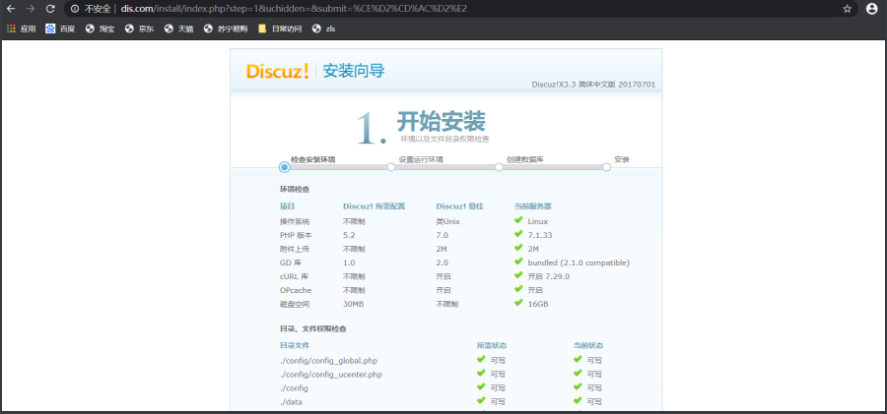
2.数据库创建
# 1.安装数据库
[root@db01 ~]# yum install -y mariadb-server
# 2.启动数据库并连接
[root@db01 ~]# systemctl start mariadb
[root@db01 ~]# mysql -uroot -p123
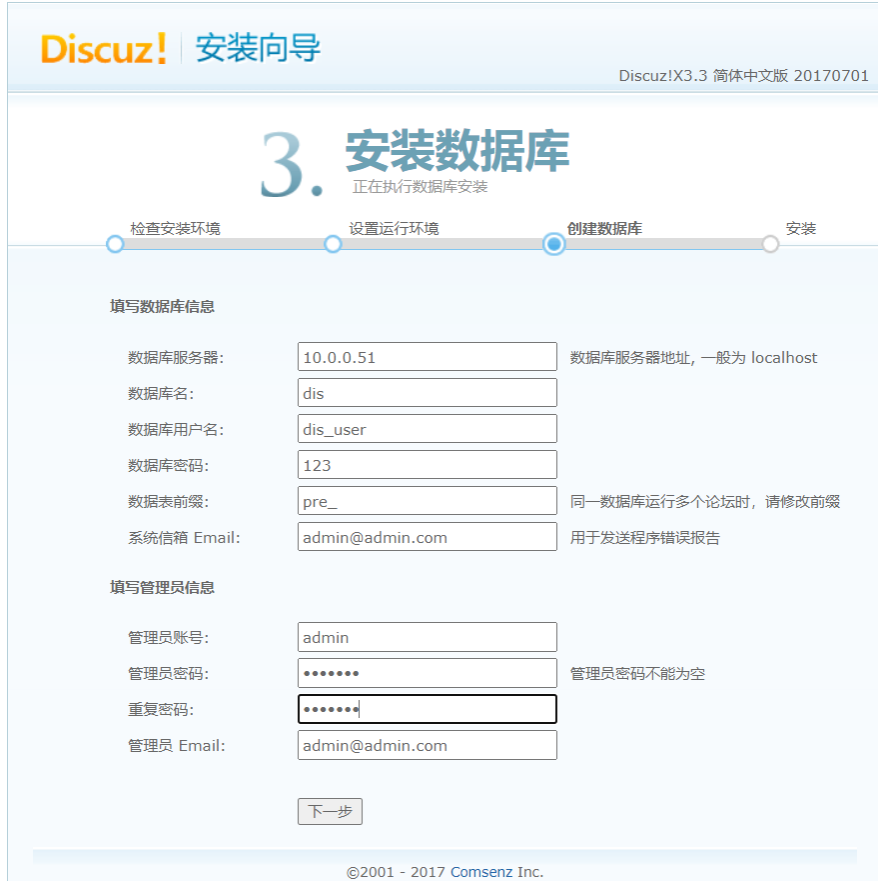
# 3.创建连接数据库用户及数据库
MariaDB [(none)]> create database dis;
Query OK, 1 row affected (0.00 sec)
MariaDB [(none)]> grant all on *.* to dis_user@'%' identified by '123';
Query OK, 0 rows affected (0.00 sec)
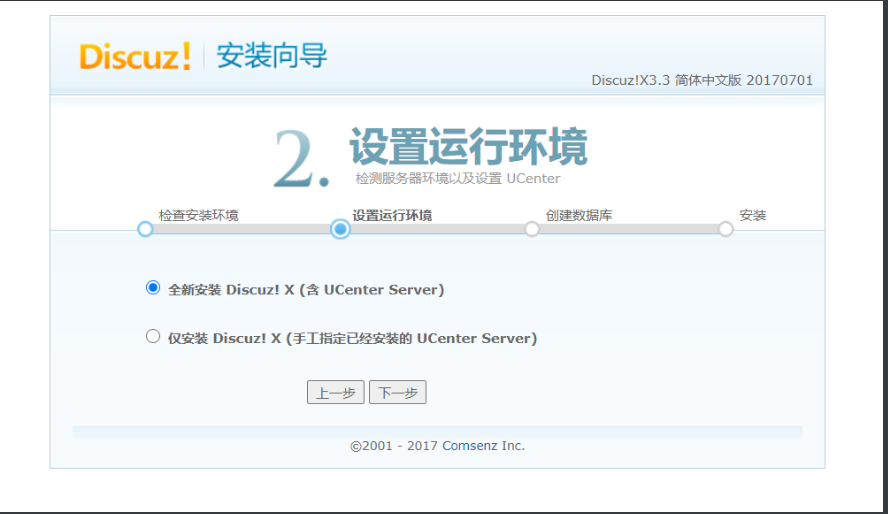
# 4.继续页面配置
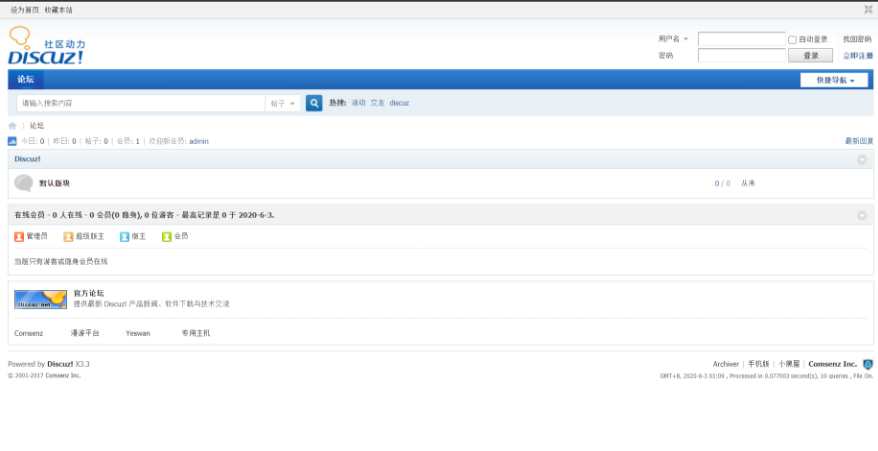
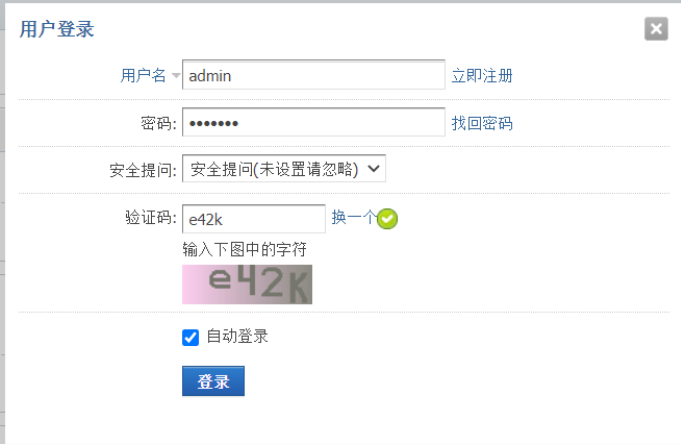
-
登录页面
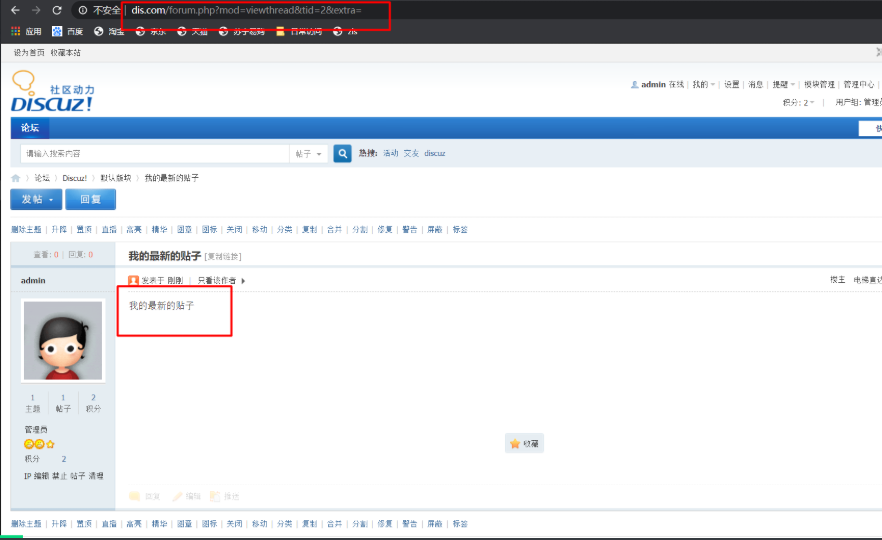
-
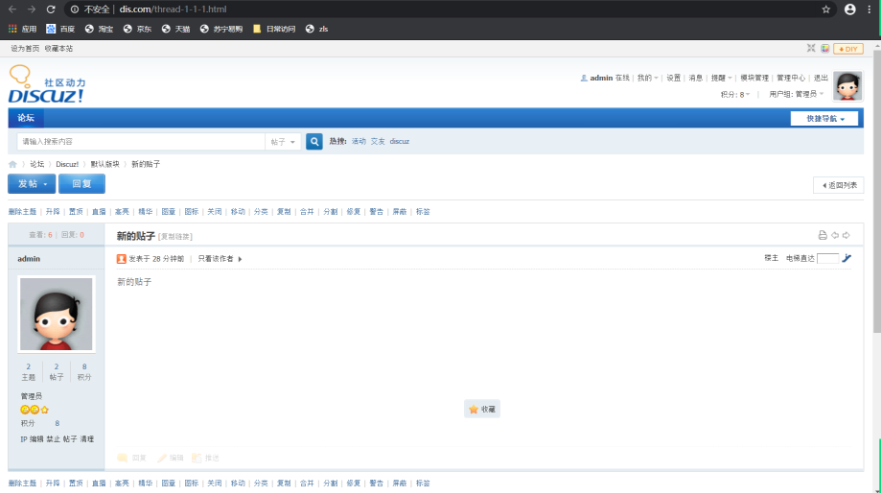
发帖查看URL为动态请求
- 不需要点击提交,直接查看rewrite规则
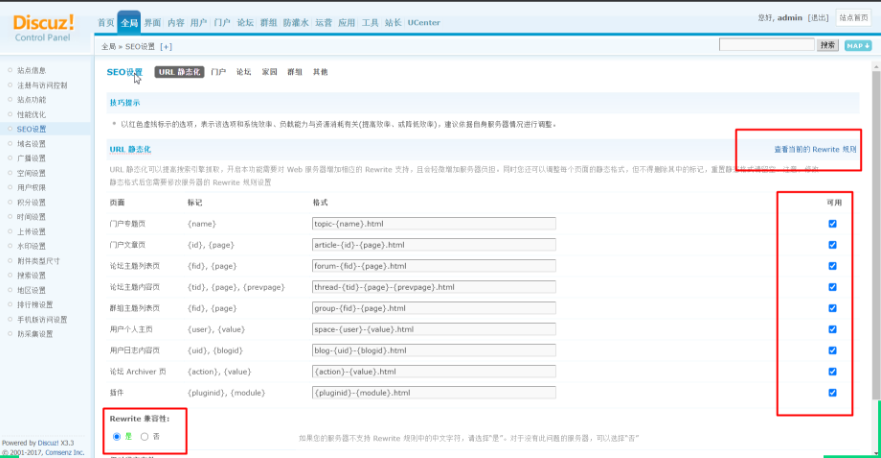
- 复制rewrite
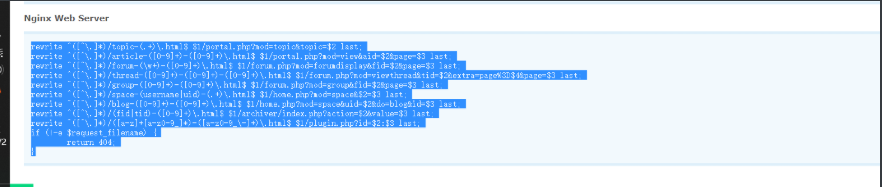
- 将复制信息插入到配置文件中
- 检测配置文件并重启

- 结果
附:-手机电脑访问页面自动跳转
要求
根据不同客户端用户识别,将安卓用户请求发送到一个页面,iphone用户请求发送到一个页面,将pc端用户发送到一个页面。实现将客户端请求分类处理。
环境准备
| 主机名 | 主机角色 | 外网IP | 内网IP | 提供端口 |
|---|---|---|---|---|
| lb01 | 负载均衡 | 10.0.0.5 | 172.16.1.5 | 80 |
| web01 | 提供Android页面 | 172.16.1.7 | 9090 | |
| web01 | 提供Iphone页面 | 172.16.1.7 | 9091 | |
| web01 | 提供pc页面 | 172.16.1.7 | 9092 |
操作流程
1.网页搭建
# 1.nginx安装
[root@web01 ~]# yum install -y nginx

# 2.添加配置文件
[root@web01 ~]# vim /etc/nginx/conf.d/all_web.conf

server {
        listen 9090;
        root /code/android;
        index index.html;
}

server {
        listen 9091;
        root /code/ios;
        index index.html;
}

server {
        listen 9092;
        root /code/pc;
        index index.html;
}

# 3.根据配置文件创建对应目录及页面
[root@web01 ~]# mkdir /code/{android,ios,pc} -p
[root@web01 ~]# echo android > /code/android/index.html
[root@web01 ~]# echo ios > /code/ios/index.html
[root@web01 ~]# echo pc > /code/pc/index.html

# 4.服务启动
[root@web01 ~]# systemctl start nginx
2.代理服务器配置
# 1.服务安装
[root@web01 ~]# systemctl start nginx
# 2.代理配置
upstream android {
server 172.16.1.7:9090;
}
upstream ios {
server 172.16.1.7:9091;
}
upstream pc {
server 172.16.1.7:9092;
}
server {
listen 80;
server_name www.tcy.com;
location / {
#如果客户端来源是Android则跳转到Android的资源;
if ($http_user_agent ~* "Android") {
proxy_pass http://android;
}
#如果客户端来源是Iphone则跳转到Iphone的资源;
if ($http_user_agent ~* "Iphone") {
proxy_pass http://ios;
}
#如果客户端是IE浏览器则返回403错误;
if ($http_user_agent ~* "MSIE") {
return 403;
}
#默认跳转pc资源;
proxy_pass http://pc;
}
}
# 3.检测语法并启动服务
[root@lb01 ~]# nginx -t
nginx: the configuration file /etc/nginx/nginx.conf syntax is ok
nginx: configuration file /etc/nginx/nginx.conf test is successful
[root@lb01 ~]# systemctl start nginx
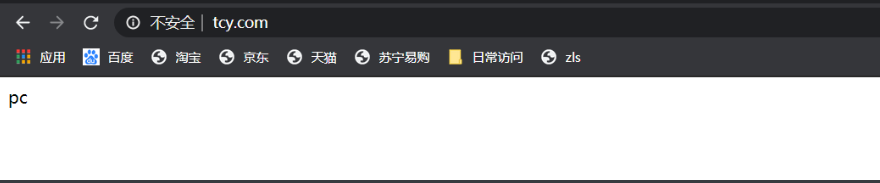
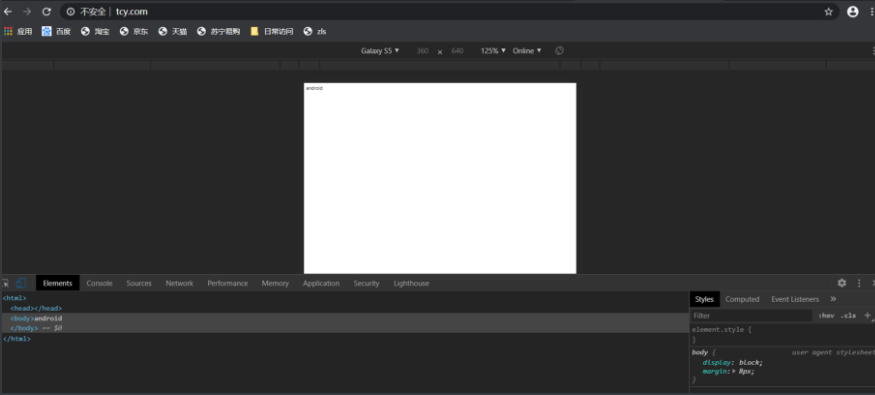
# 4.网页测试(前提域名解析好)
http://www.tcy.com/
-
默认访问(图一)
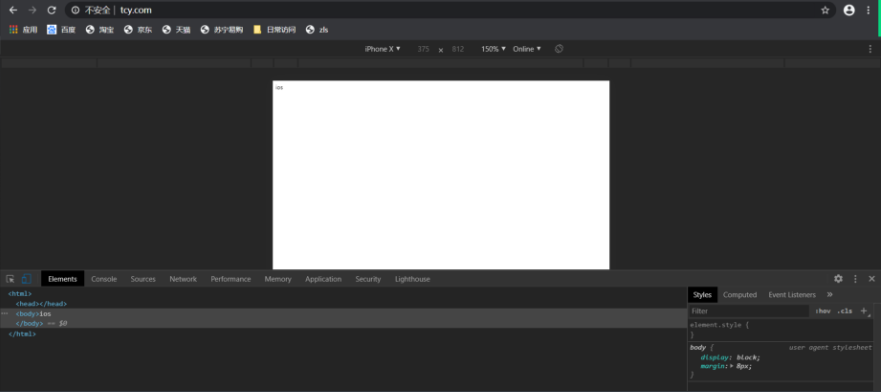
-
模拟iphone访问,页面跳转至ios页面
- 模拟安卓用户访问

 浙公网安备 33010602011771号