Spring——IDEA使用Spring创建第一个hello world程序
在试了好久之后,终于还是将IntelliJ idea的版本从2020社区版换成2020.2.3旗舰版,最后换成2018旗舰版
终于可以在一开始new Project的时候可以直接看到Spring的标志,感激涕零...
1. 下载安装2018旗舰版;
2. 新建Spring工程Hello;
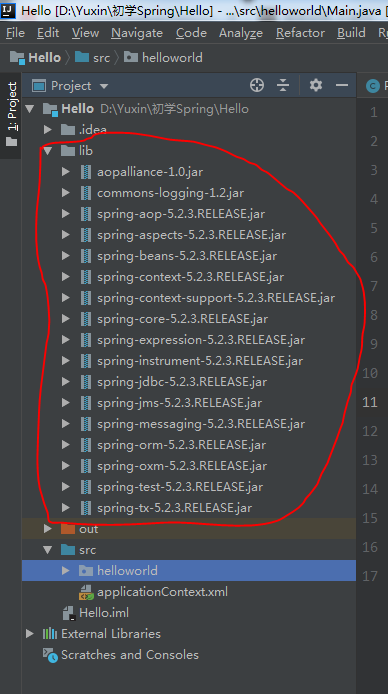
创建的时候要等一会儿它自己下载Spring相关jar包,我第一次创建工程的时候网不行下载失败了,自己导入应该也是可以的吧,但是我没试,位于工程下的lib文件夹;

3. 在src下new一个文件夹helloworld,在里面写上普通的java类Person;

package helloworld;

public class Person {
    String name;

    public String getName() {
        return name;
    }

    public void setName(String name) {
        this.name = name;
    }

    @Override
    public String toString() {
        return "Person{" +
                "name='" + name + '\'' +
                '}';
    }

    //自己定义的方法
    public void sayHello(){
        System.out.println("My name is " + name);
    }
}
4. 创建Spring 配置文件
applicationContext.xml
创建方式:在src上右键——>new——>XML Configuration File ——> Spring Config
创建好之后添加三行代码:

对配置文件的解释:
<!-- 配置bean
          配置方式: 基于xml的方式,使用的全类名的方式。
          <bean>: 受Spring管理的一个javaBean对象。
                id: <bean>的唯一标识,在整个IOC容器中唯一不重复。
                class: 指定javaBean的类全名。目的是通过反射创建对象。
                        Class cls = Class.forName("helloworld.Person");
                        Object obj = cls.newInstance();  必须提供无参构造器
          <property>: 给对象的属性赋值
                name: 指定属性名, 指定set风格的属性名。
                value: 指定属性值
    -->
5. 在helloworld文件夹下创建Main类,用于写主函数:

package helloworld;

import org.springframework.context.ApplicationContext;
import org.springframework.context.support.ClassPathXmlApplicationContext;

public class Main {

    public static void main(String[] args) {
        //1. 创建Spring的IOC容器对象
        ApplicationContext ctx = new ClassPathXmlApplicationContext("applicationContext.xml");
        //2. 获取Person对象
        Person person = (Person)ctx.getBean("person");
        //3. 调用方法
        person.sayHello();
    }
}
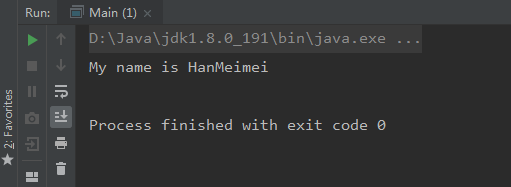
6. 运行main方法,成功:

至此,第一个Spring程序完成!!!
❀了我一天的时间搞不定Spring,有点气
我的前方是万里征途,星辰大海!!


