【GeoScene】二、创建、发布路网服务,并在代码中测试最短路径分析
前言#
网上关于GeoScene及GeoScene API for JavaScript的资料太少了,官方的技术支持又太慢了,最近把在项目中踩过的坑分享出来;
**版本信息**
    GeoScene Pro 4.0
    GeoScene Enterprise 3.1
    GeoScene API for JavaScript 4.27.4
一、创建网络分析图层#
1、在地理数据库中新建要素数据集#
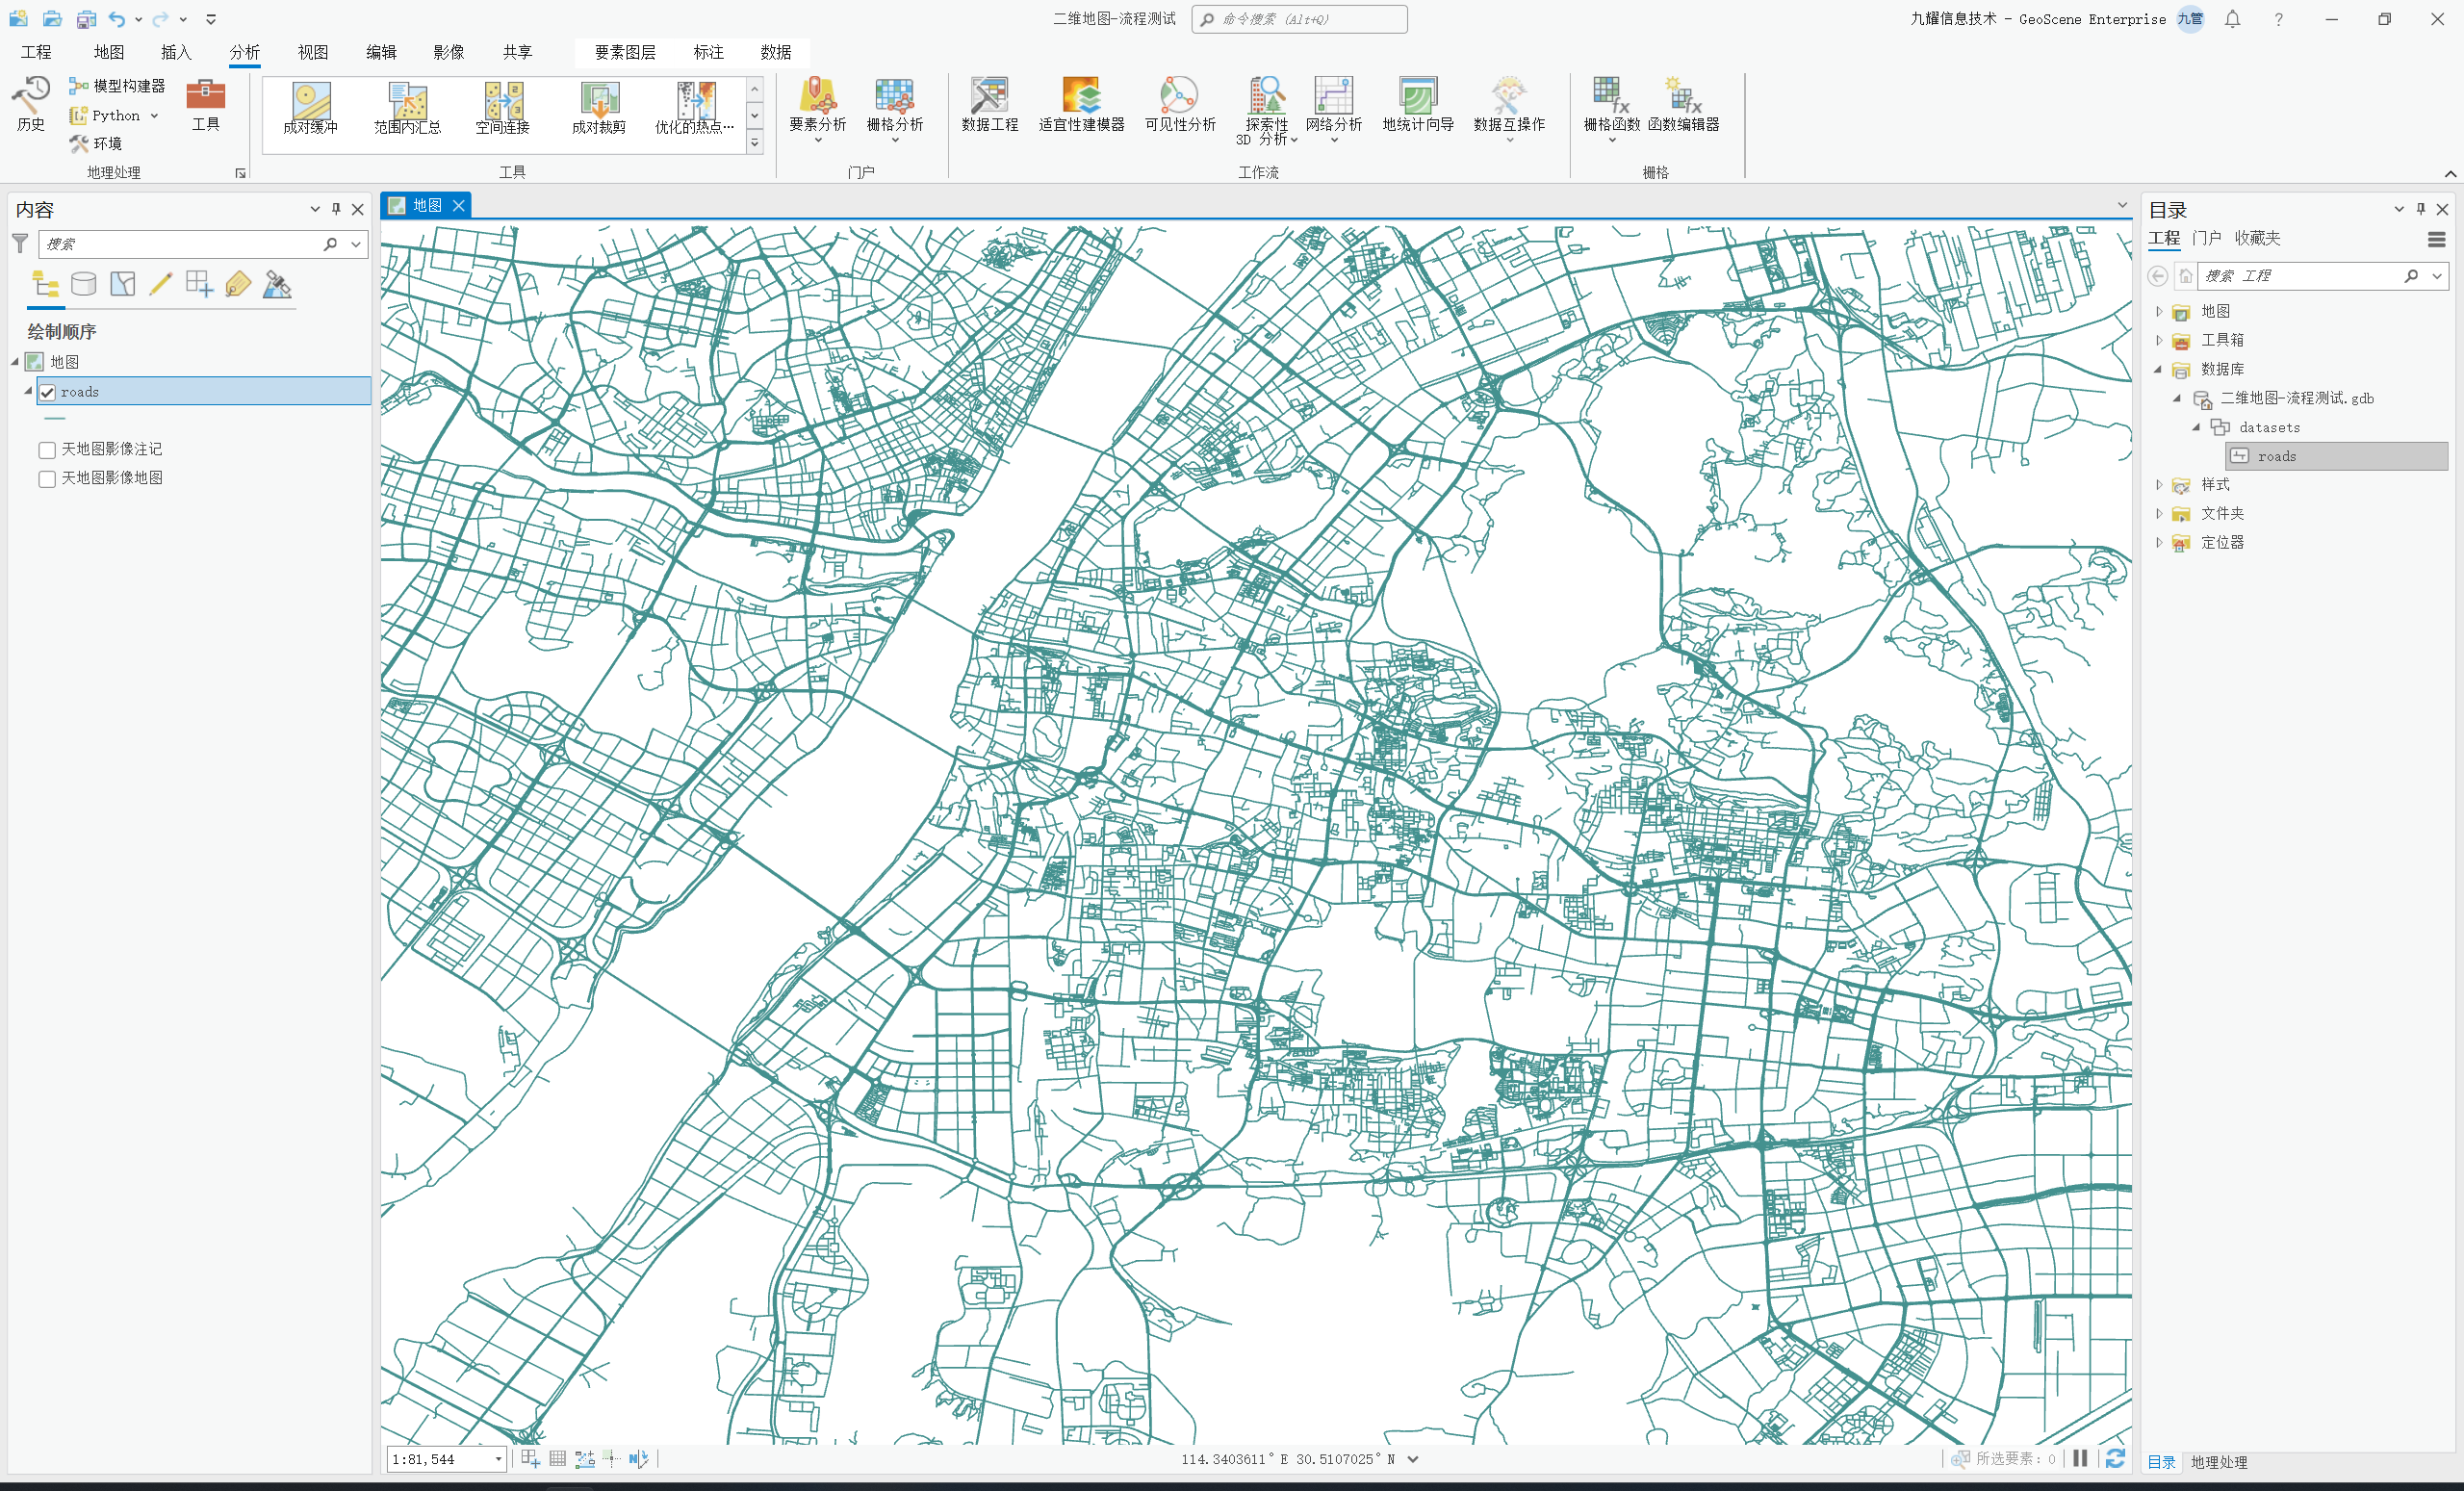
右击地理数据库 -> 新建 -> 要素数据集 -> 输入要素数据集名称、坐标系 -> 创建
2、导入路网要素类#
右击要素数据集 -> 导入 -> 要素类 -> 选择路网shp文件 -> 导入
可以将导入的要素类加载的地图中检查一下,是否存在问题
3.创建网络数据集#
右击要素数据集 -> 新建 -> 网络数据集 -> 填写名称、勾选要素类(这里高层模型没玩明白,自行研究吧) -> 运行
然后要素数据集中就会增加两个(一个是网络数据集、一个是交汇点),网络数据集也会加载到地图中去
4、设置网络数据集并构建#
右键刚创建的网络数据集 -> 常规 -> 服务区索引-> 源设置 -> 组连通性 -> 策略修改为任意节点(默认是端点,但是我的路网不是很规范,会导致分析出来的结果有点问题,所以我就修改为这样了);修改后保存
二、桌面端测试网络分析服务#
选择路线/路径图层组 -> 路径图层 -> 创建要素 -> 创建停靠点、点障碍、线障碍等要素
这里我创建了三个停靠点和一条障碍线,创建完成后点击运行分析路线
三、发布服务#
图层组重命名(geoscene pro默认生成图层组的名称是中文的而且存在斜杠,后面使用过程中会有问题,所以我们需要手动修改)
选择共享 -> 填写名称、摘要、标签 -> 如果你的数据源注册到服务器上了,数据和图层类型可以选择引用,地图服务;我这里因为是文件数据库,没注册,所以选择的复制 -> 一定要切换到配置页面勾选网络分析 -> 然后点击分析、发布,等待发布完成
发布服务之前记得提前连接门户并登录,然后将门户设置为活动门户
四、JS调用#
这个我直接贴代码吧,逻辑很简单
<!--
 * @Author: xuhanchi
 * @Date: 2024-06-18 11:01:14
 * @LastEditors: TanXJ
 * @LastEditTime: 2024-08-02 16:59:41
 * @Description: 最短路径分析
-->
<template>
    <div id="viewDiv"></div>
</template>

<script setup>
import { ref, reactive, onMounted } from "vue"
import Map from "@geoscene/core/Map"
import SceneView from "@geoscene/core/views/SceneView"
import WebTileLayer from "@geoscene/core/layers/WebTileLayer"
import FeatureLayer from "@geoscene/core/layers/FeatureLayer"
import Collection from "@geoscene/core/core/Collection"
import Stop from "@geoscene/core/rest/support/Stop"
import * as route from "@geoscene/core/rest/route"
import Graphic from "@geoscene/core/Graphic"
import RouteParameters from "@geoscene/core/rest/support/RouteParameters"

let view = null

onMounted(() => {
    initView()
})

// 初始化场景
const initView = () => {
    view = new SceneView({
        map: new Map(),
        container: "viewDiv",
        camera: {
            position: {
                x: 114.356454,
                y: 30.546360,
                z: 40000
            }
        }
    })
    // Google影像地图
    const googleLayer = new WebTileLayer({
        urlTemplate: "https://mt3.google.com/vt/lyrs=s&x={x}&y={y}&z={z}",
        subDomains: ["mt0", "mt1", "mt2", "mt3"]
    })
    view.map.add(googleLayer)

    // 加载路网图层
    const featureLayer = new FeatureLayer({
        url: "/server/rest/services/roads_analyze/MapServer/6",
        renderer: {
            type: "simple",
            symbol: {
                type: "simple-line",
                width: 2,
                style: "solid",
                color: "#FFAA00"
            }
        }
    })
    view.map.add(featureLayer)

    // 最短路径分析
    const routeParams = new RouteParameters({
        stops: new Collection([
            new Stop({ geometry: { x: 114.168312, y: 30.538078 } }),
            new Stop({ geometry: { x: 114.260126, y: 30.558536 } }),
            new Stop({ geometry: { x: 114.250880, y: 30.520646 } }),
            new Stop({ geometry: { x: 114.287516, y: 30.510952 } }),
            new Stop({ geometry: { x: 114.297802, y: 30.421159 } }),
            new Stop({ geometry: { x: 114.396715, y: 30.460172 } }),
            new Stop({ geometry: { x: 114.396303, y: 30.502812 } })
        ])
    })
    // 创建点、文字
    routeParams.stops.items.forEach((element, key) => {
        const pointGraphic = new Graphic({
            geometry: element.geometry,
            symbol: {
                type: 'simple-marker',
                style: 'circle',
                color: 'red',
                size: '20px'
            }
        })
        view.graphics.add(pointGraphic)

        const textGraphic = new Graphic({
            geometry: element.geometry,
            symbol: {
                type: 'text',
                color: "white",
                text: key
            }
        })
        view.graphics.add(textGraphic)
    });
    // 分析路径
    route.solve("/server/rest/services/roads_analyze/NAServer/testroad", routeParams).then((routeSolveResult) => {
        let geometry = routeSolveResult.routeResults[0].route.geometry
        var pathGraphic = new Graphic({
            geometry: geometry,
            symbol: {
                type: 'simple-line',
                color: 'red',
                width: '4px',
                style: 'solid'
            }
        })
        view.graphics.add(pathGraphic)
    })
}

</script>

<style lang="scss" scoped>
#viewDiv {
    width: 100%;
    height: 100%;
}
</style>
作者:TanXJ
Buy me a cup of coffee ☕.


【推荐】国内首个AI IDE,深度理解中文开发场景,立即下载体验Trae
【推荐】编程新体验,更懂你的AI,立即体验豆包MarsCode编程助手
【推荐】抖音旗下AI助手豆包,你的智能百科全书,全免费不限次数
【推荐】轻量又高性能的 SSH 工具 IShell:AI 加持,快人一步