
Elasticsearch + Kibana + IK分词器安装
1 安装Elasticsearch
1.1 添加普通用户
# 创建 elasticsearch 用户组
groupadd elasticsearch
#创建用户并添加密码
useradd txb_es
passwd txb_es
#创建es文件夹
mkdir -p /usr/local/es
1.2 上传文件
链接:https://pan.baidu.com/s/1bPQU9AXMmLYlil_wirpfCw
提取码:89av
获取上述elk中文件并上传至 /usr/local/es文件夹下并解压。
1.3 用户授权
usermod -G elasticsearch txb_es
chown -R txb_es /usr/local/es/elasticsearch-7.6.1/
visudo
#在root ALL=(ALL) ALL 一行下面添加txb_es用户
txb_es ALL=(ALL) ALL
#添加成功保存后切换到txb_es用户操作
su txb_es
1.4 修改配置文件
cd /usr/local/es/elasticsearch-7.6.1/config/
mkdir -p /usr/local/es/elasticsearch-7.6.1/log
mkdir -p /usr/local/es/elasticsearch-7.6.1/data
vim elasticsearch.yml
需要配置文件内容如下
cluster.name: txb-es
node.name: node1
path.data: /usr/local/es/elasticsearch-7.6.1/data
path.logs: /usr/local/es/elasticsearch-7.6.1/log
network.host: 0.0.0.0
http.port: 9200
discovery.seed_hosts: ["服务器IP"]
cluster.initial_master_nodes: ["节点名"]
#以下添加到最后
bootstrap.system_call_filter: false
bootstrap.memory_lock: false
http.cors.enabled: true
http.cors.allow-origin: "*"
修改jvm.option
cd /usr/local/es/elasticsearch-7.6.1/config
vim jvm.options
-Xms2g
-Xmx2g
1.5 修改系统配置(解决启动问题)
问题1:普通用户打开文件的最大数限制
问题错误信息描述
max file descriptors [4096] for elasticsearch process likely too low, increase to at least [65536]
ES因为需要大量的创建索引文件,需要大量的打开系统的文件,所以我们需要解除linux系统当中打开文件最大数目的限制,不然ES启动就会抛错
sudo vi /etc/security/limits.conf
#添加一下内容(注意:*不要去掉)
# End of file以下替换
* soft nofile 65536
* hard nofile 65536
root soft nofile 100001
root hard nofile 100002
* soft nofile 100001
* hard nofile 100002
root soft nofile 100001
root hard nofile 100002
* soft memlock unlimited
* hard memlock unlimited
问题2:普通用户启动线程数限制
问题错误信息描述
max number of threads [1024] for user [es] likely too low, increase to at least [4096]
修改普通用户可以创建的最大线程数
max number of threads [1024] for user [es] likely too low, increase to at least [4096]原因:无法创建本地线程问题,用户最大可创建线程数太小解决方案:修改90-nproc.conf 配置文件
#Centos6
sudo vi /etc/security/limits.d/90-nproc.conf
#Centos7
sudo vi /etc/security/limits.d/20-nproc.conf
* soft nproc 4096
问题3:普通用户调大虚拟内存
错误信息描述:
max virtual memory areas vm.max_map_count [65530] likely too low, increase to at least [262144]调大系统的虚拟内存原因:最大虚拟内存太小,每次启动机器都手动执行下。
#退出普通用户
exit
vim /etc/sysctl.conf
#追加以下内容:
vm.max_map_count=262144
#保存后执行
sysctl -p
#再切换回普通用户
su txb_es
1.6 启动ES服务
#后台静默启动
nohup /usr/local/es/elasticsearch-7.6.1/bin/elasticsearch 2>&1 &
#进入目录启动
cd  /usr/local/es/elasticsearch-7.6.1/bin
./elasticsearch  -d
1.7 访问页面
云服务器开放9200端口
http://124.221.243.252:9200/?pretty
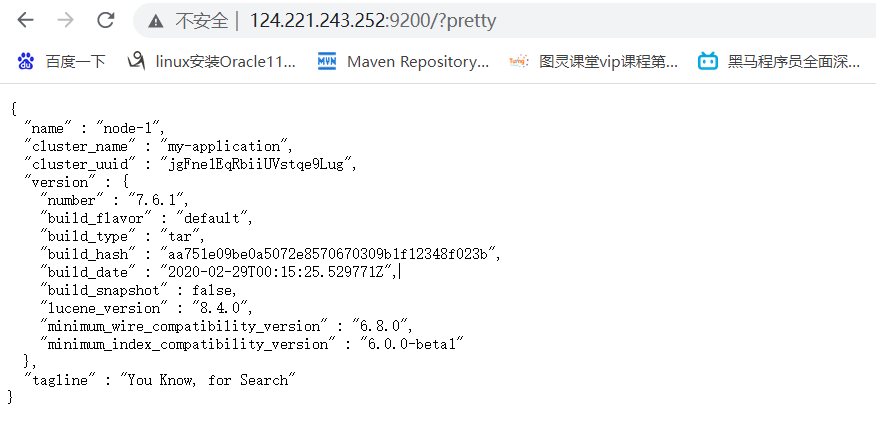
出现以上页面即启动成功
2 客户端Kibana安装
下载Kibana放之/usr/local/es目录中
tar -zxvf kibana-X.X.X-linux-x86_64.tar.gz
cd /usr/local/es/kibana-7.6.1-linux-x86_64/config/
更改kibana配置
vi kibana.yml
#修改以下配置
server.port: 5601
server.host: "服务器IP"
elasticsearch.hosts: ["http://IP:9200"]  #这里是elasticsearch的访问地址
启动Kibana
#配置kibana权限
chown -R txb_es /usr/local/es/kibana-7.6.1-linux-x86_64/
#进入txb_es用户
su txb_es
#启动kibana
cd /usr/local/es/kibana-7.6.1-linux-x86_64/bin
./kibana
#后台启动kibana
nohup ./kibana &
#访问Kibana
http://ip:5601/app/kibana
3 安装ik分词器
3.1 上传并解压安装包
cd /usr/local/es/elasticsearch-7.6.1/plugins/
mkdir ik
cd ik
#将ik分词器安装包上传并解压
unzip elasticsearch-analysis-ik-7.6.1.zip
#再重启es(查看进程杀死再启动)
ps -ef |grep elasticsearch
kill -9 562
#启动
cd /usr/local/es/elasticsearch-7.6.1/bin/
./elasticsearch -d
3.2 演示分词器效果
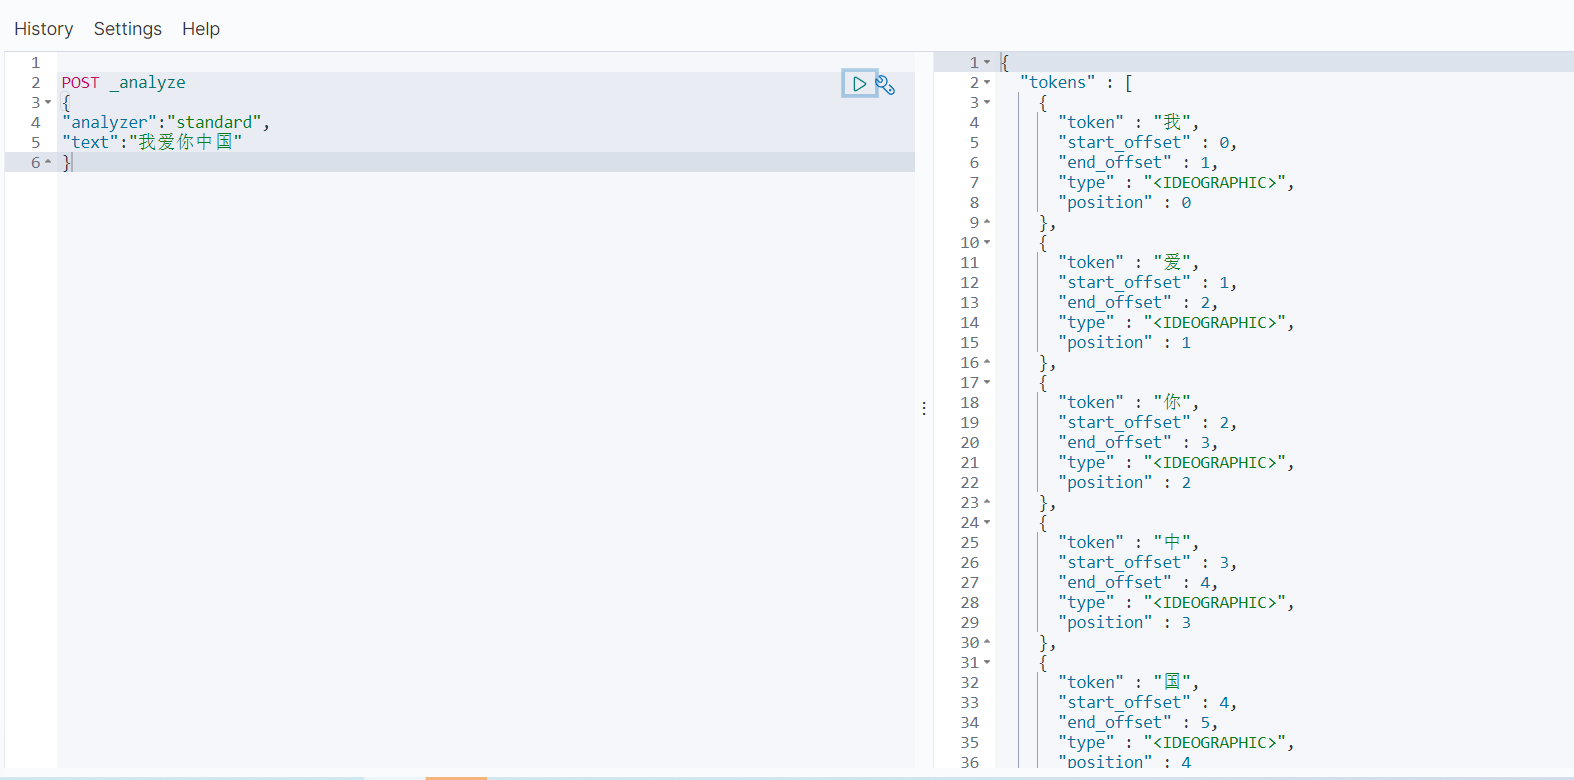
1)单个词汇
POST _analyze
{
"analyzer":"standard",
"text":"我爱你中国"
}
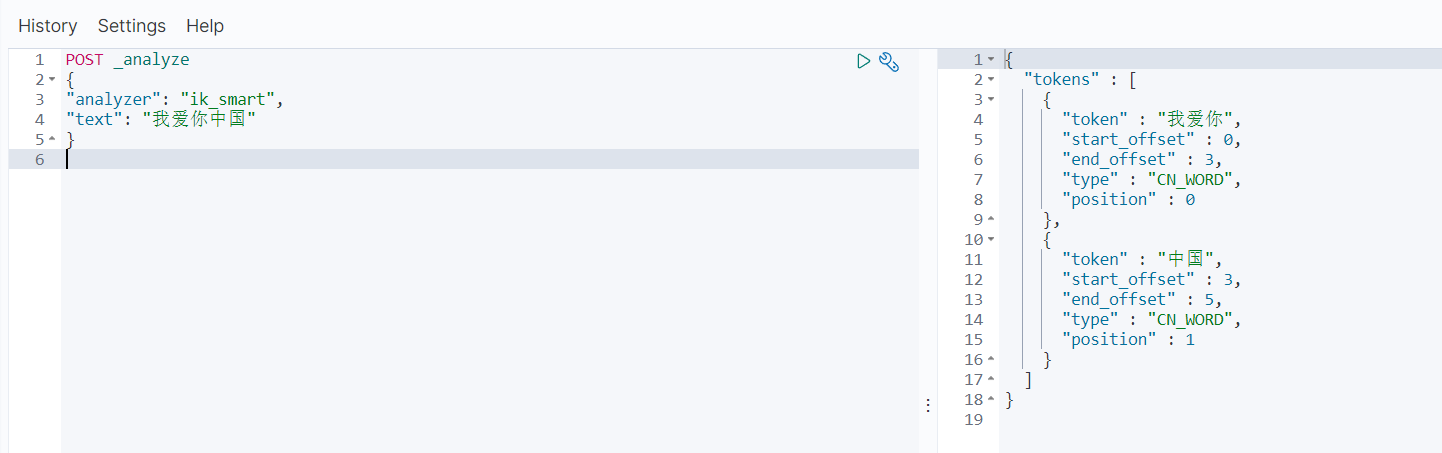
2)粗粒度划分
POST _analyze
{
"analyzer": "ik_smart",
"text": "中华人民共和国"
}
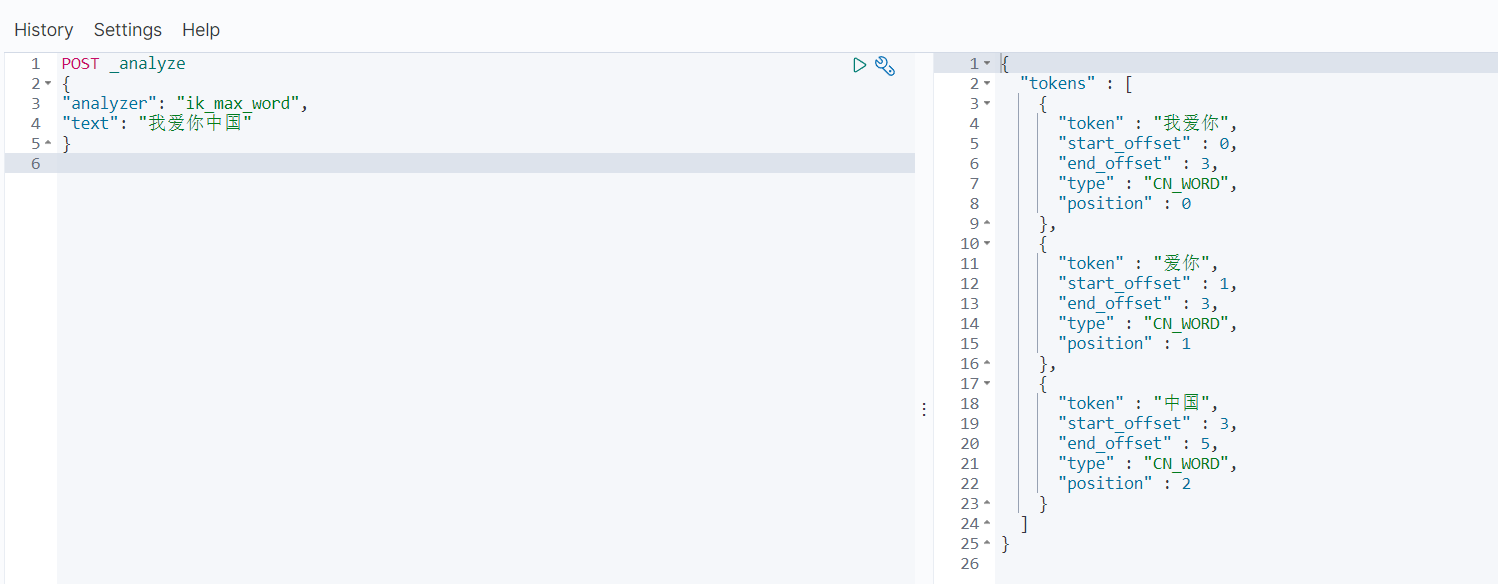
3)细粒度划分
POST _analyze
{
"analyzer": "ik_max_word",
"text": "我爱你中国"
}

 浙公网安备 33010602011771号