使用mkcert为localhost添加ssl证书
1:基础环境
Windows11-x64-23H2-22631.3155 Nginx-1.24.0 Mkcert-v1.4.4-windows-amd64
2:安装Nginx

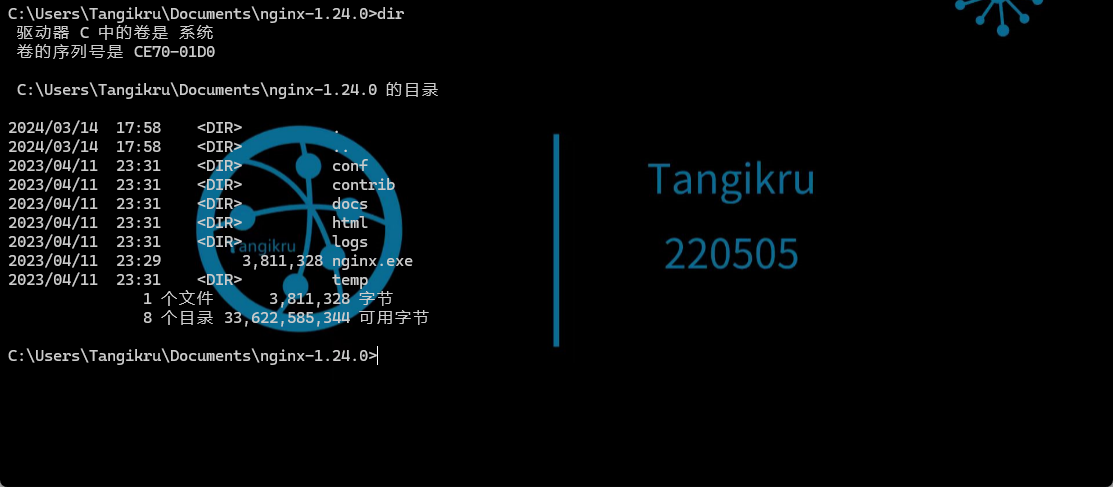
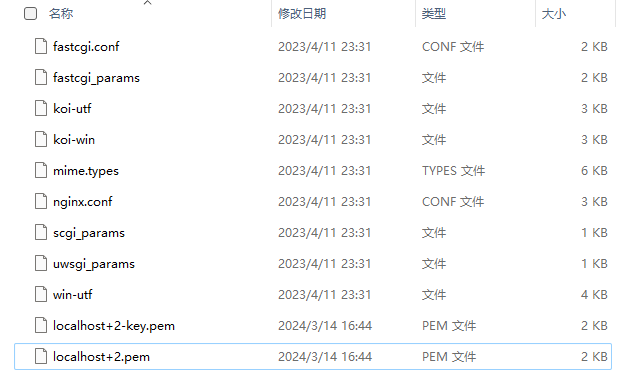
2-1:解压后得到如下文件

2-2:将此目录在cmd中打开
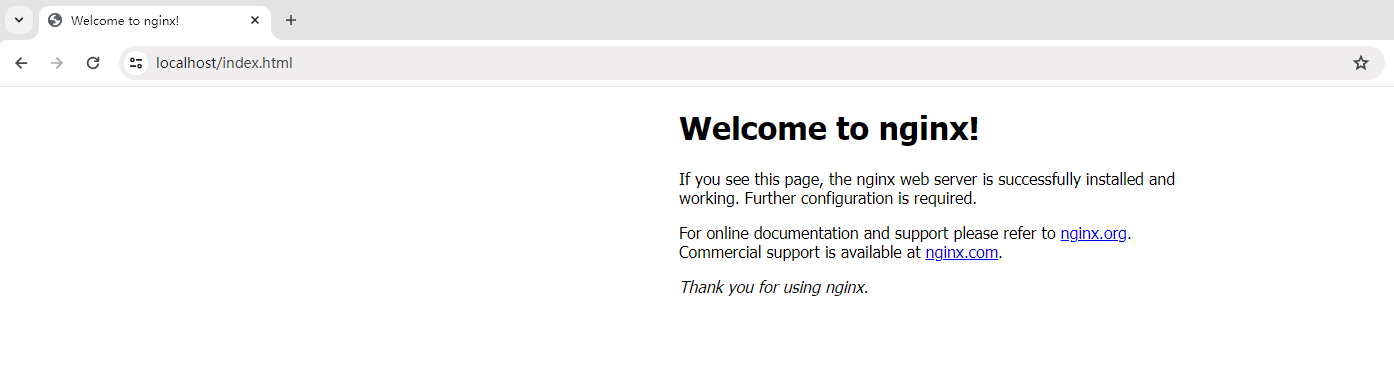
2-3:启动Nginx
.\nginx.exe

2-4:浏览器查看
2-5:拓展命令
.\nginx.exe .\nginx.exe -s reload .\nginx.exe -s stop
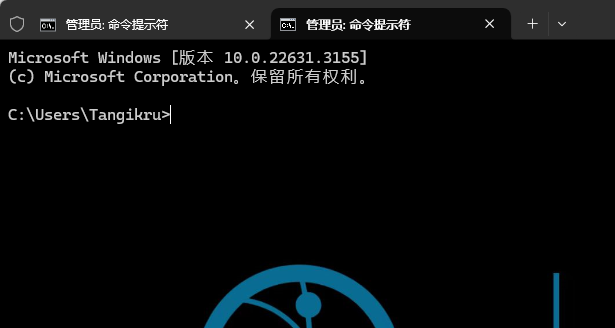
3:管理员打开CMD
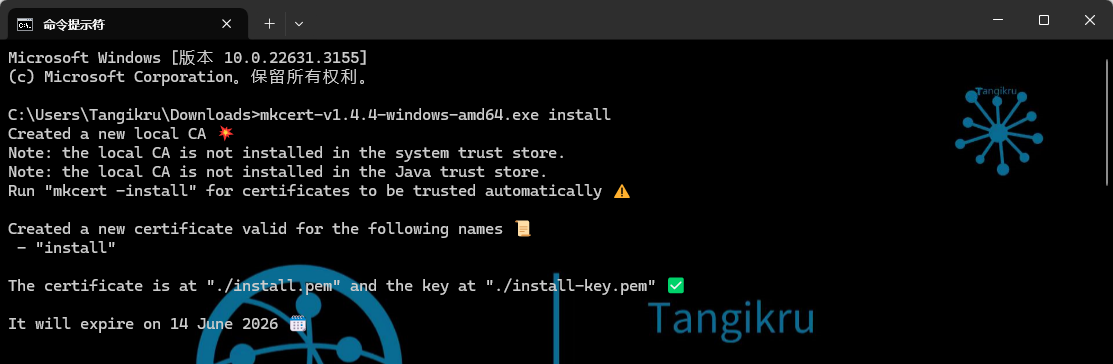
3-1:进行安装
mkcert-v1.4.4-windows-amd64.exe install
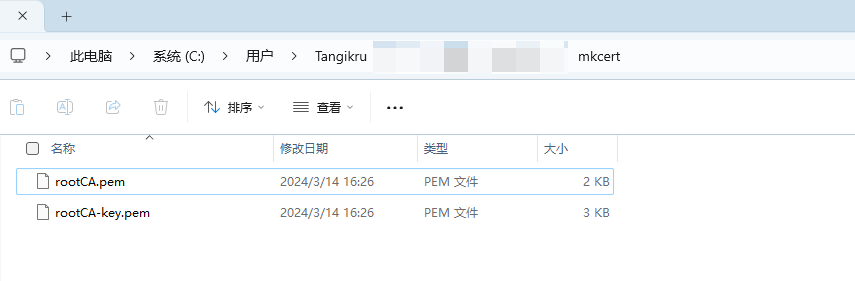
3-2:查看证书存放位置
mkcert-v1.4.4-windows-amd64.exe -CAROOT

3-3:查看目录下生成的文件
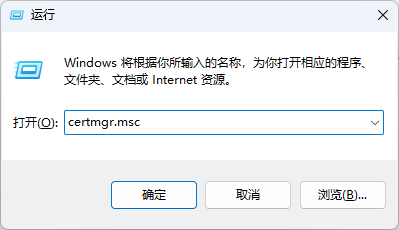
3-4:查看证书控制台
win+r 输入 certmgr.msc
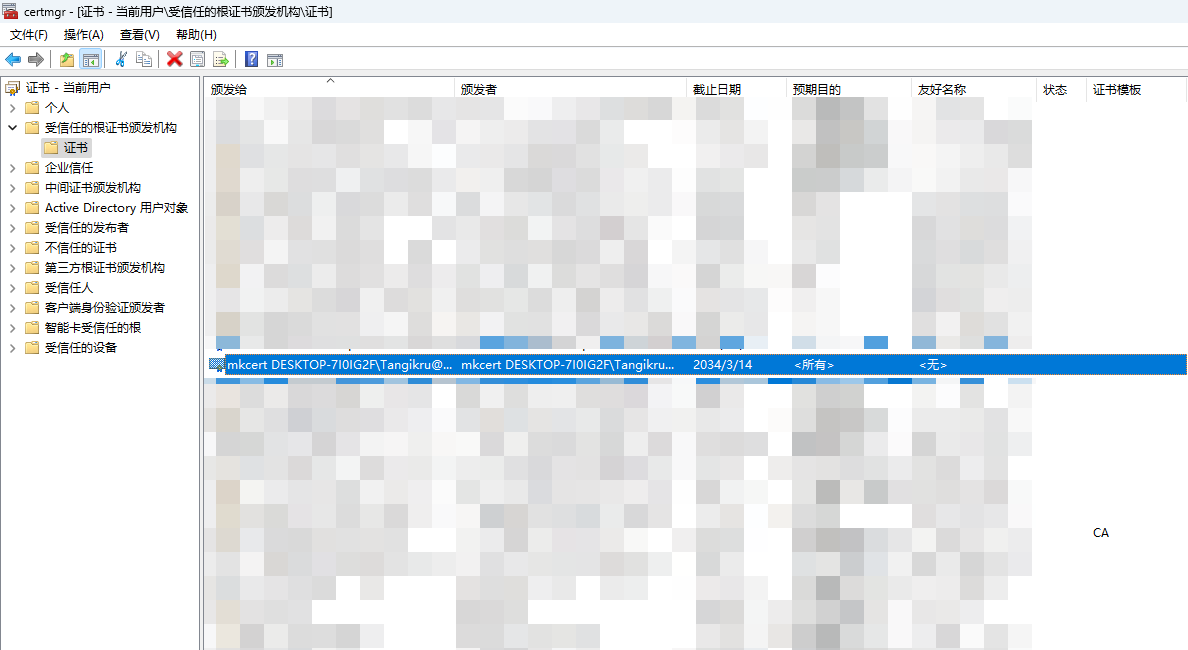
3-5:双击查看

3-6:证书已安装,为localhost 127.0.0.1 ::1生成自签证书
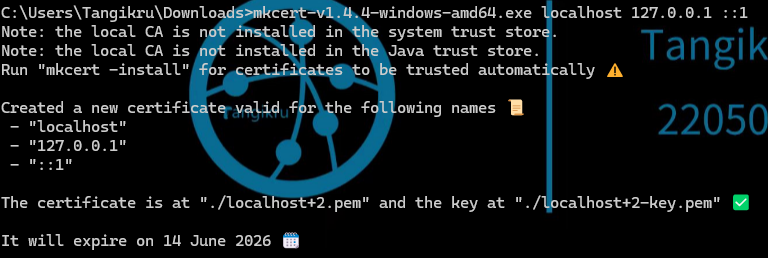
3-7:完成后会在mkcert-v1.4.4-windows-amd64.exe文件同目录下生成pem文件和key文件

3-8:将localhost+2.pem localhost+2-key.pem移动到nginx的conf目录下
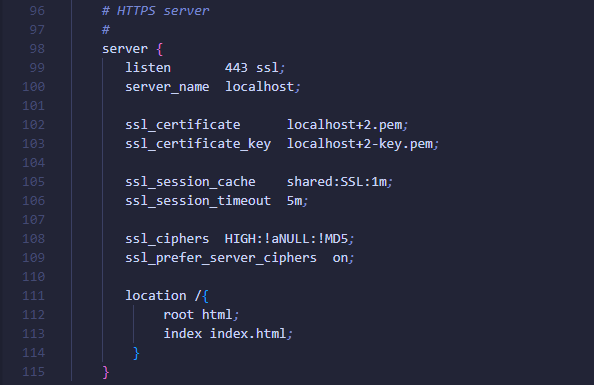
3-9:更改nginx配置文件nginx.conf
server { listen 443 ssl; server_name localhost; ssl_certificate localhost+2.pem; ssl_certificate_key localhost+2-key.pem; ssl_session_cache shared:SSL:1m; ssl_session_timeout 5m; ssl_ciphers HIGH:!aNULL:!MD5; ssl_prefer_server_ciphers on; location /{ root html; index index.html; } }
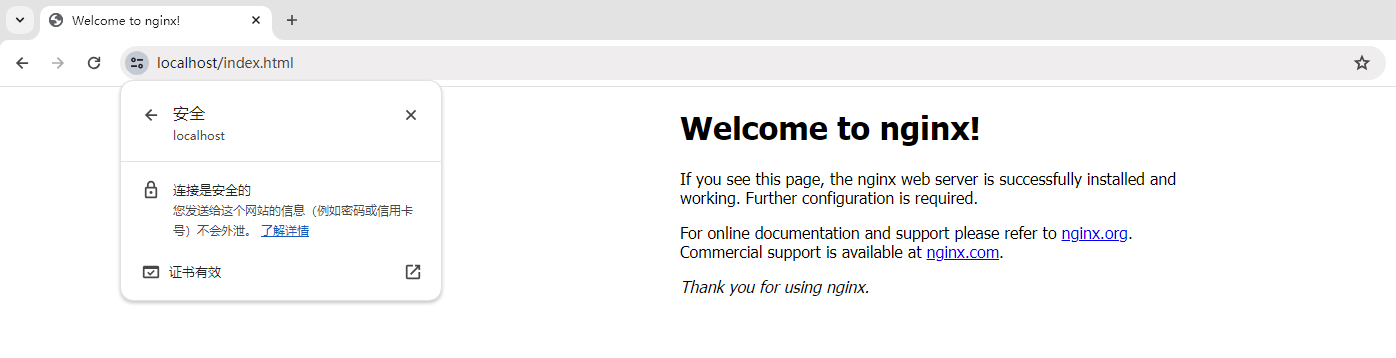
3-10:重启nginx服务

3-11:浏览器验证
4:完结撒花~
本文来自博客园,作者:Tangikru,转载请注明原文链接:https://www.cnblogs.com/tangikru/p/18073543


【推荐】国内首个AI IDE,深度理解中文开发场景,立即下载体验Trae
【推荐】编程新体验,更懂你的AI,立即体验豆包MarsCode编程助手
【推荐】抖音旗下AI助手豆包,你的智能百科全书,全免费不限次数
【推荐】轻量又高性能的 SSH 工具 IShell:AI 加持,快人一步