图解SSIS部署
SQL Server 2005 - SSIS Deployment
Written By: Jeremy Kadlec
With SSIS functionally the same general steps are followed, but the detailed process is much different. For example, development is completed in a separate tool from the deployment.
| ID | Directions | Screen Shot |
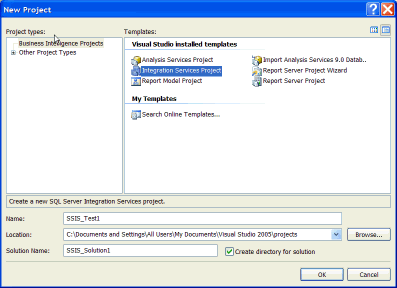
| 1 | Creation- Develop your application in the Business Intelligence Management Studio (BIDS). Create a SQL Server Integration Services Project to build 1 or many SSIS packages for the Solution.
|
|
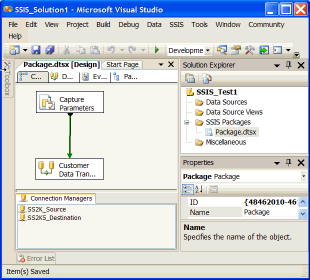
| 2 | Development - Develop the SSIS Package with the BIDS tool set to implement the business and error handling logic. |
|
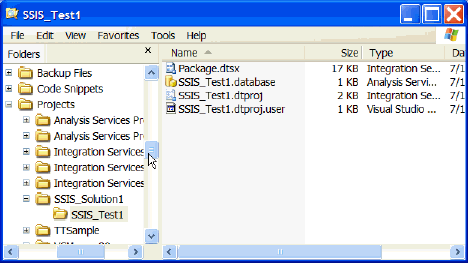
| 3 | Save - In BIDS, all of the files supporting the Solution should be saved to the local file system when the Project was setup.
Notice - With SSIS during the development save process that the code cannot reside in SQL Server as was the case with DTS. |
|
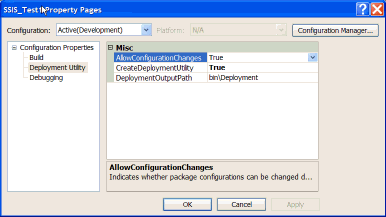
| 4a | Deployment - In the Solution Explorer, right click on the name of the solution (i.e. SSIS_Test1) and select the 'Properties' option. Once the 'Properties Pages' loads, select the 'Deployment Utility' option in the left pane. Change the following options:
Press the 'OK' button to proceed. |
|
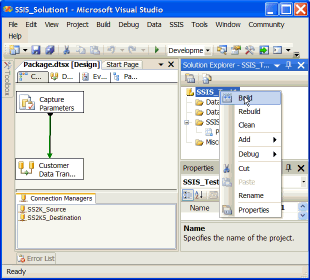
| 4b | Deployment - In the Solution Window, right click on the name of the solution and select the 'Build' option.
Once this process is completed, BIDS will indicate 'Build succeeded' in the bottom left portion of the screen. |
|
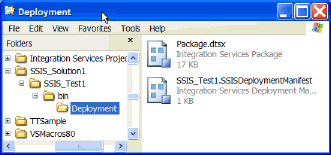
| 4c | Deployment - Now the SSIS Package will reside in the parameter specified for the DeploymentOutputPath in step 4a (i.e. bin\Deployment directory) as a *.dtsx file with a *.SSIS_Test1DeploymentManifest file. |
|
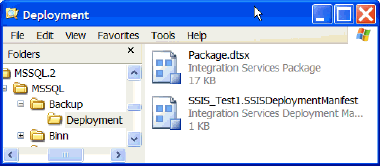
| 4d | Deployment - Copy the 'deployment' directory and the files to a location on server where you would like to deploy the files (i.e. C:\Program Files\ Microsoft SQL Server\MSSQL.2\MSSQL\Backup.) |
|
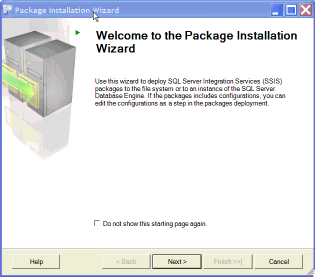
| 4e | Welcome Screen - Double click on the *.SSIS_Test1DeploymentManifest to start the Package Installation Wizard which deploys the SSIS Package. Click the 'Next' button to proceed in the wizard. |
|
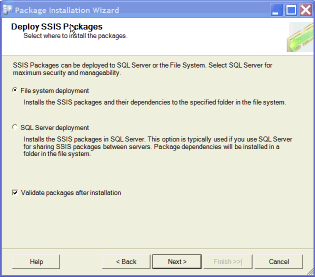
| 4f | Deploy SSIS Packages - Select the file system or SQL Server deployment option which indicates where the SSIS Package is stored.
In this example, we are selecting the file system deployment. Click the 'Next' button to proceed in the wizard. |
 |
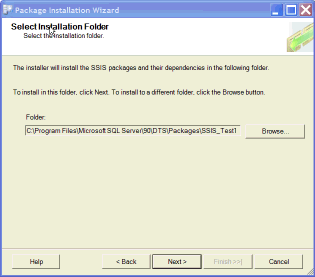
| 4g | Select Installation Folder - Select the directory where you want to save the SSIS Package in the file system.
Click the 'Next' button to proceed in the wizard. |
 |
| 4h | Confirm Installation - Click the 'Next' button to proceed in the wizard. | 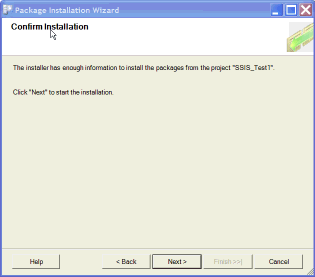 |
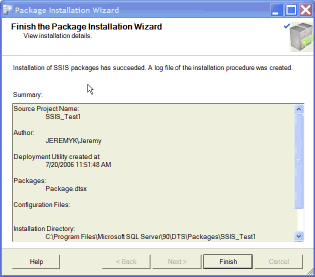
| 4i | Finish the Package Installation Wizard - Click the 'Finish' button to complete the wizard. |
|
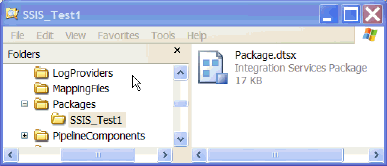
| 4j | Deployment Verification - To verify that the SSIS Package was deployed, navigate to the directory selected in step 4g. |
|
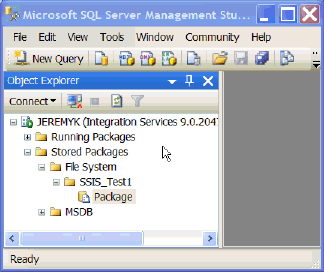
| 4k | Deployment - In Management Studio, login to the Integration Services instance where the SSIS Package was deployed. Then navigate to the root | Stored Packages | File System folder to verify the package is available to Integration Services. |
|
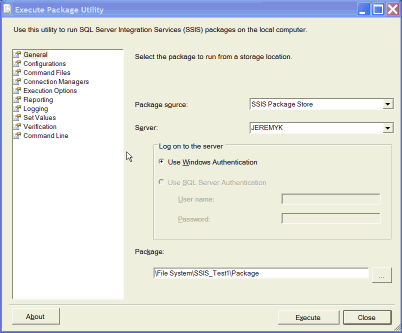
| 5 | Execution - SSIS Packages can be executed interactively or on a regularly scheduled basis. Below are the options to execute a SSIS Package interactively:
Below are the options to execute the SSIS Package in an automated manner
|
|


