


IDEA2022.1版本的热部署
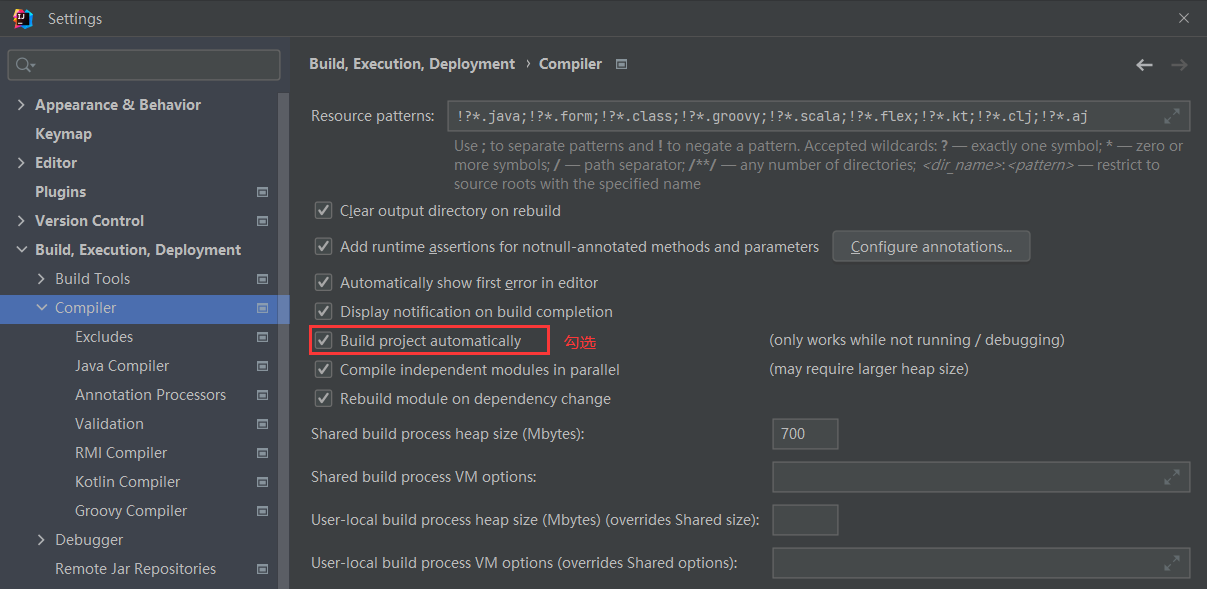
1、
2、
Allow auto-make to start even if developed application is currently running。

3、
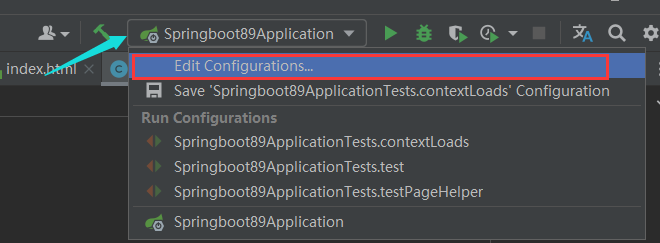
具体步骤:点击Edit COnfigurations...进入
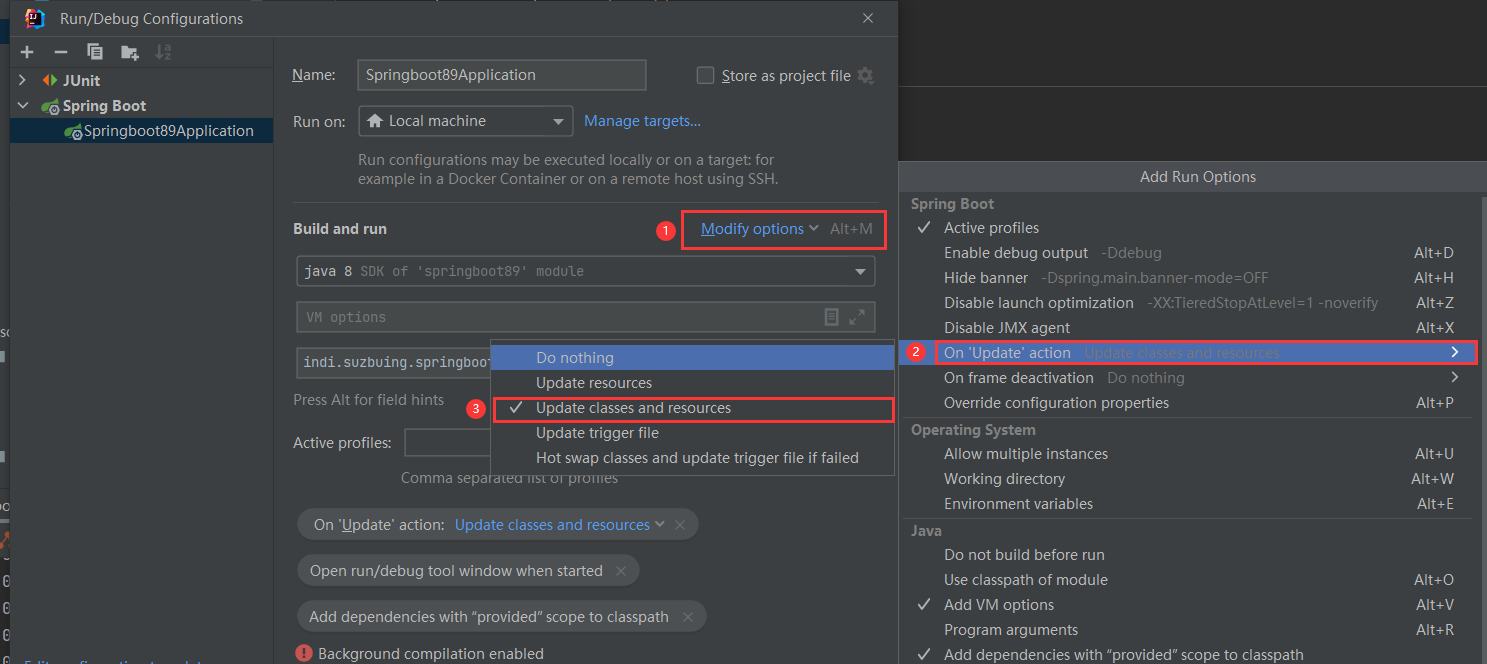
选择Modif options -> On 'Updata' actrion -> Update classes and resources
1.添加devtools jar包到工程
<!--devtools 热部署依赖 -->
<dependency>
            <groupId>org.springframework.boot</groupId>
            <artifactId>spring-boot-devtools</artifactId>
            <scope>runtime</scope>
<!--optional 表示依赖是否向下传递 true表示不向下传递  默认值是false向下传递 -->
            <optional>true</optional>
</dependency>
2.添加plugin到pom.xml
<build>
    <plugins>
        <plugin>
        <groupId>org.springframework.boot</groupId>
        <artifactId>spring-boot-maven-plugin</artifactId>
        <configuration>
          <fork>true</fork>
          <addResources>true</addResources>
        </configuration>
      </plugin>
    </plugins>
 </build>
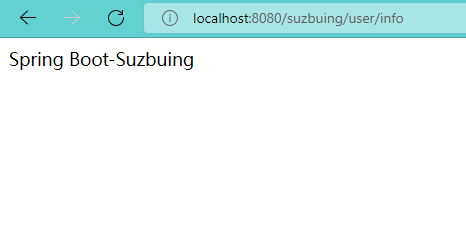
5、测试
为了测试配置的热部署是否有效,接下来,在不关闭当前项目的情况下,将 DemoController 类中的请求处理方法 info() 的返回值从”Spring Boot“修改为 “Spring Boot-Suzbuing” 并保存,
通过快捷键,查看控制台信息会发现项目能够自动构建和编译,说明项目热部署生效。
@RequestMapping("/info")
    public String info() {
        return "Spring Boot";
    }

 浙公网安备 33010602011771号