
一、简介
Ganglia由gmod、gmetad、gweb三部分组成:
- gmod:一种轻量级服务,安装在每台需要收集指标数据的节点上。
- gmetad:整合所有信息,以RRD格式存储至磁盘。
- gweb:Ganglia可视化工具,一个显示gmetad所存储数据的PHP前端。
二、安装
(1)规划
- 110.10:gmod gmetad gweb
- 210.30:gmod
(2)所有需要监控的节点安装epel-release:
- sudo yum -y install epel-release
(3)在110.10安装gmod gmetad gweb:
- sudo yum -y install ganglia-gmond
- sudo yum -y install ganglia-gmetad
- sudo yum -y install ganglia-gweb
(4)在210.30安装gmod:
- sudo yum -y install ganglia-gmond
如果提示:
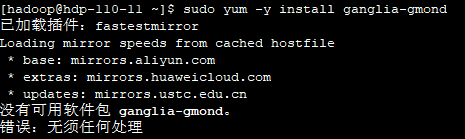
是因为:当在Linux系统中使用yum安装软件时提示 “没有可用软件包”时,代表在linux系统yum源中已经没有对应的安装包了,这时,我们需要安装EPEL。
需先执行:yum install -y epel-release
三、配置
(1)在110.10修改sudo vi /etc/httpd/conf.d/ganglia.conf
|
# # Ganglia monitoring system php web frontend # Alias /ganglia /usr/share/ganglia
<Location /ganglia> #Order deny,allow #通过windows访问ganglia,需要配置对应的IP地址,这里为二长VPN的IP Require ip 192.168.40.88 #Allow from all #Allow from ::1 # Allow from .example.com </Location> |
(2)在110.10修改配置文件sudo vi /etc/ganglia/gmetad.conf
|
# data_source "my cluster" 10 localhost my.machine.edu:8649 1.2.3.5:8655 # data_source "my grid" 50 1.3.4.7:8655 grid.org:8651 grid-backup.org:8651 # data_source "another source" 1.3.4.7:8655 1.3.4.8
data_source "rt_hdp_cluster" 192.168.110.10 |
(3)在所有节点修改配置文件sudo vi /etc/ganglia/gmond.conf
|
/* * The cluster attributes specified will be used as part of the <CLUSTER> * tag that will wrap all hosts collected by this instance. */ cluster { name = "rt_hdp_cluster" owner = "unspecified" latlong = "unspecified" url = "unspecified" }
/* The host section describes attributes of the host, like the location */ host { location = "unspecified" }
/* Feel free to specify as many udp_send_channels as you like. Gmond used to only support having a single channel */ udp_send_channel { #bind_hostname = yes # Highly recommended, soon to be default. # This option tells gmond to use a source address # that resolves to the machine's hostname. Without # this, the metrics may appear to come from any # interface and the DNS names associated with # those IPs will be used to create the RRDs. #mcast_join = 239.2.11.71 host = 192.168.110.10 port = 8649 ttl = 1 }
/* You can specify as many udp_recv_channels as you like as well. */ udp_recv_channel { #mcast_join = 239.2.11.71 port = 8649 bind = 0.0.0.0 retry_bind = true # Size of the UDP buffer. If you are handling lots of metrics you really # should bump it up to e.g. 10MB or even higher. # buffer = 10485760 }
|
(7)在110.10修改配置文件sudo vi /etc/selinux/config
|
# This file controls the state of SELinux on the system. # SELINUX= can take one of these three values: # enforcing - SELinux security policy is enforced. # permissive - SELinux prints warnings instead of enforcing. # disabled - No SELinux policy is loaded. SELINUX=disabled # SELINUXTYPE= can take one of three values: # targeted - Targeted processes are protected, # minimum - Modification of targeted policy. Only selected processes are protected. # mls - Multi Level Security protection. SELINUXTYPE=targeted |
提示:selinux生效需要重启,如果此时不想重启,可以临时生效之:sudo setenforce 0
(8)修改权限:sudo chmod -R 0777 /var/lib/ganglia
四、启动
(1)在所有节点启动gmond:
- sudo systemctl start gmond
(2)在110.10启动
- sudo systemctl start gmond
- sudo systemctl start httpd
- sudo systemctl start gmetad
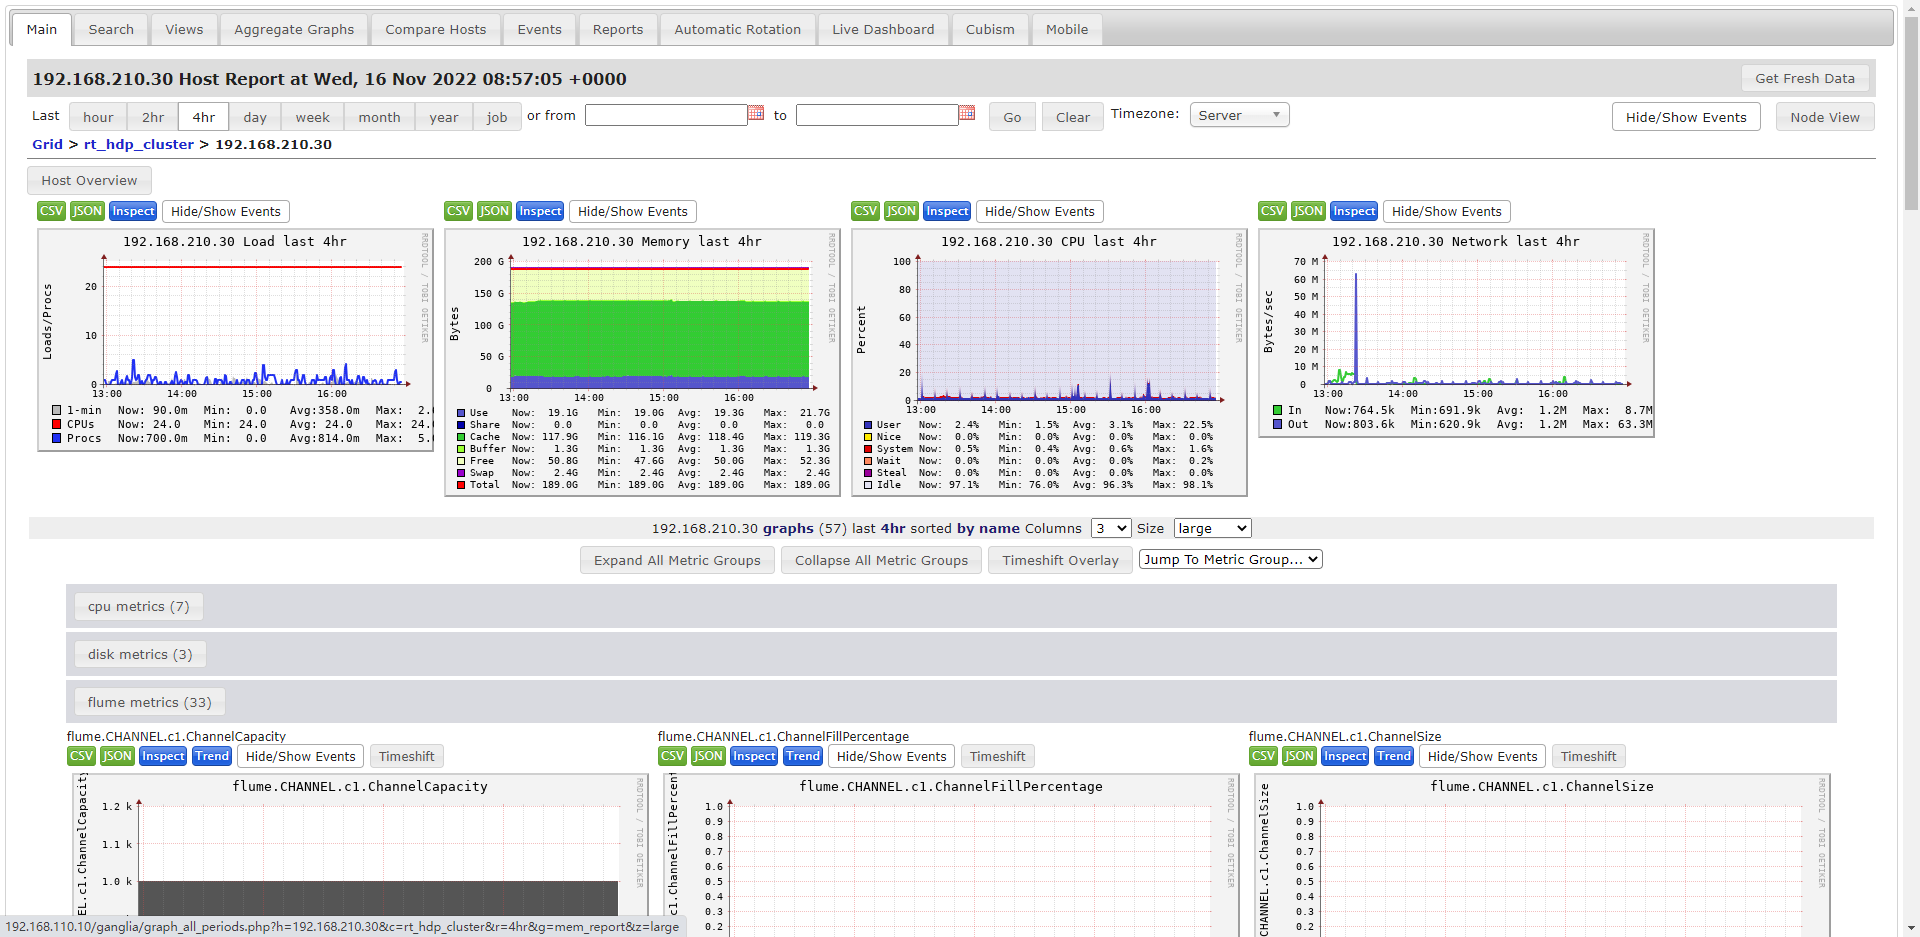
(3)打开网页:http://192.168.110.10/ganglia
- 如访问失败,可使用root用户查看日志排查:cat /etc/httpd/logs/error_log
(4)在210.30上先kill旧的flume agent,再启动flume agent:
- nohup bin/flume-ng agent -n a1 -c conf/ -f conf/flume-taildir-hdfs.conf -Dflume.monitoring.type=ganglia -Dflume.monitoring.hosts=192.168.110.10:8649 &

 浙公网安备 33010602011771号