SpringBoot学习 (一) Eclipse中创建新的SpringBoot项目
1. Eclipse中安装STS插件
(1)在线安装
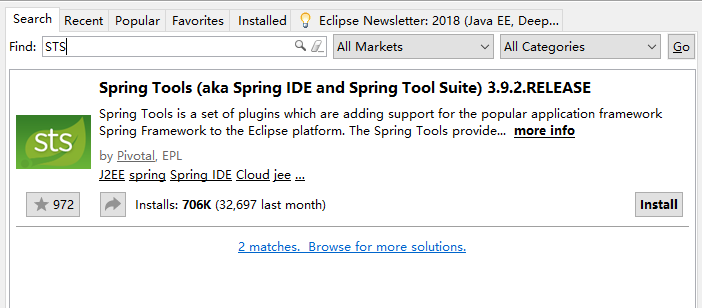
- Help--Eclipse Marketplace...
- 搜索“STS”,点击“install”安装

(2)本地安装
- 打开网页 http://spring.io/tools/sts/all
- 下载适合自己的eclipse版本的STS压缩包
- 下载后,在eclipse操作: Help--Install New Software--Add--Archive,添加已下载的zip包
- 安装有Spring IDE字样的插件即可,取消勾选自动更新,接下来就有Next就点Next,有Finish就点Finish
2. 新建Maven项目
- File--New--Project...
- Maven--Maven Project--Next--Next
- 选择maven-archetype-webapp后,Next
- 输入项目名和包名后,Finish,完成创建
3. 编写显示“Hello World”的程序
- 编辑pom.xml文件,添加SpringBoot的依赖
<project xmlns="http://maven.apache.org/POM/4.0.0" xmlns:xsi="http://www.w3.org/2001/XMLSchema-instance"
    xsi:schemaLocation="http://maven.apache.org/POM/4.0.0 http://maven.apache.org/maven-v4_0_0.xsd">
    <modelVersion>4.0.0</modelVersion>
    <groupId>org.tonny</groupId>
    <artifactId>springbootProject</artifactId>
    <packaging>war</packaging>
    <version>0.0.1-SNAPSHOT</version>
    <name>springbootProject Maven Webapp</name>
    <url>http://maven.apache.org</url>

    <!-- Inherit defaults from Spring Boot -->
    <parent>
        <groupId>org.springframework.boot</groupId>
        <artifactId>spring-boot-starter-parent</artifactId>
        <version>1.5.10.RELEASE</version>
    </parent>

    <!-- Add typical dependencies for a web application -->
    <dependencies>
        <dependency>
            <groupId>org.springframework.boot</groupId>
            <artifactId>spring-boot-starter-web</artifactId>
        </dependency>
    </dependencies>
    <build>
        <finalName>springbootProject</finalName>
        <plugins>
            <!-- 指定jdk版本 -->
            <plugin>
                <groupId>org.apache.maven.plugins</groupId>
                <artifactId>maven-compiler-plugin</artifactId>
                <version>3.1</version>
                <configuration>
                    <source>1.8</source>
                    <target>1.8</target>
                    <encoding>UTF-8</encoding>
                </configuration>
            </plugin>
            <plugin>
                <groupId>org.springframework.boot</groupId>
                <artifactId>spring-boot-maven-plugin</artifactId>
            </plugin>

        </plugins>
    </build>
</project>
package org.tonny;

import org.springframework.boot.*;
import org.springframework.boot.autoconfigure.*;
import org.springframework.stereotype.*;
import org.springframework.web.bind.annotation.*;

@Controller
@EnableAutoConfiguration
public class SampleController
{

    @RequestMapping("/")
    @ResponseBody
    String home()
    {
        return "Hello World!";
    }

    public static void main(String[] args) throws Exception
    {
        SpringApplication.run(SampleController.class, args);
    }
}
- 右键单击该主类--Run As--Java Application
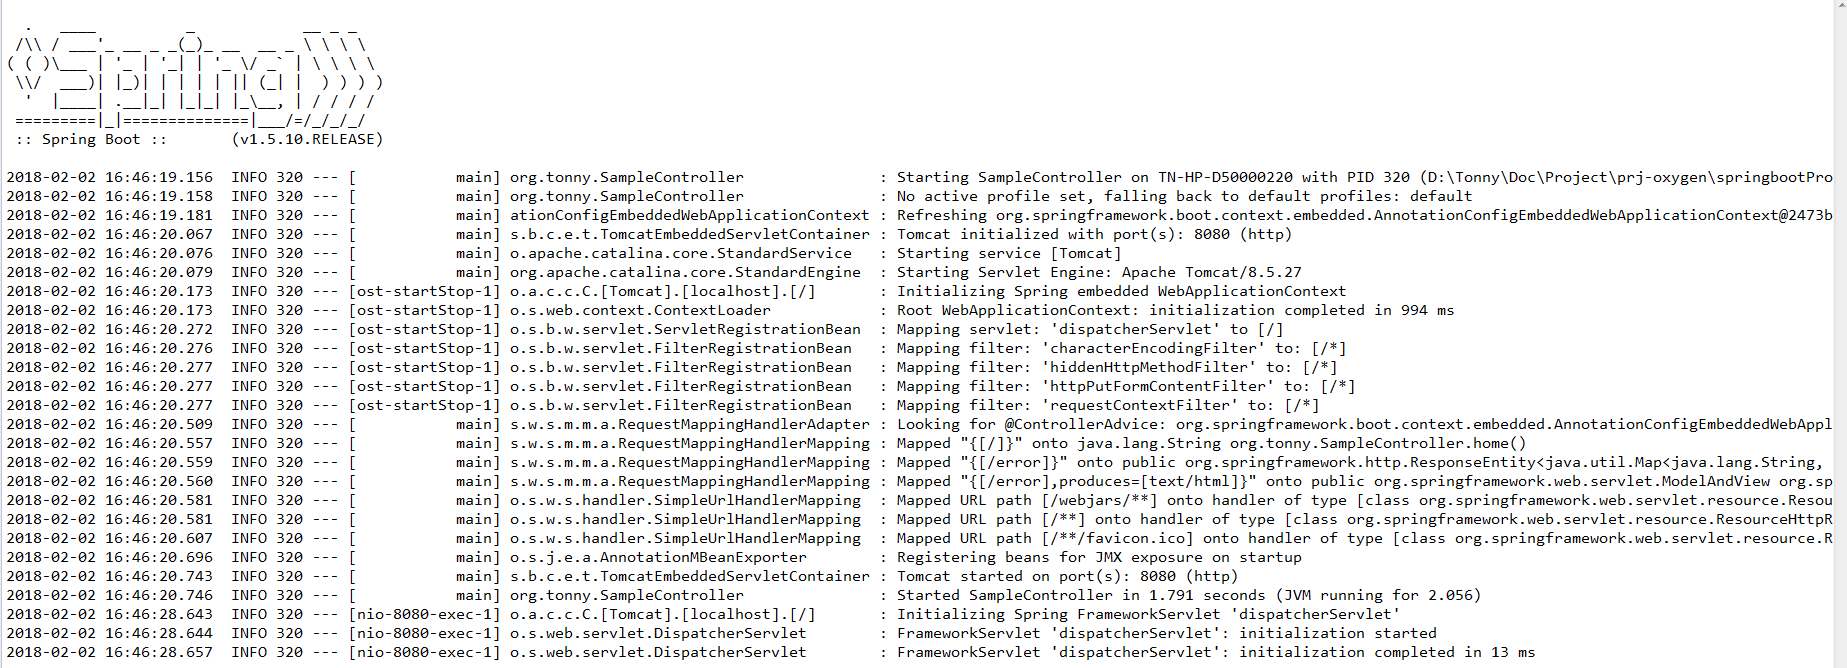
- console启动界面如下图


这样即可


